
Since founding Kitworks - as a gear and organization nerd - I've been asked several times how I have my gear garage set up. I don't know that I'm an expert on the subject, but I do have a point of view about some principles that contribute to a highly functional, adaptable, and organized space.
Everybody is different - your activities, family situation, proximity to your outdoor pursuits, etc. etc. And, space matters a ton - having a dedicated gear shed, part of a garage, a closet, or even just a corner of an apartment will dramatically change the layout and density of your storage. But, in reflecting on what's made my gear storage areas work well over the years, I think there are a handful of common principles that can guide design for pretty much any space to create something that 1) helps you get outside faster 2) keeps your space organized 3) makes preparing for a trip easier, and 4) helps you keep gear maintained and ready.
This is all about staying organized, reducing friction, making it easier to plan and prepare for your trips, so you can get outside faster with way less stress or friction.
SOME Organizing Principles to Build Your Gear Garage Space
Design for Change:
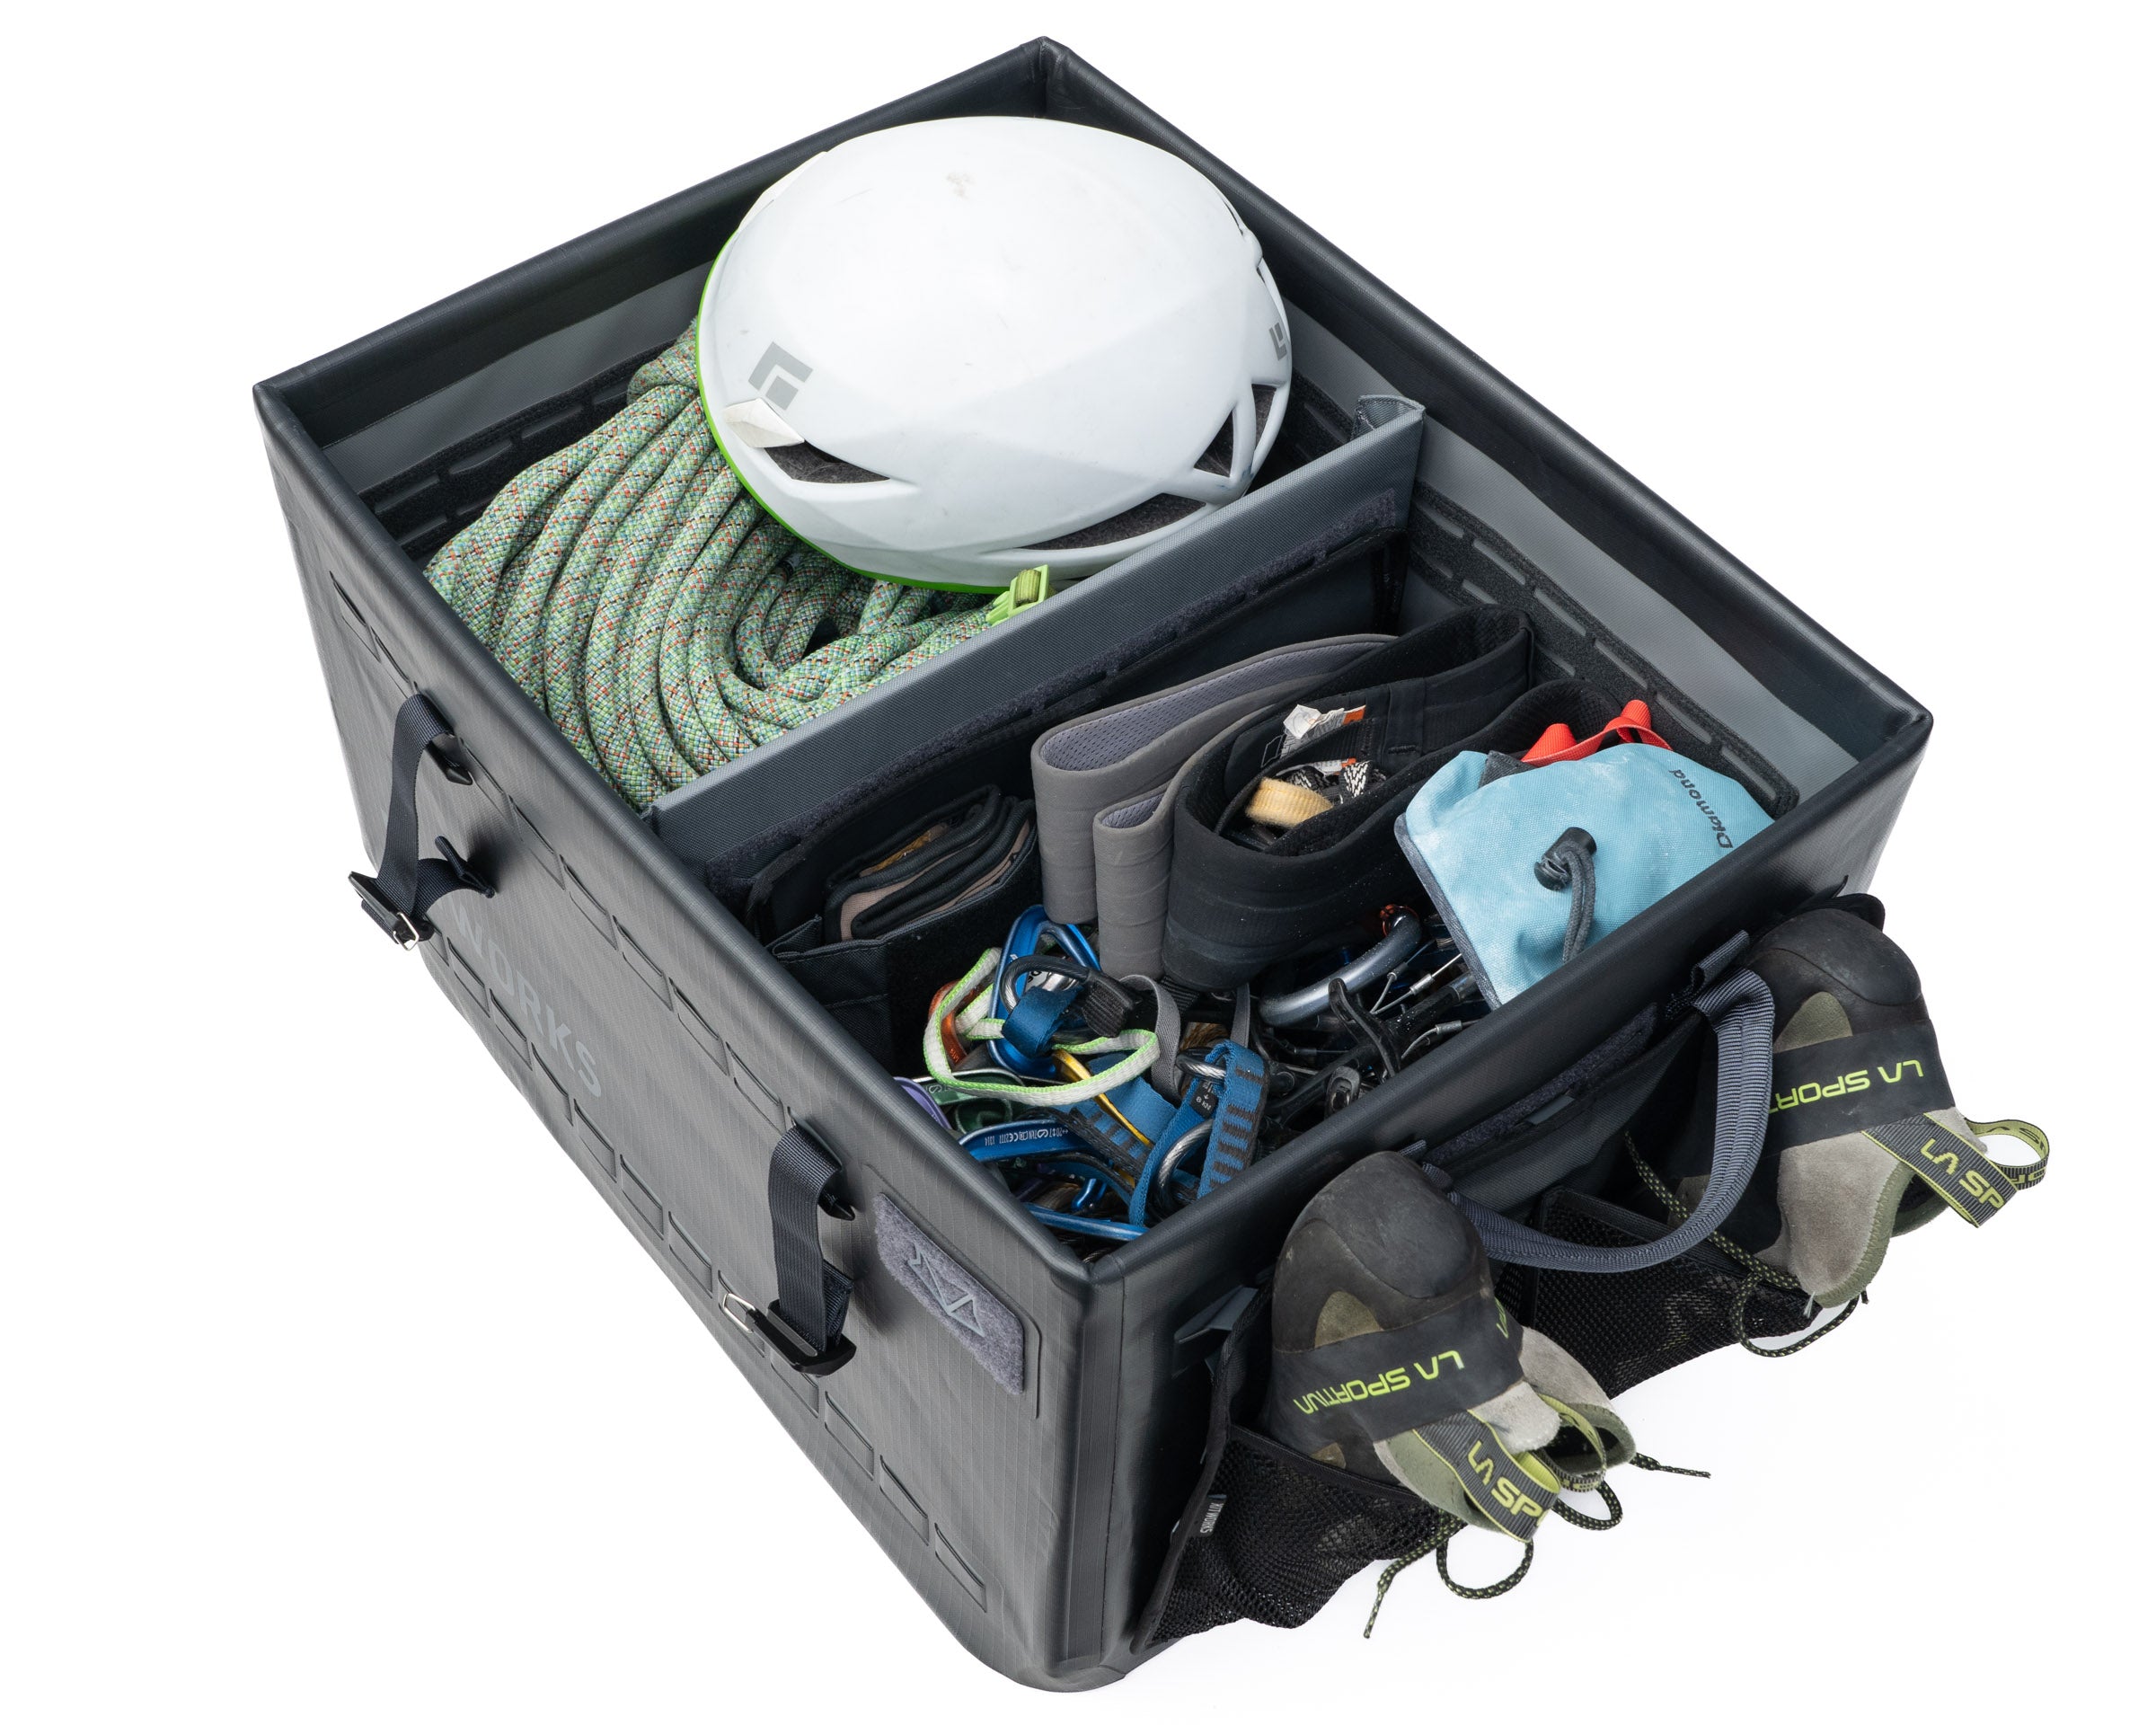
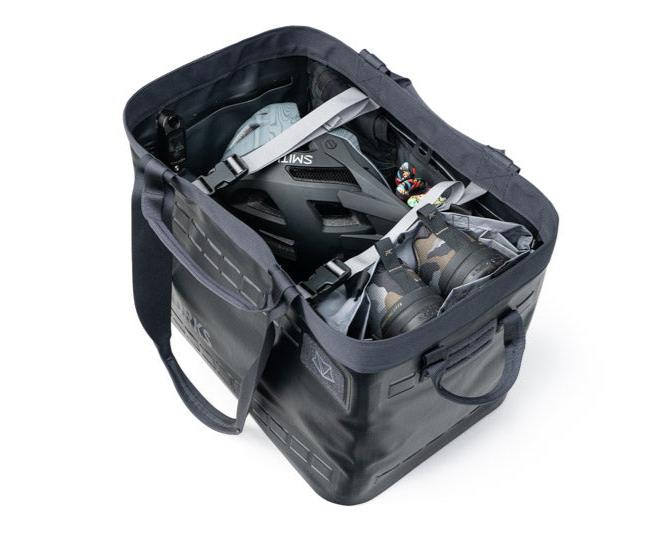
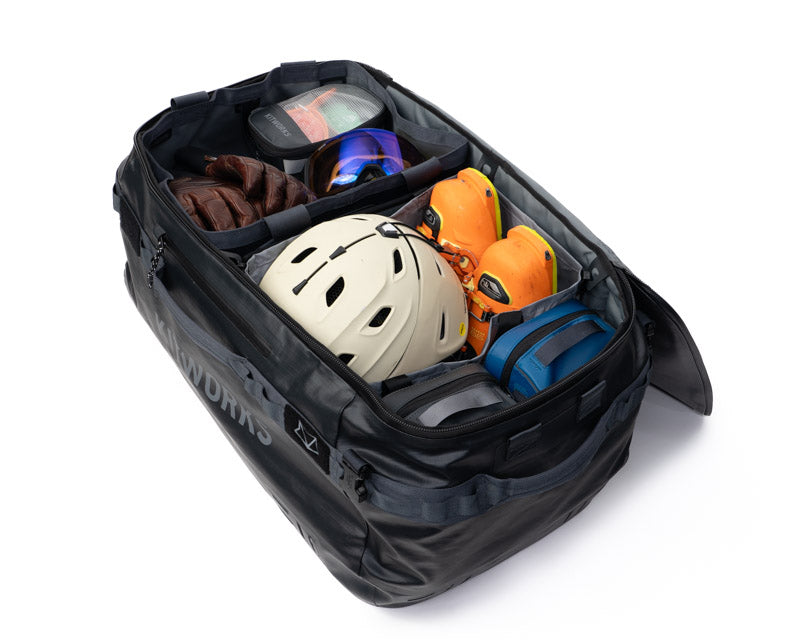
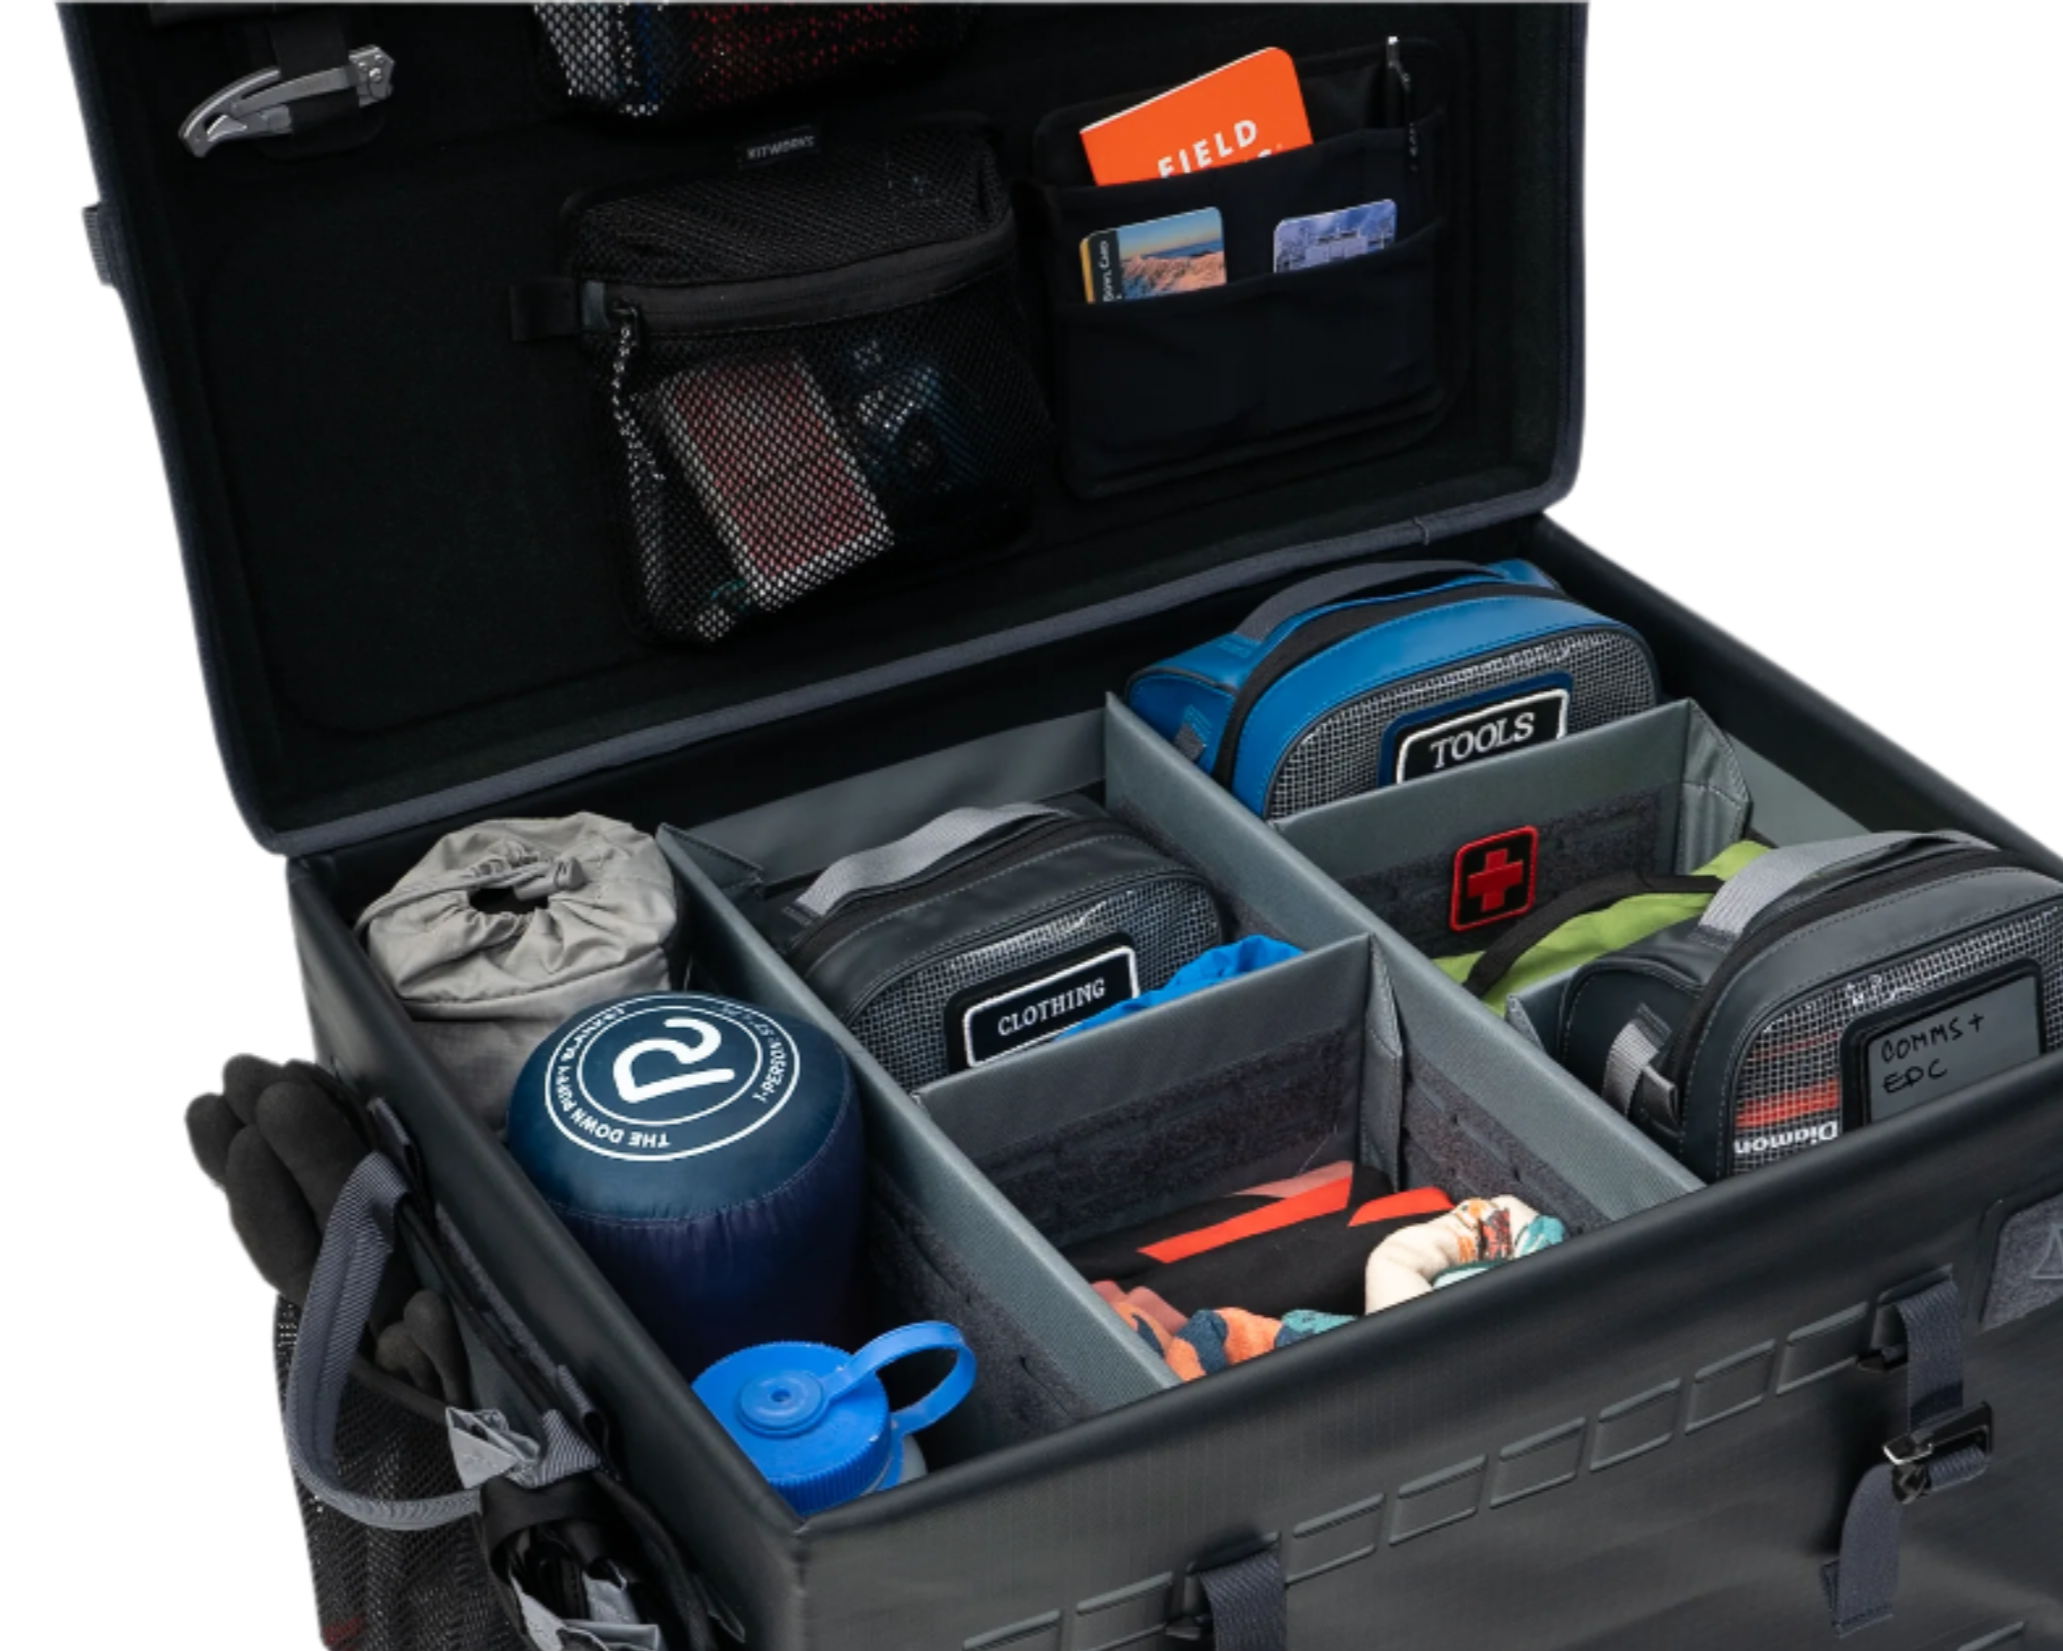
It's helpful to design for flexibility and plan for the fact that your storage needs will change as your interests evolve, as your family grows and as you acquire more gear. Think about building shelf and rack spaces that aren't immediately maxed out and have the capability to store different types of gear. Choose storage solutions that are modular, that nest well and adapt with your life.
Everything Has a Home:
How much time have you lost looking for a misplaced headlamp, bike tool, water bottle lid, or your favorite base layer? How many trips have been changed or cut short after you realized you left your shoes, helmet, climbing skins or cooking stove behind? A good gear garage gives everything a home, saving time during packing and minimizing the chances of forgetting something important.
Staging and Teardown: The Heart of Good Gear Management
All trips require last-minute preparation to get the right gear organized and packed for the trip length, weather and conditions. And when you return, it's inevitable that your gear will be a little messy: wet, dirty, low on batteries and needing to be cleaned, dried, repaired or replaced altogether. Building a clear process to land your gear for pre-trip prep and post-adventure teardown keeps your gear management system intact as a system.
This is where a dedicated staging table really helps. It gives you a clean, flat place to organize gear before a trip and to clean, replace, replenish and recharge when you get home.
I'm using a work table that’s roughly 6 feet long by 3 feet wide, with caster wheels so it can be moved as needed. There’s also a lower shelf for replenishment items like water bottles, food, sunscreen, and sunglasses I grab regularly. Remember, your staging table doesn’t need to look like mine. It could be a tool bench in your garage, a countertop in your mudroom, or even your kitchen table - as long as it’s clean, flat, and purpose-friendly.
When put away, it's ready for use:
Any gear that you return to storage has been cleaned, dried and returned to its proper place. That way when you're ready to go for your next trip - whether that's tomorrow or next month -your gear is good to go too.
Over time, applying these principles to your gear garage will help make you more agile, adaptable, and confident in your preparation - and leave you better ready for bigger adventures ahead.
Three Types of Storage That Make the System Work
We all have different-sized and shape spaces. Regardless, it's possible to make your gear garage a harder working, more organized one by breaking it down into three areas: hot storage, cold storage and replenishment storage.
Hot Storage (Grab & Go Gear):
Think of the gear you're grabbing and using most often this season. This is the gear that should live in your most accessible shelves, racks, and bins, so you can grab it and go at a moment's notice. If you only have a limited amount of easy access storage, reserve it for this gear.
Cold Storage (Seasonal & Occasional Gear):
Cold storage is for gear that’s used less frequently and doesn’t need to be as easy to access. This might be a closet in a guest bedroom, attic space, or higher shelves and bins that are harder to reach.
It’s a great place for gear used once or twice a year - like your annual family camping kit - or for activities you don’t do as often. Cold storage is also where last season’s gear often ends up after rotating out of hot storage.
Even though it’s out of the way, cold storage gear should still be cleaned and organized properly to minimize headaches when you pull it back into rotation.
Replenishment Storage (Consumables & Essentials):
Replenishment storage is for items you use and consume regularly: sunscreen, food, water bottles, hydration packs, batteries, and similar essentials. Ideally, this storage lives next to your staging and teardown area, making pre- and post-trip organization much easier. Smaller bins or zip-lock bags work well for keeping these items sorted and easy to grab.
A Few Finishing Touches
Wall & Ceiling Racks:
Wall and ceiling racks are a great way to store larger items while preserving valuable floor space—and still keeping that gear accessible. In Greg’s case, he uses wall-mounted hooks and a drip tray to vertically store family skis and poles. For bikes, he relies on wall-mounted Steady Rack to fit multiple bikes into a tight space.
Make Your Space Inspirational:
Garages can be notoriously dusty and drab places. But if you're like us you'll end up spending real time in your gear garage - scheming your trips, working on your bike, waxing skis and boards or planning your next backpacking, paddling or fishing adventure.
Consider adding your favorite trip photos, maps, adventure quotes, or a few meaningful mementos to the walls. Even prominently displaying your favorite gear can make the space more enjoyable to spend time in. Add a comfy chair, or even a small fridge, and your gear garage becomes the place you want to be while prepping for your next adventure.
Where to Begin?
If this feels like a lot, remember this setup reflects more than ten years of tinkering, tweaking, and gradually leaning into better organization. Start small and focus on one idea at a time. Even small improvements tend to build momentum. If you’re not sure where to begin, Greg recommends starting by defining your hot and cold storage.
There's really no single one right way to build out a gear garage, space, room or closet. It comes down to your space, the gear you have and how you like to organize it. That's it!
We hope this inspires you to think about your own gear garage space and to find a few new ways to make your preparation and organization that much easier. Because when your gear is really dialed, you get outside more and faster, doing the things you love with the people you love doing them with and setting yourself up better adventures ahead.
