
Thank you!
We are incredibly grateful that you've chosen Kitworks to manage your gear and support your adventures.
We're building Kitworks for people like you - who know that organization matters. Who know that being a little bit more prepared is key to the best days outside. We're here to make sure that you're Always Good to Go.
Need help getting set up? Want to share your feedback or ideas for future products? We'd love to connect. Just shoot us an email at support@mykitworks.com.
We're building this for you.
Quick-Start Tips
A few tips to help you get your system dialed.
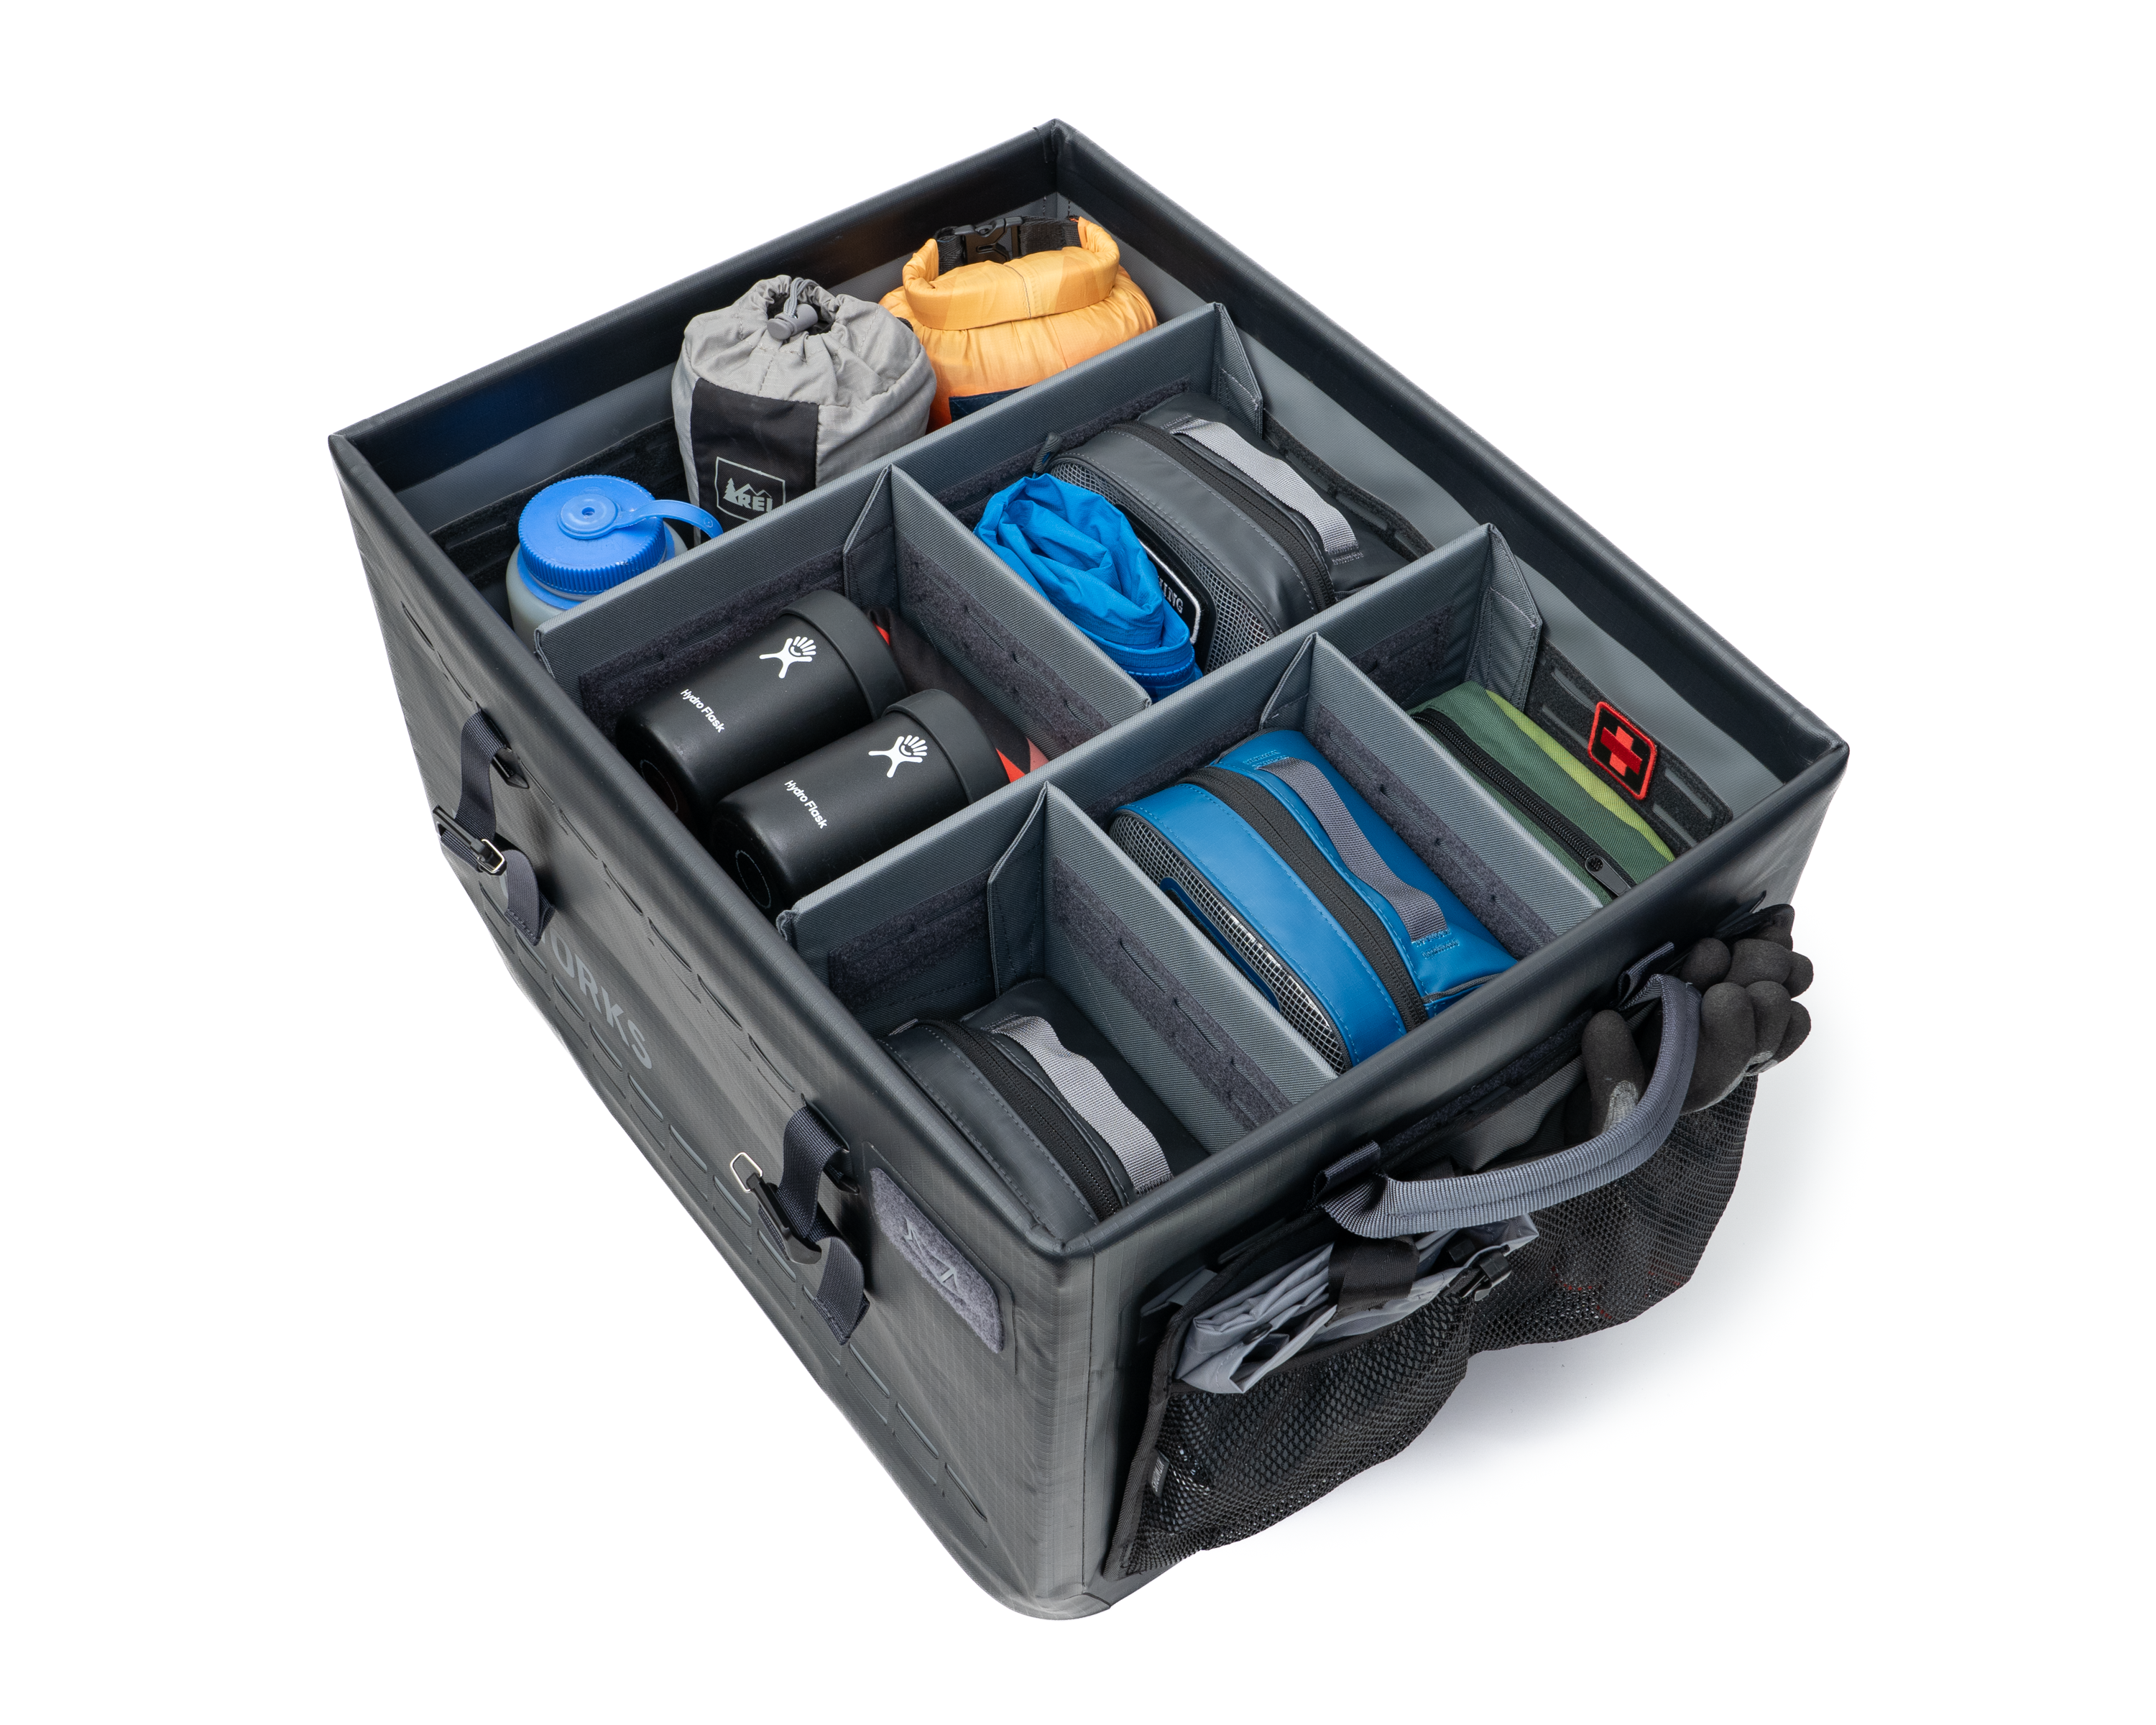
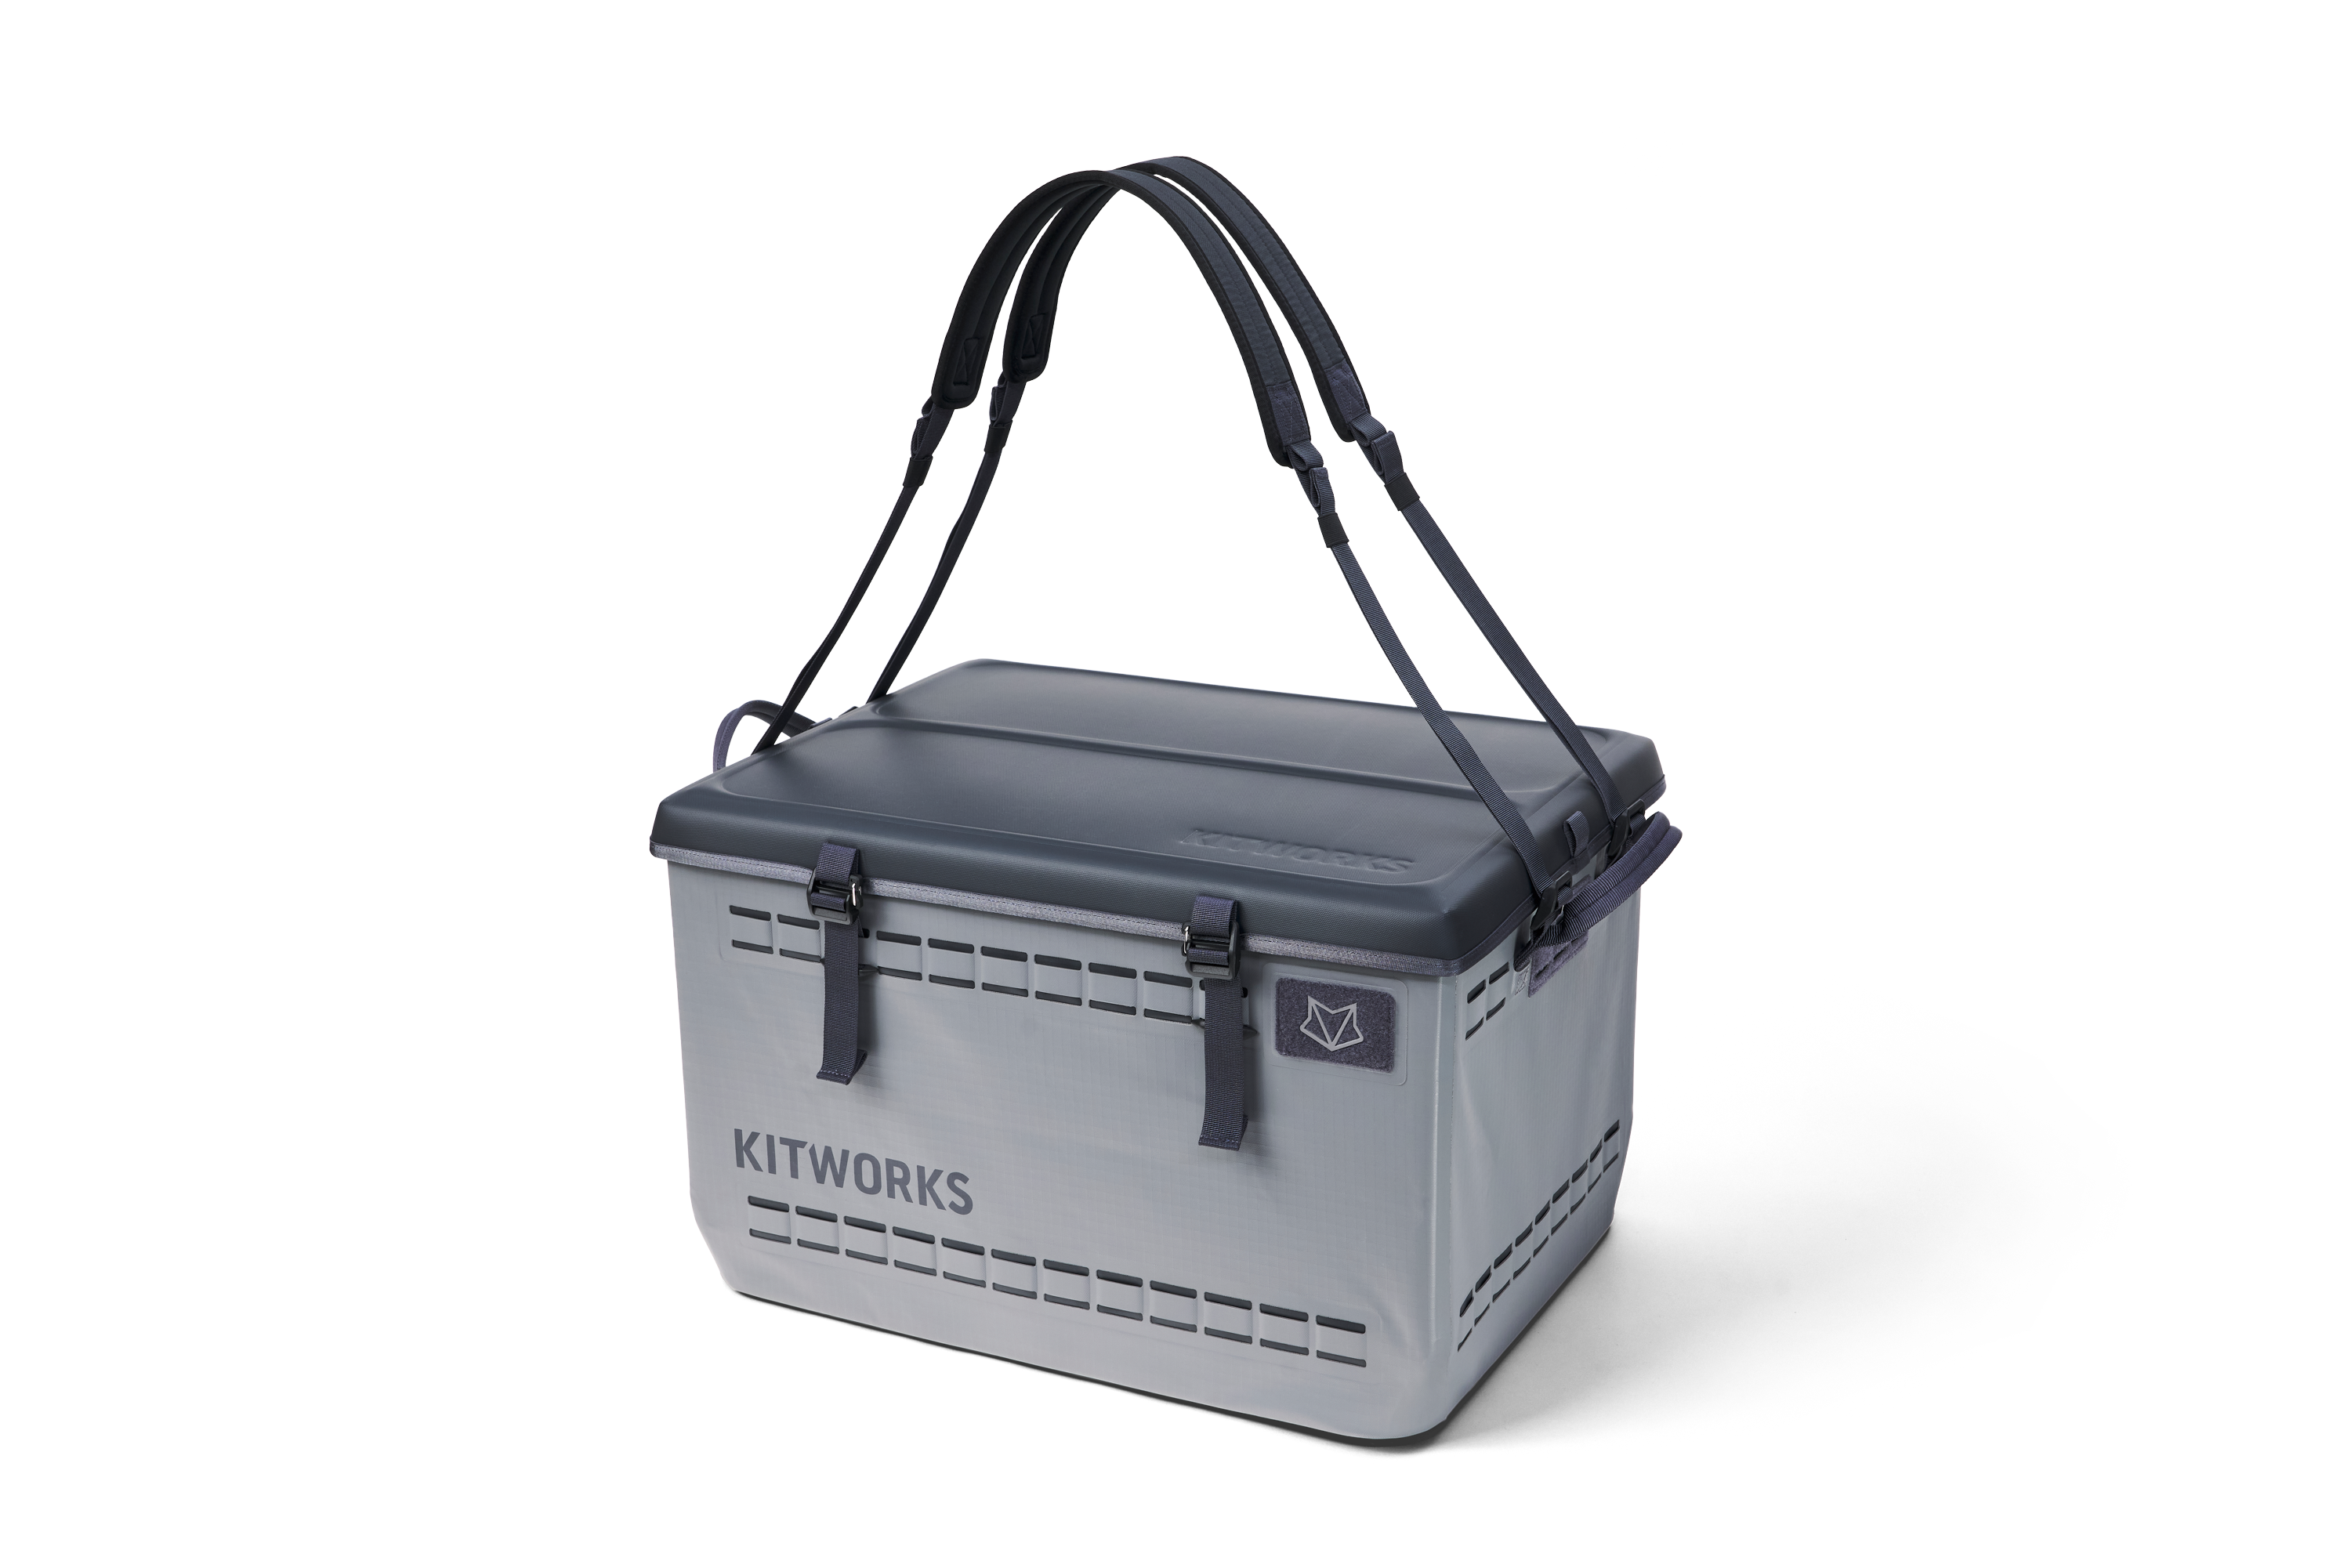
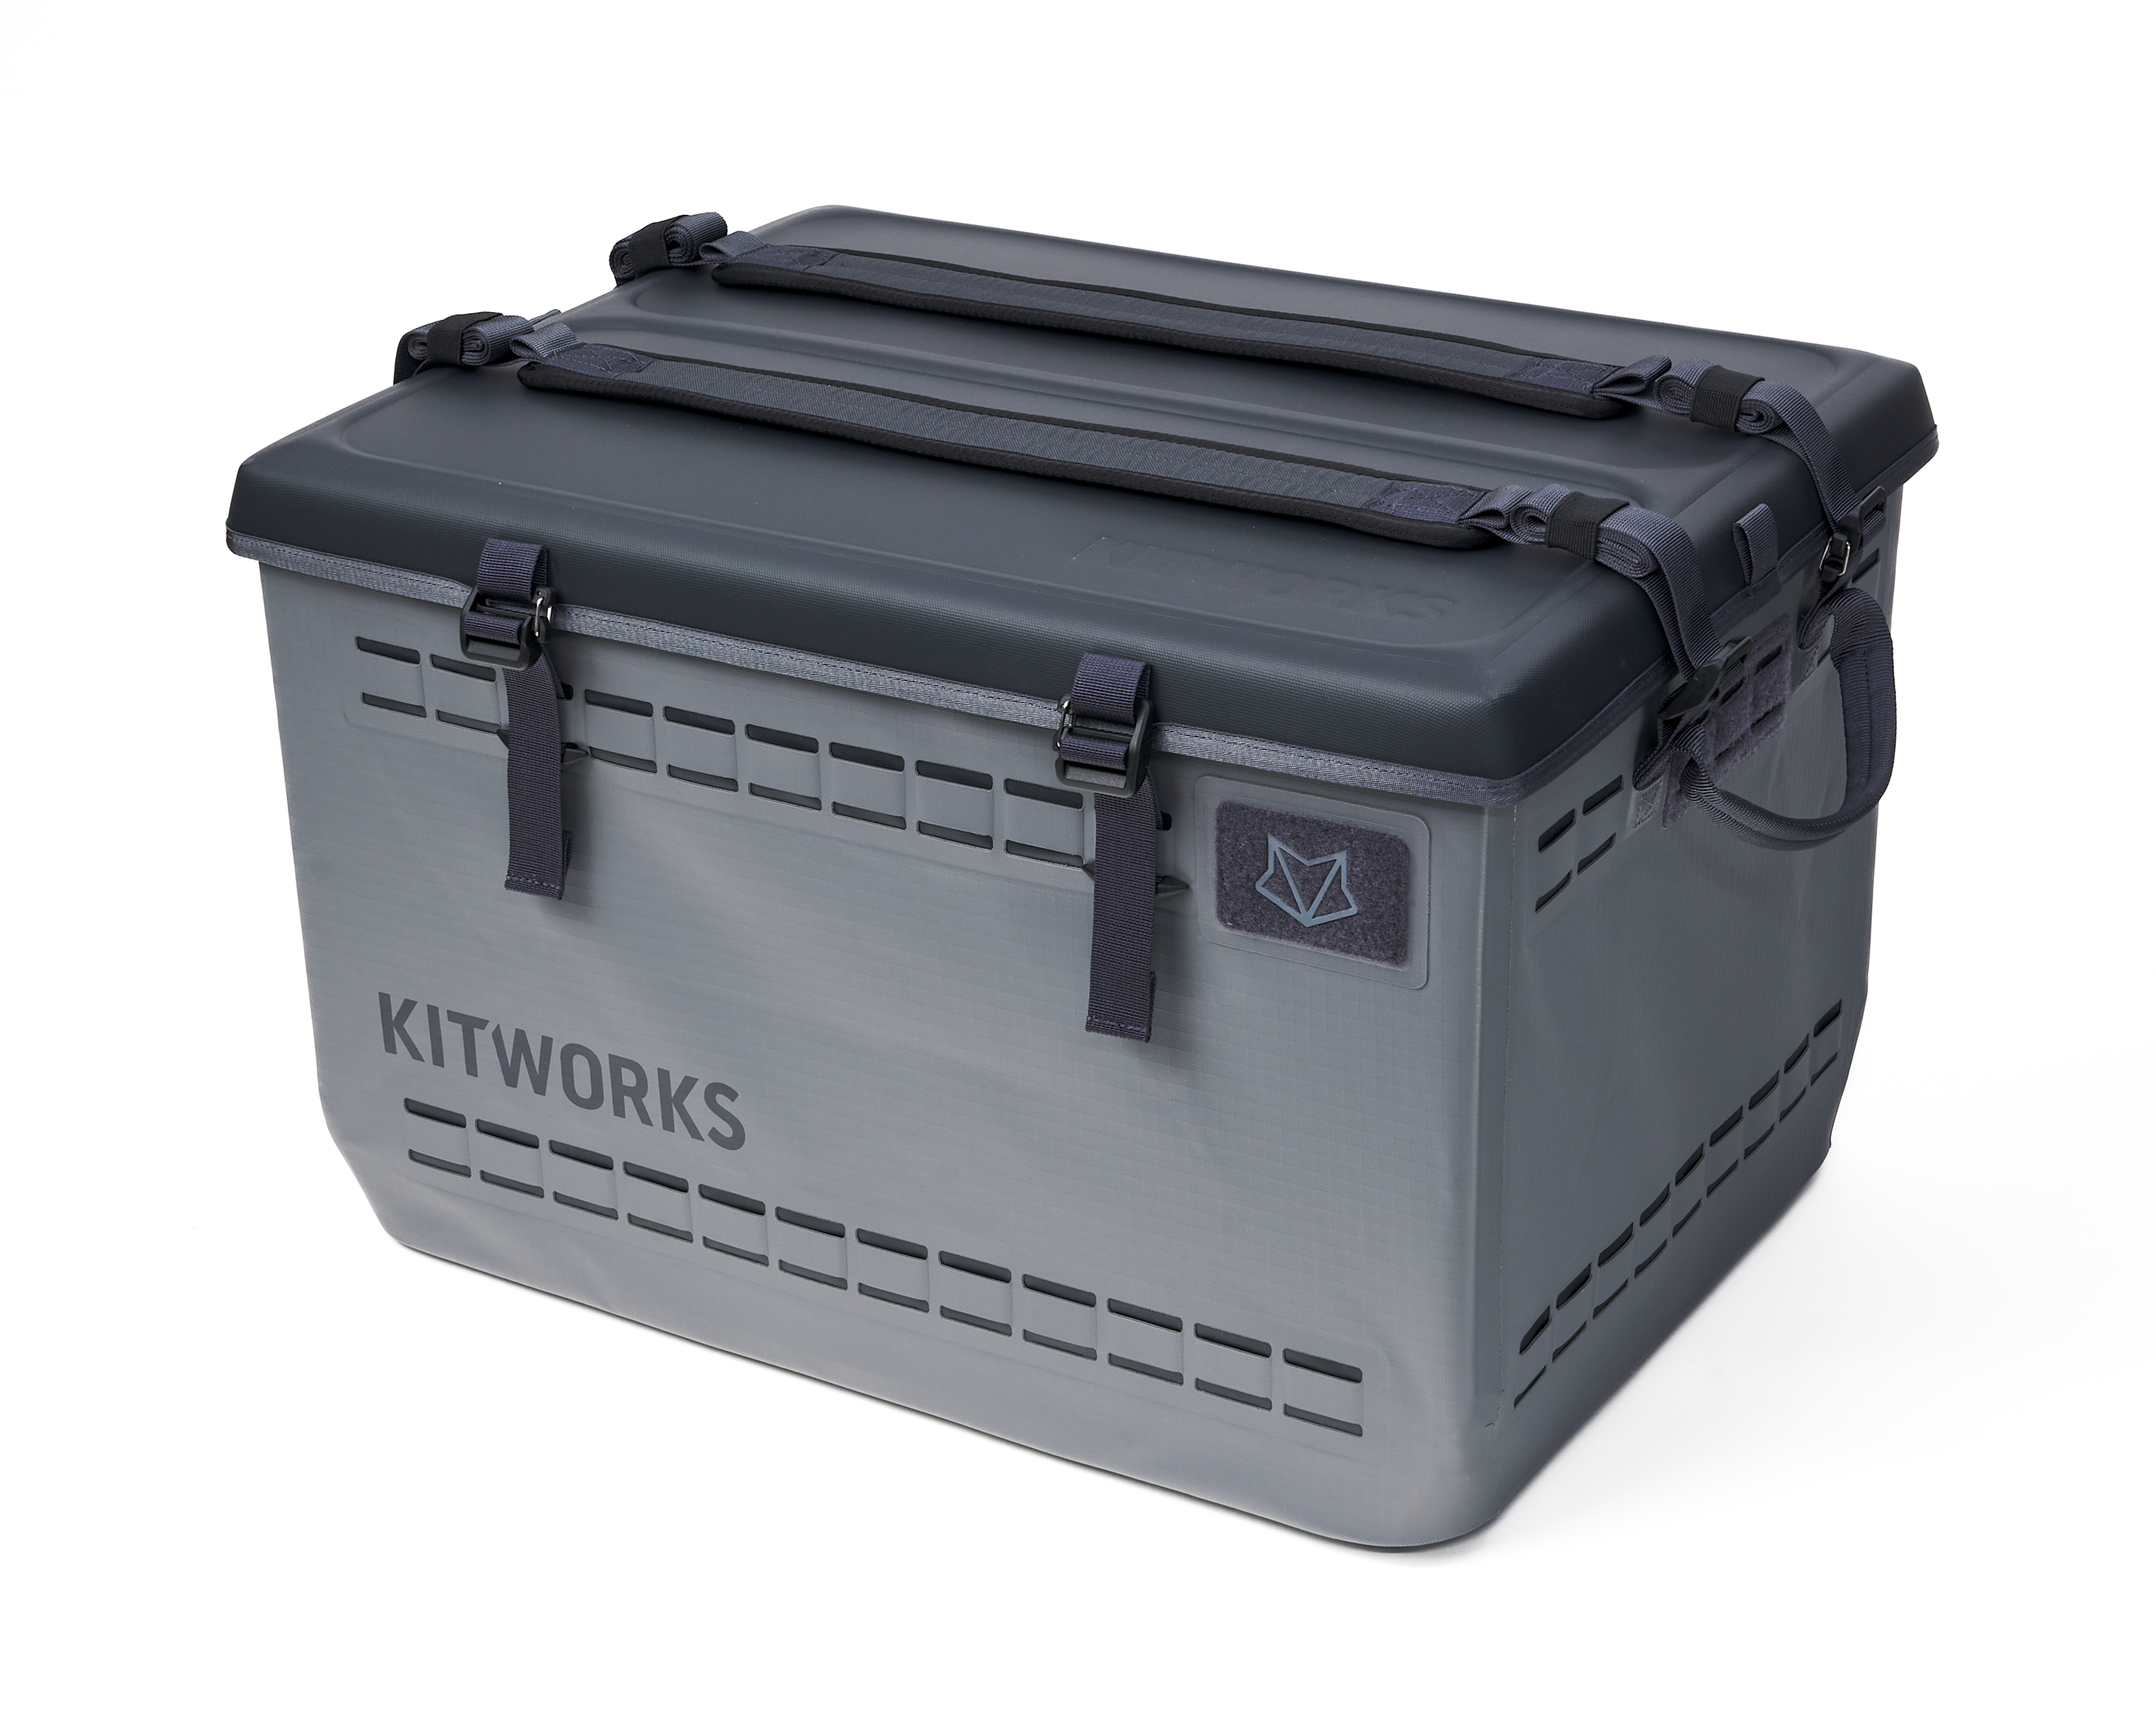
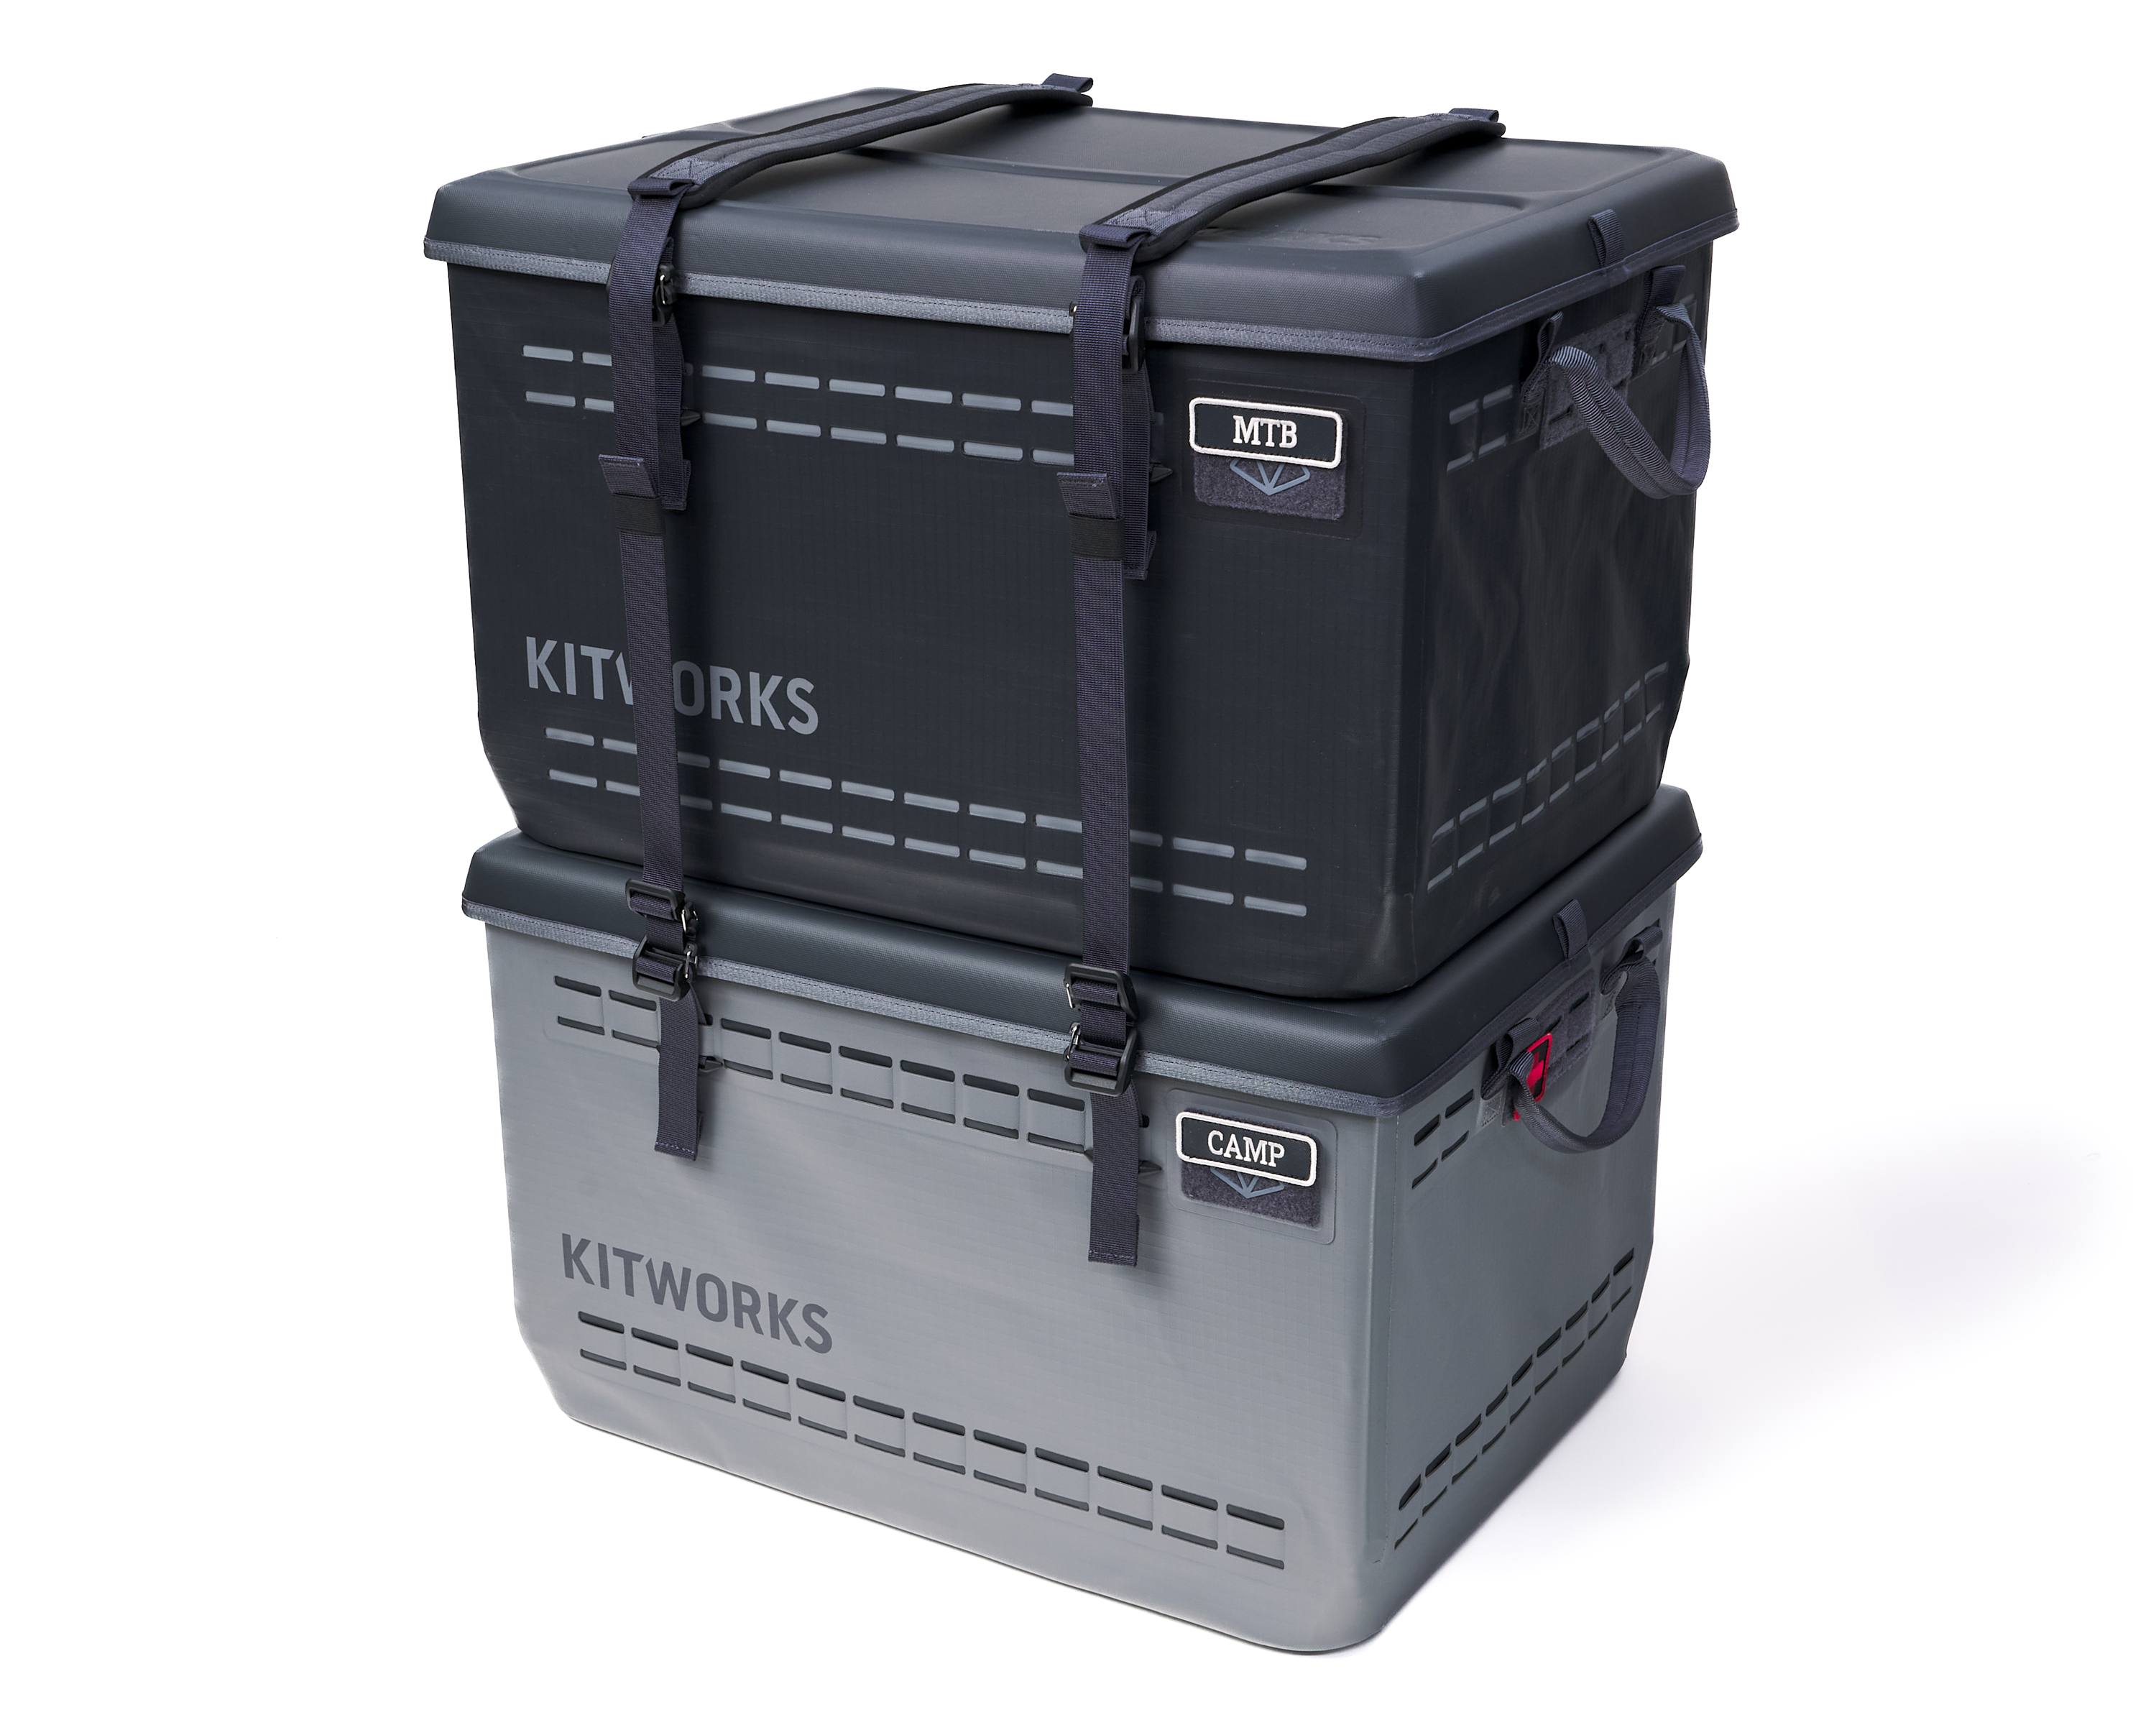
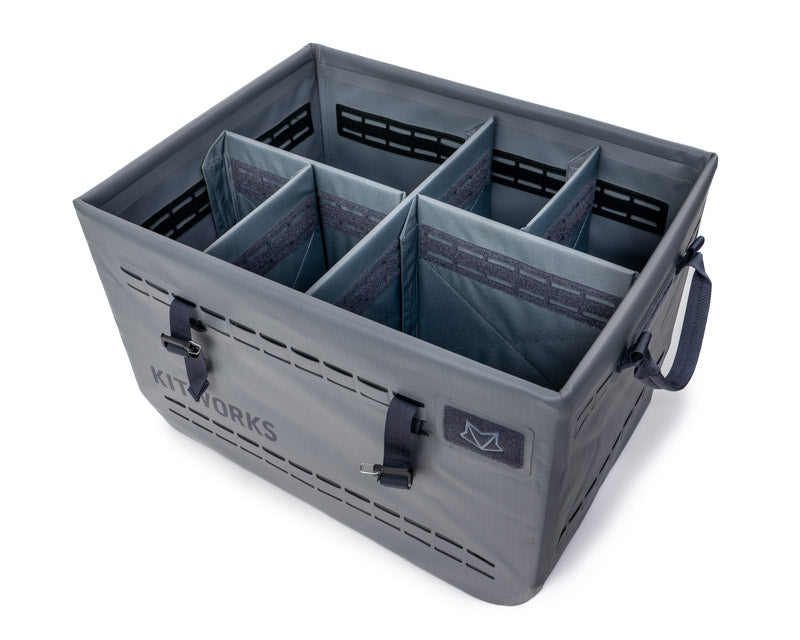
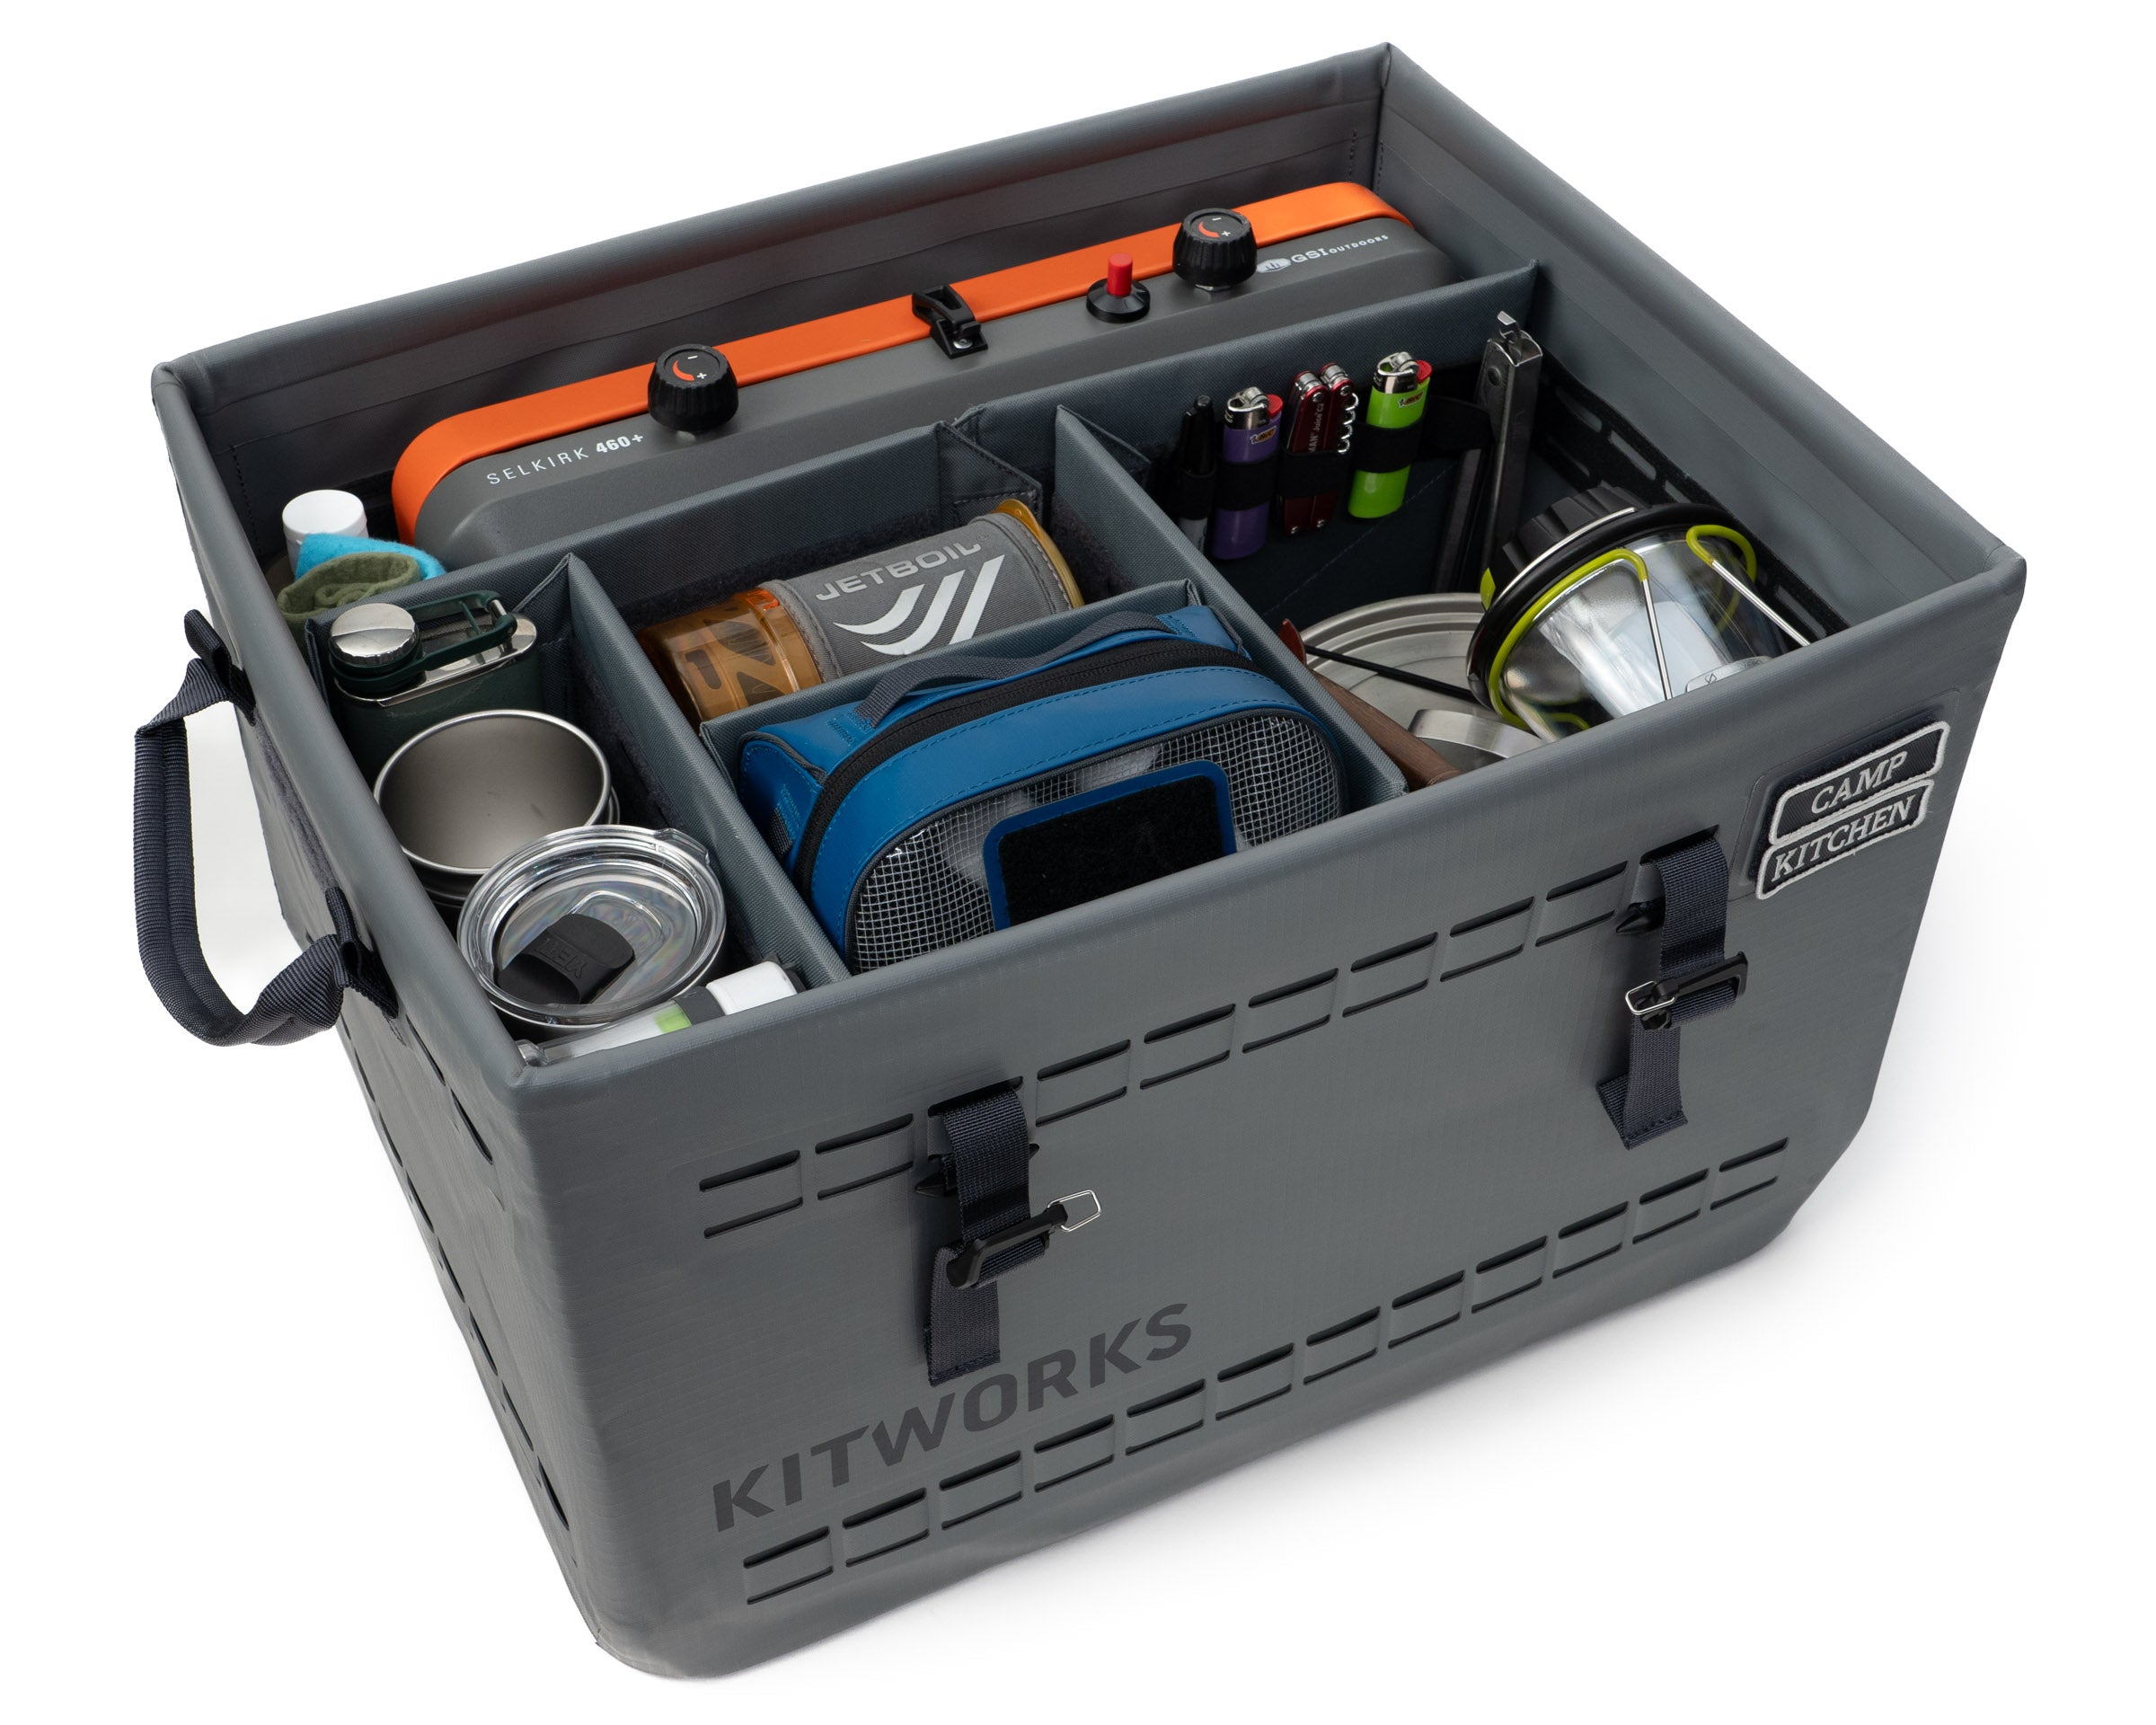
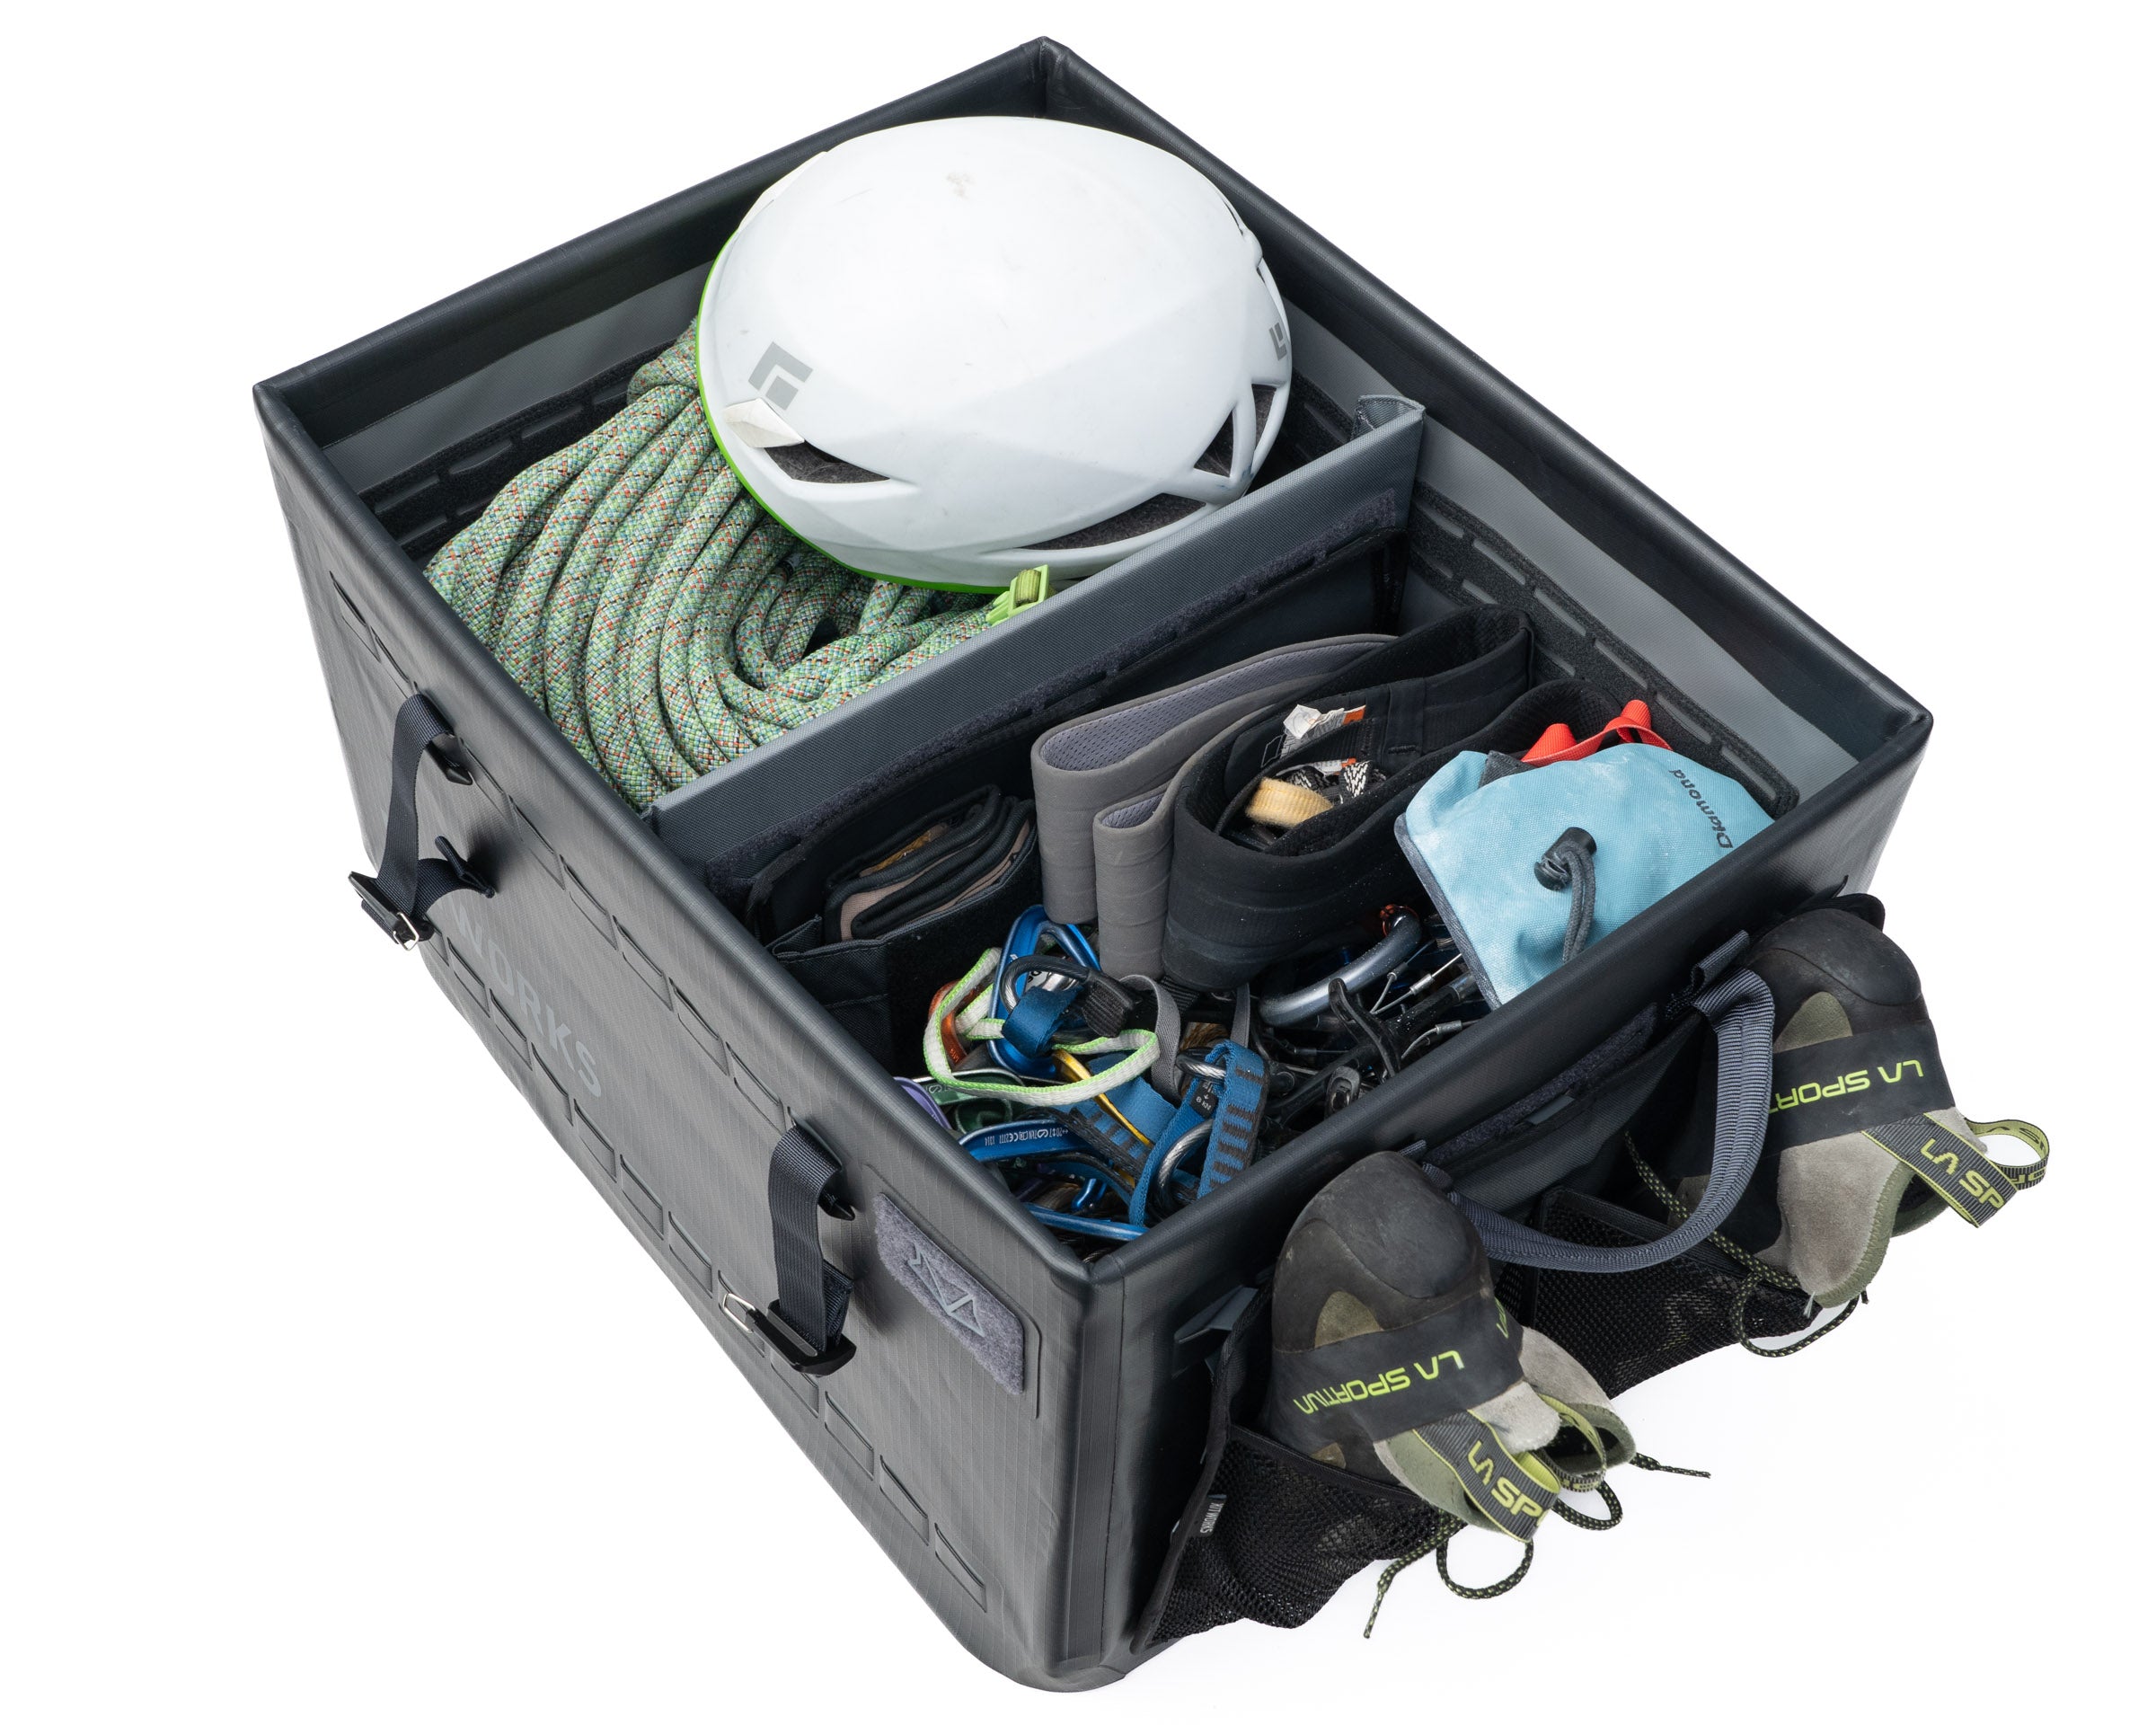
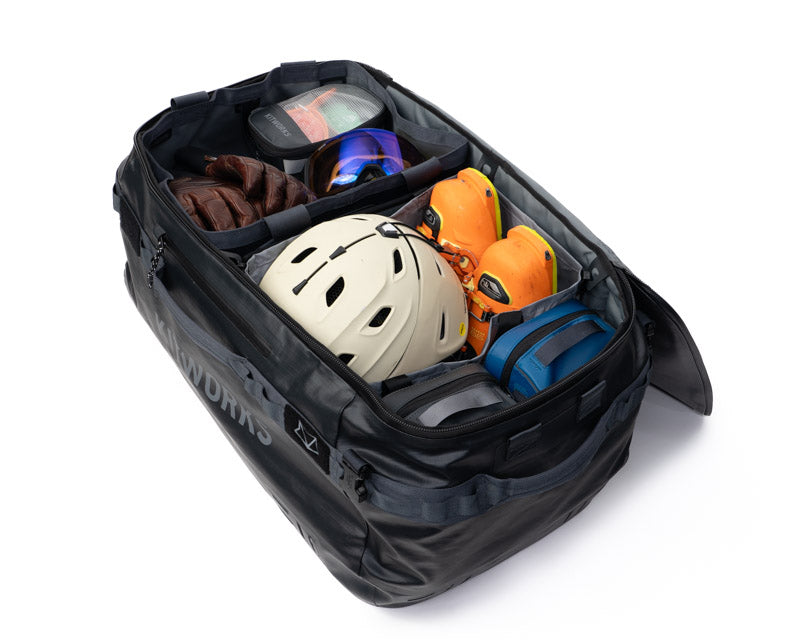
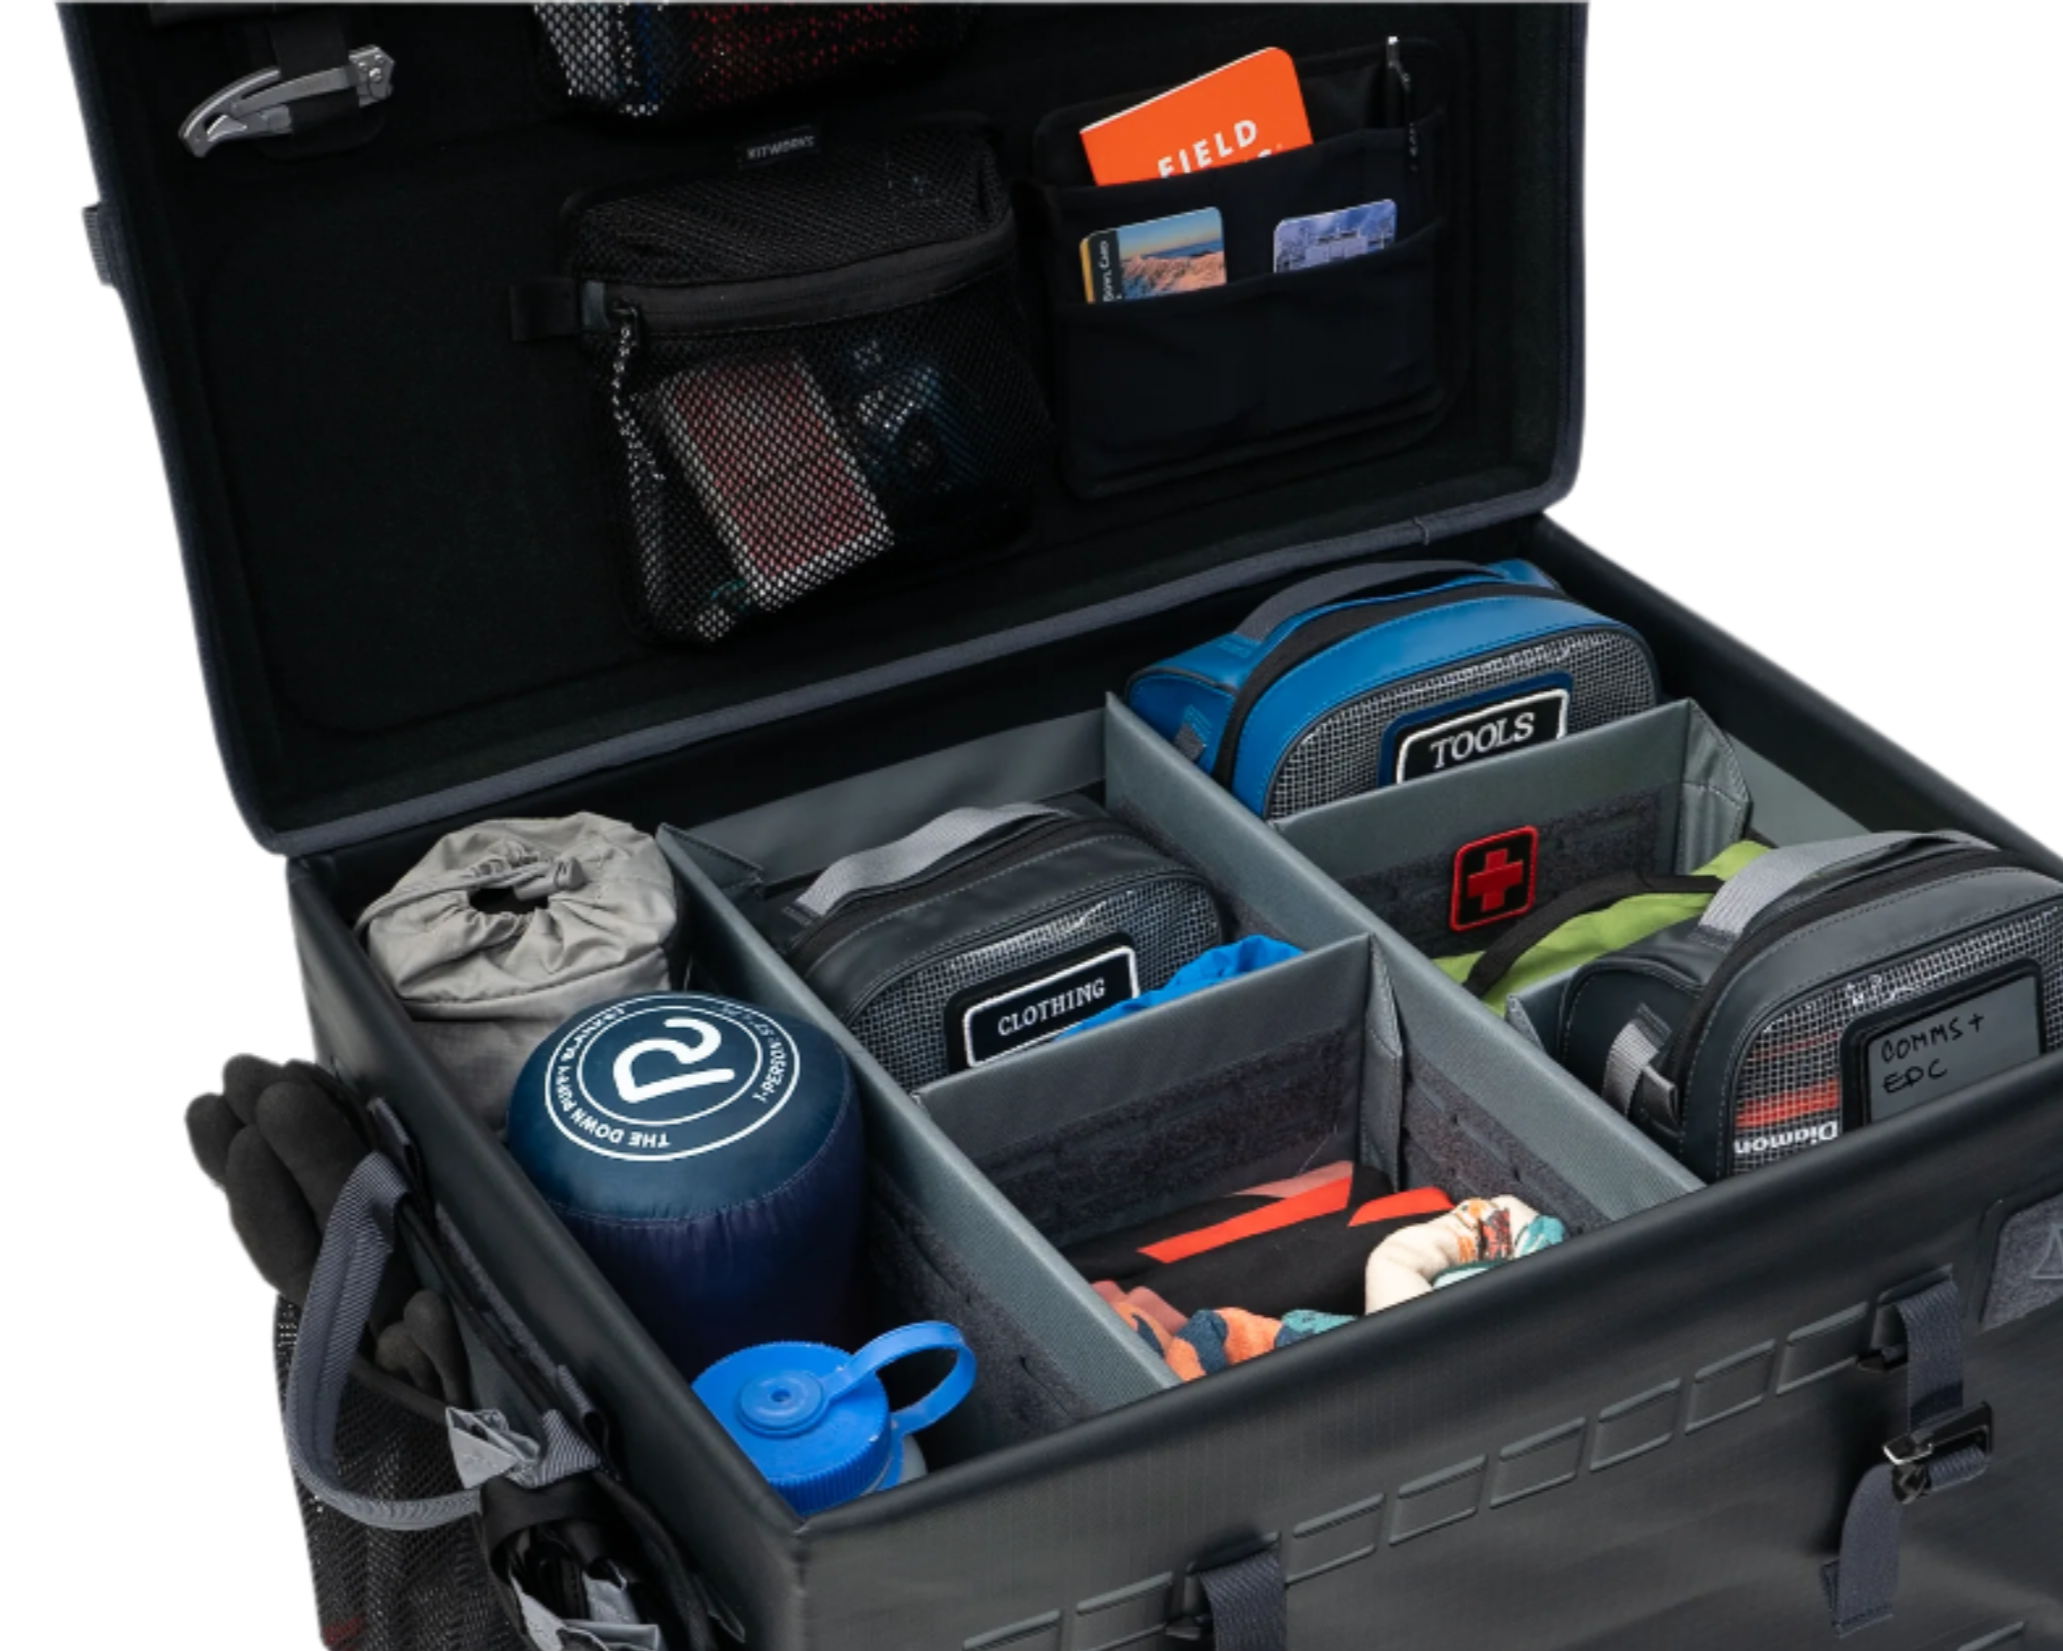
Gear Box Setup
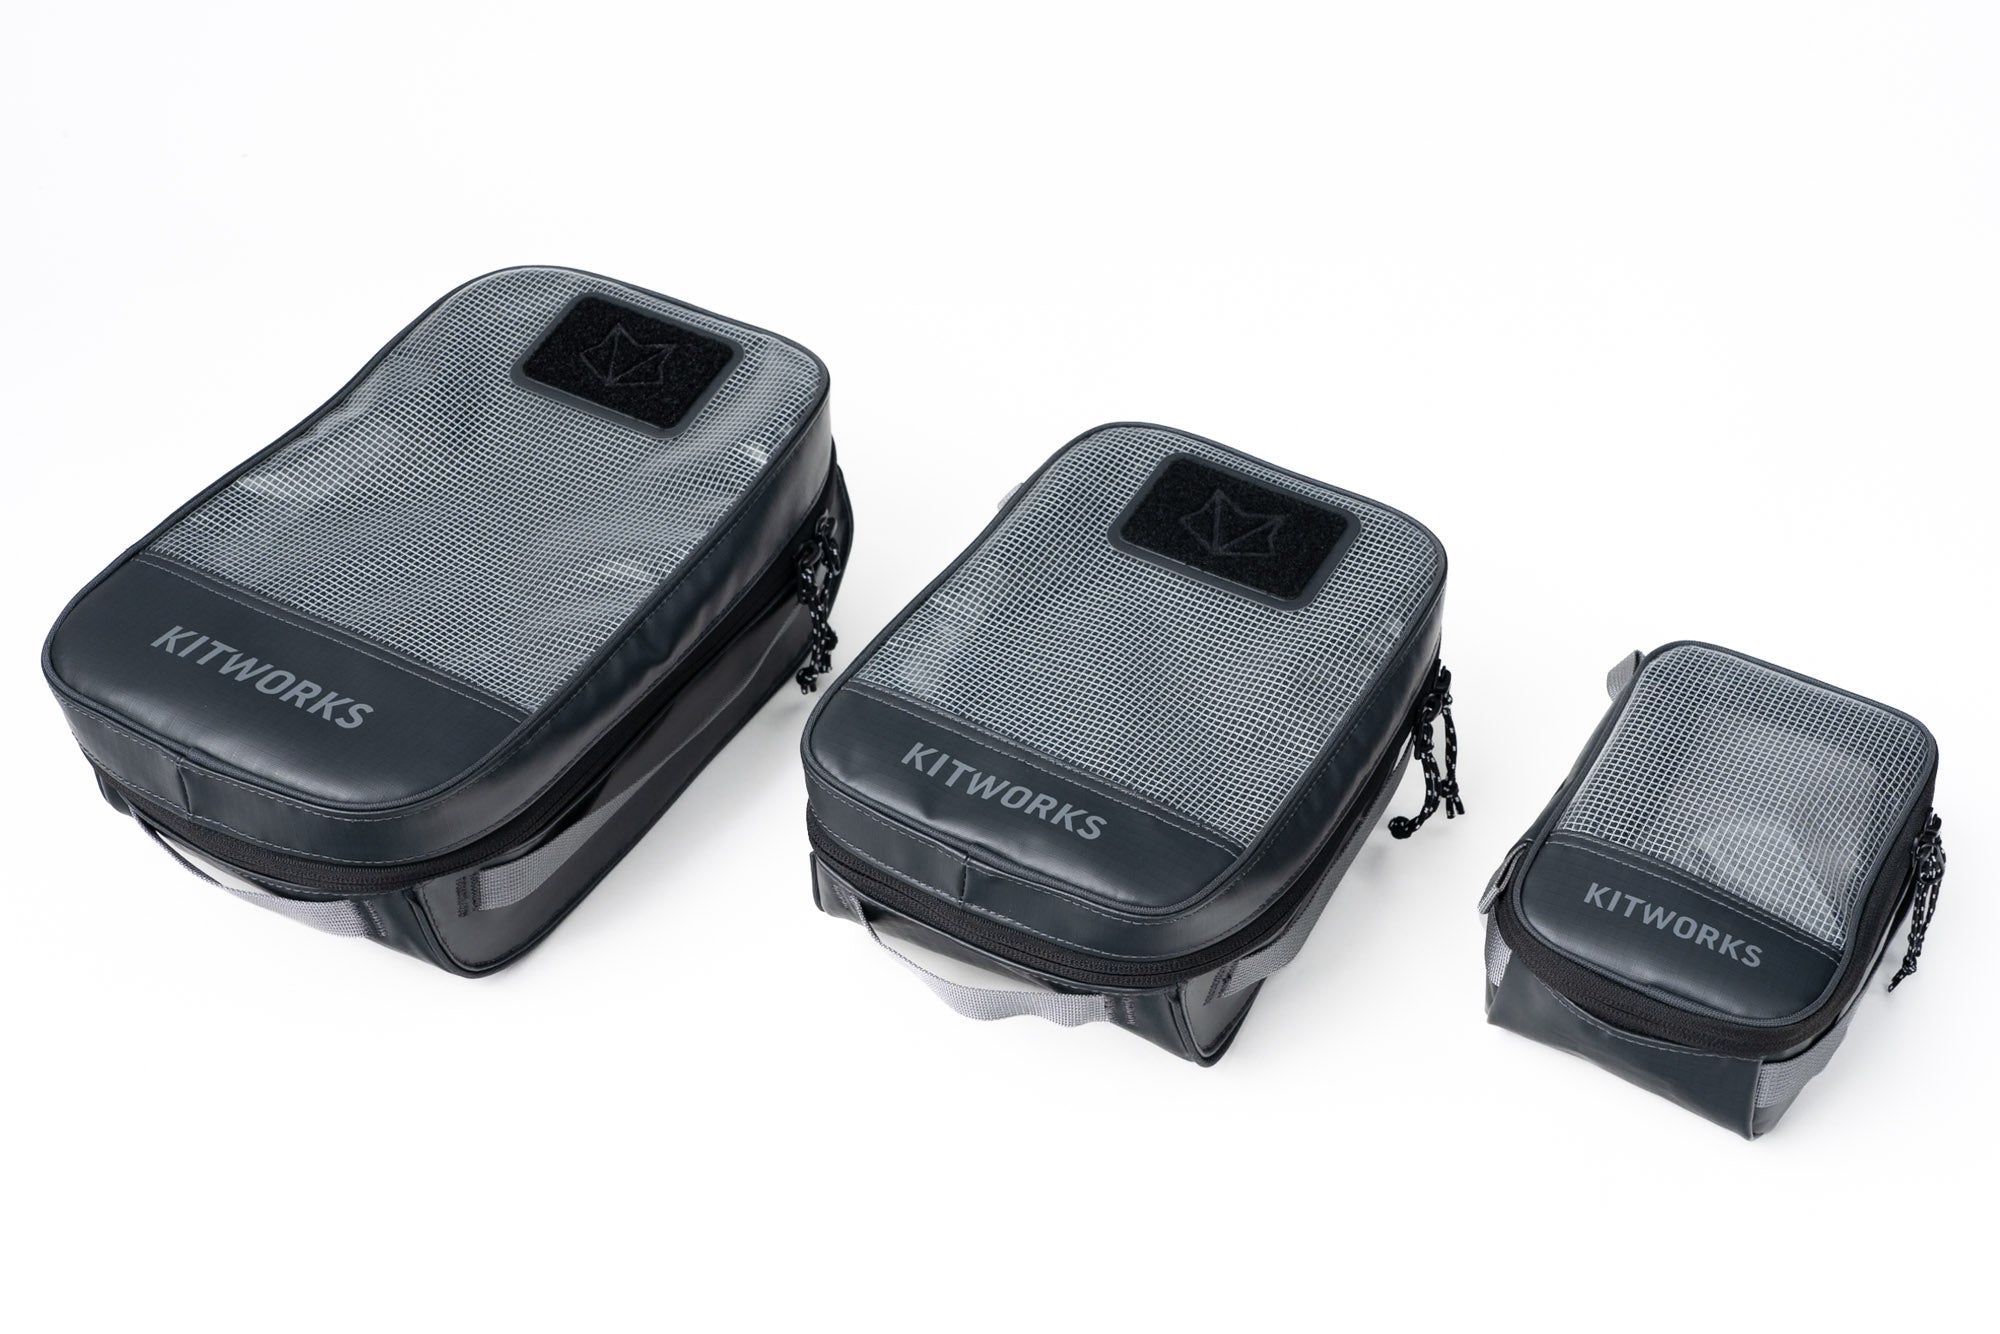
The unique design allows the Gear Box to be waterproof, collapsible, stackable up to 250 pounds, dividable, and customizable inside and out.
Take a moment with your gear to experiment with dividers, pockets, utility pouches. Enjoy the process of putting everything in its place.
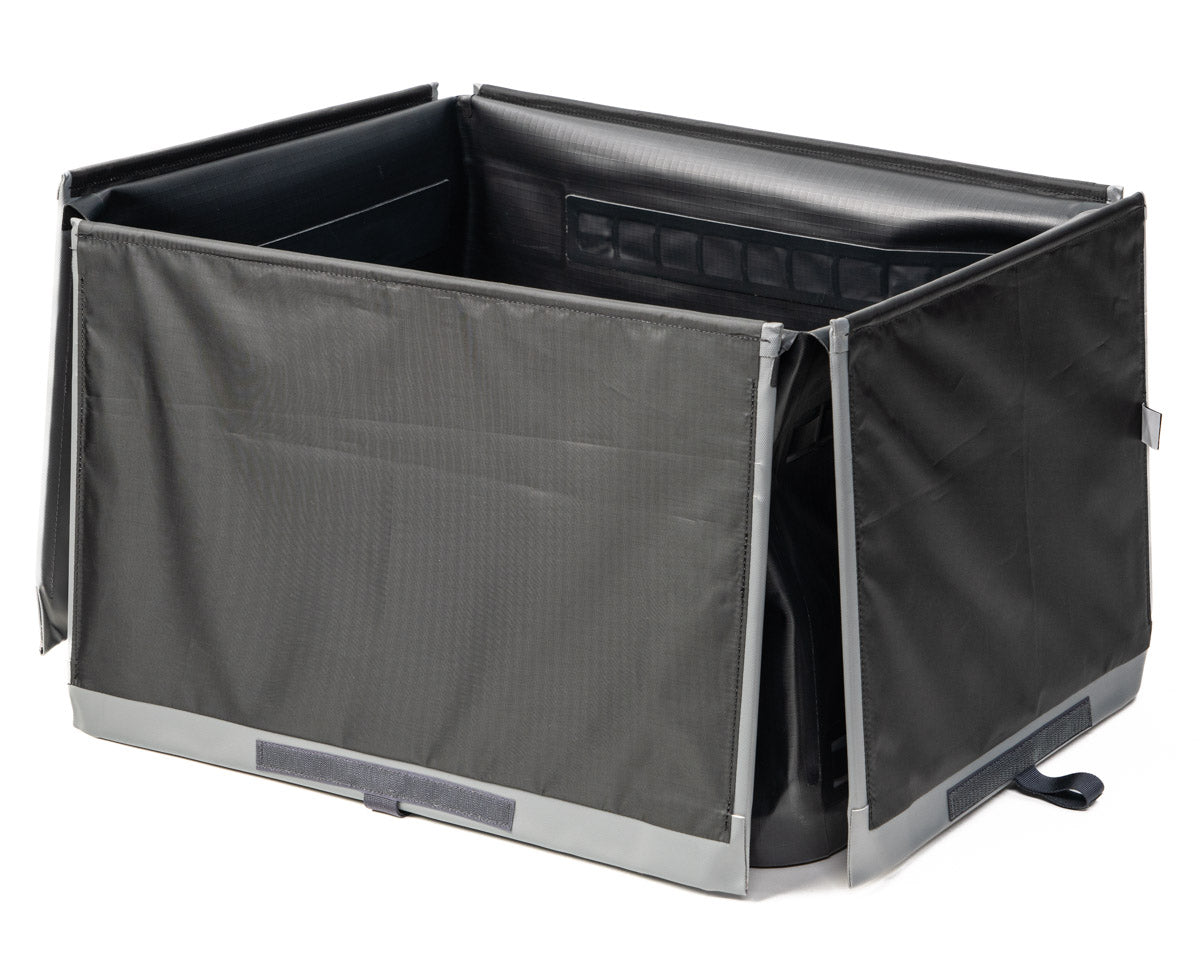
Step 1: Unfold the hinged panels
After removing the lid, flip all of the panels open. If you're planning to add pockets to the interior of your Gear Box, now is a good time to install them.
Step 2: Install Pockets
If you're going to install pockets on the interior of your Gear Box, now is a good time to do that. See pocket installation tips below.
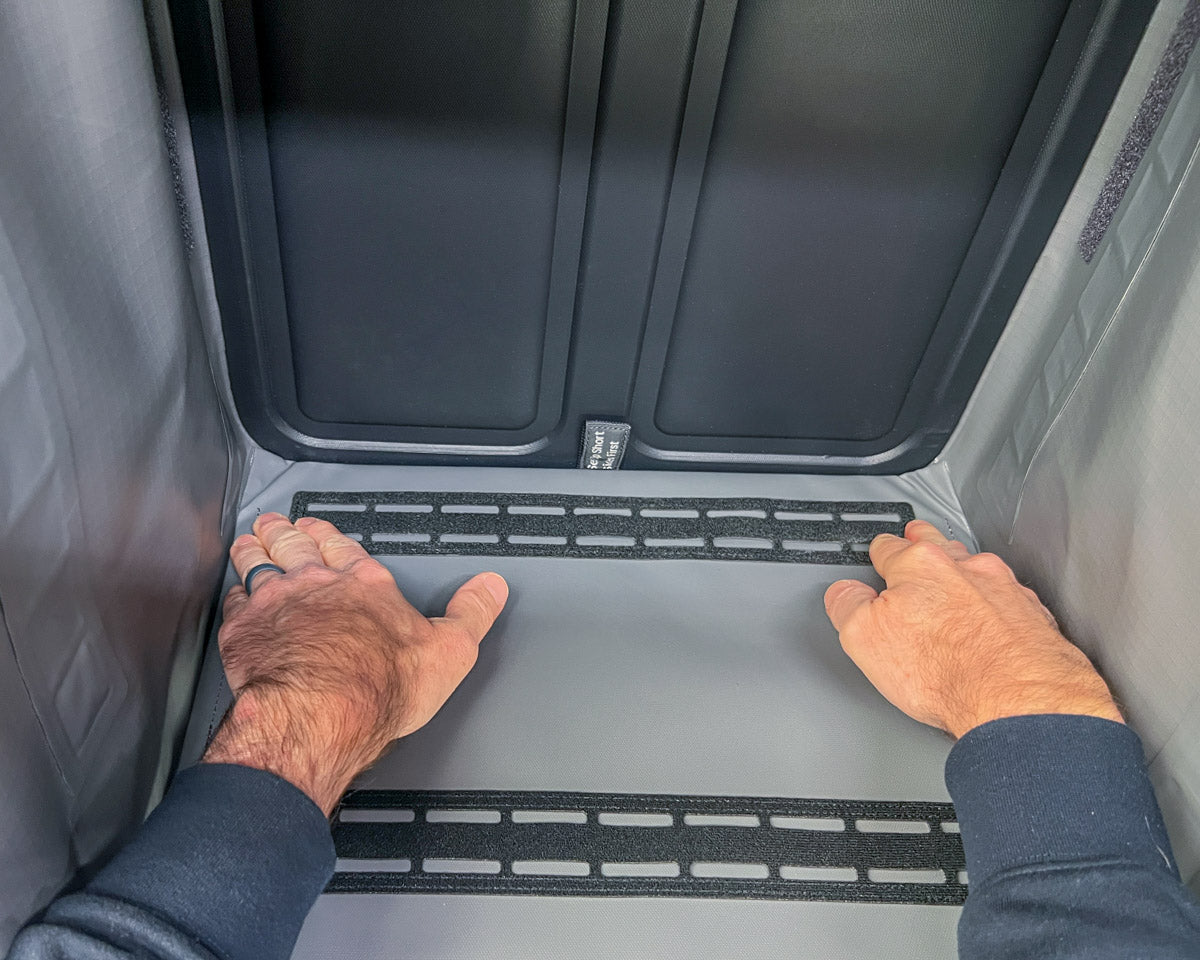
Step 3: Install short sides first
Flip the short side panels into place. Press them firmly into the corners of the shell.
Firmly press long sides into place
The long panels will be very tight fitting. Press firmly along the edges until you hear the panels snap into place. That's it. You're good to go.


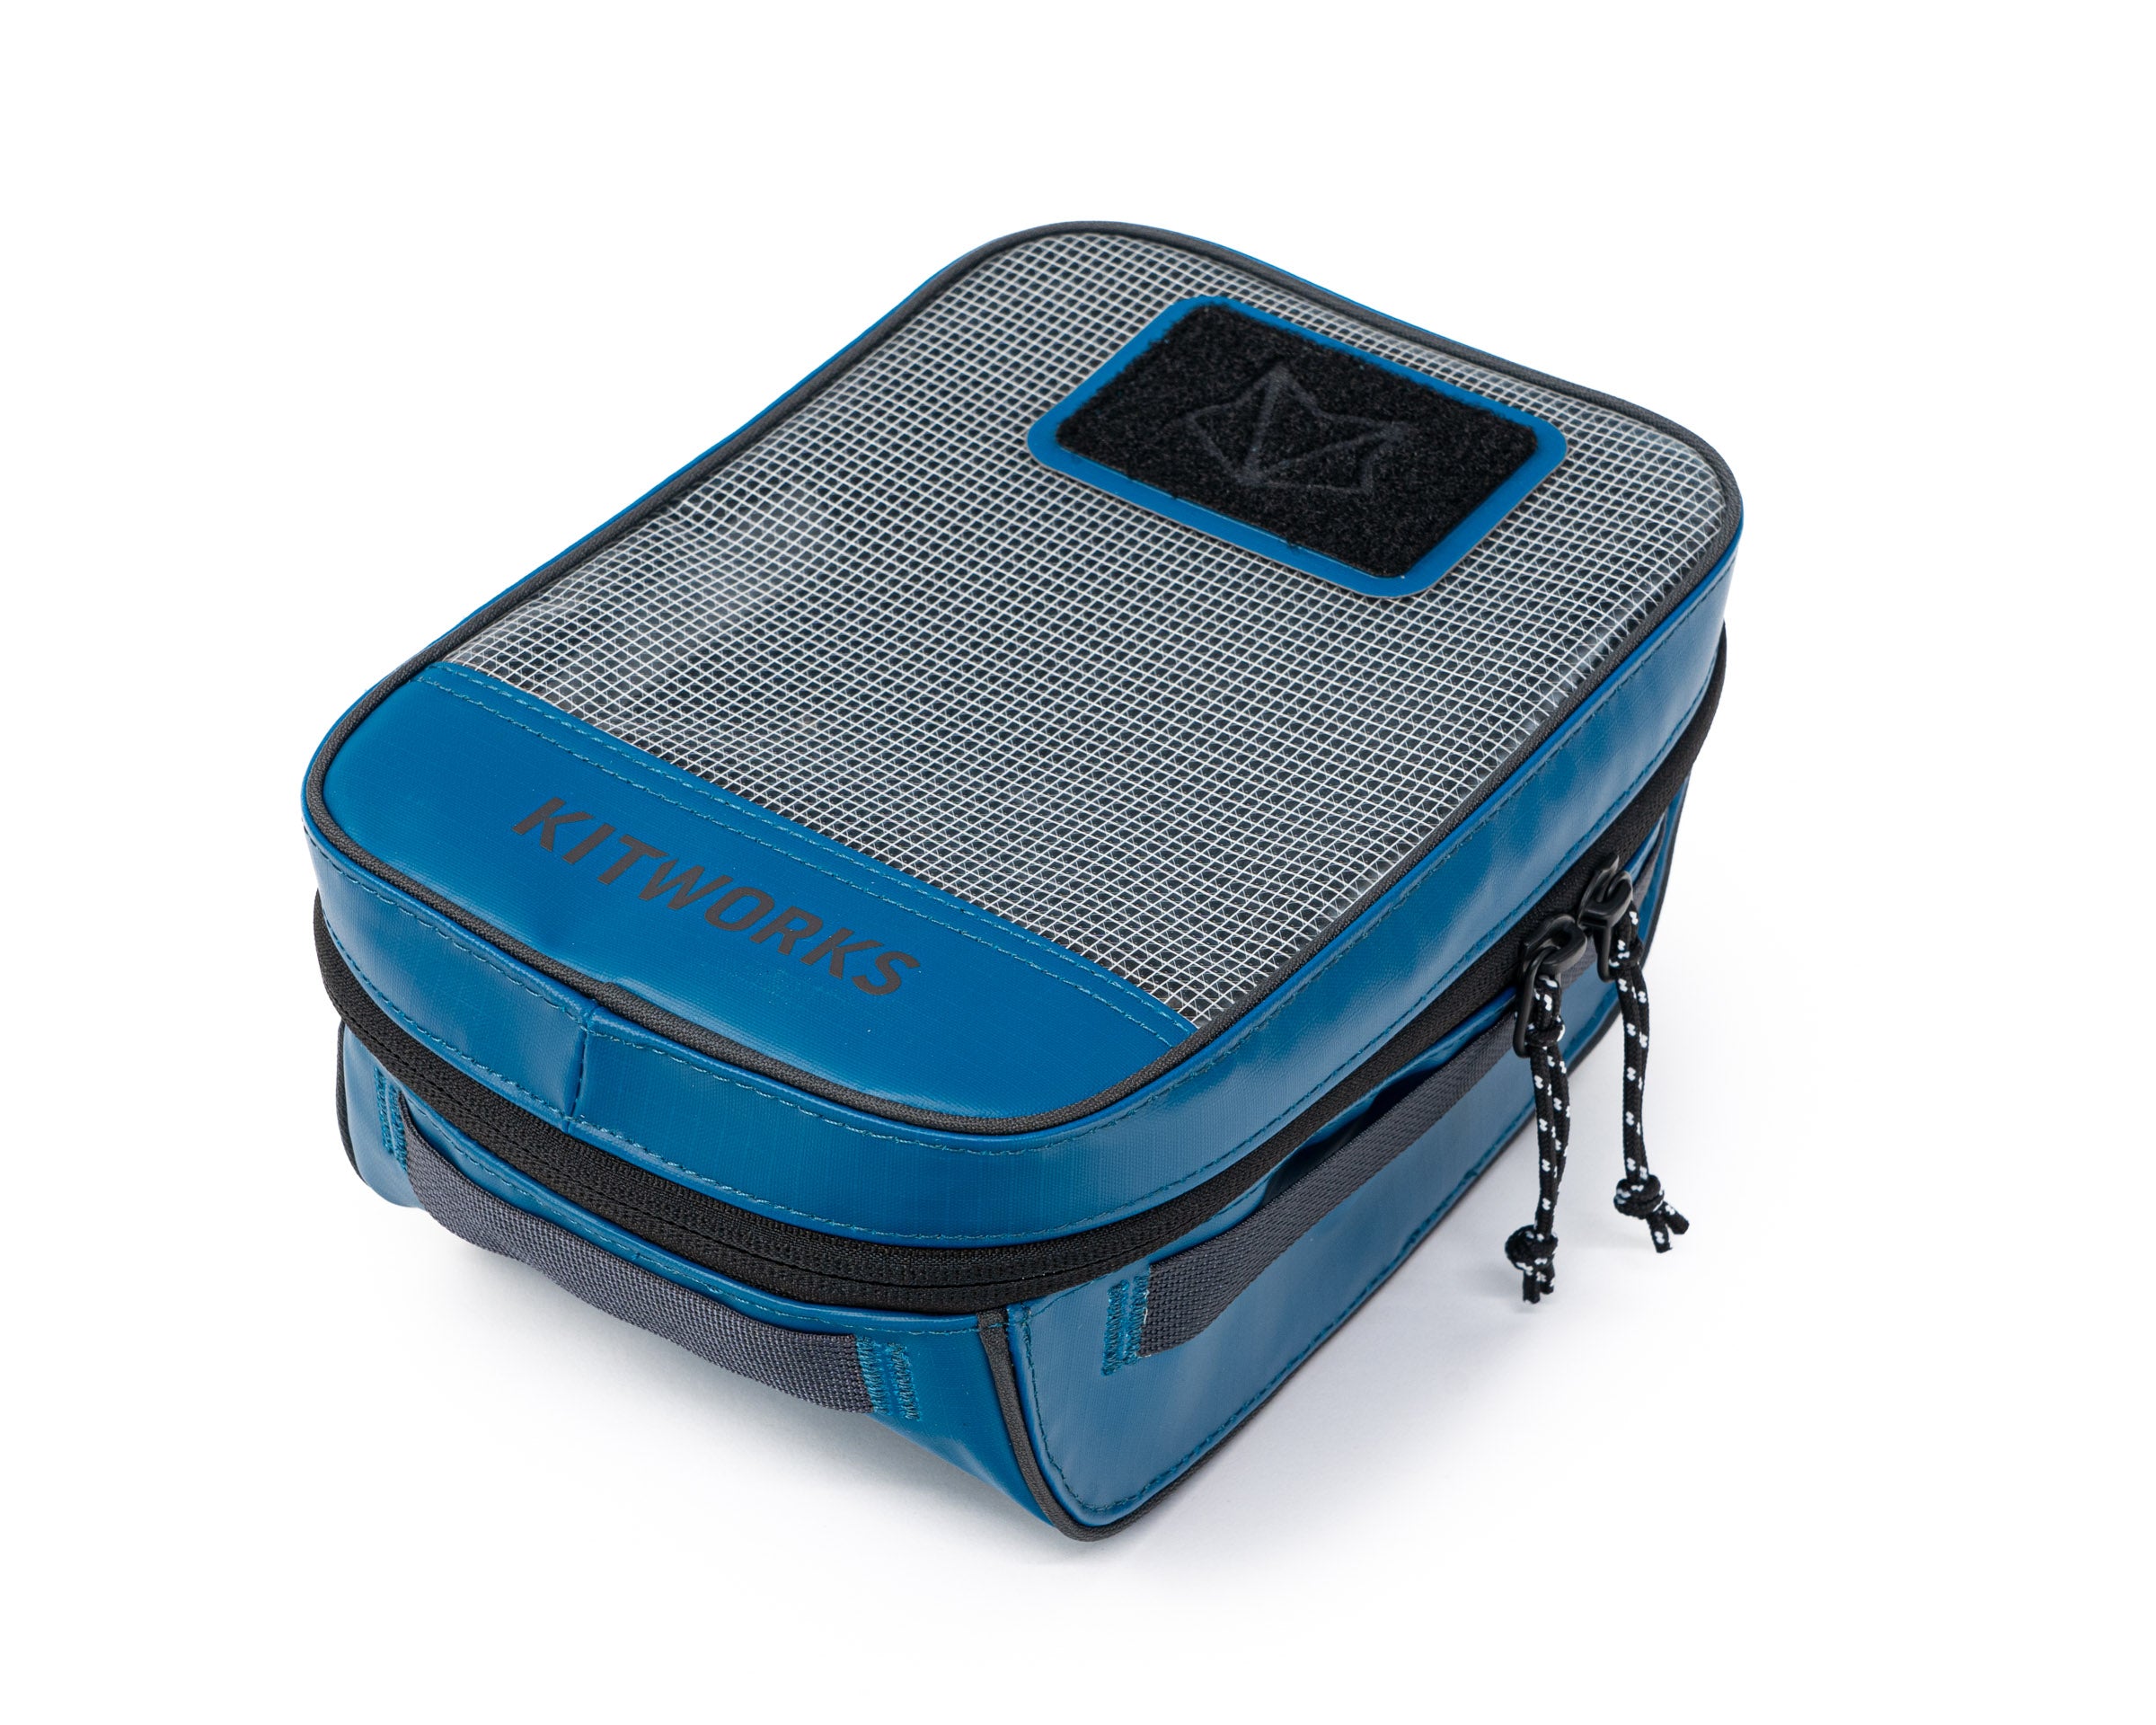
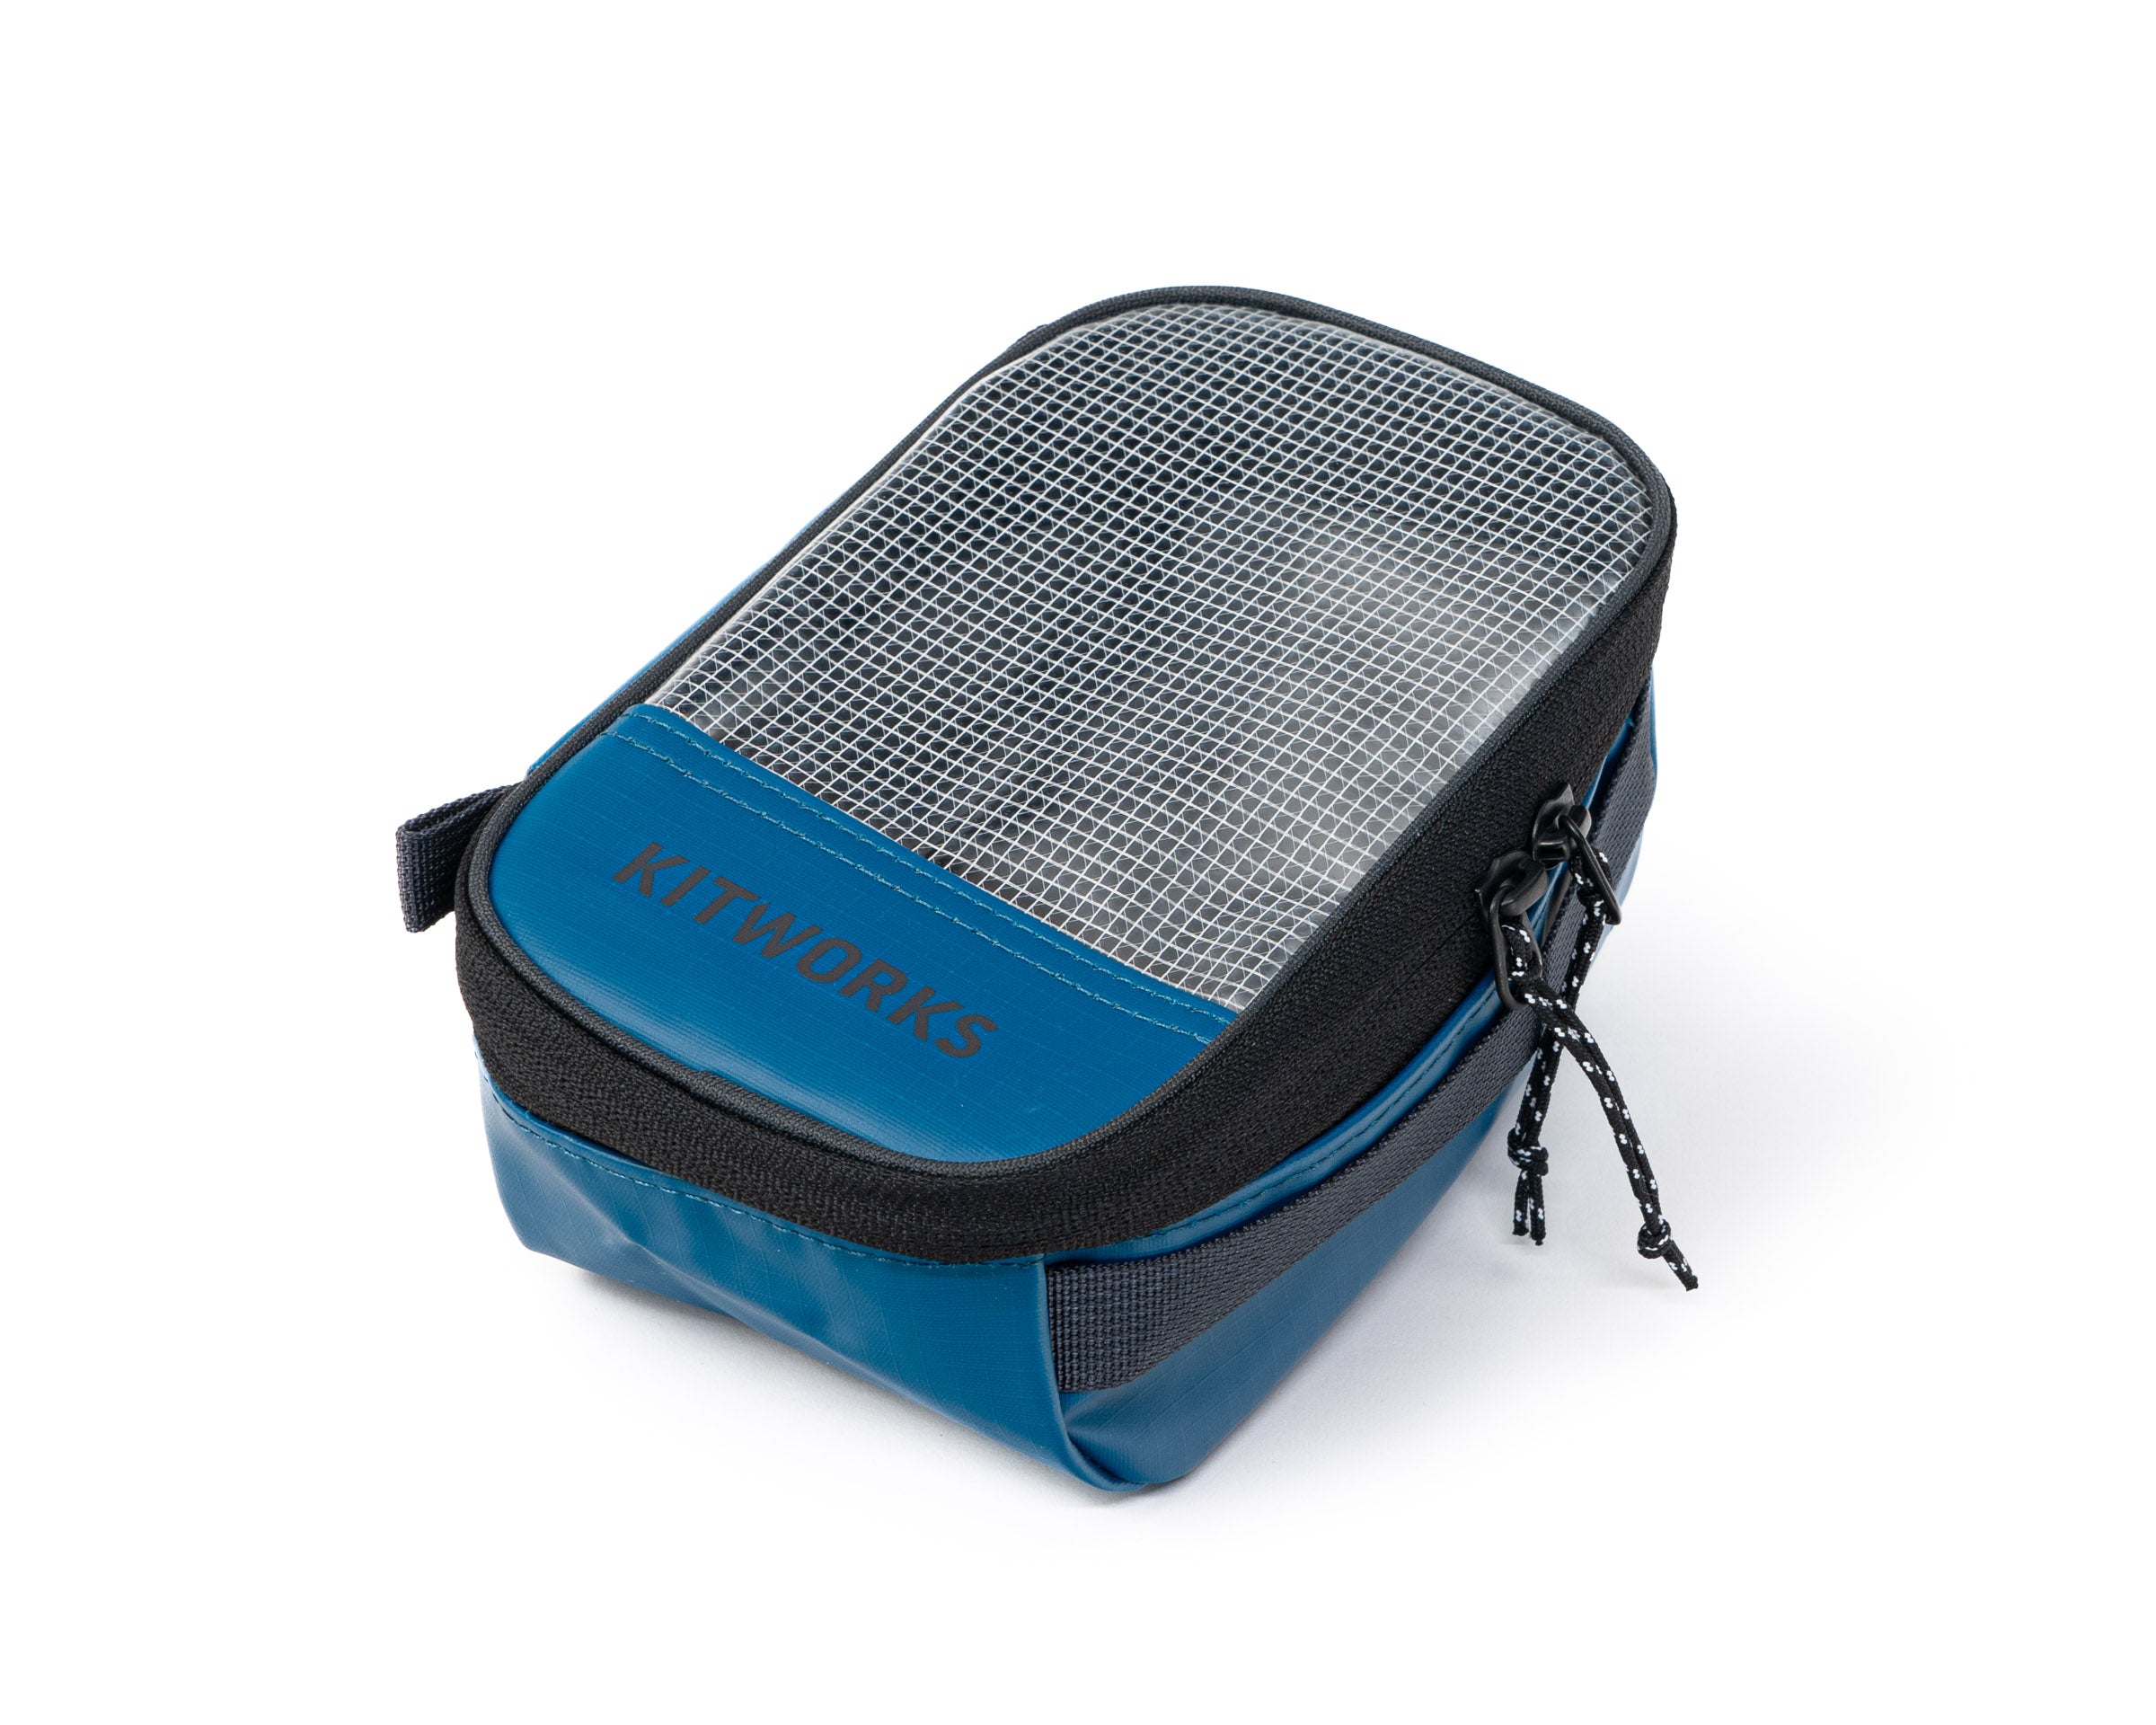
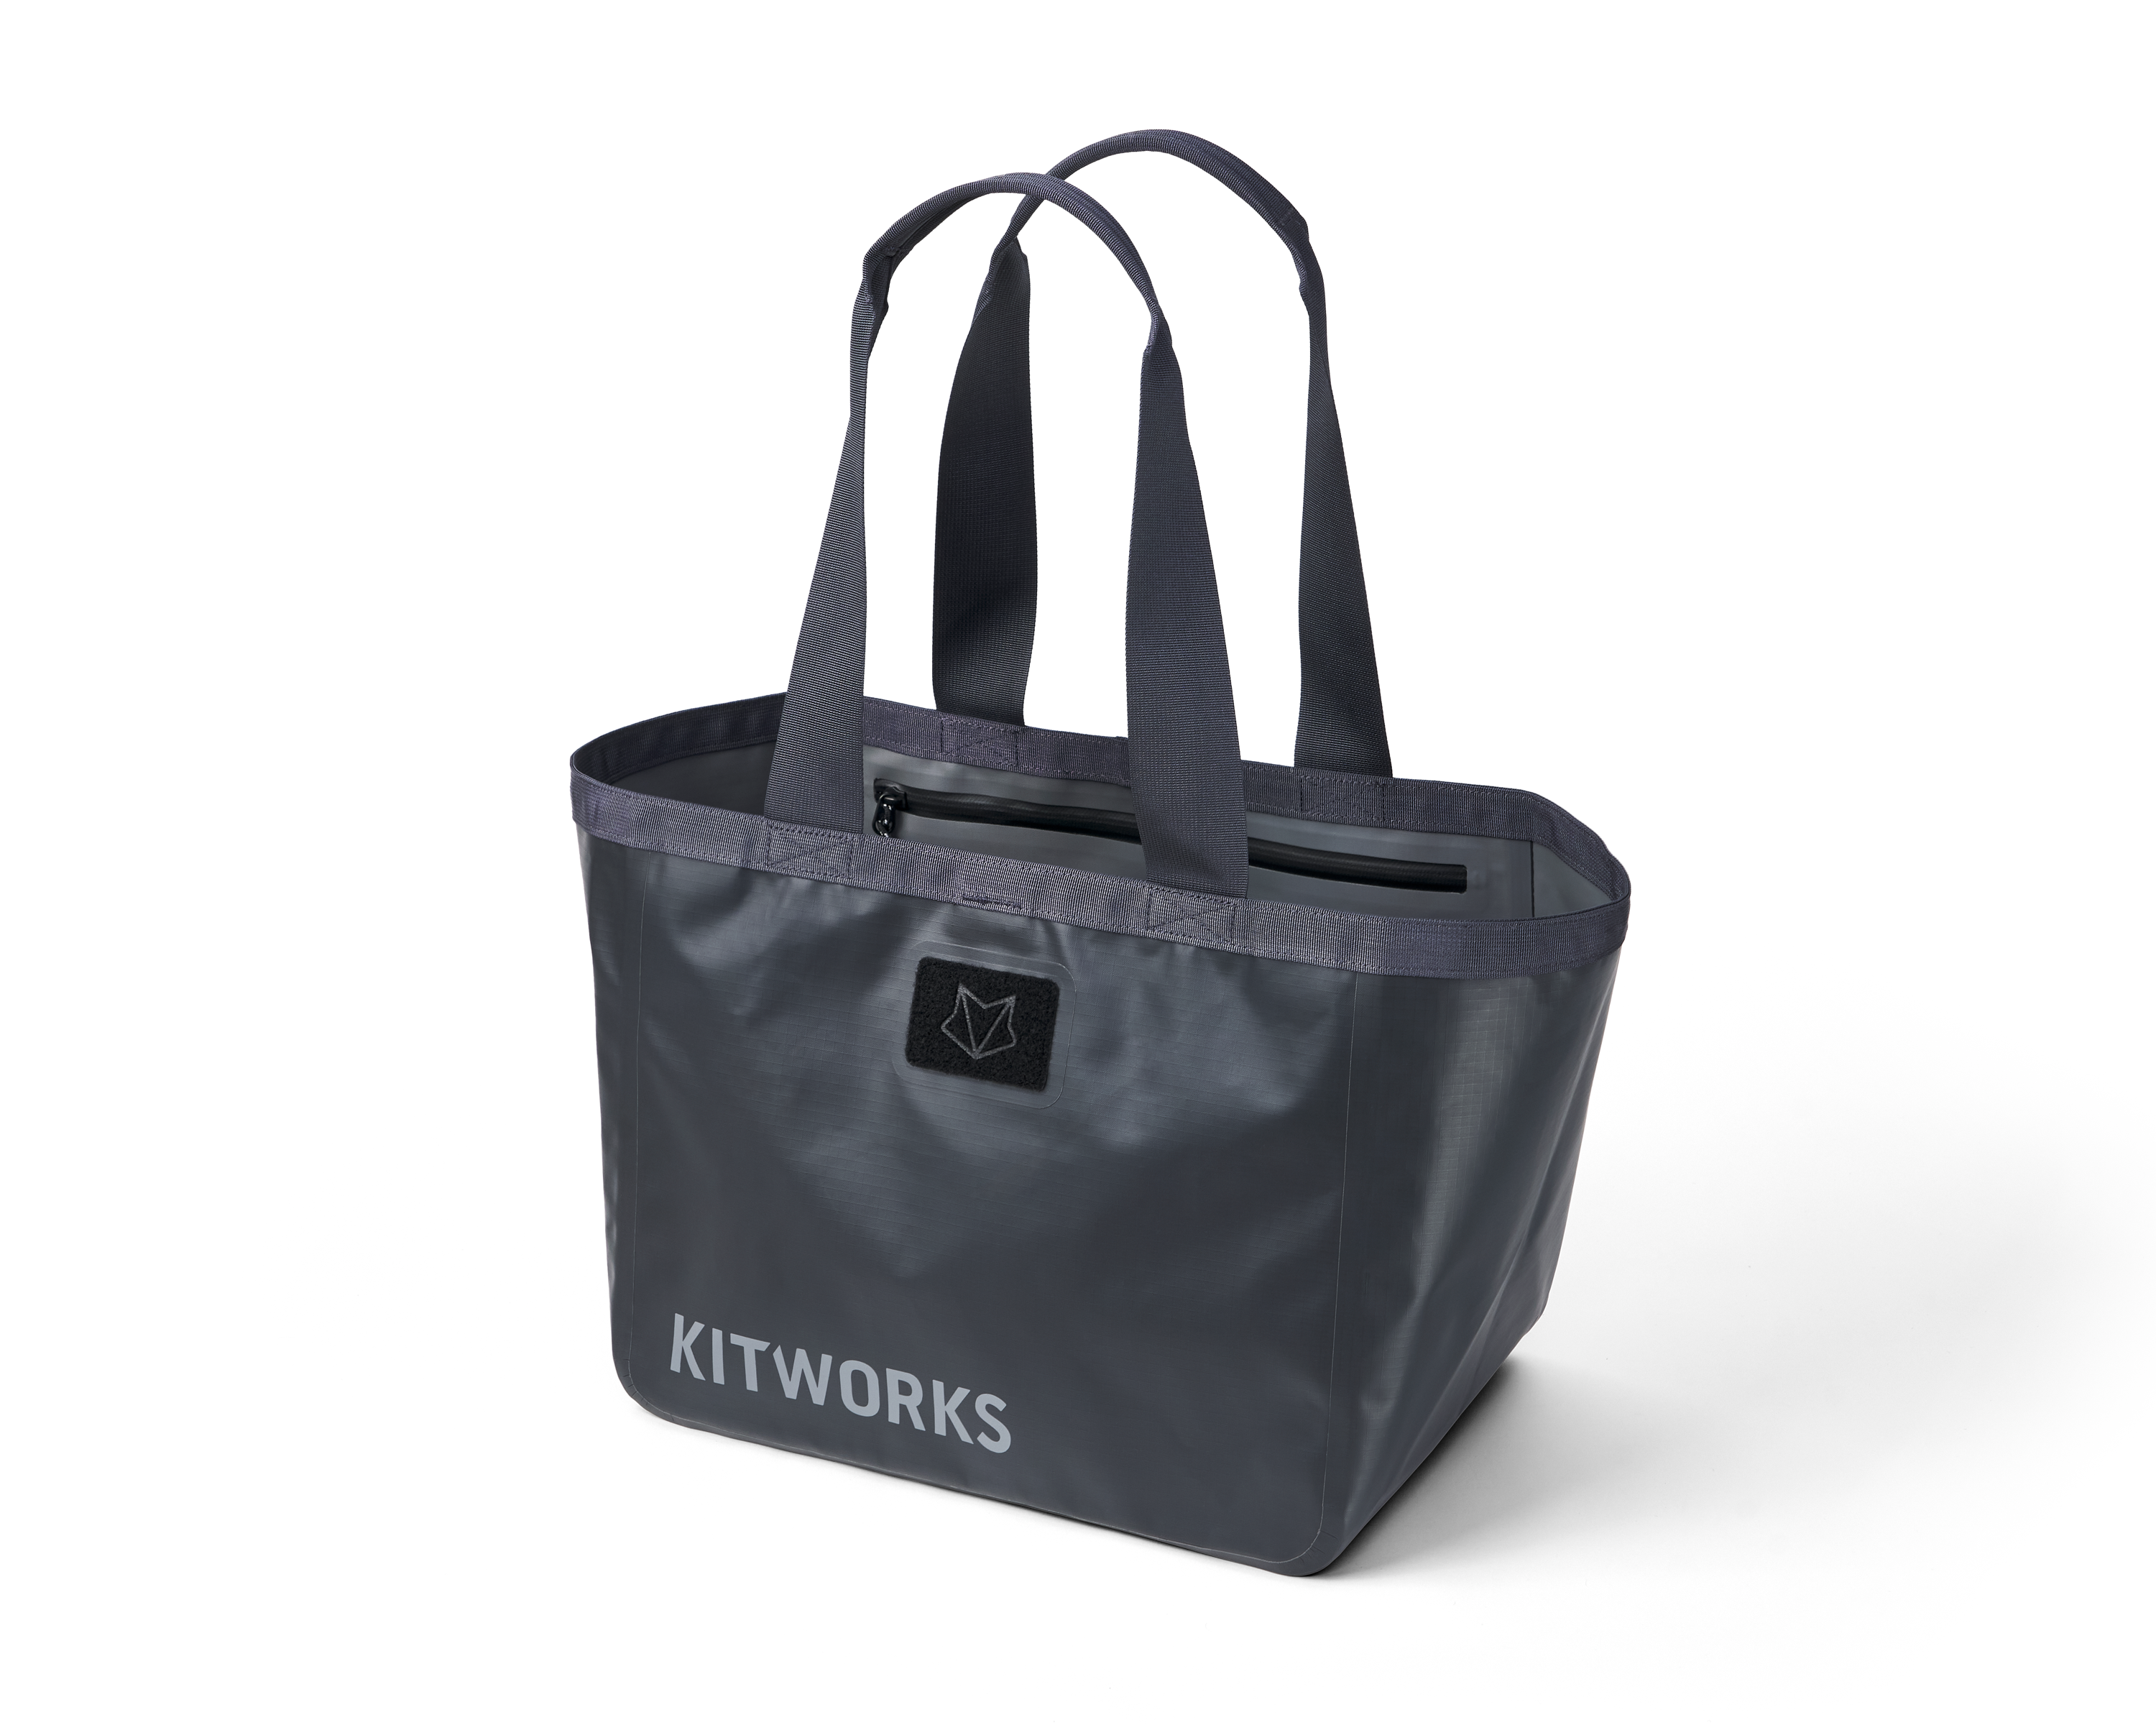
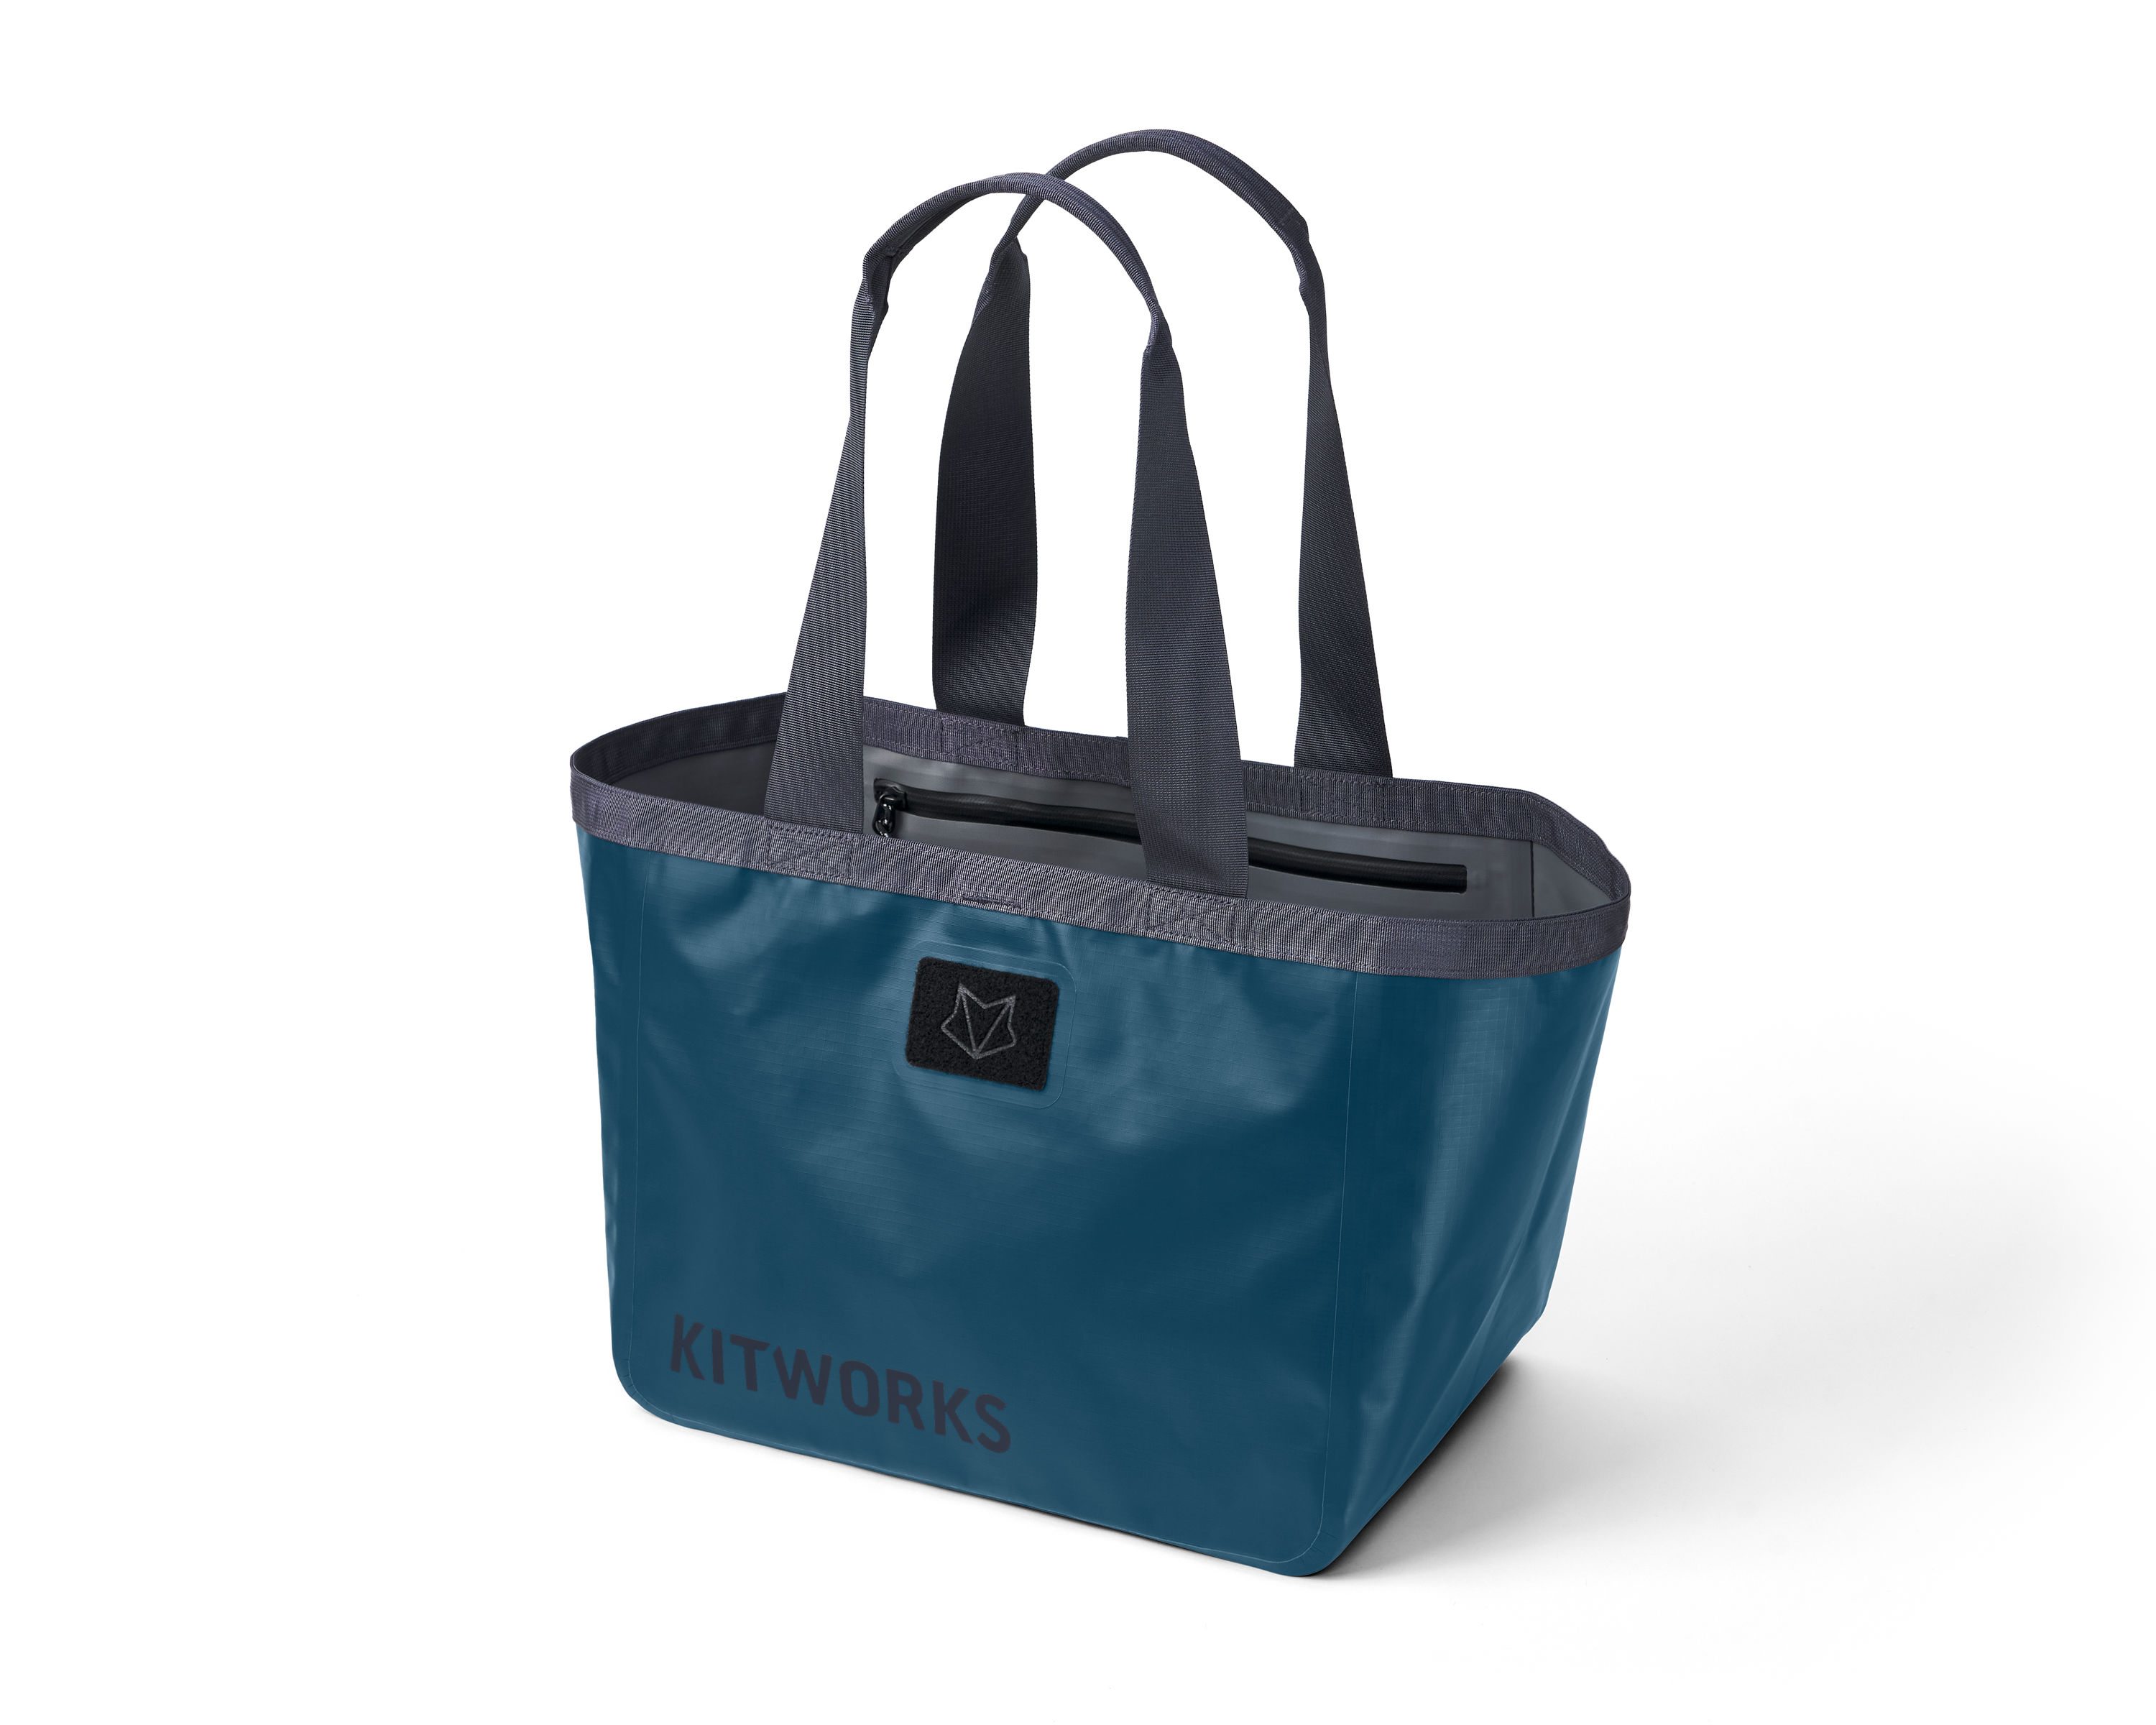
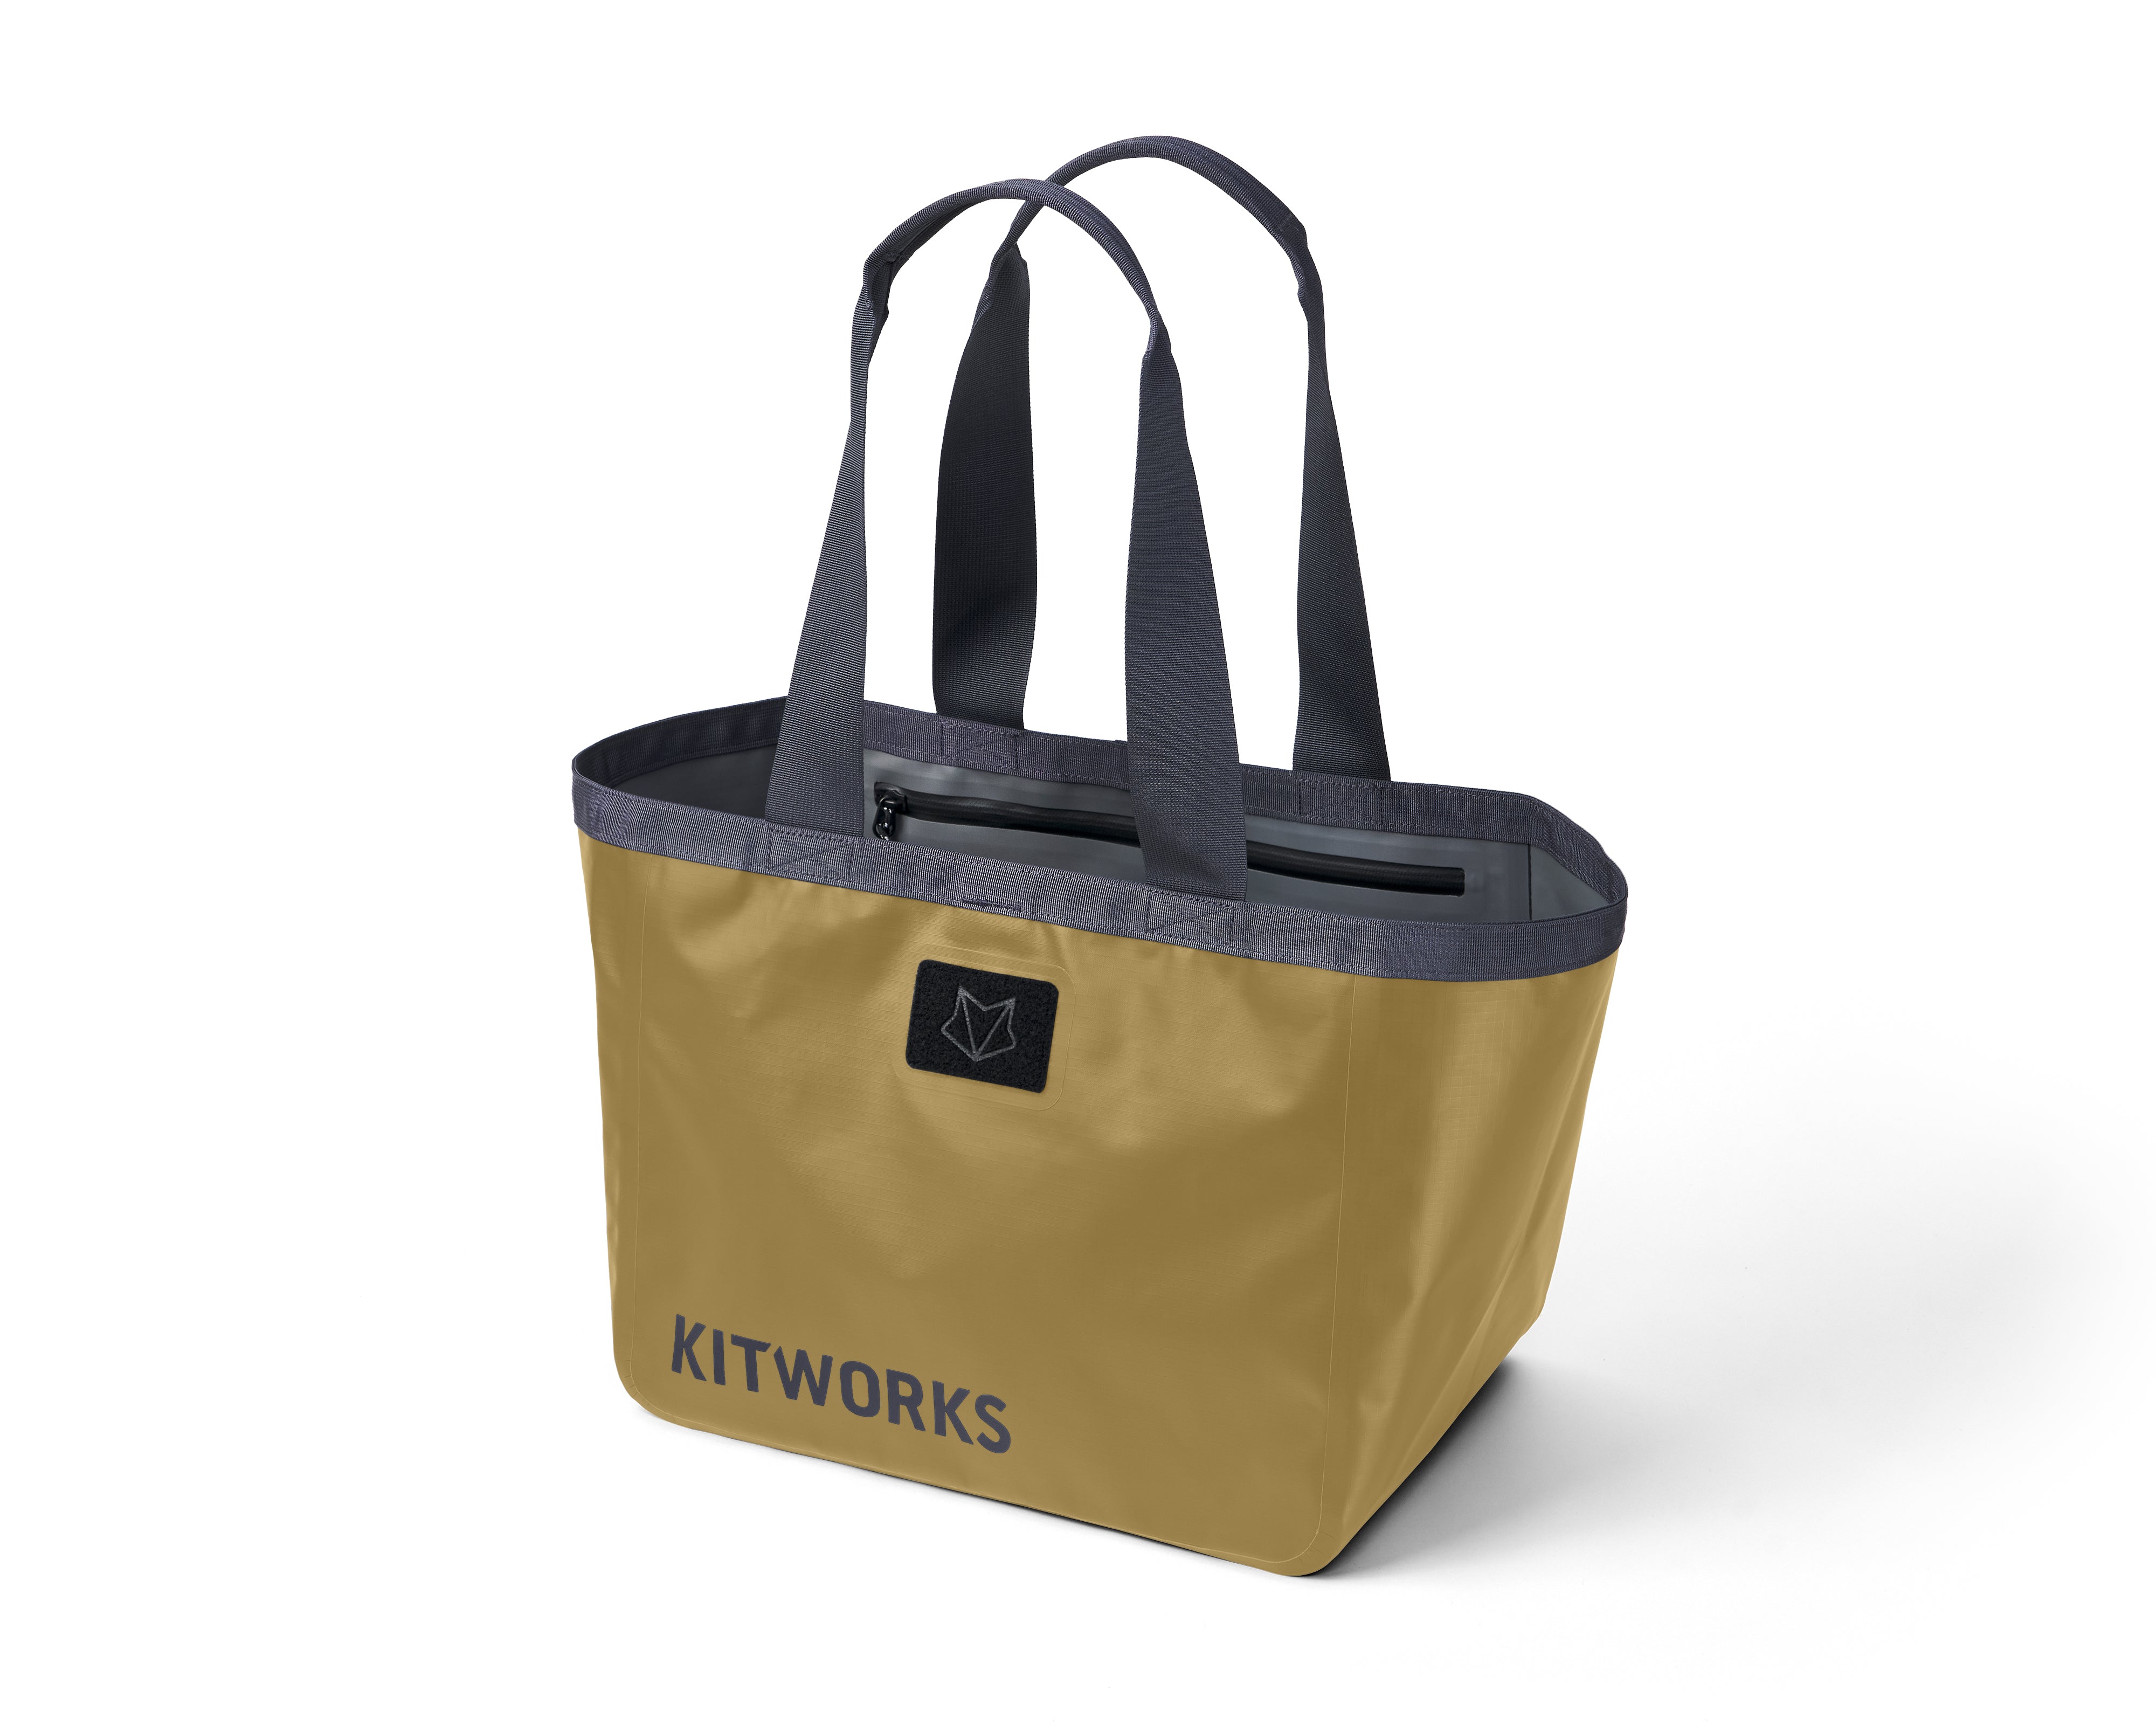
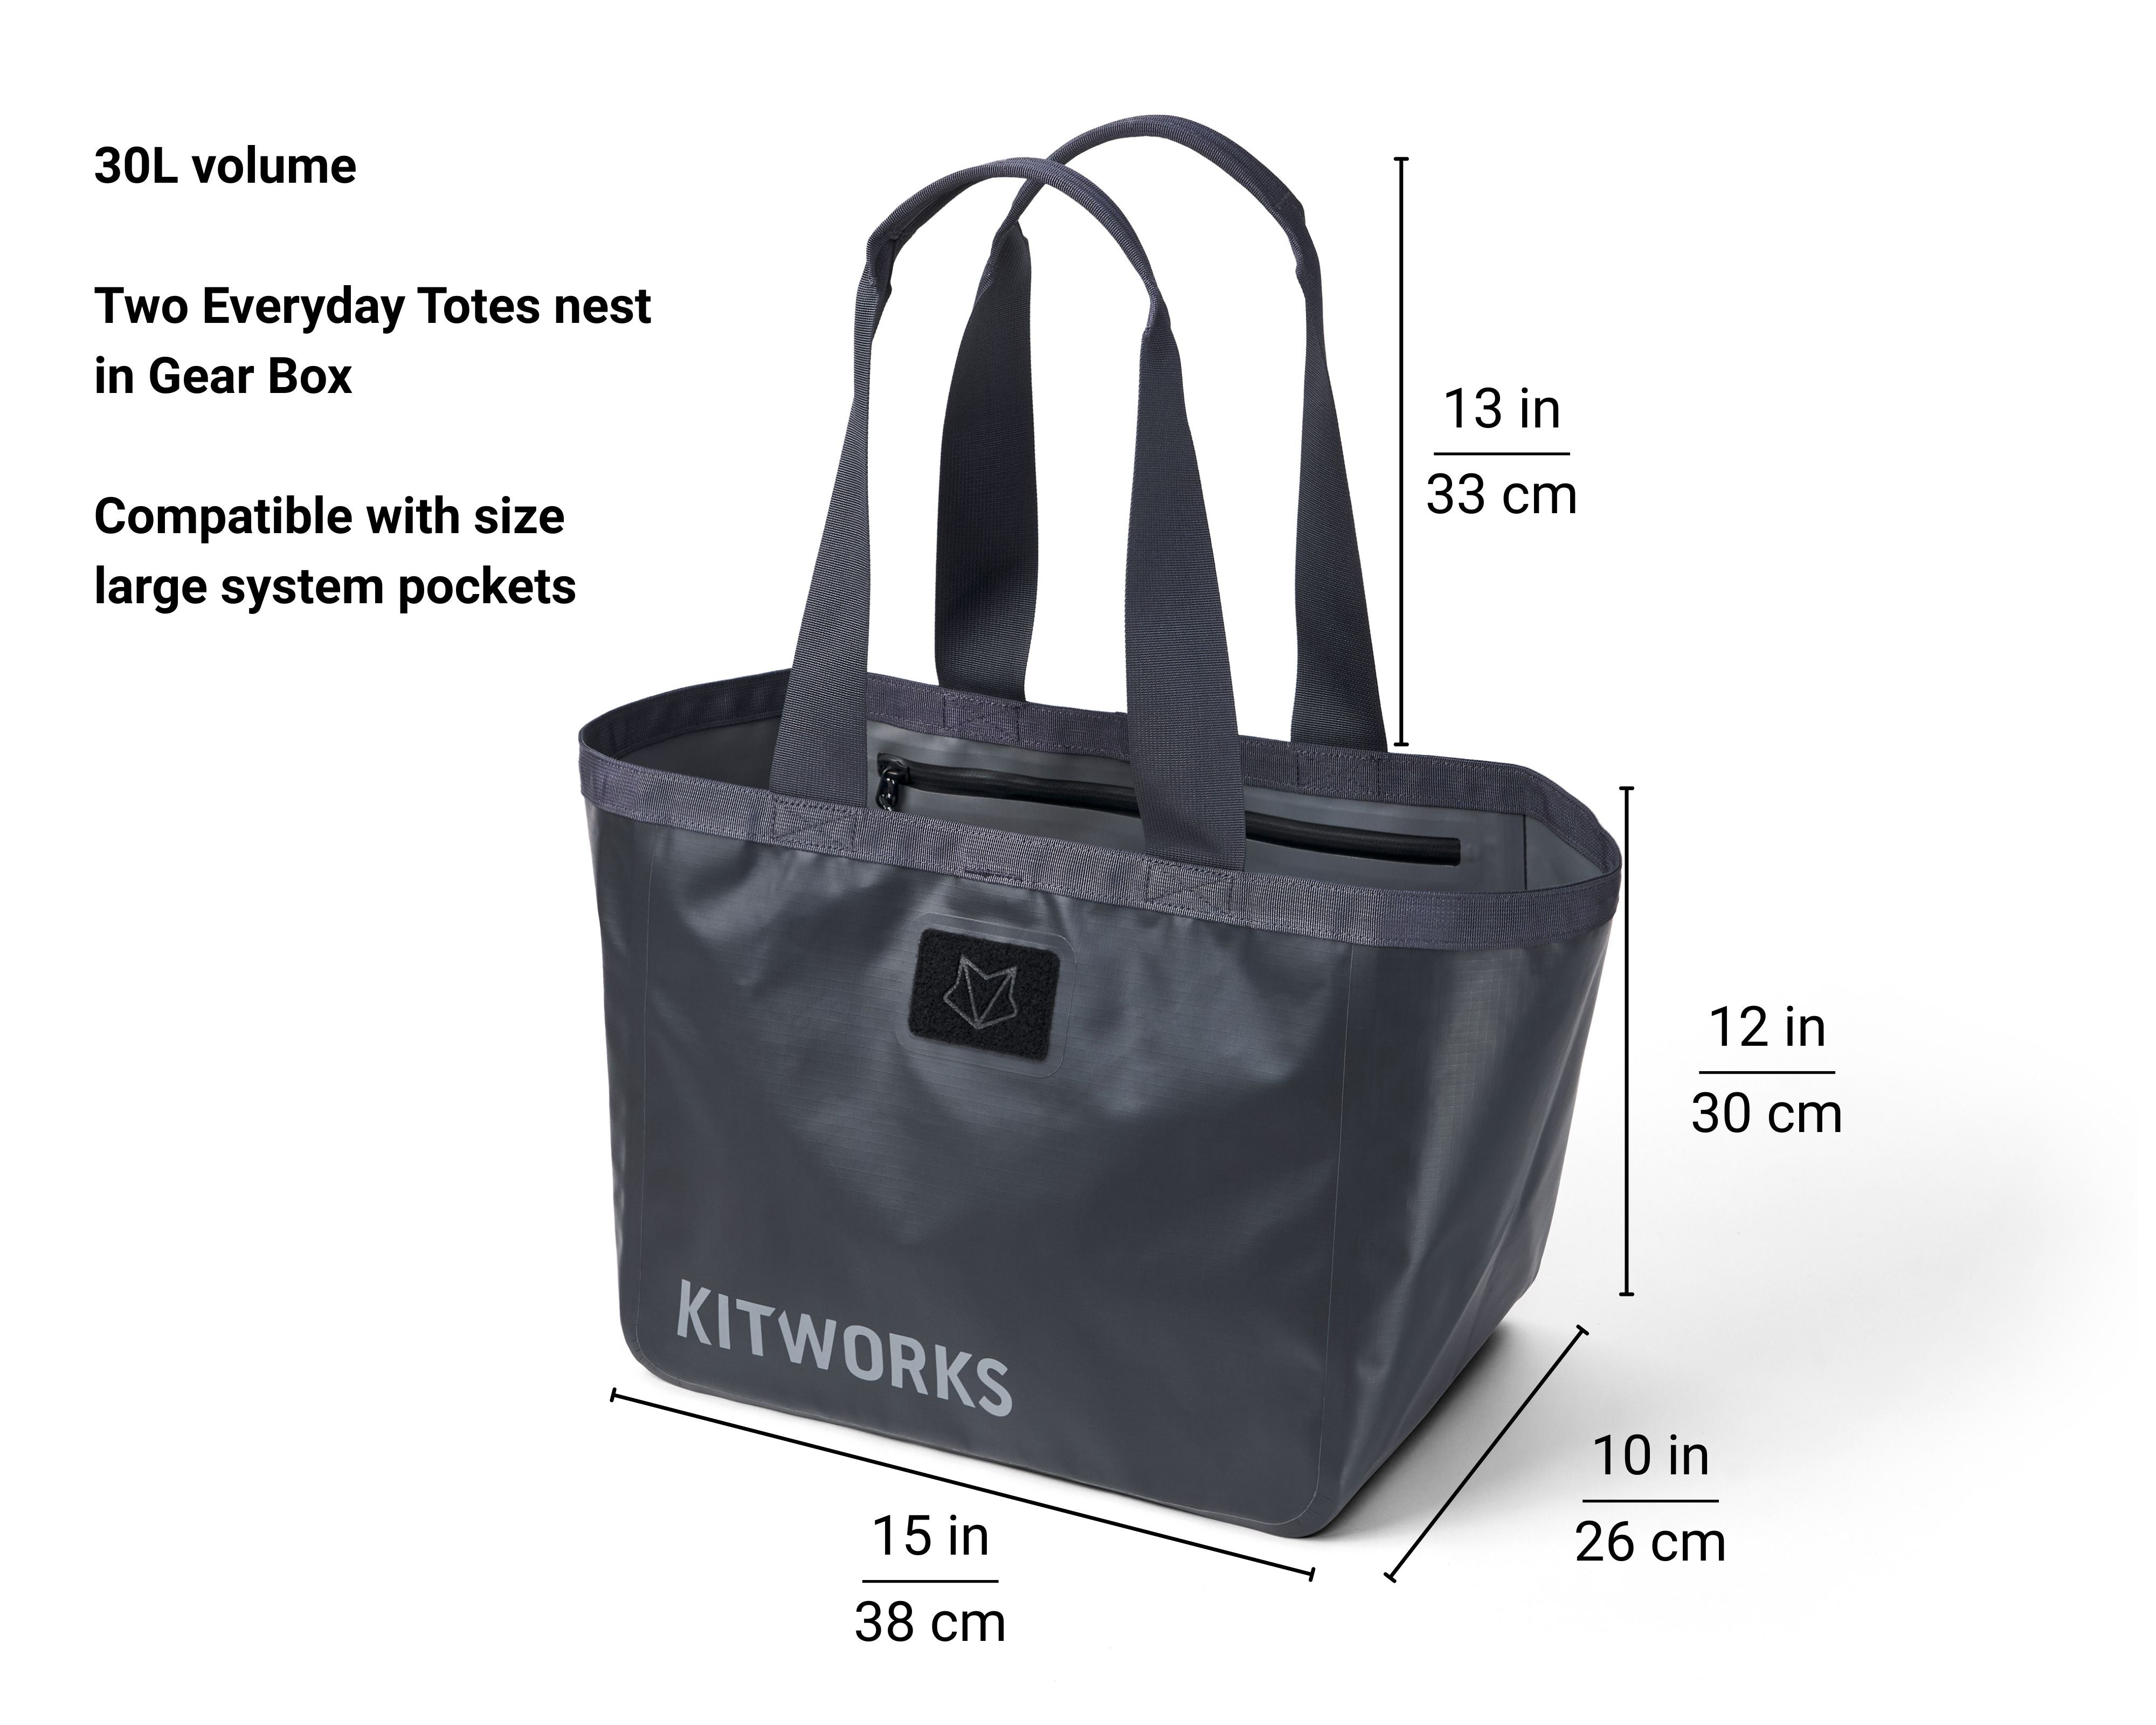
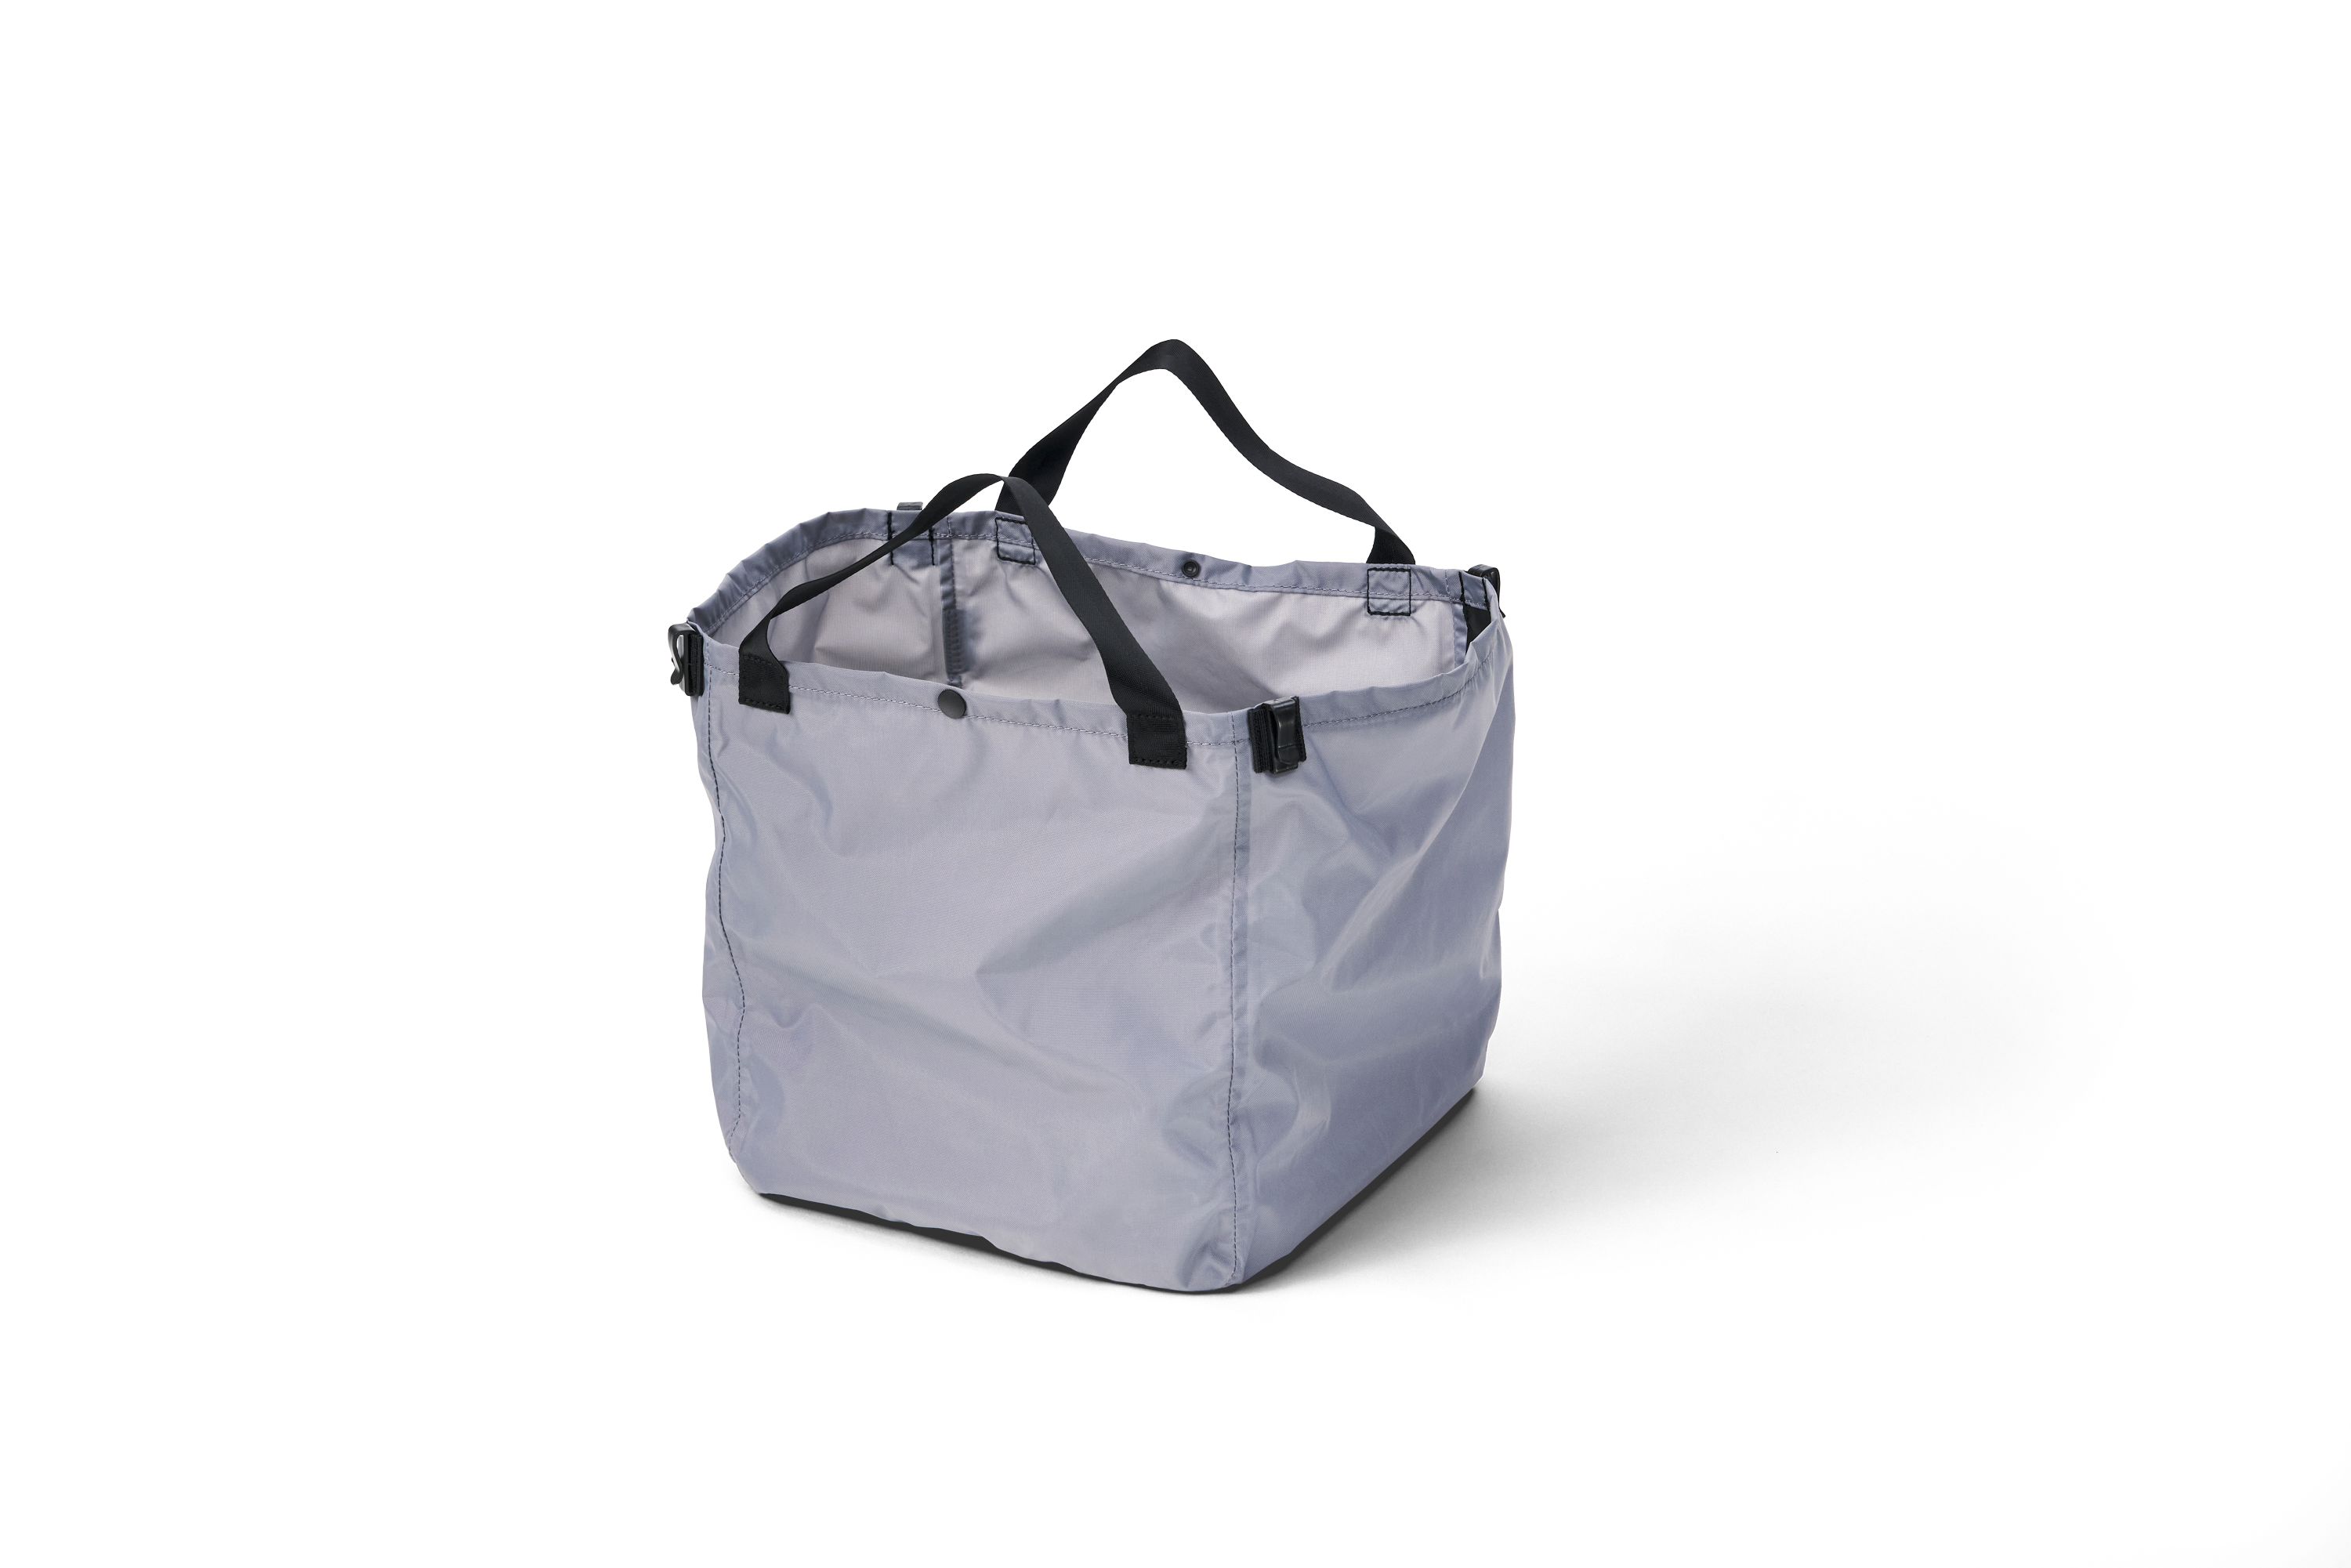
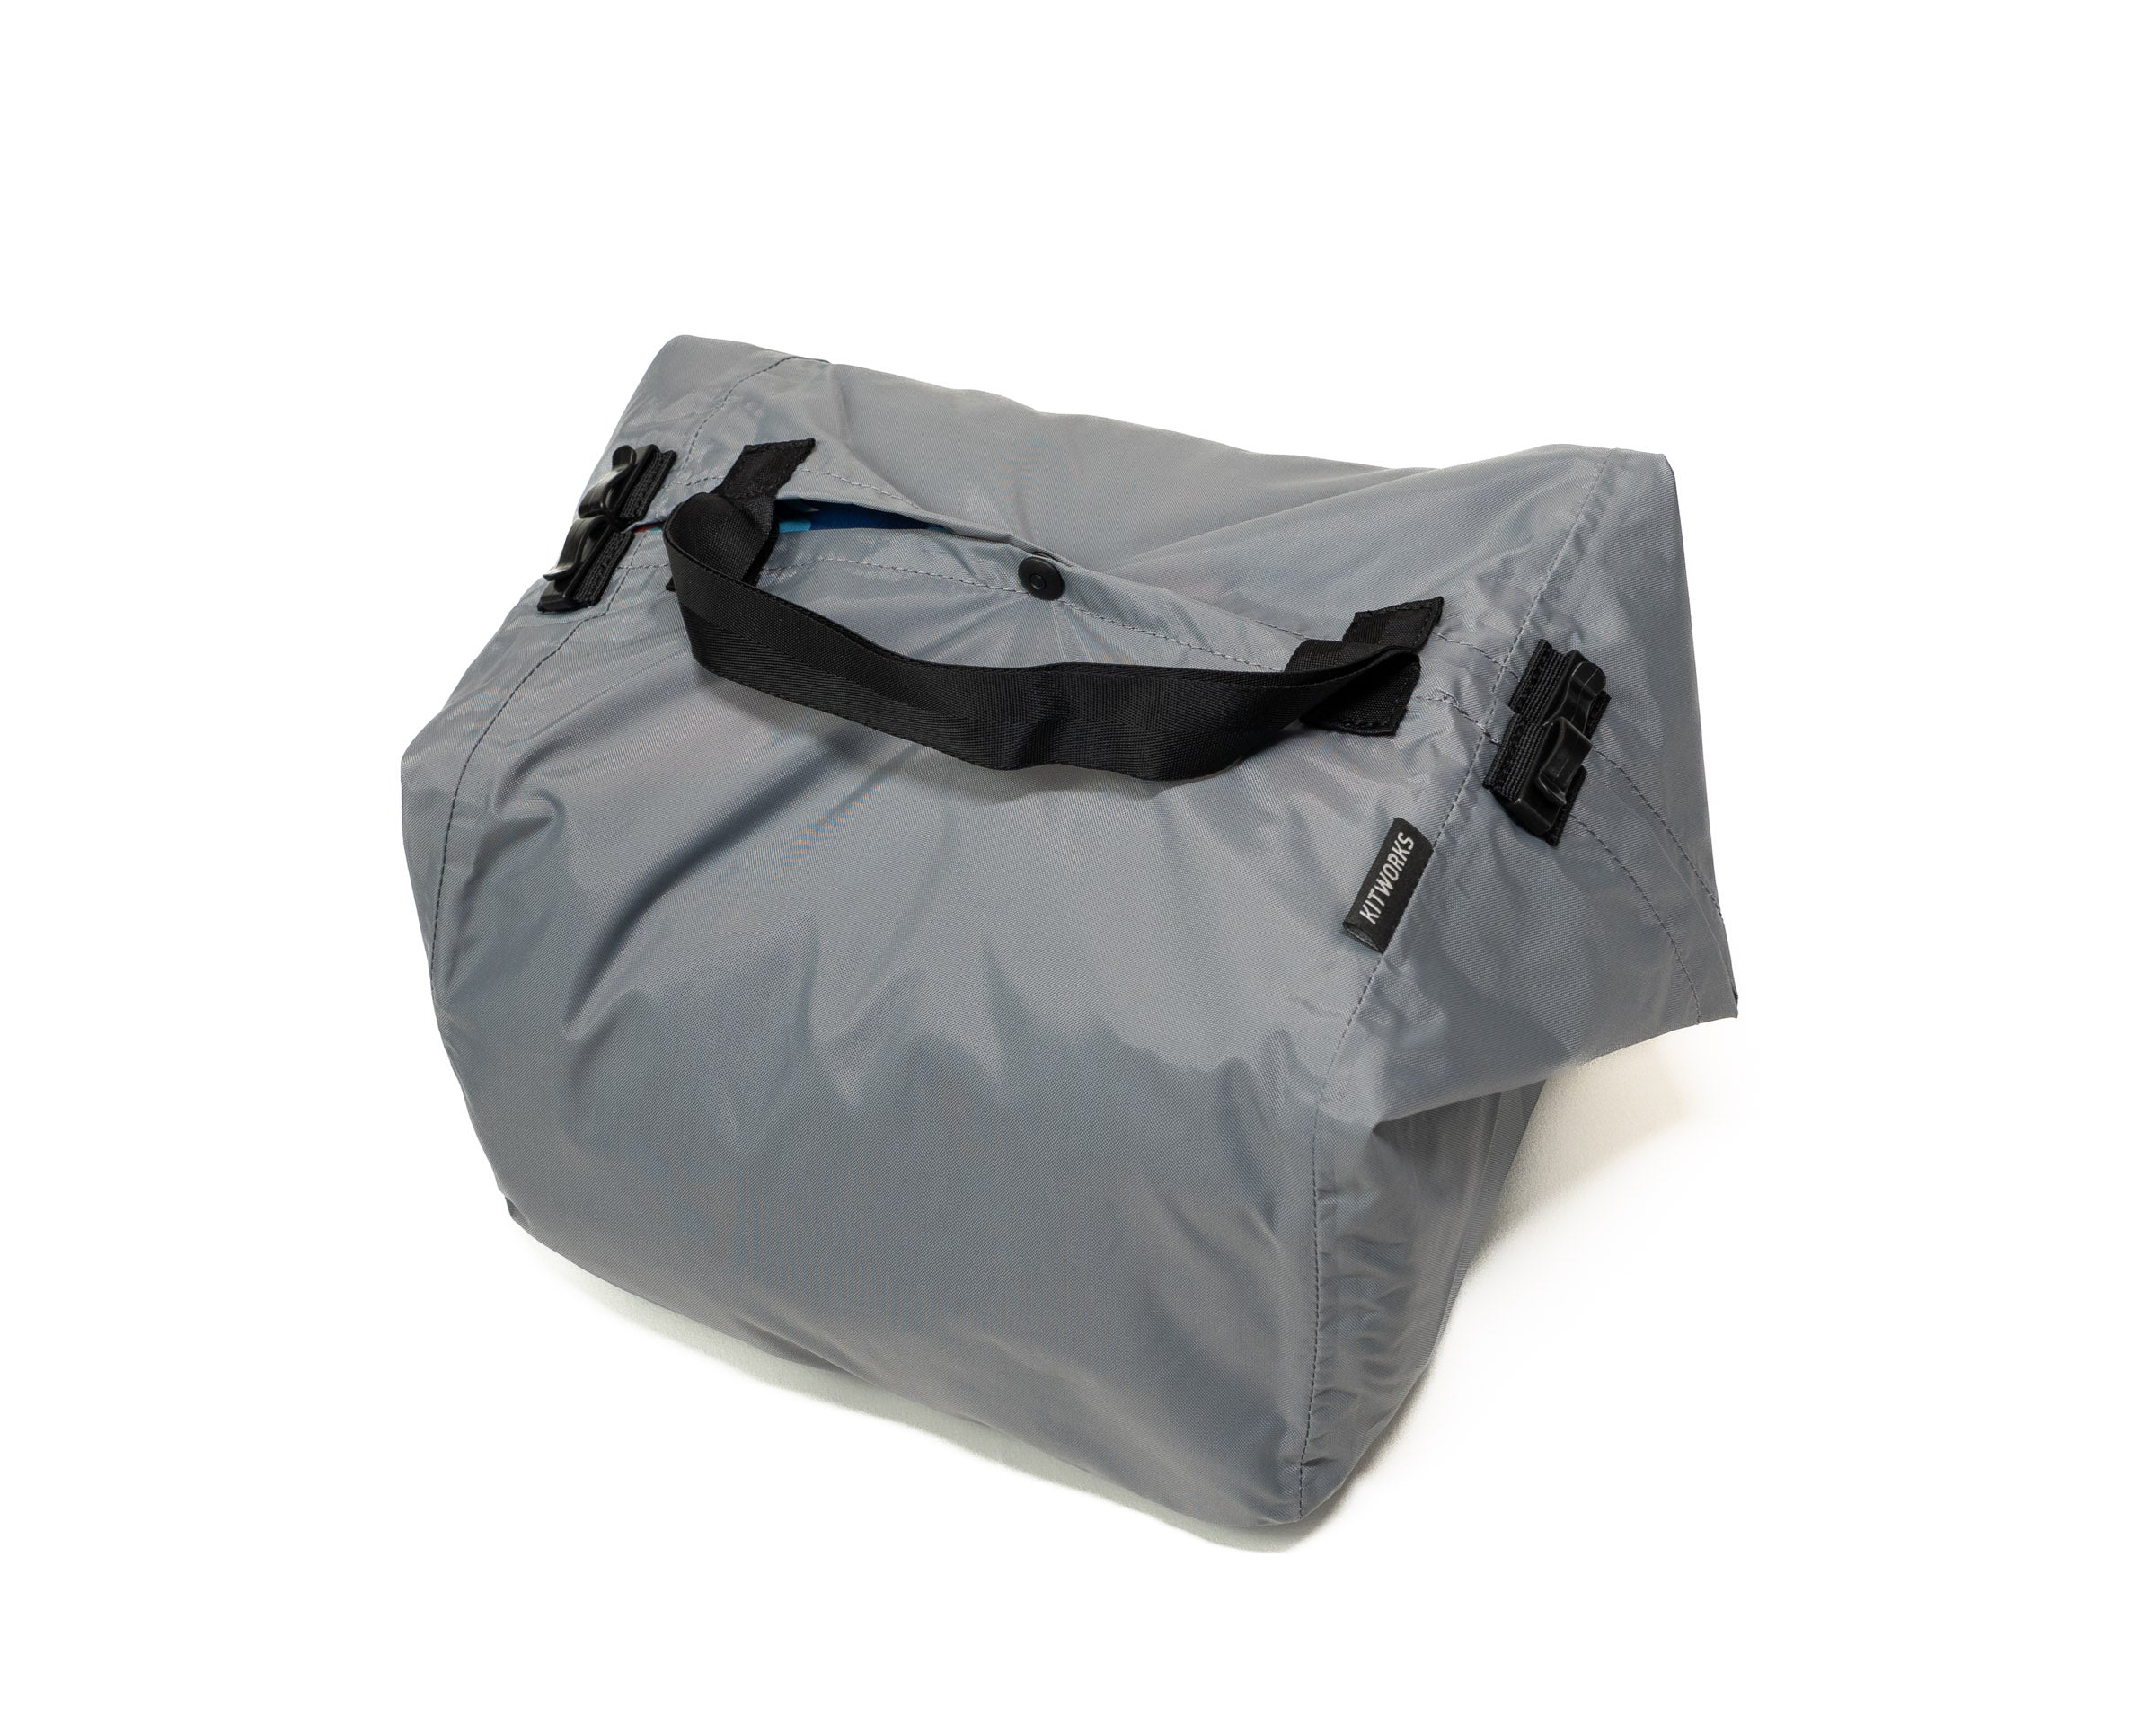
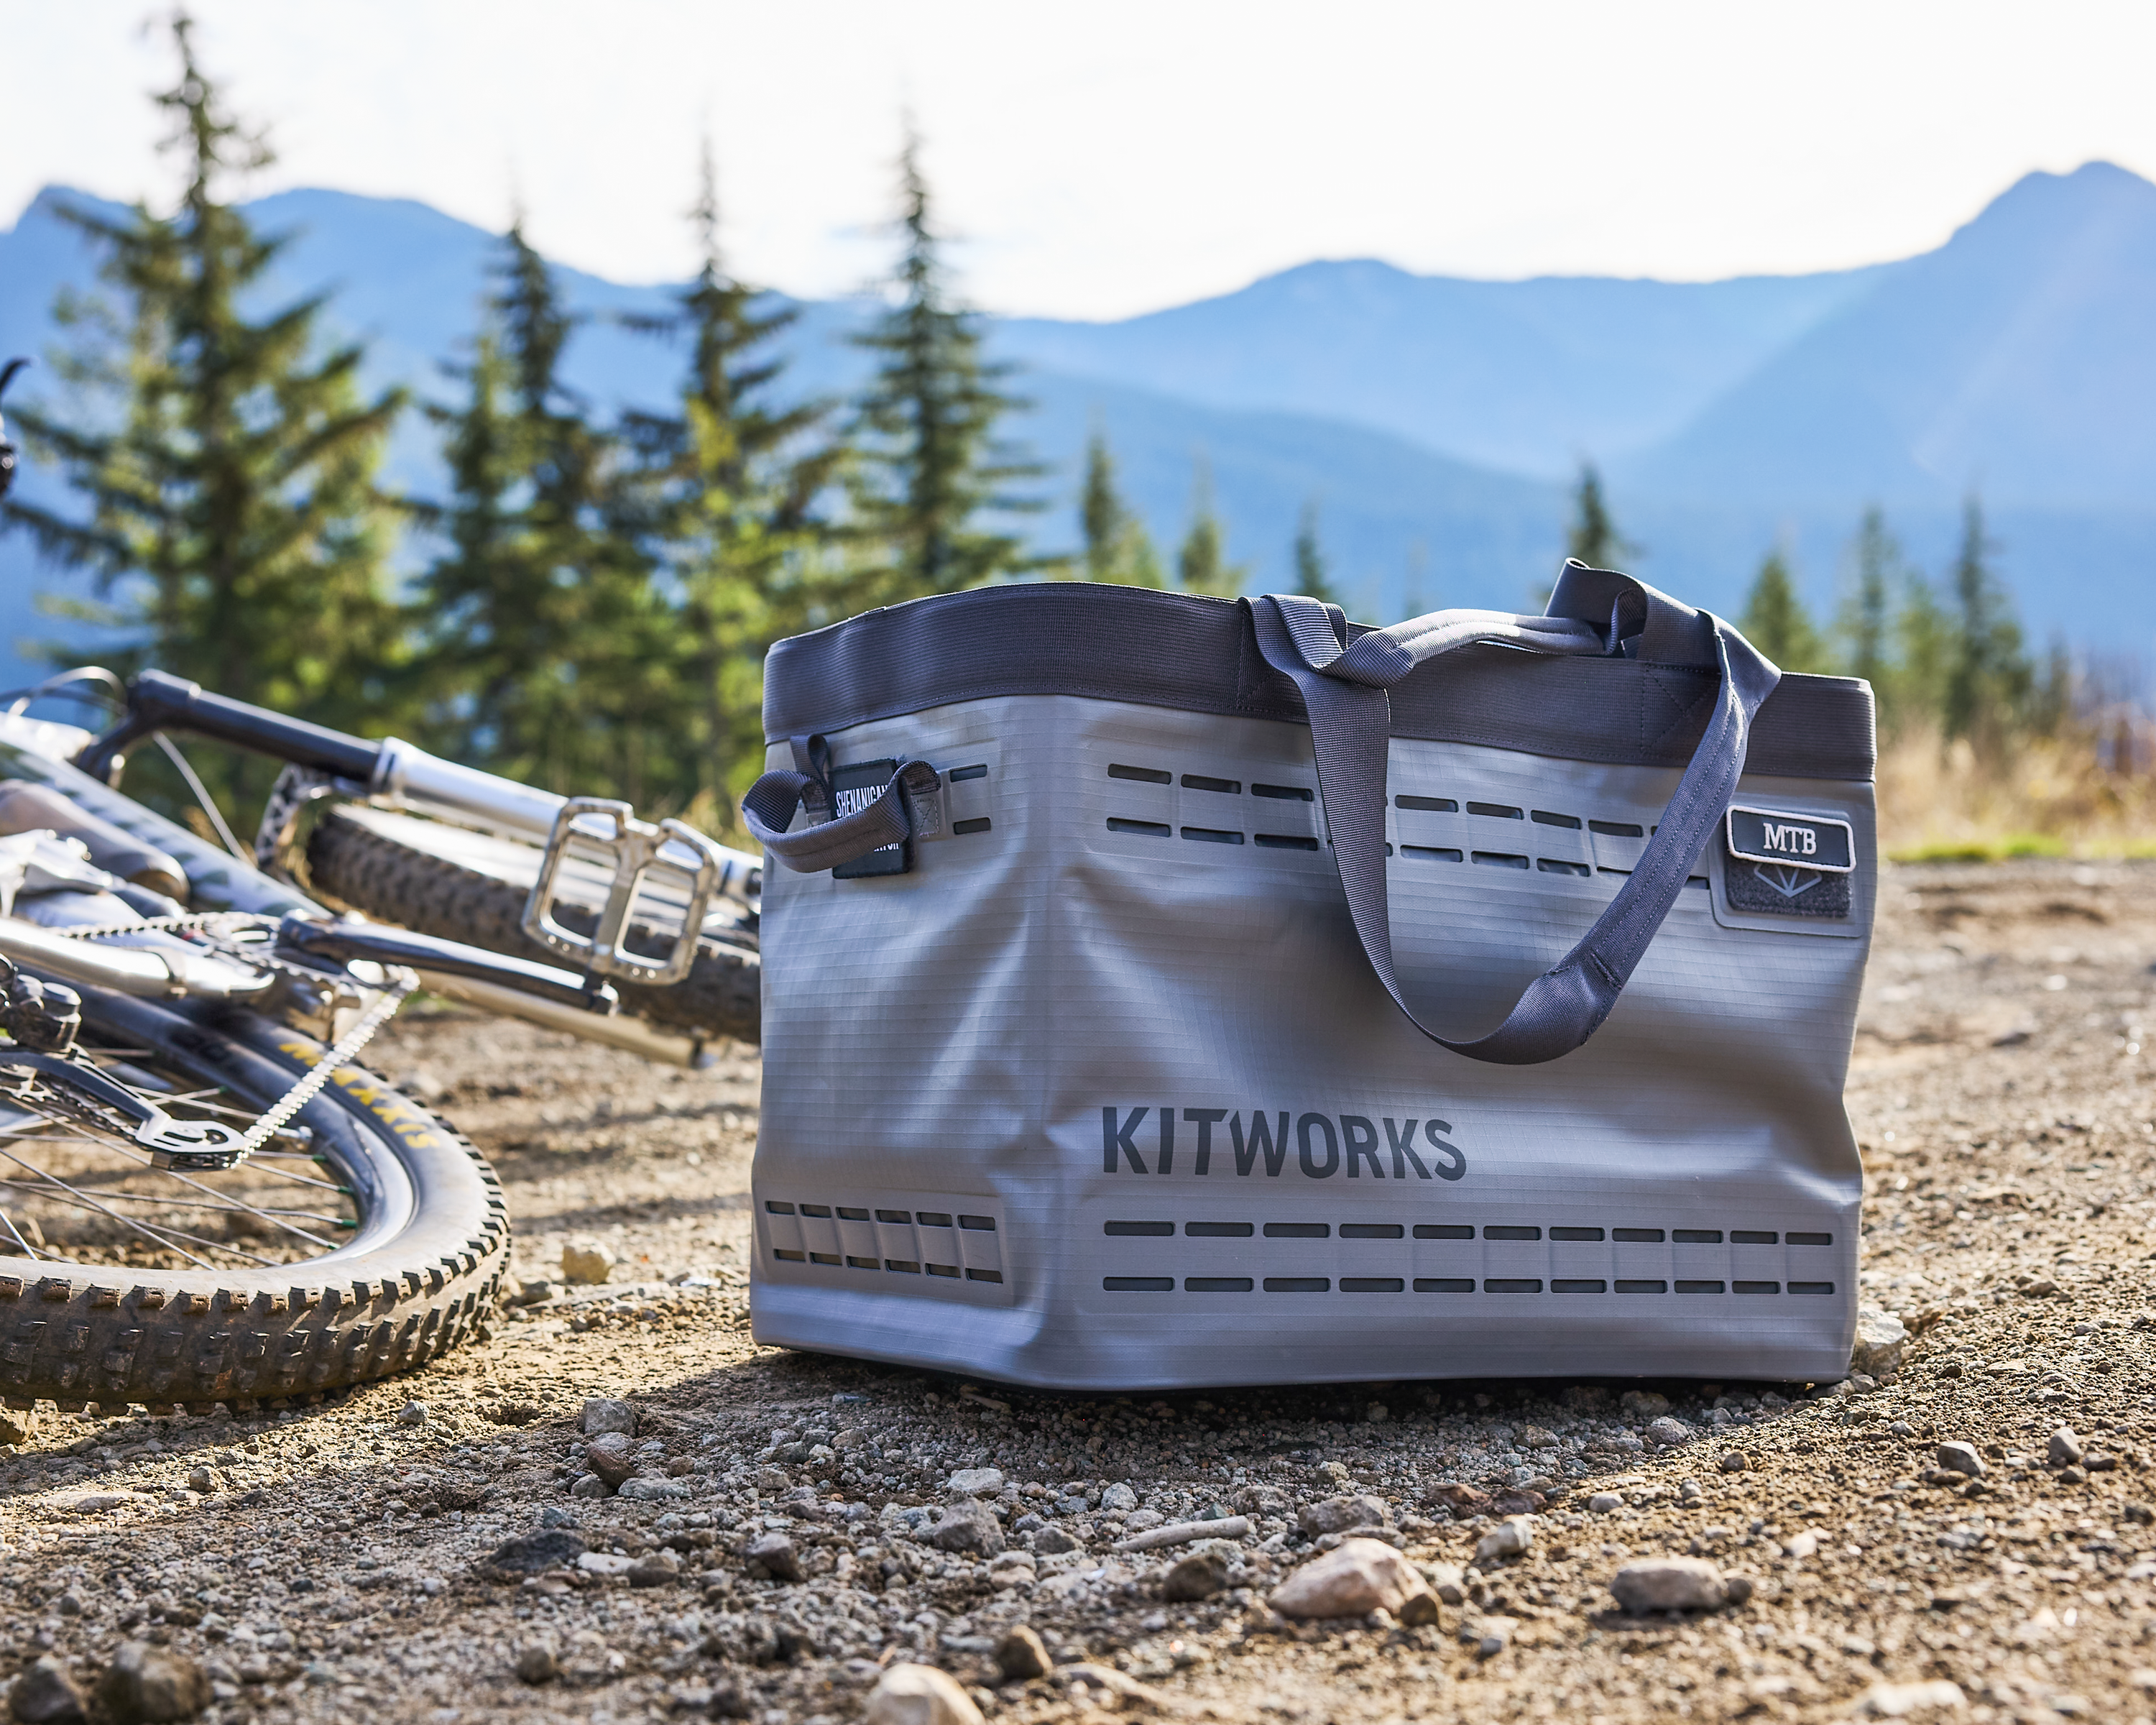
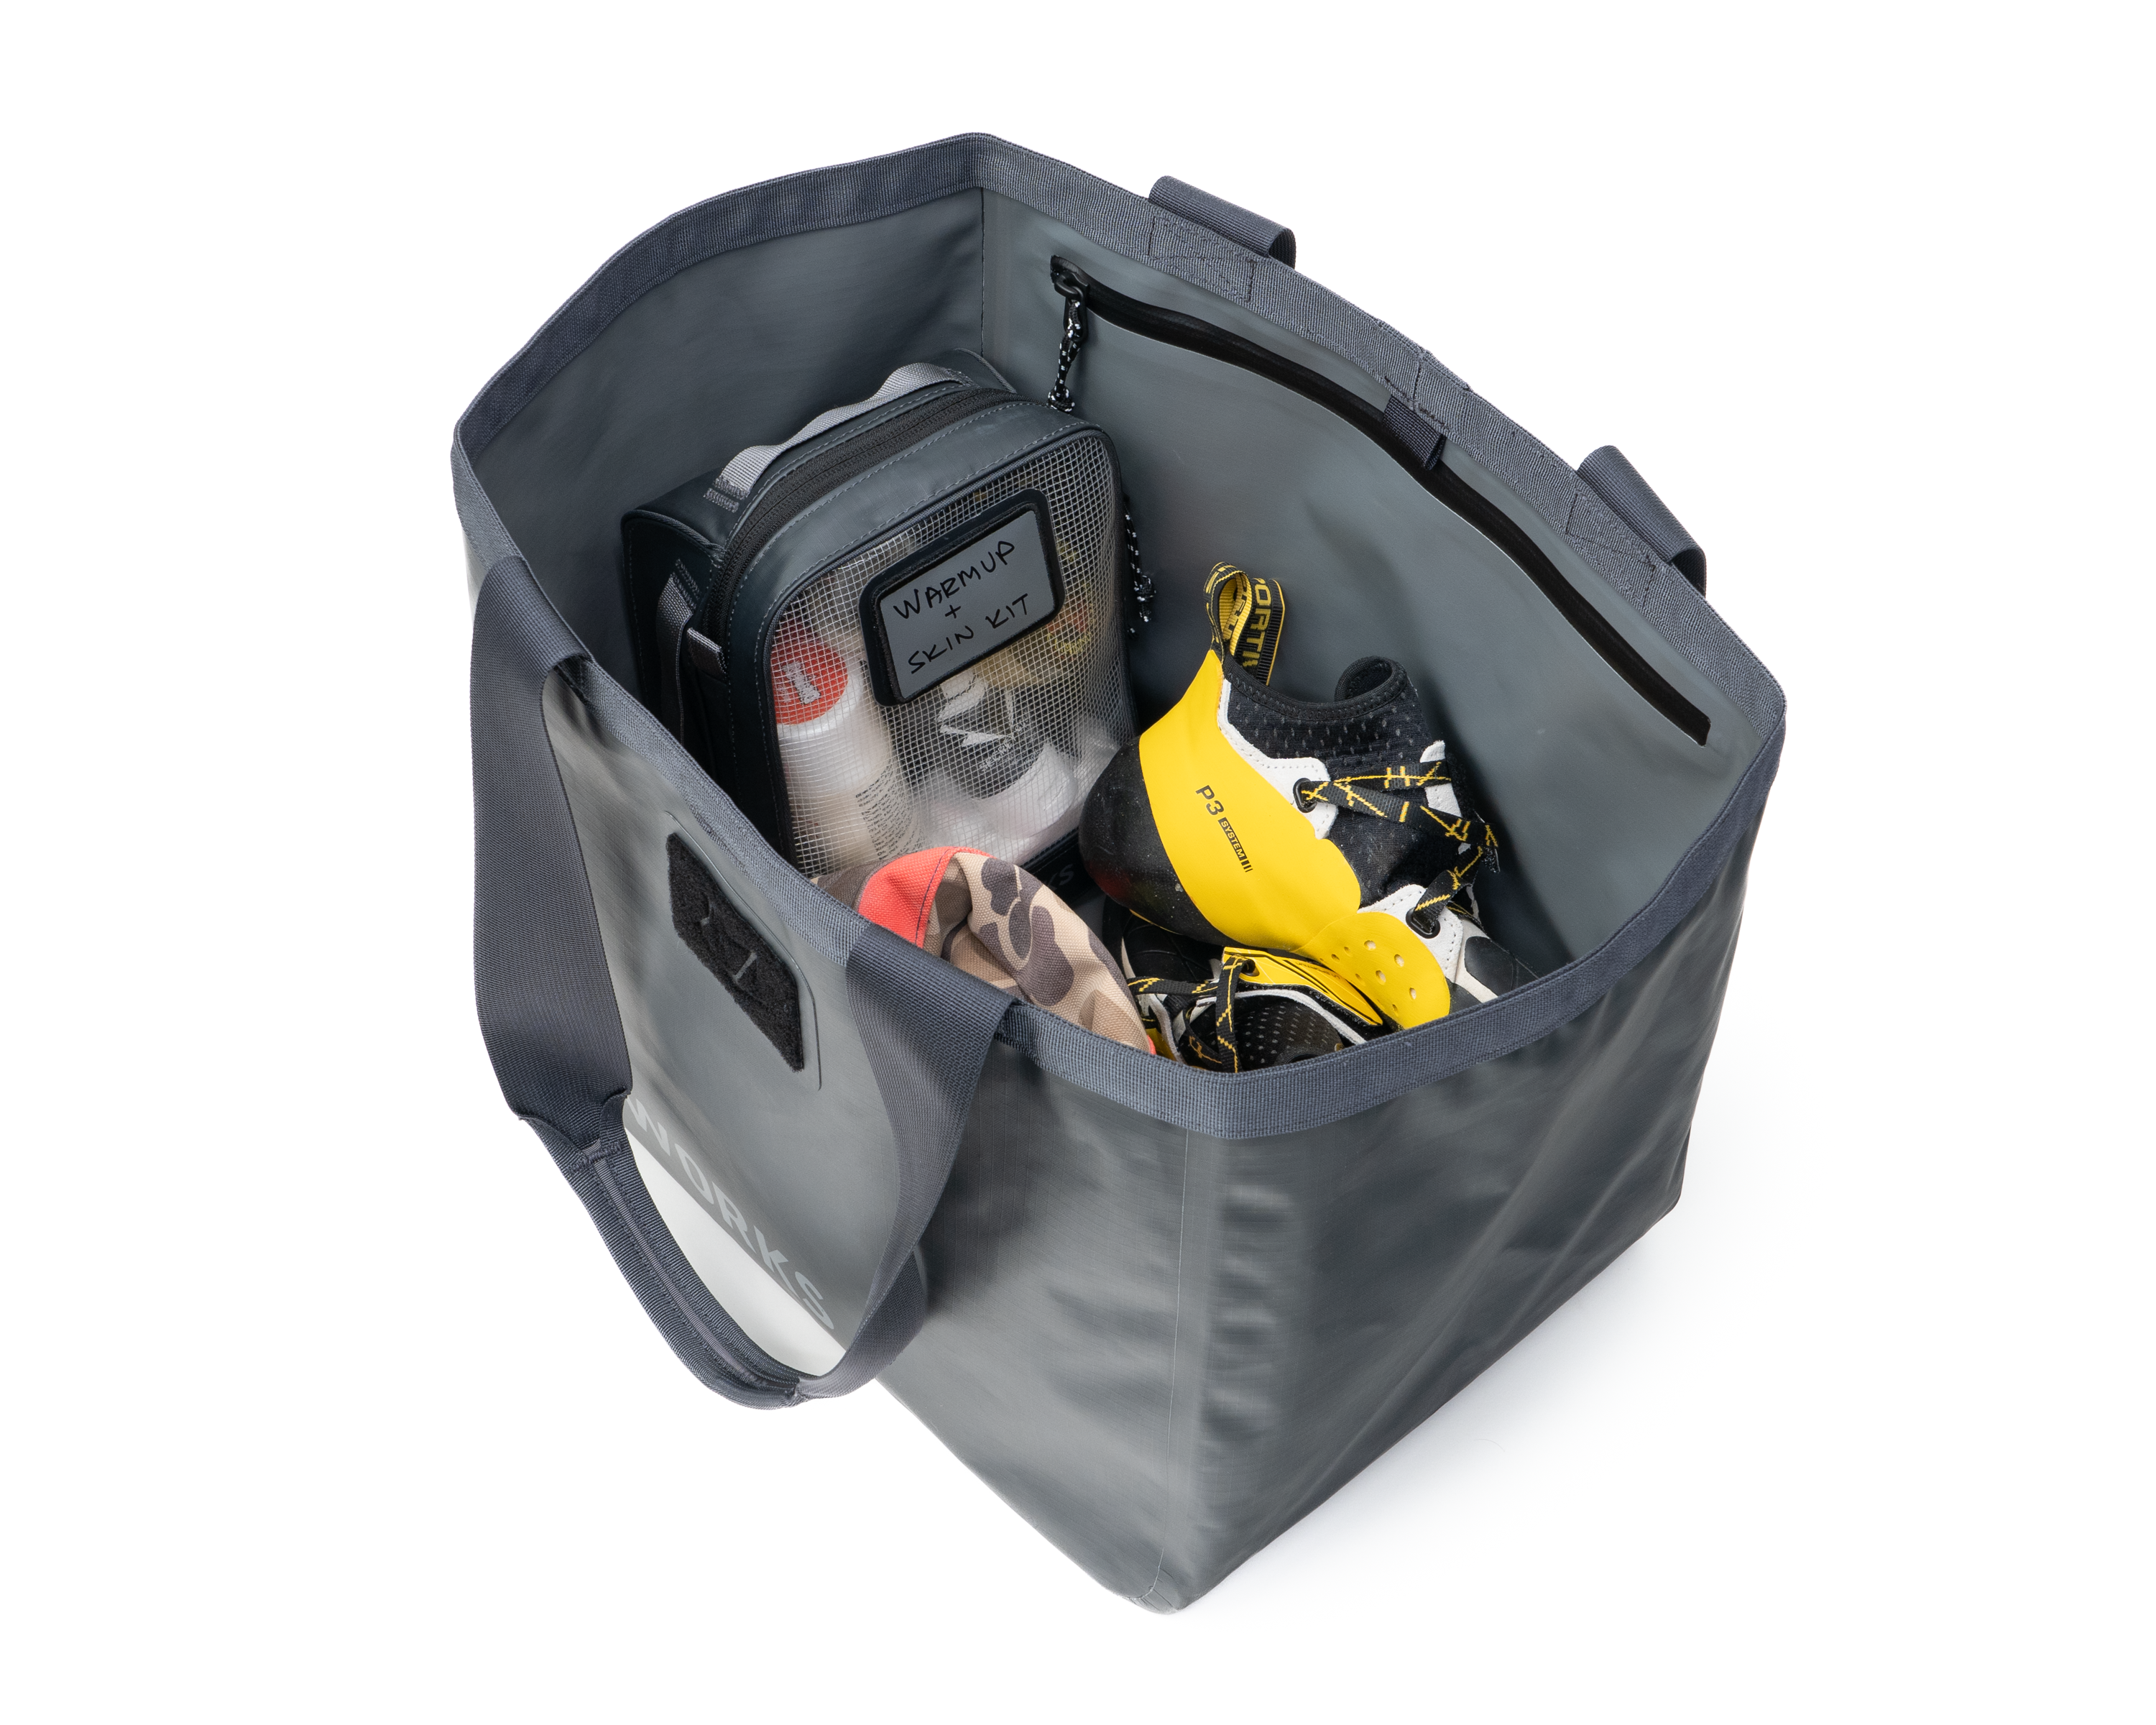
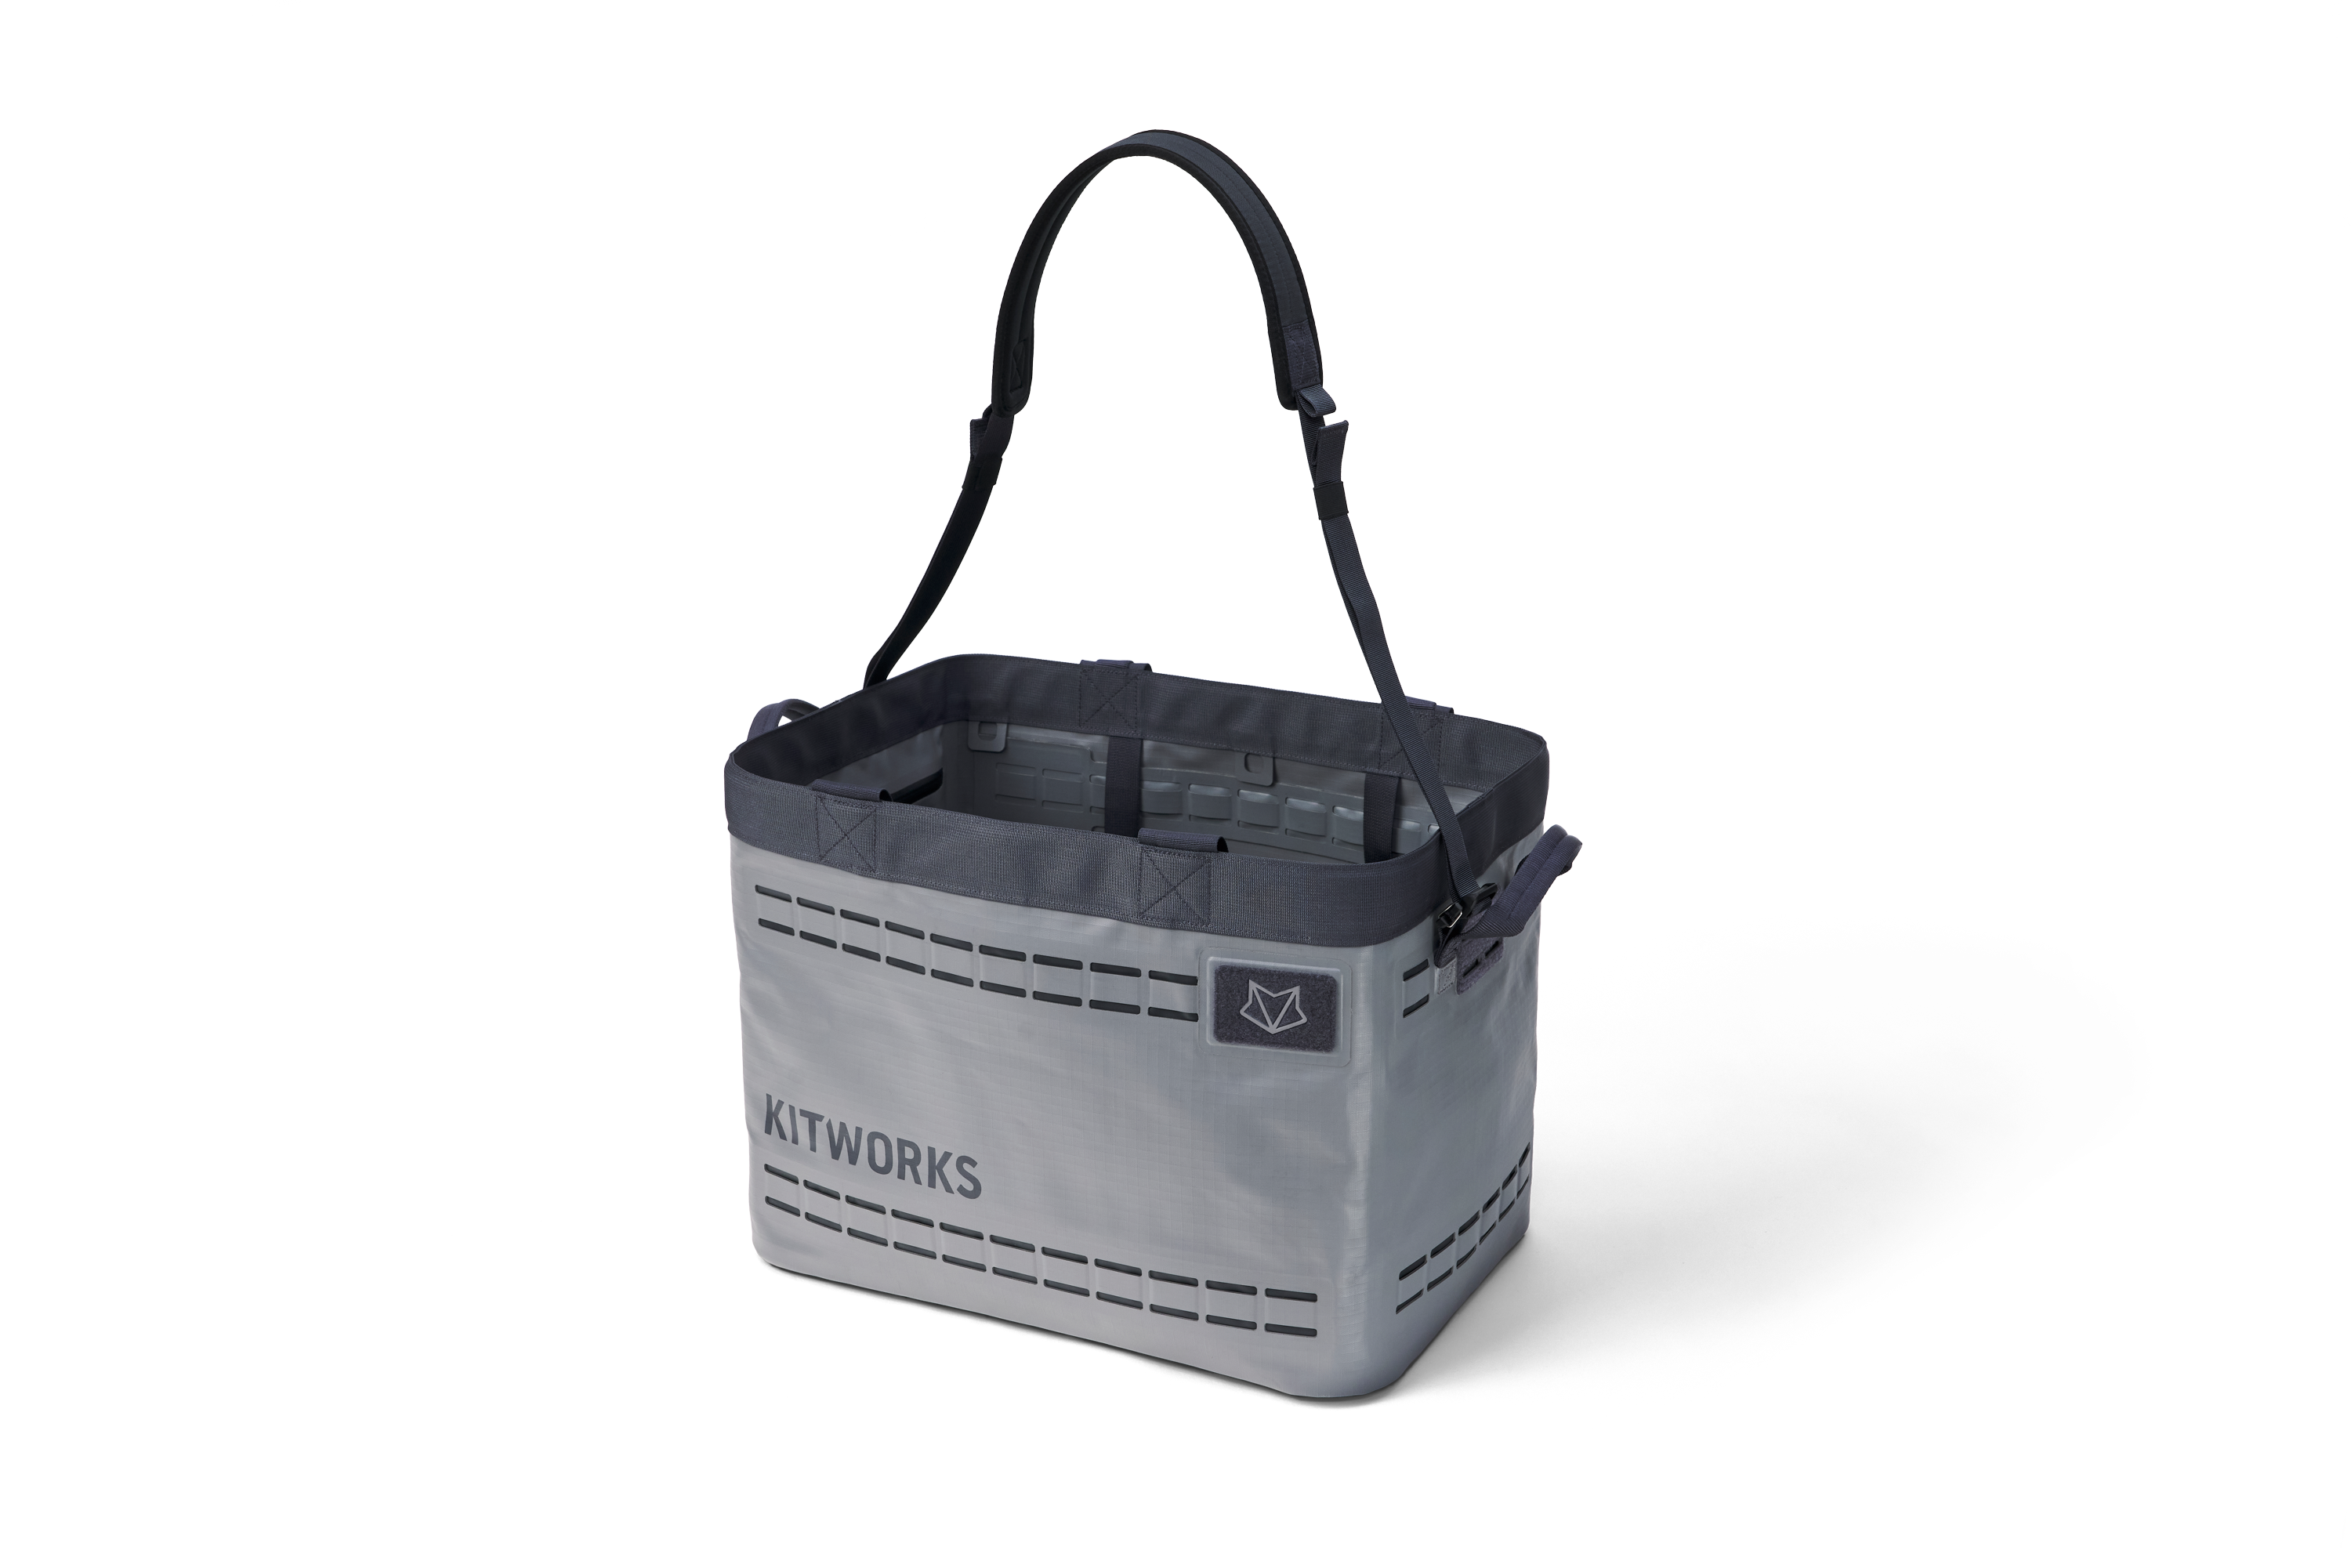
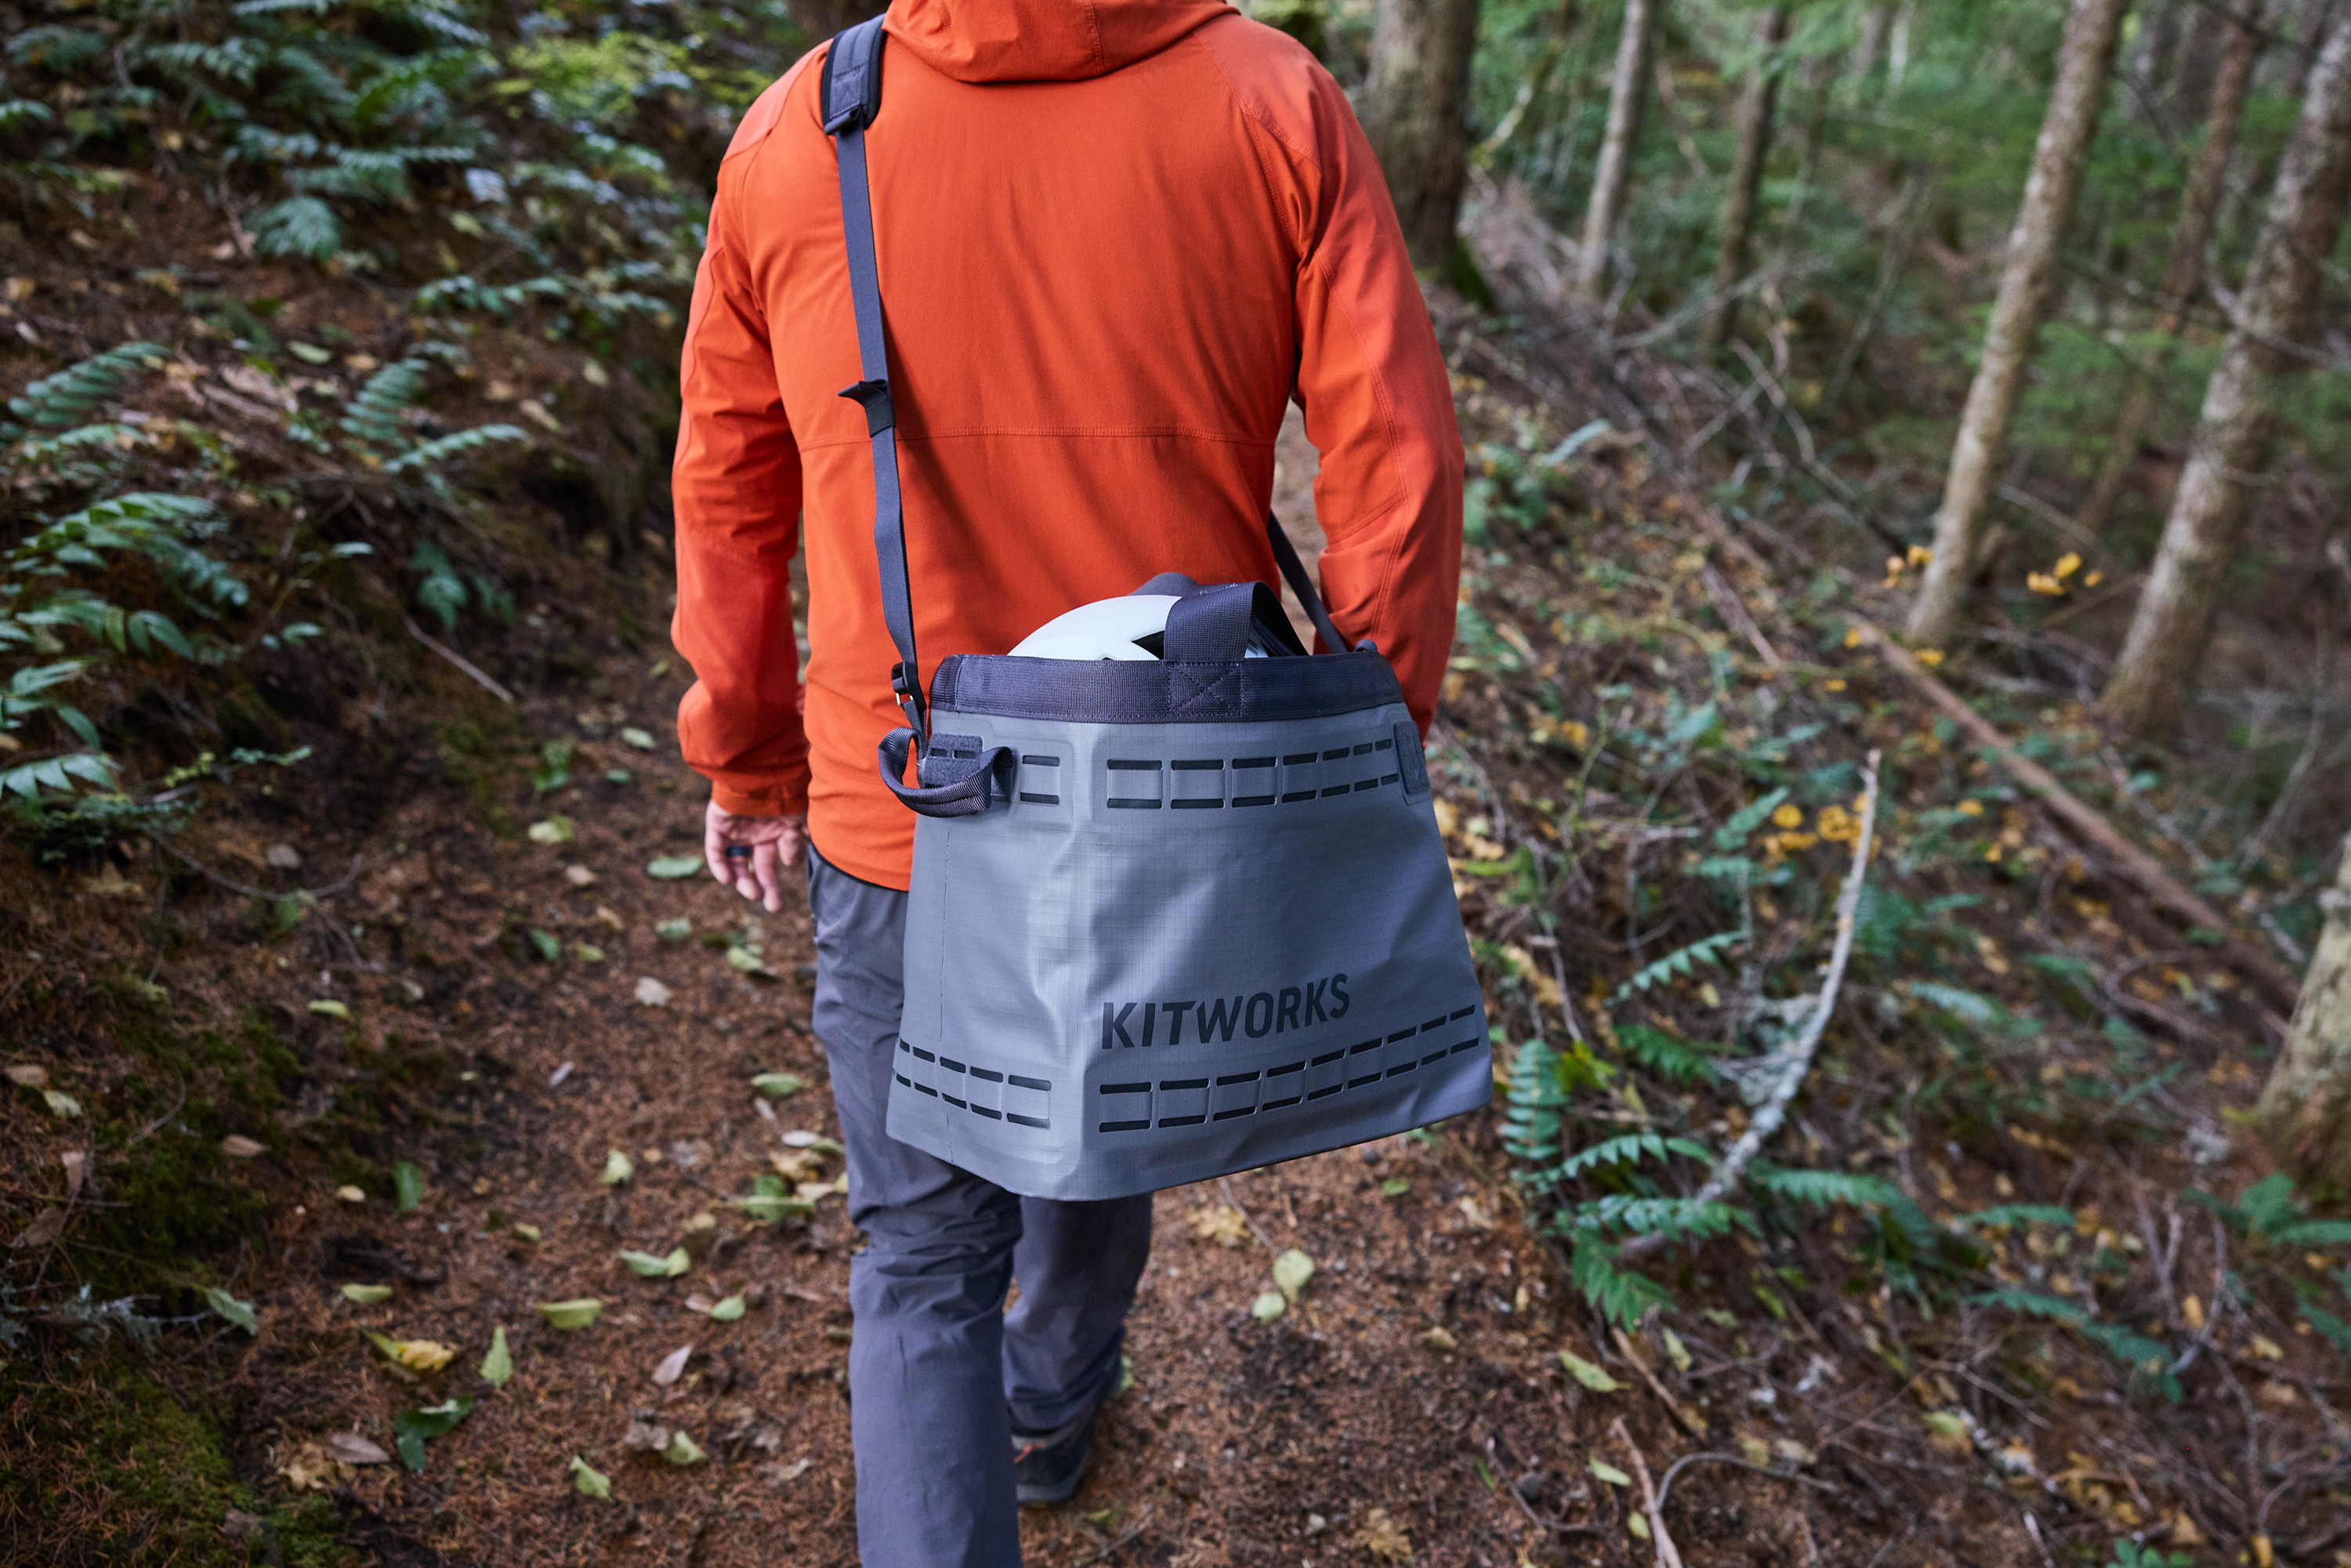
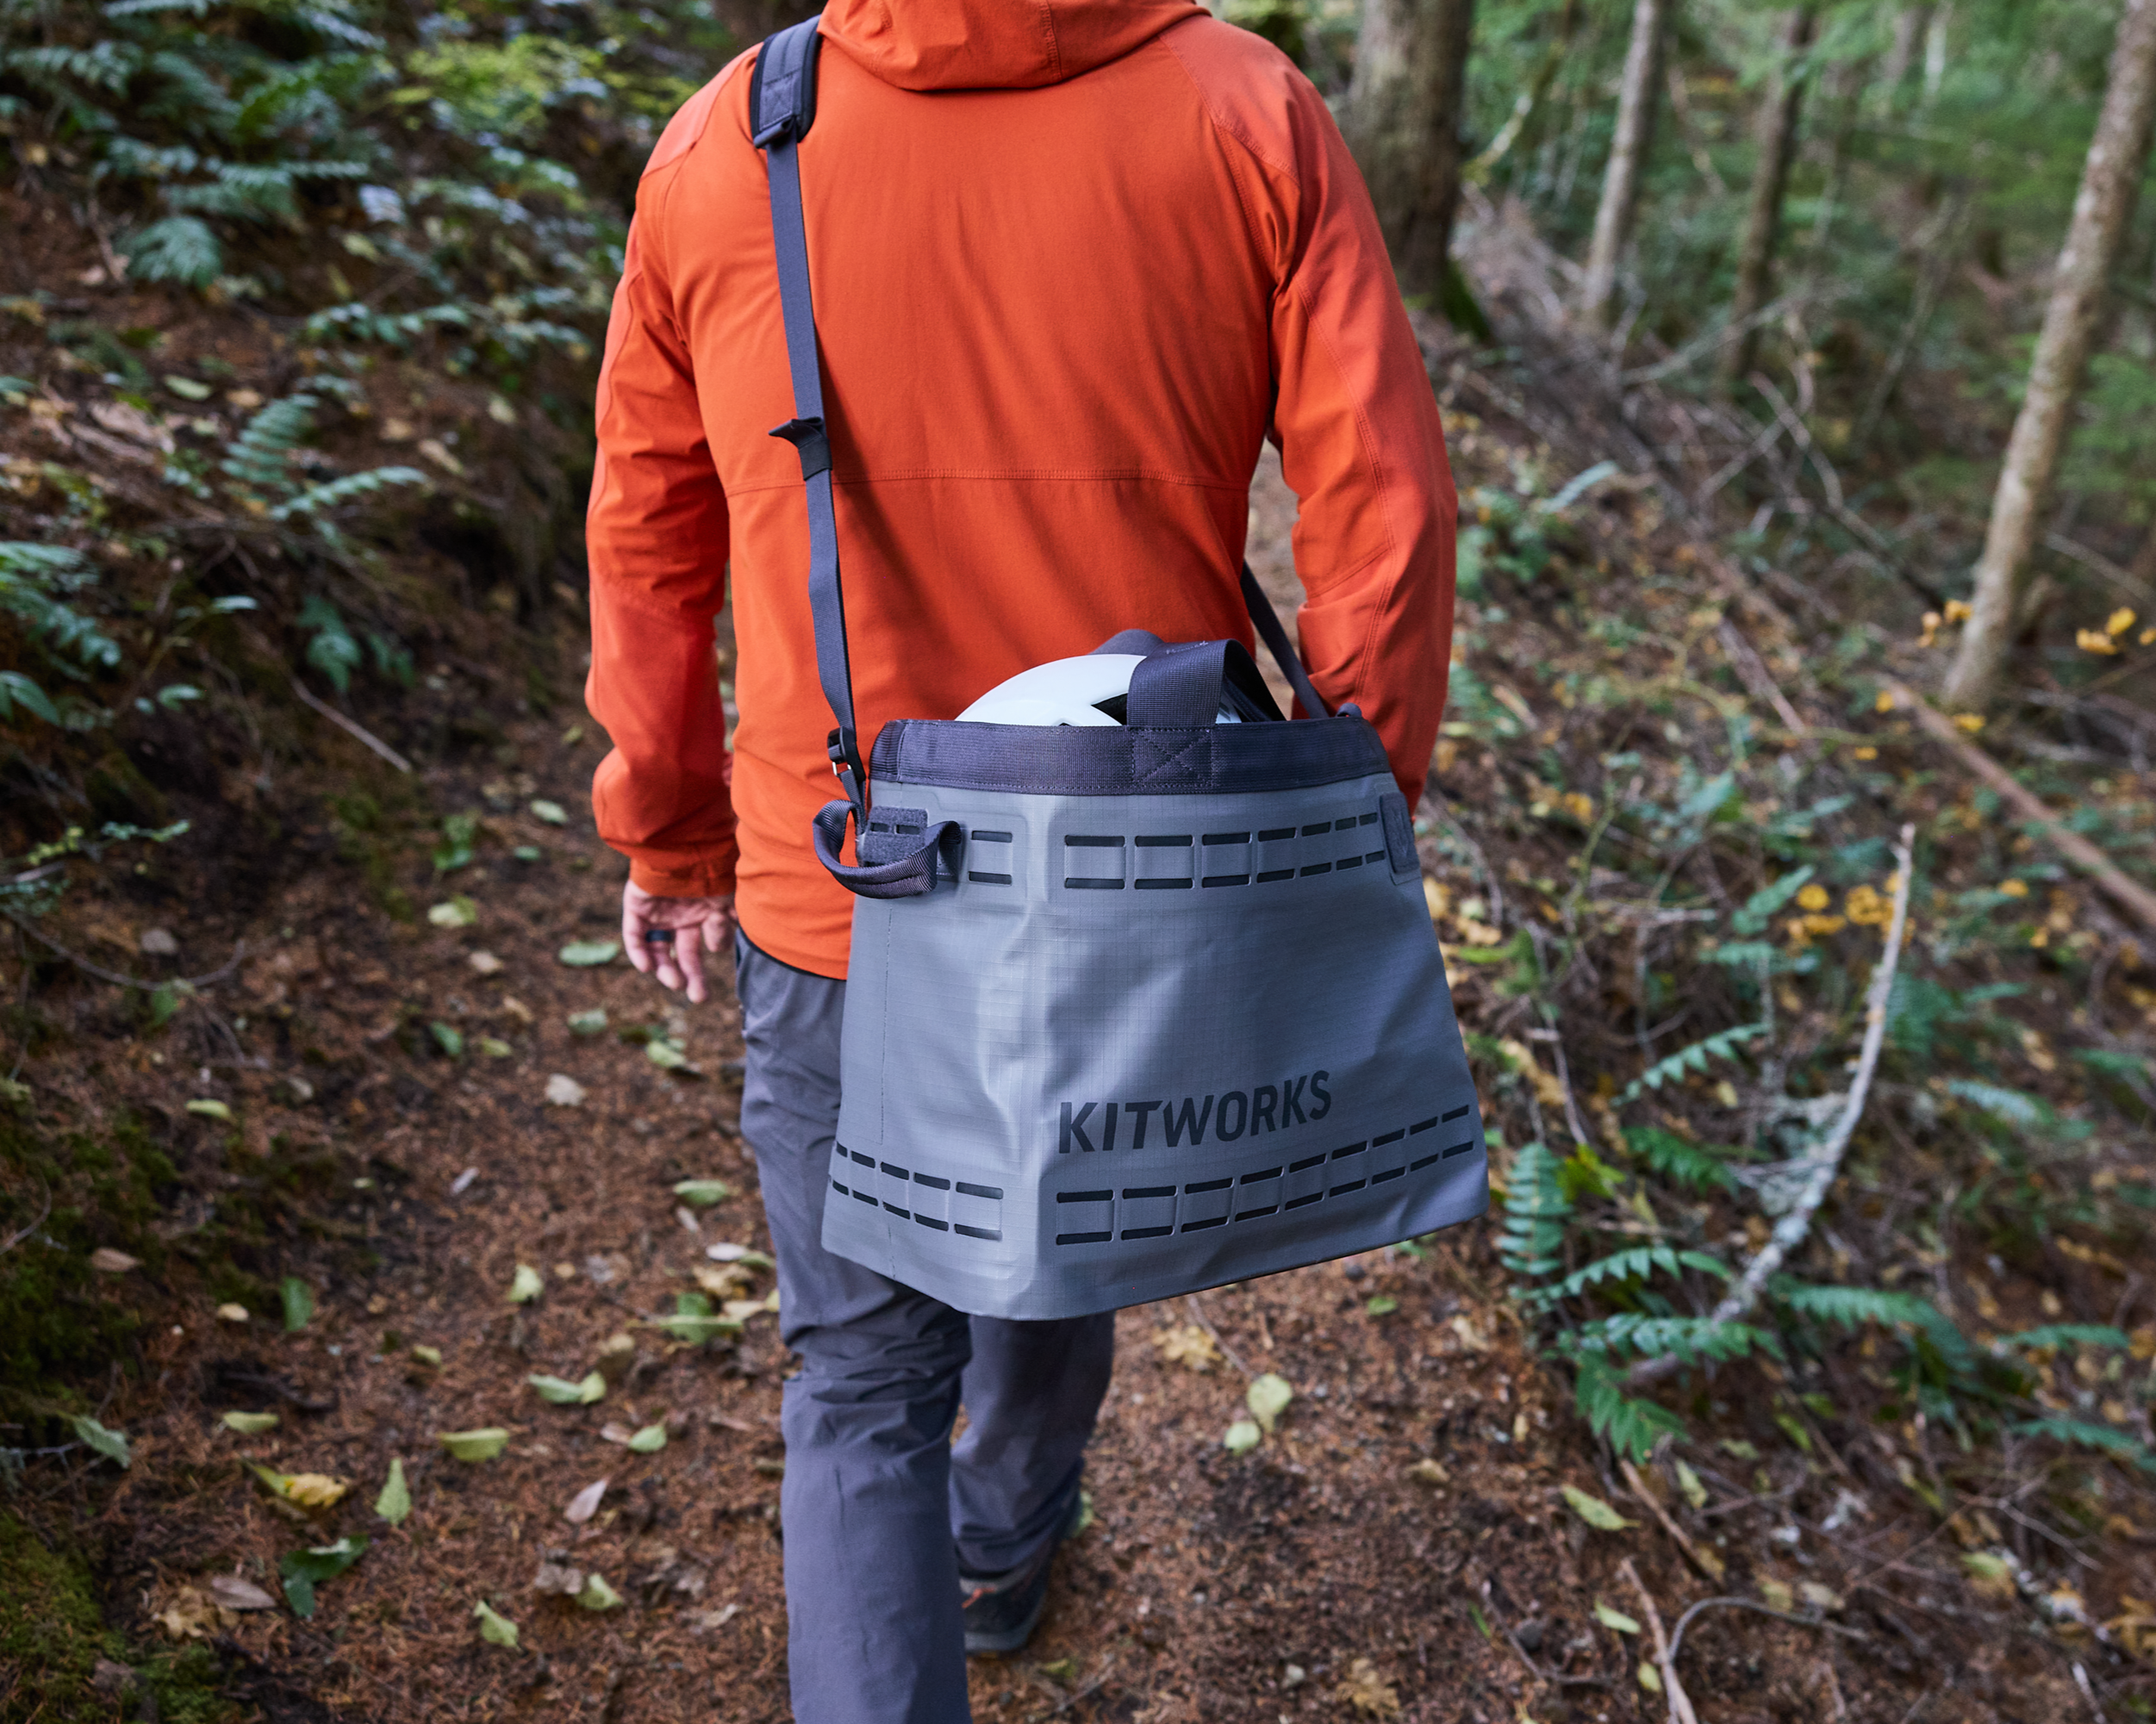
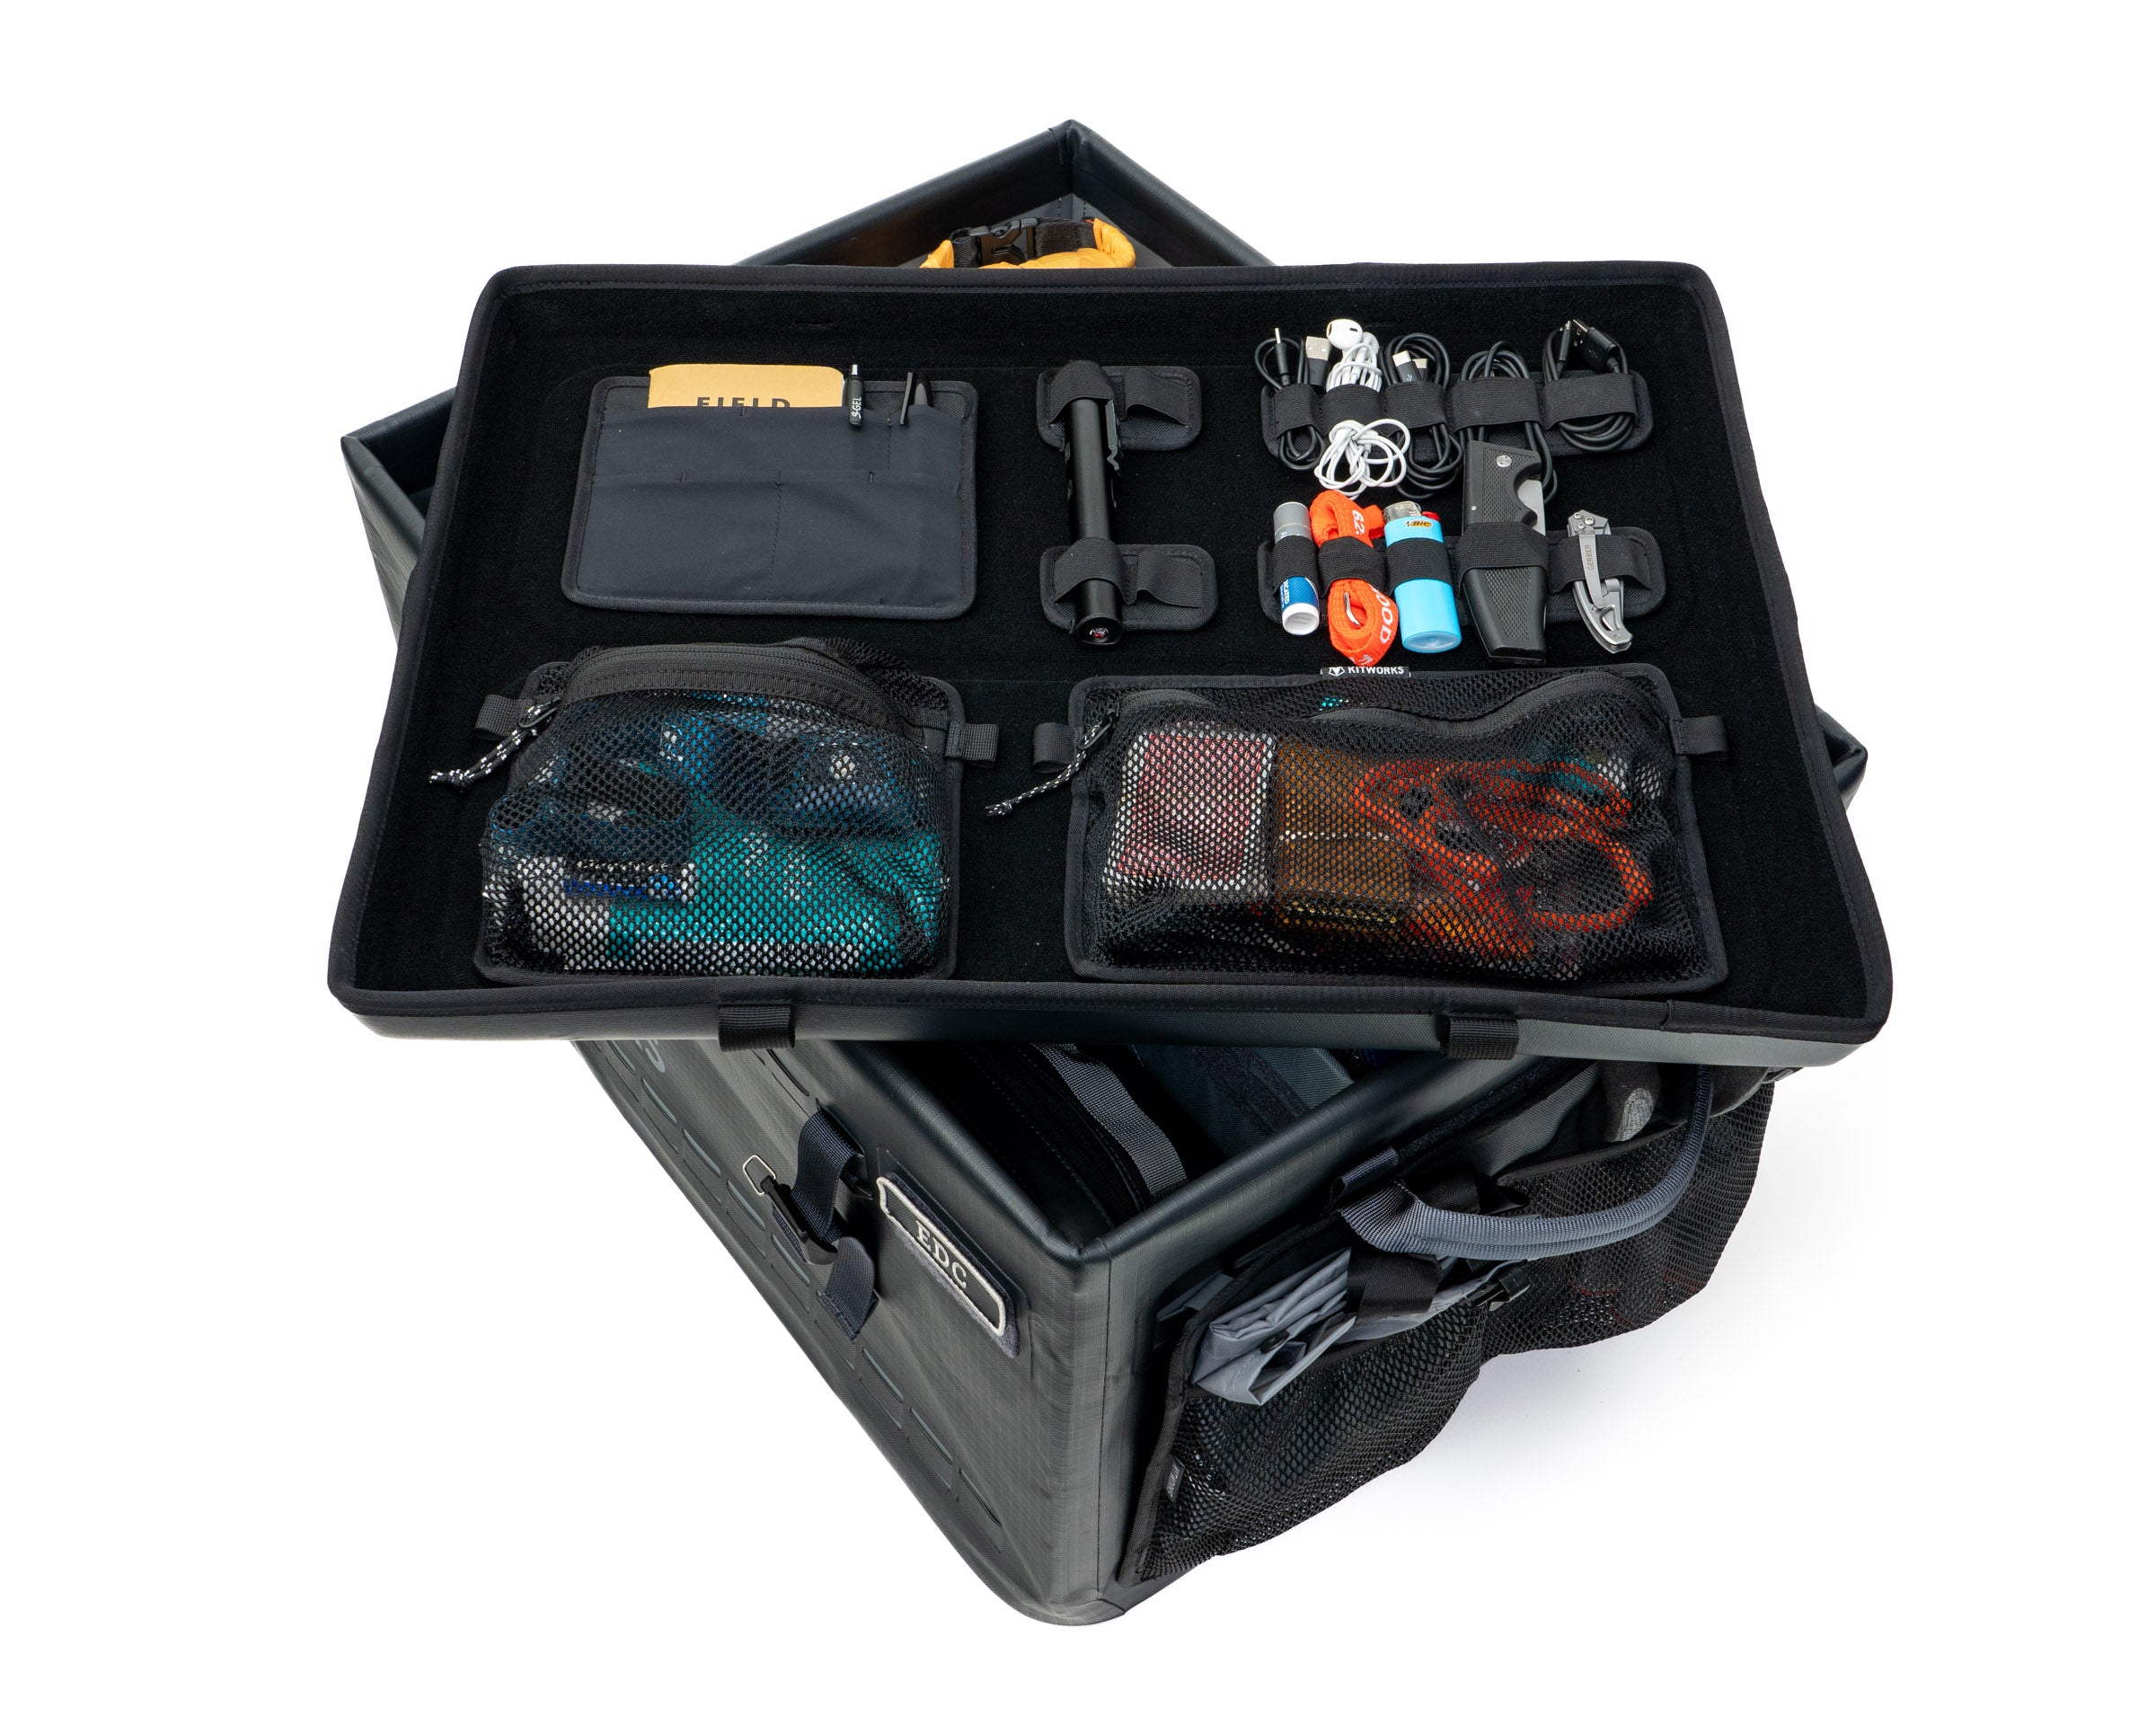
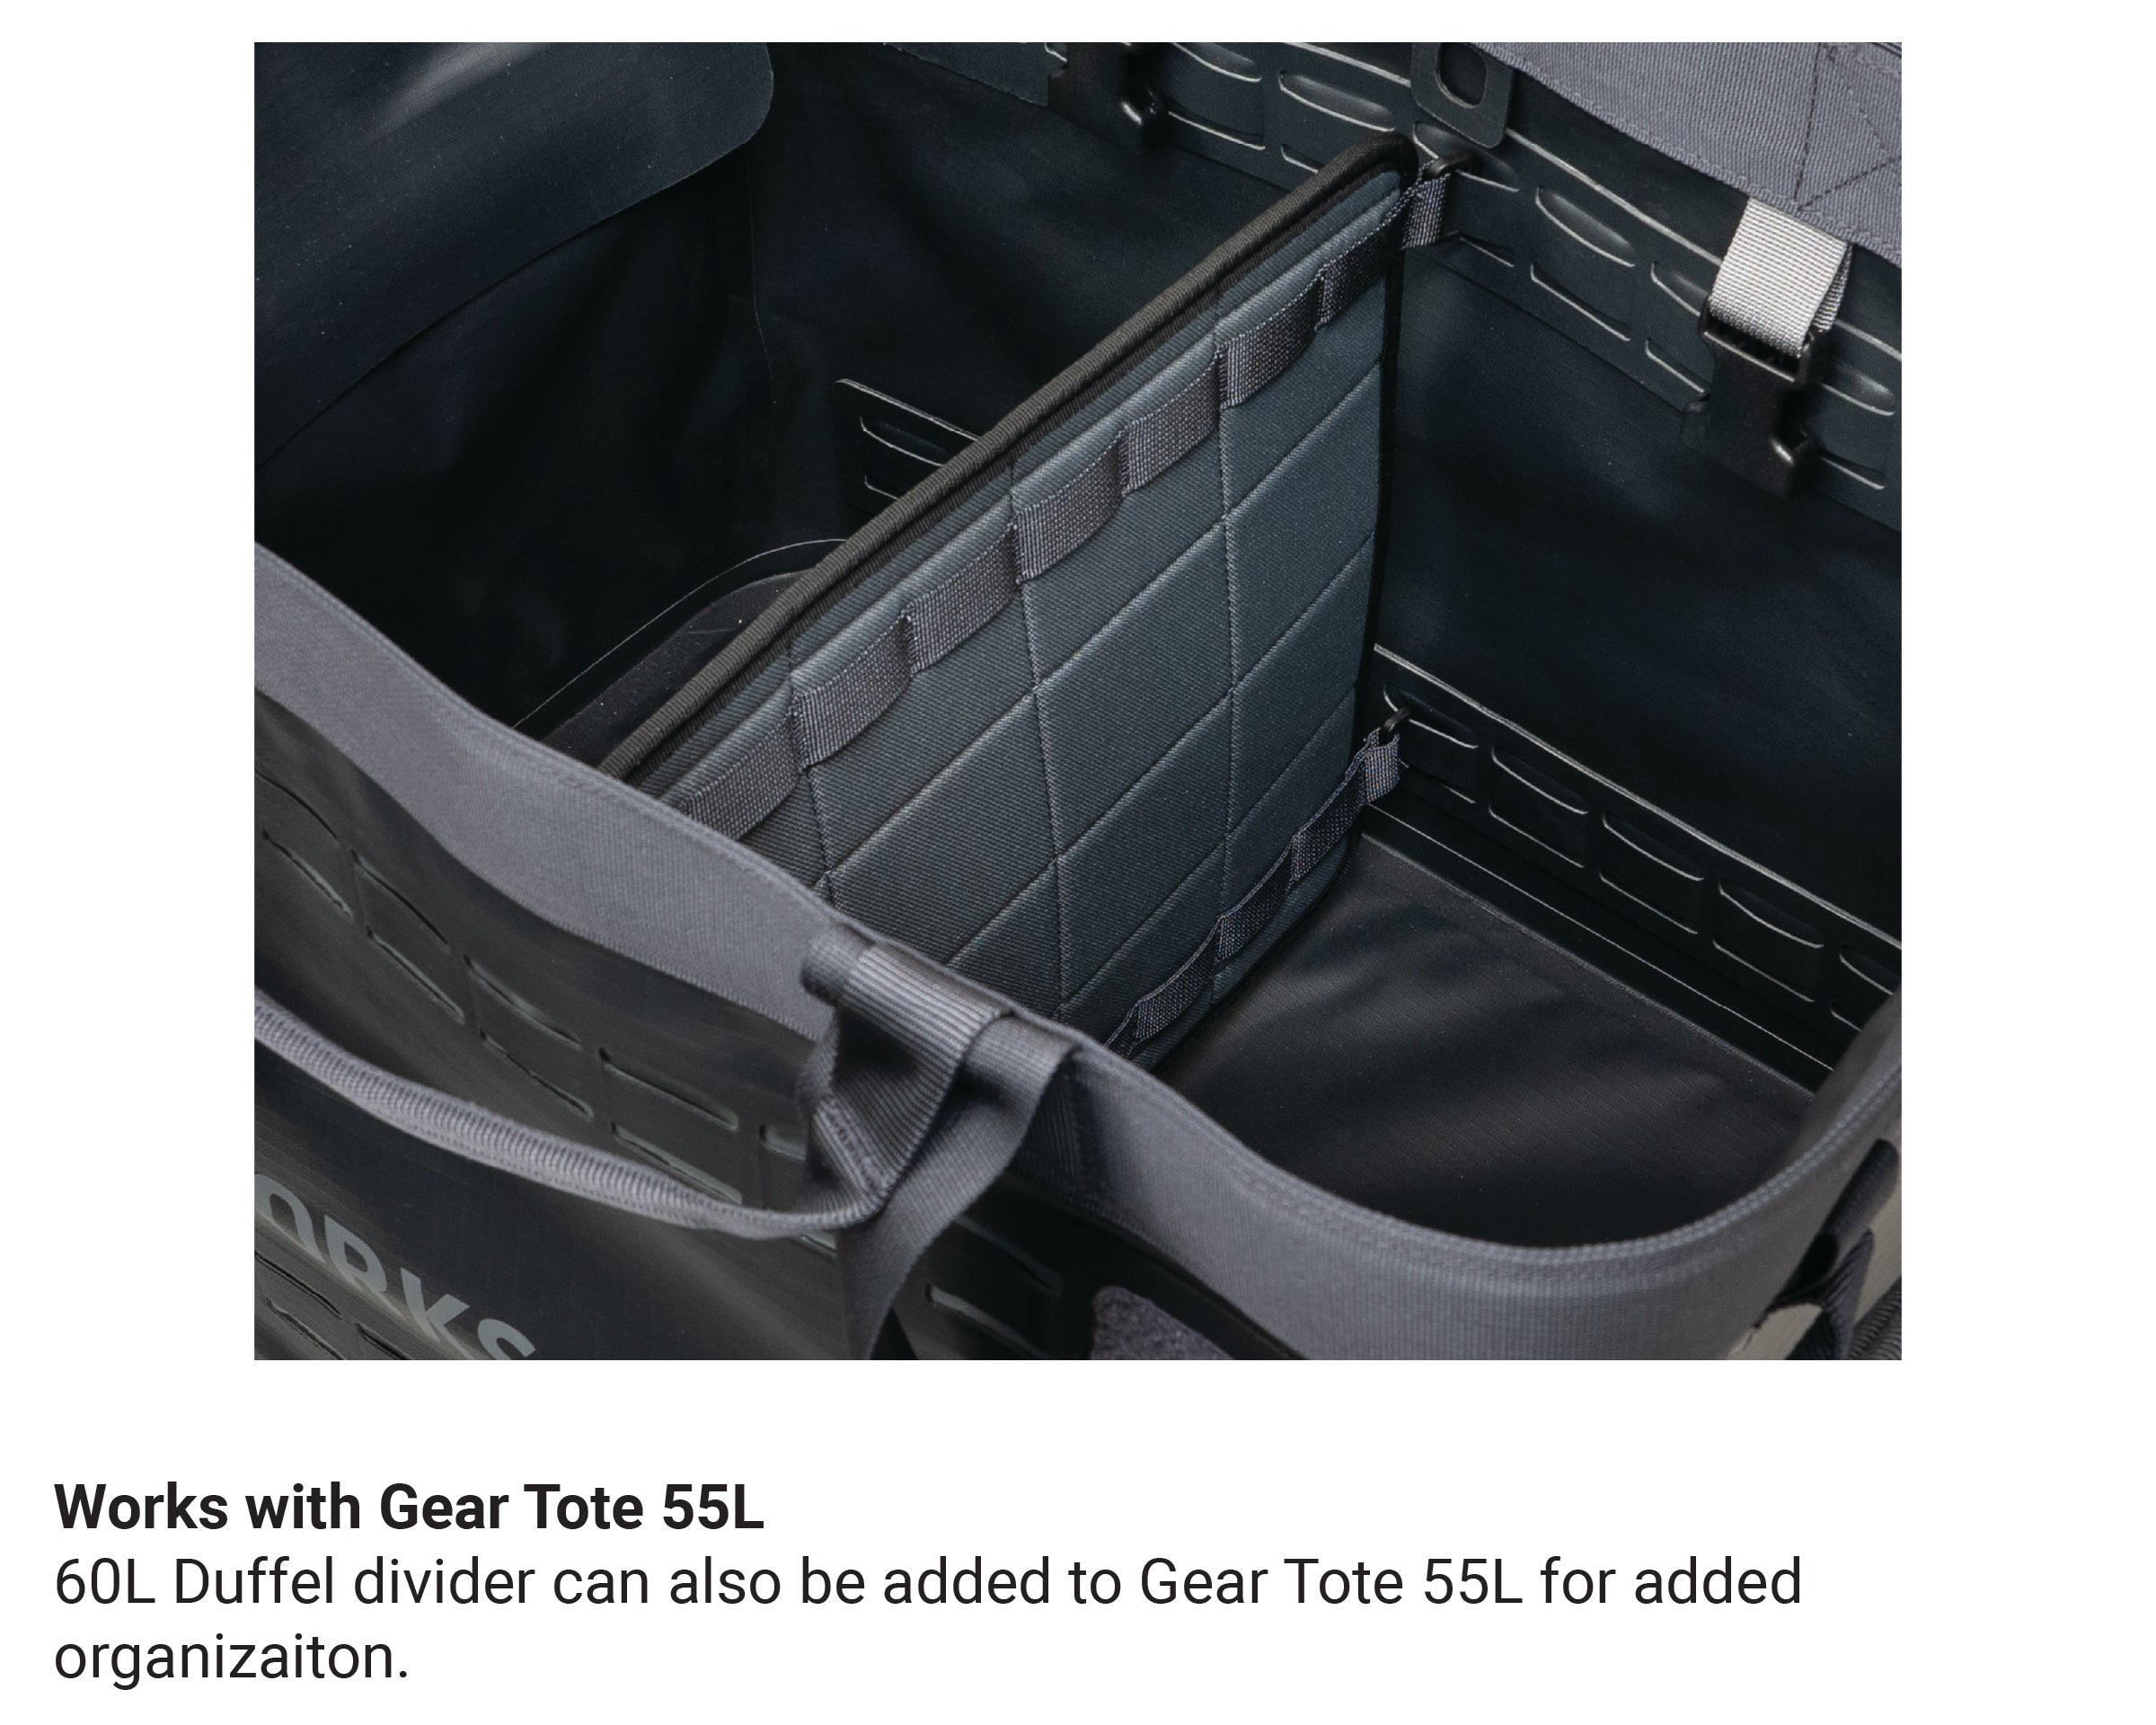
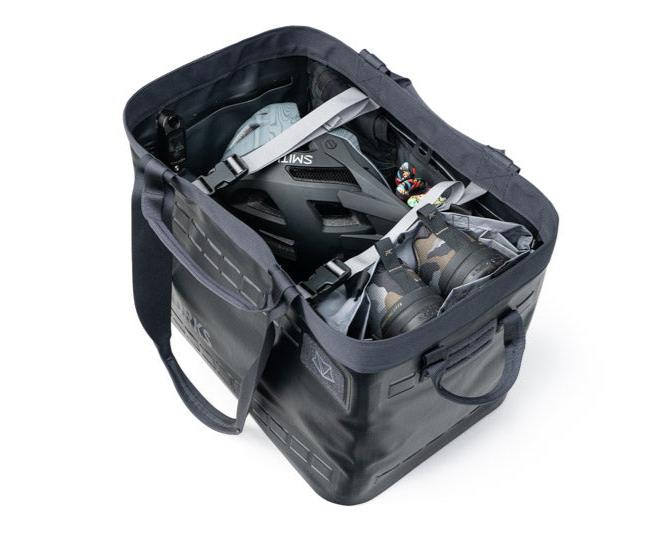
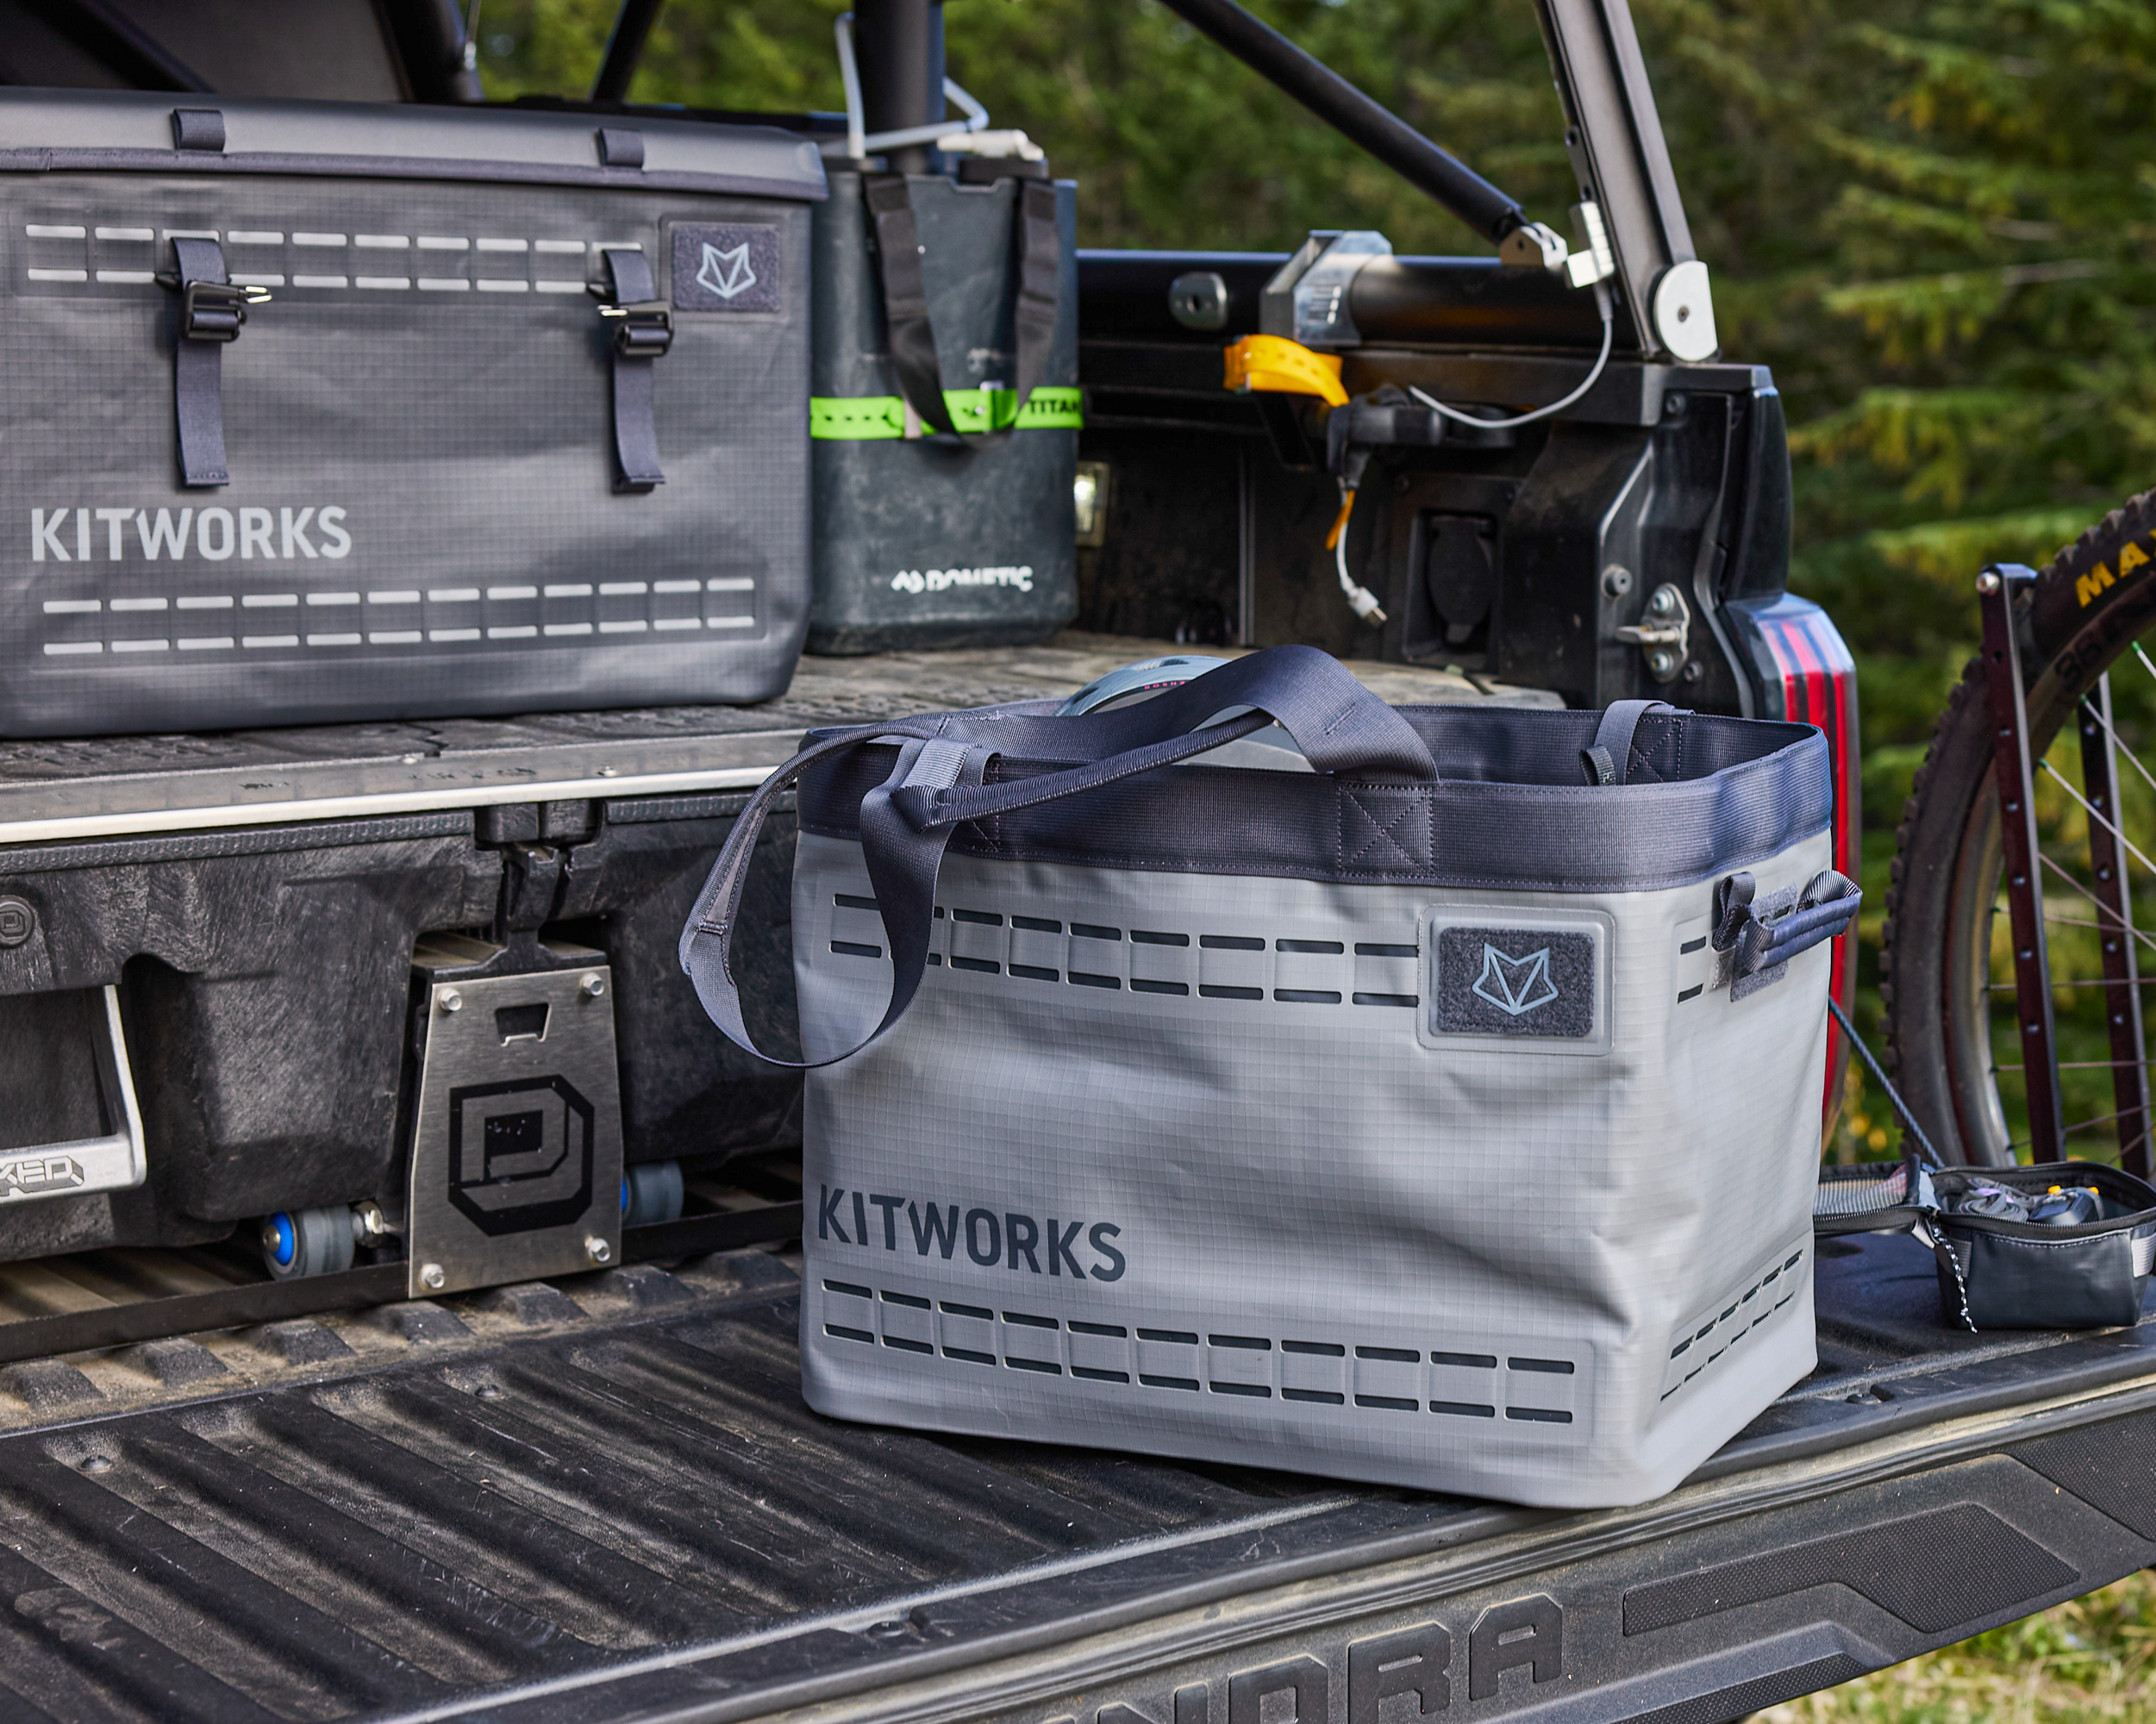
Gear Tote: First Time Setup
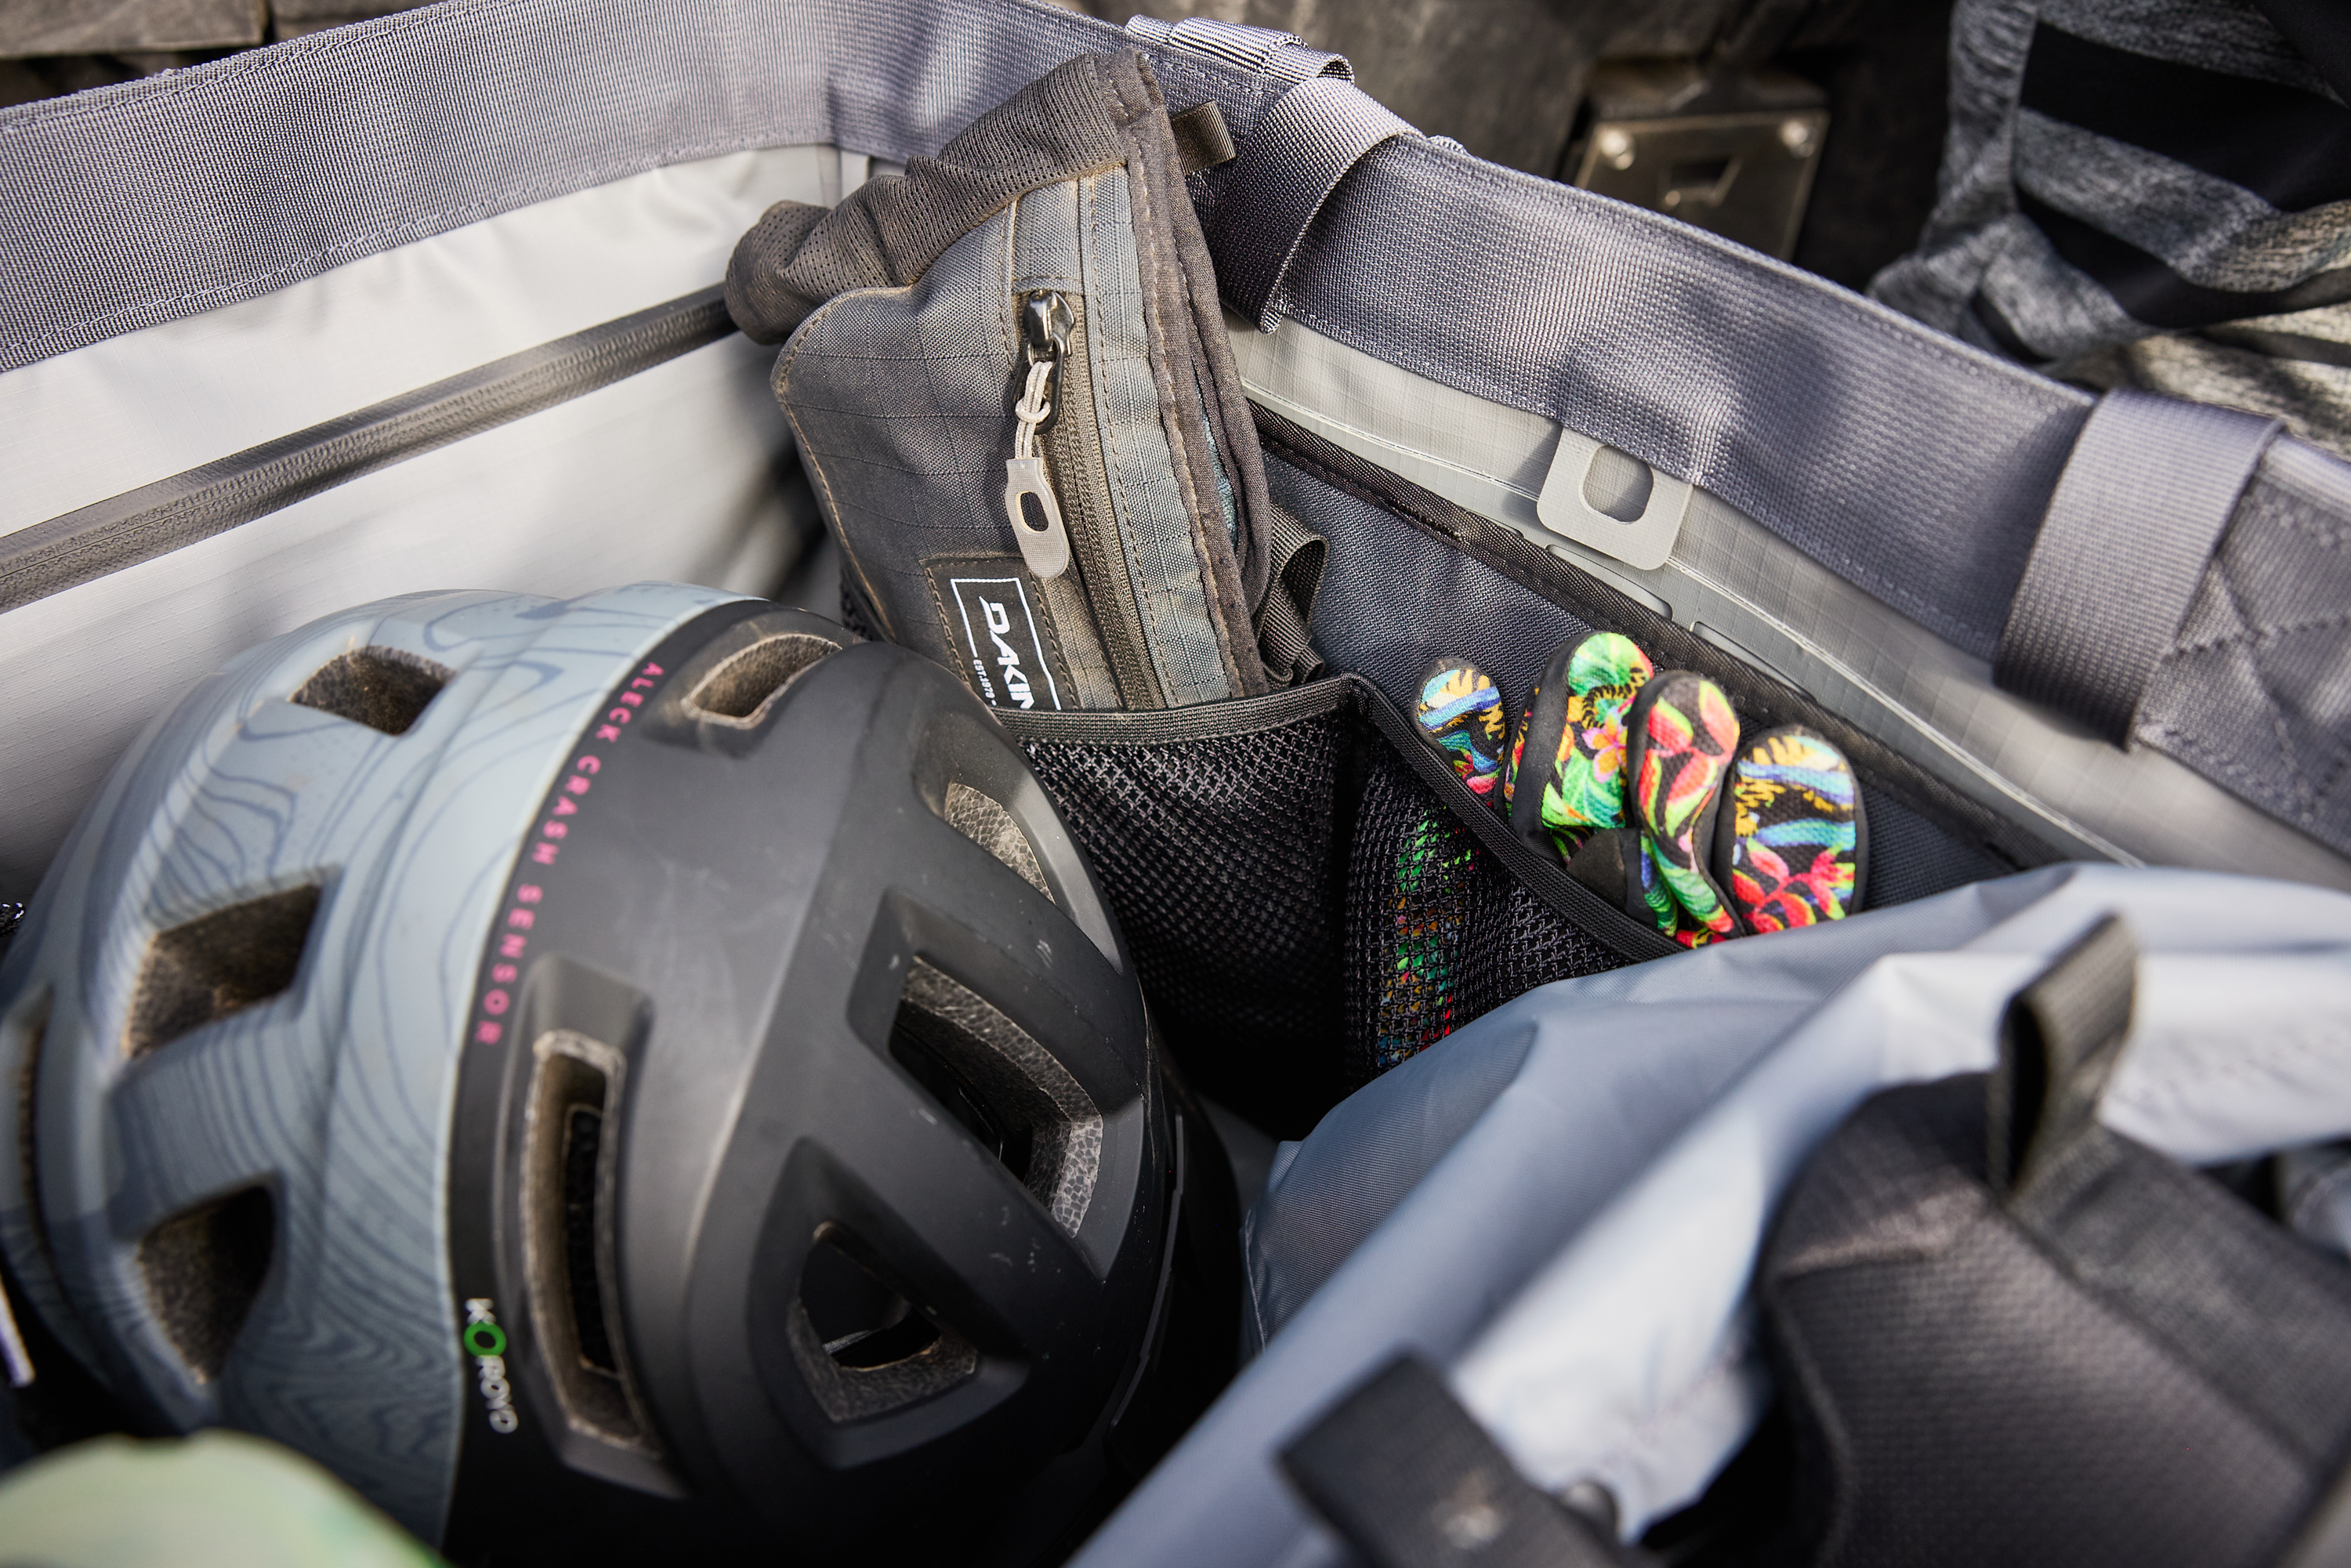
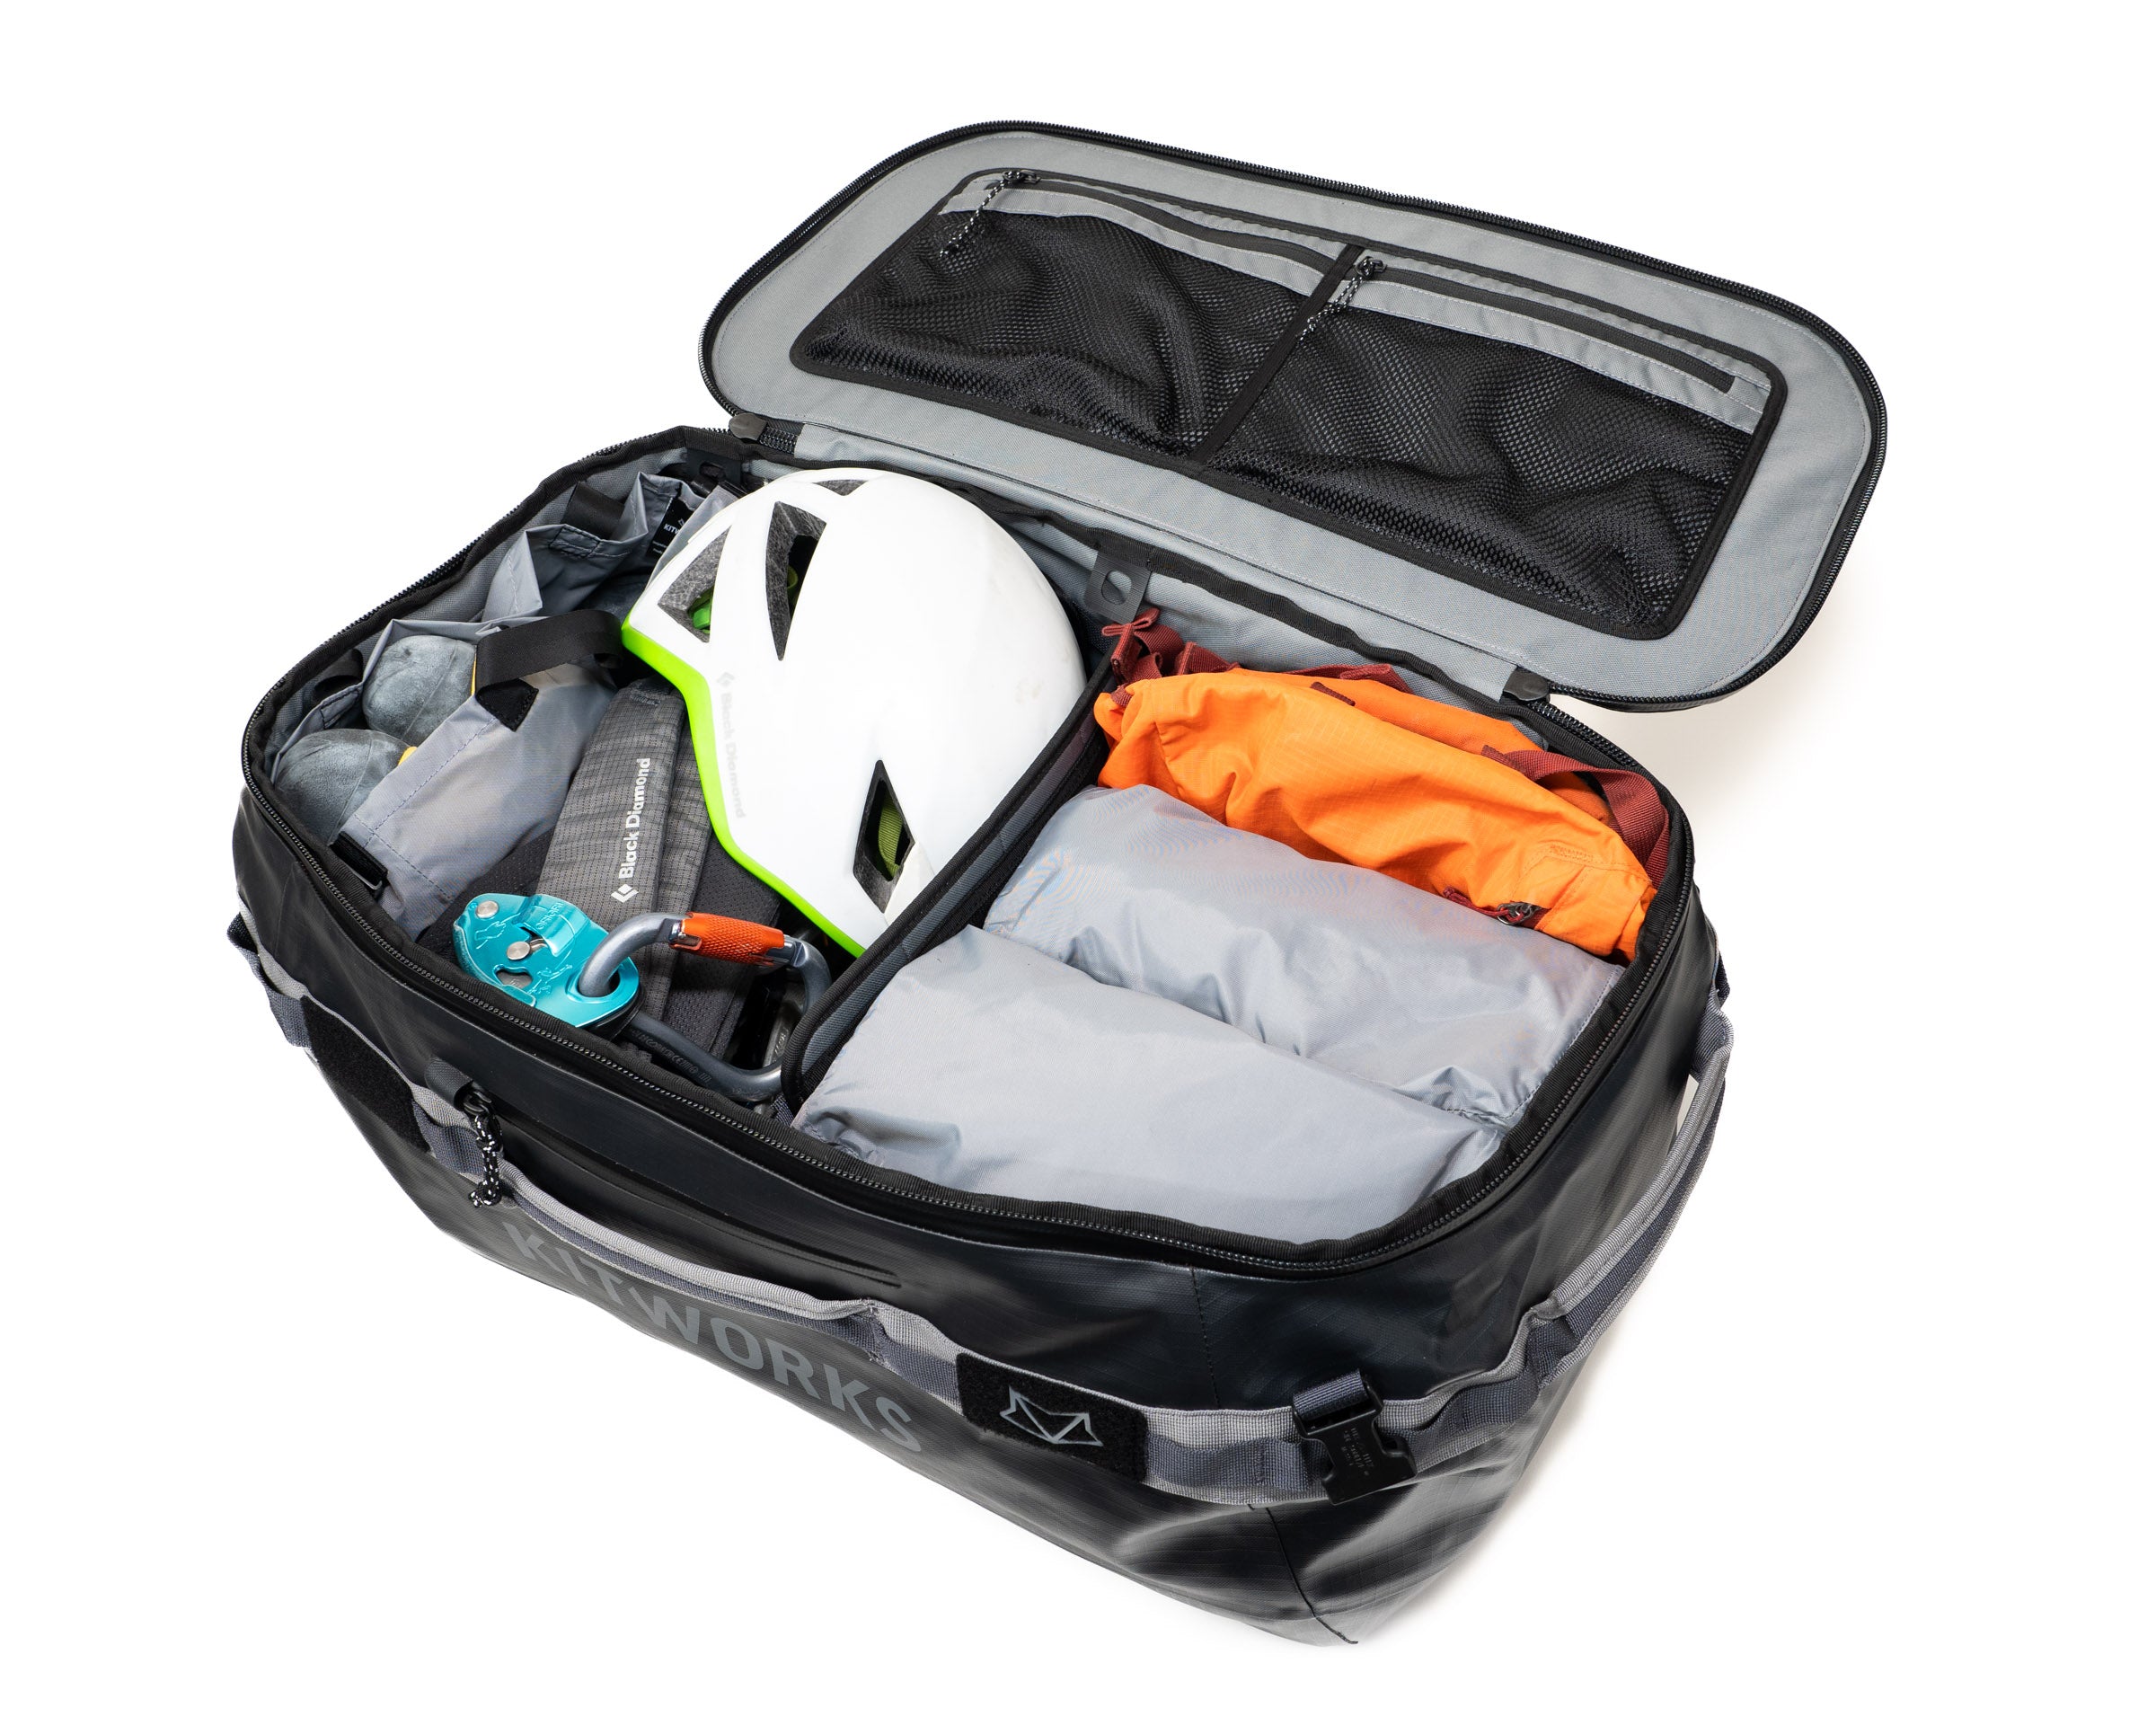
Your new Gear Tote is designed for outdoor gear - waterproof, burly, and with customizable organization - inside and out.
Take a moment to assess your gear and then design the perfect grab and go tote for all of your pursuits.
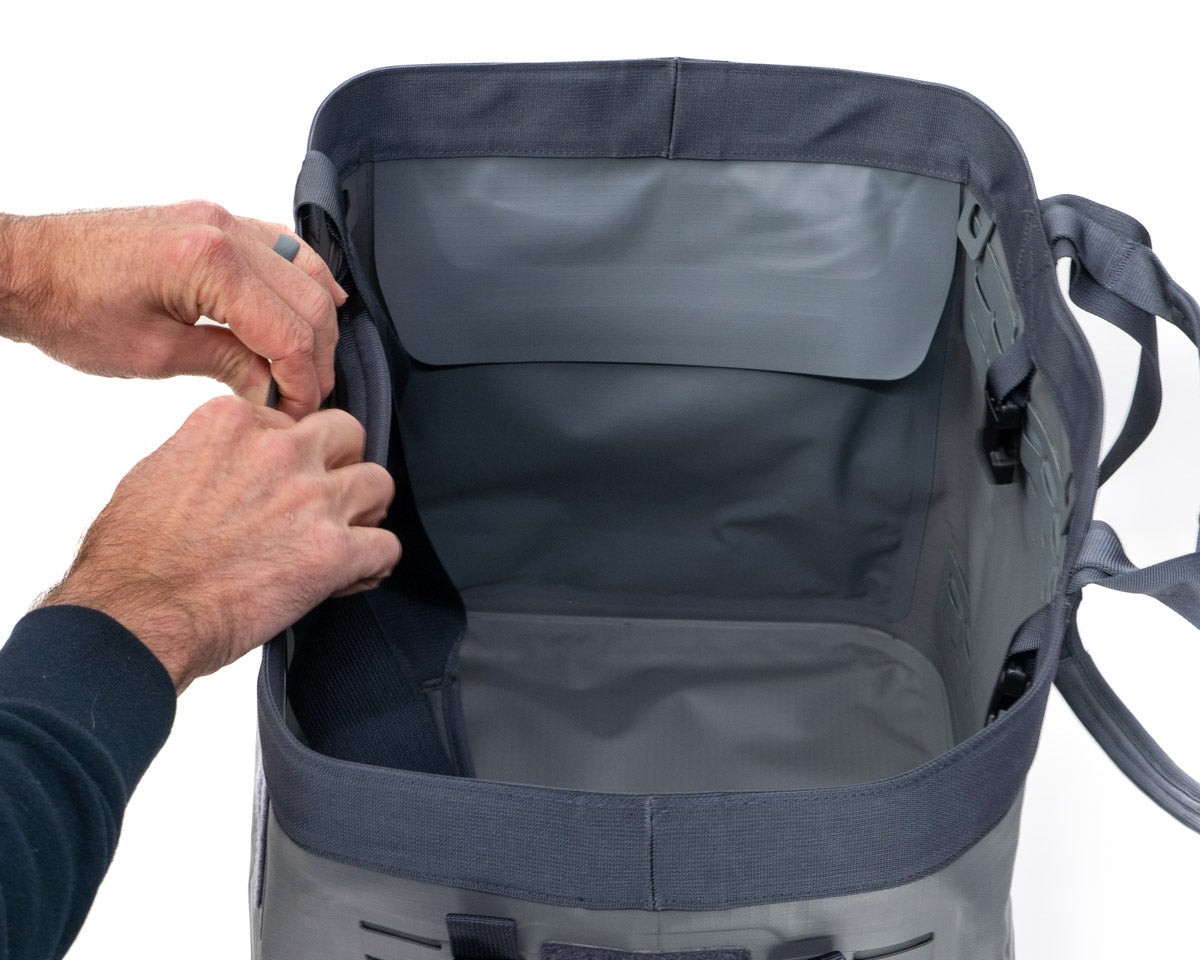
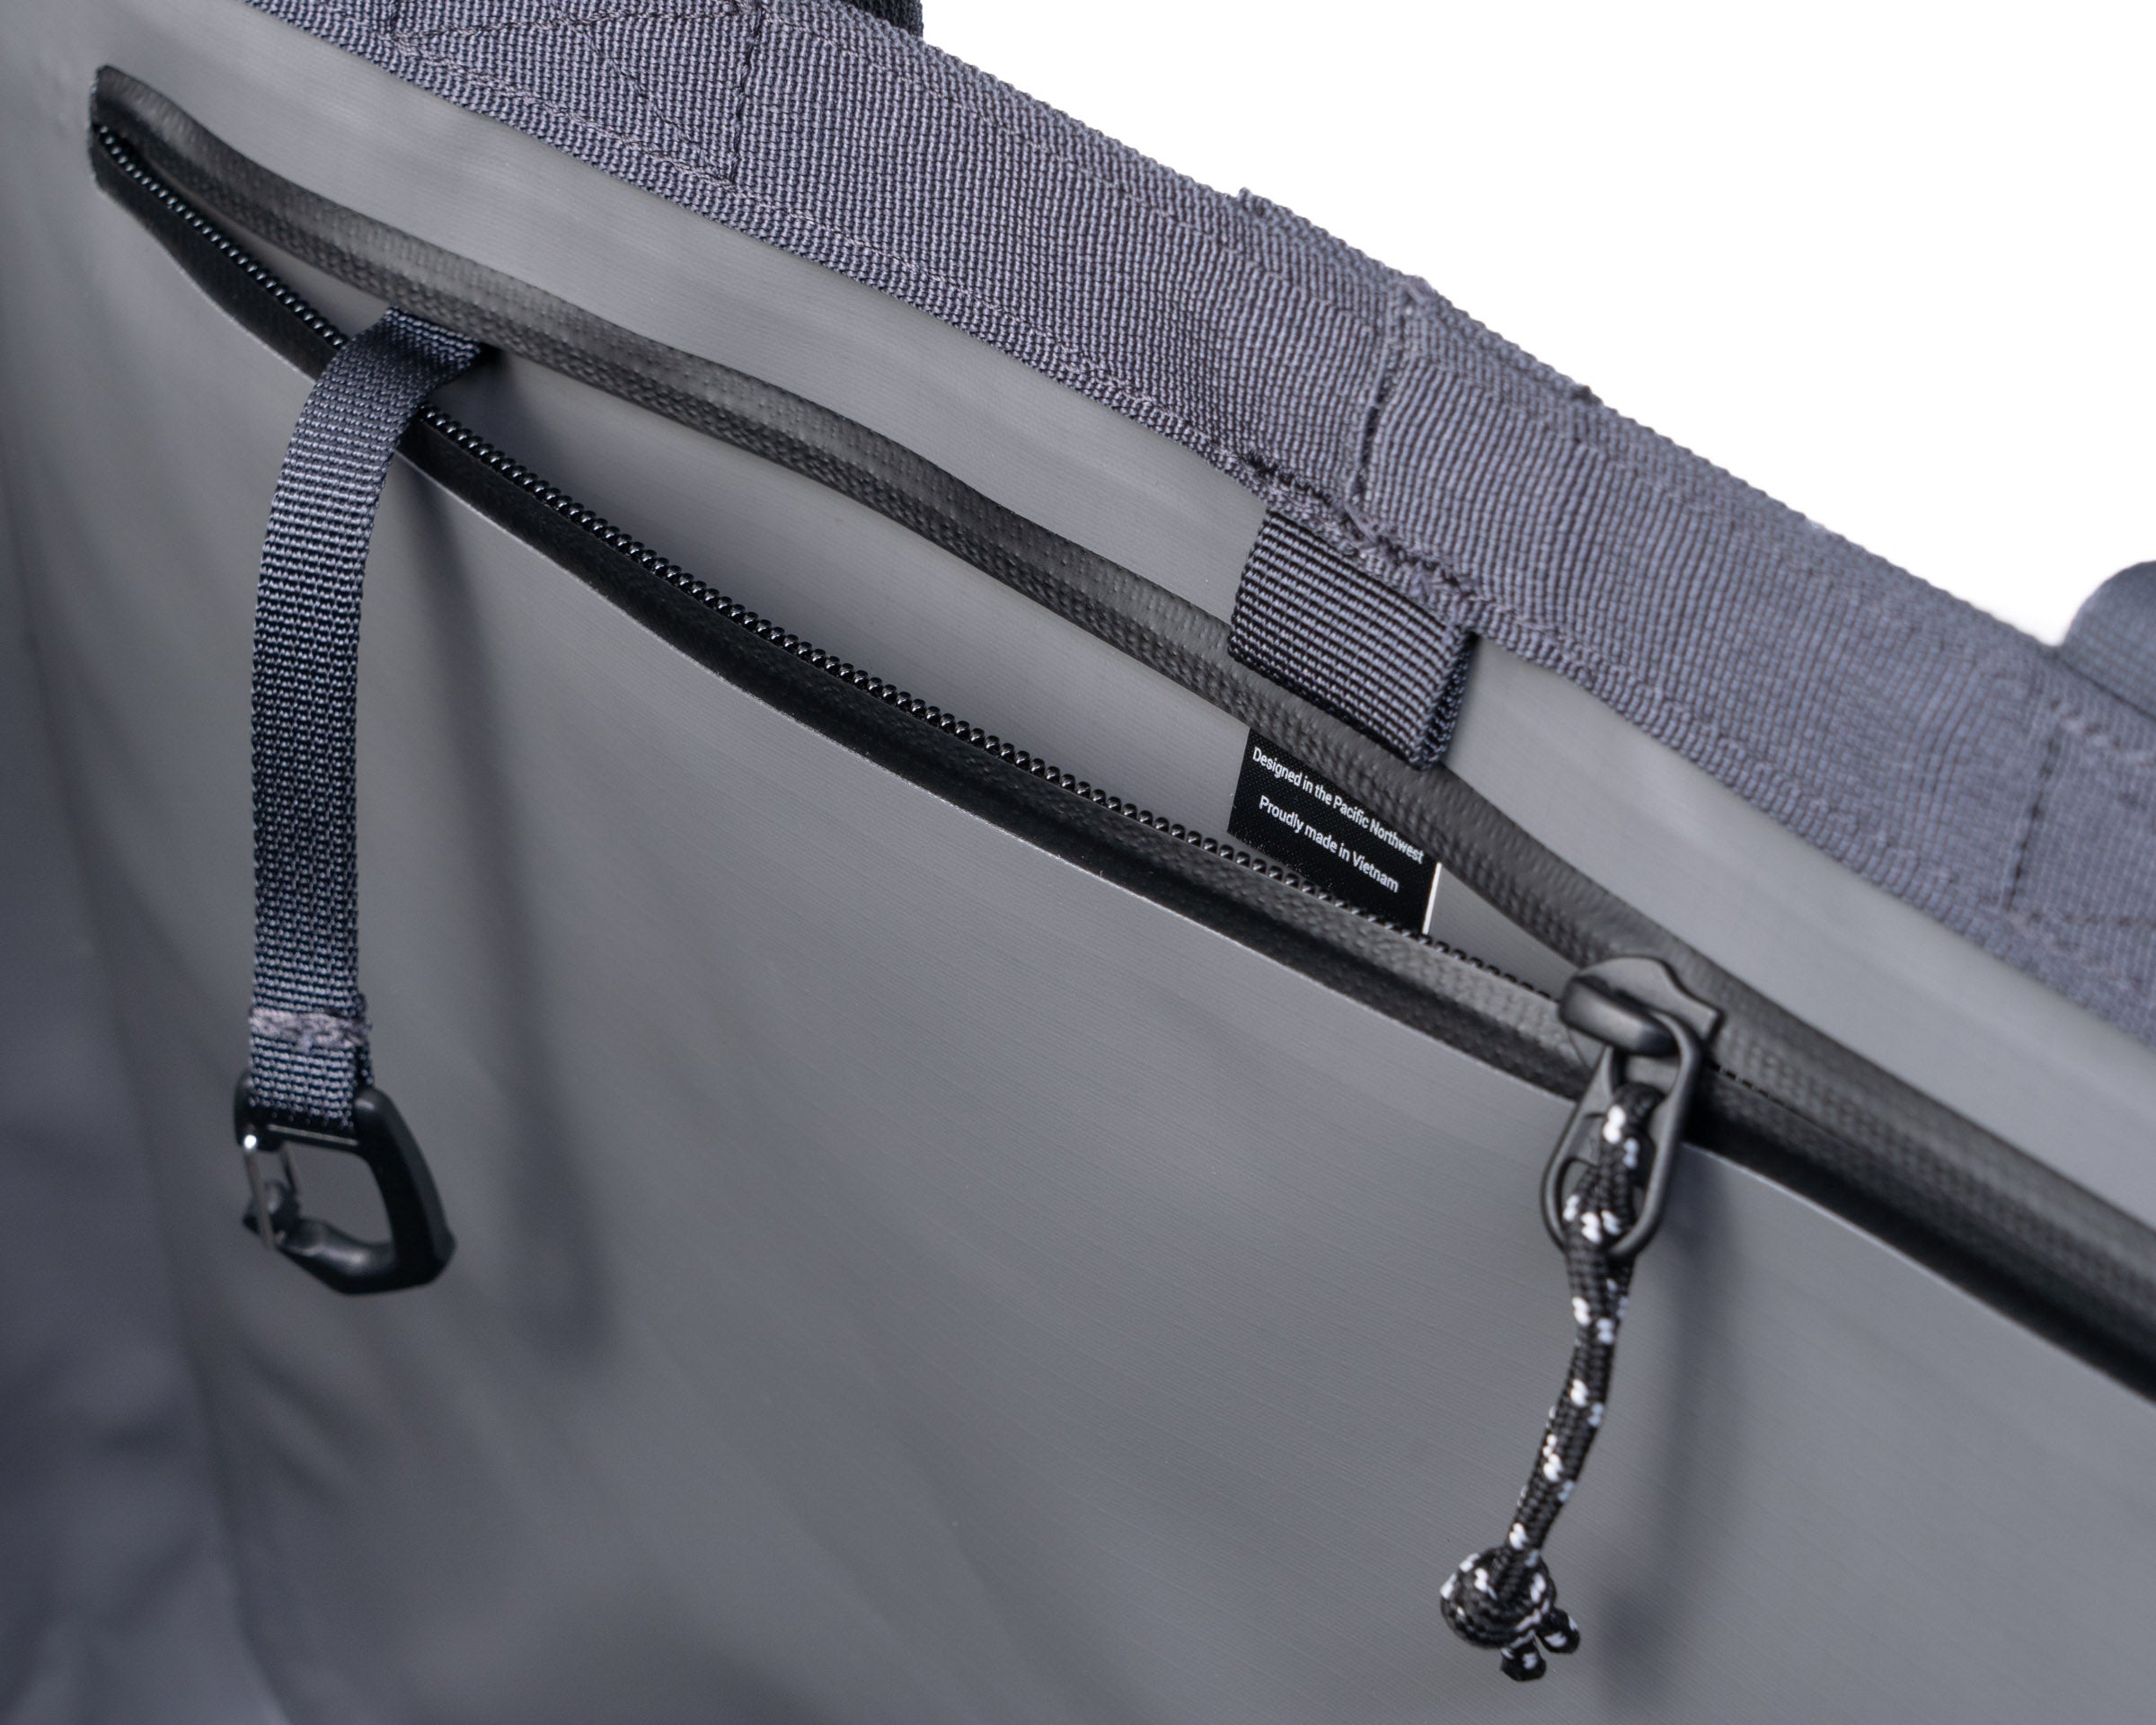
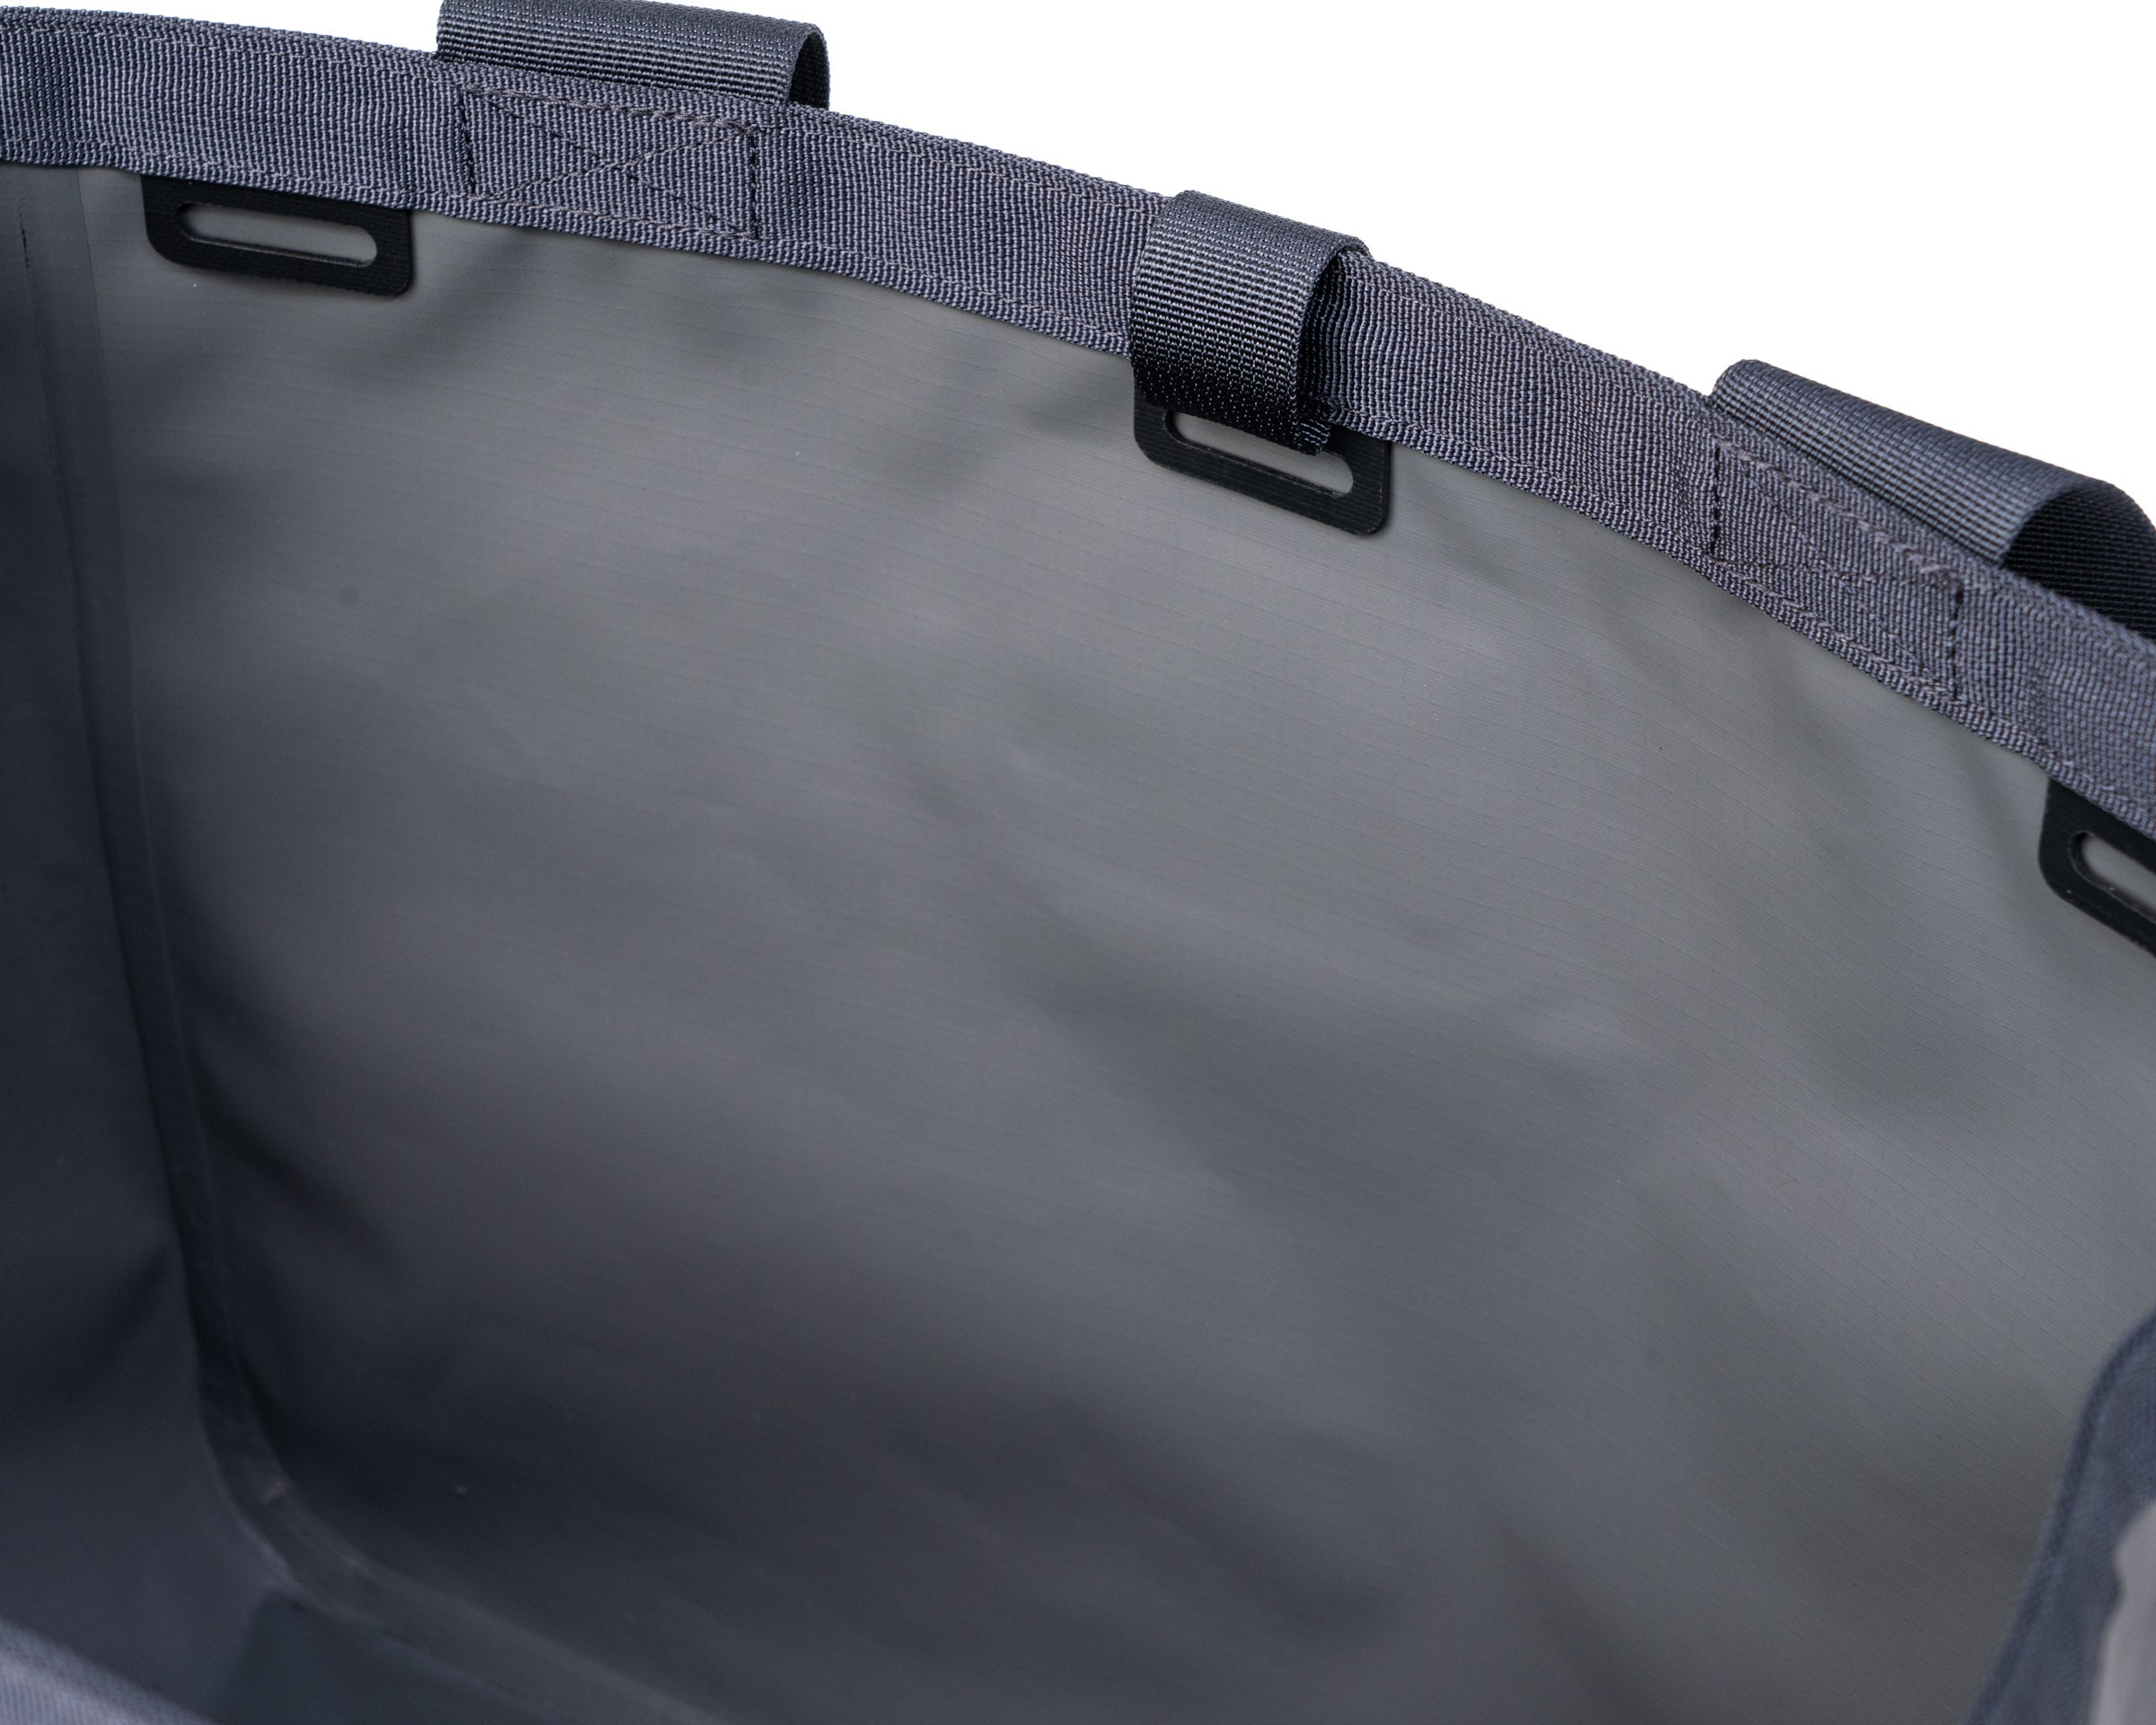
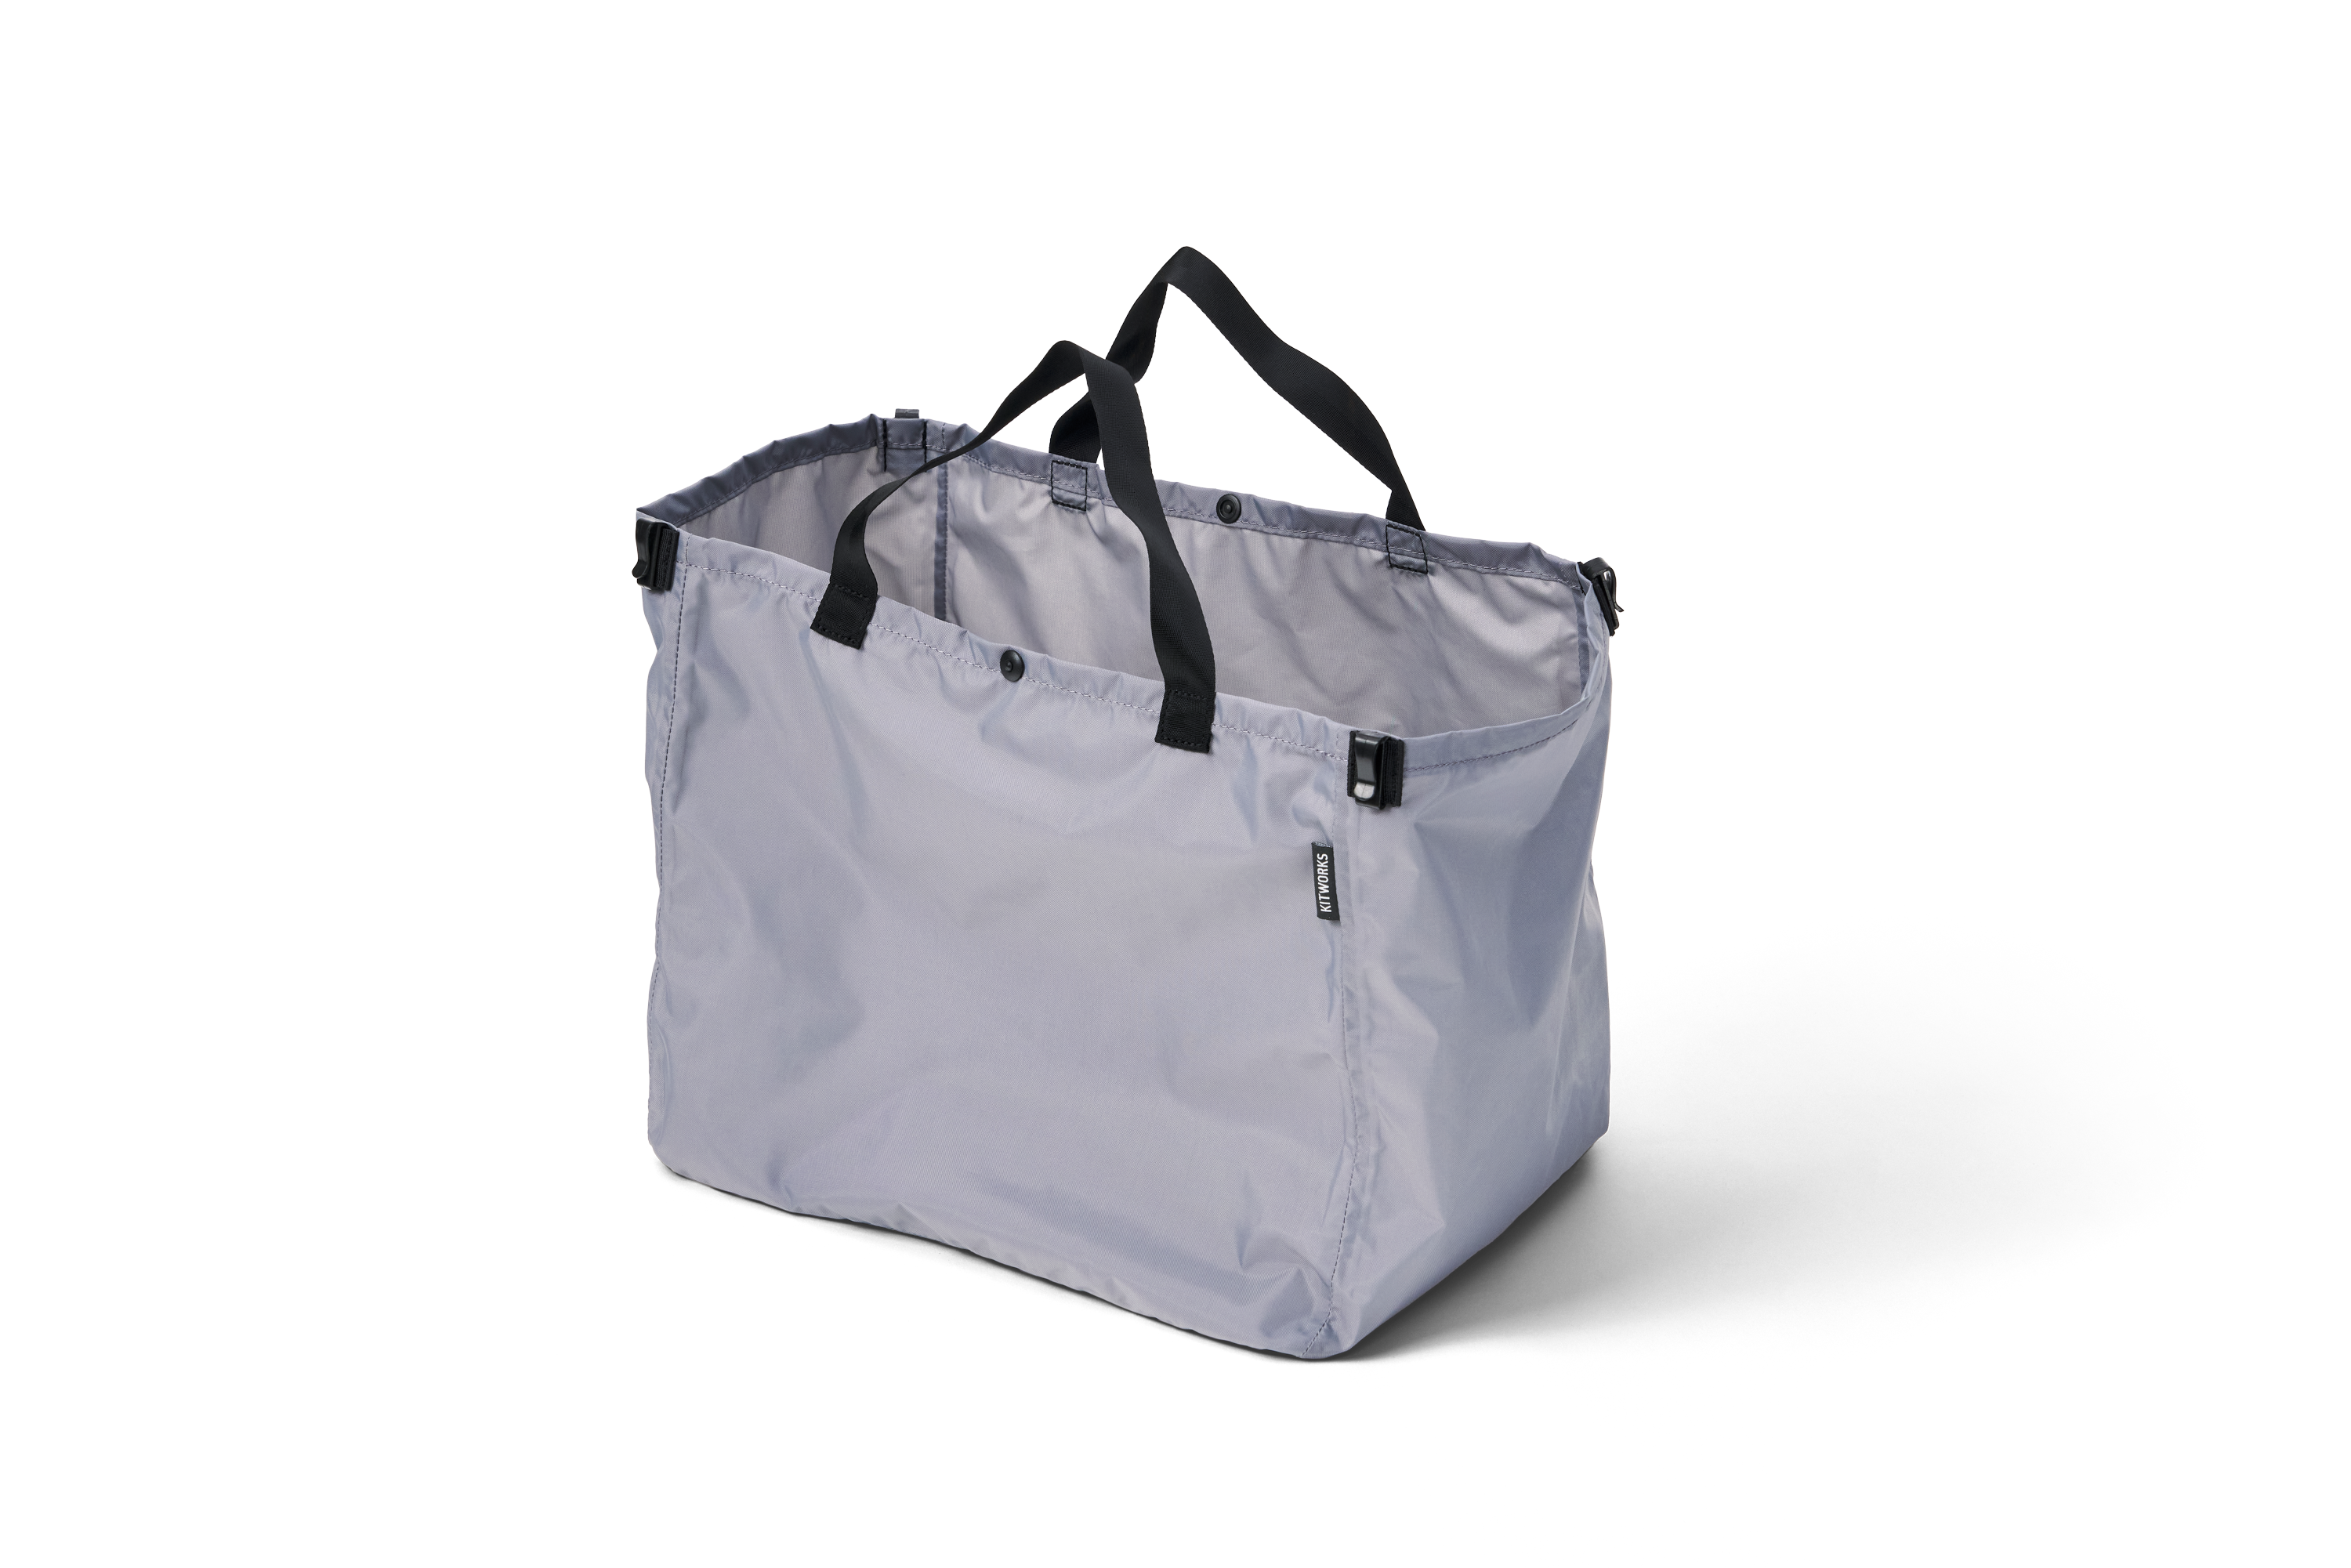
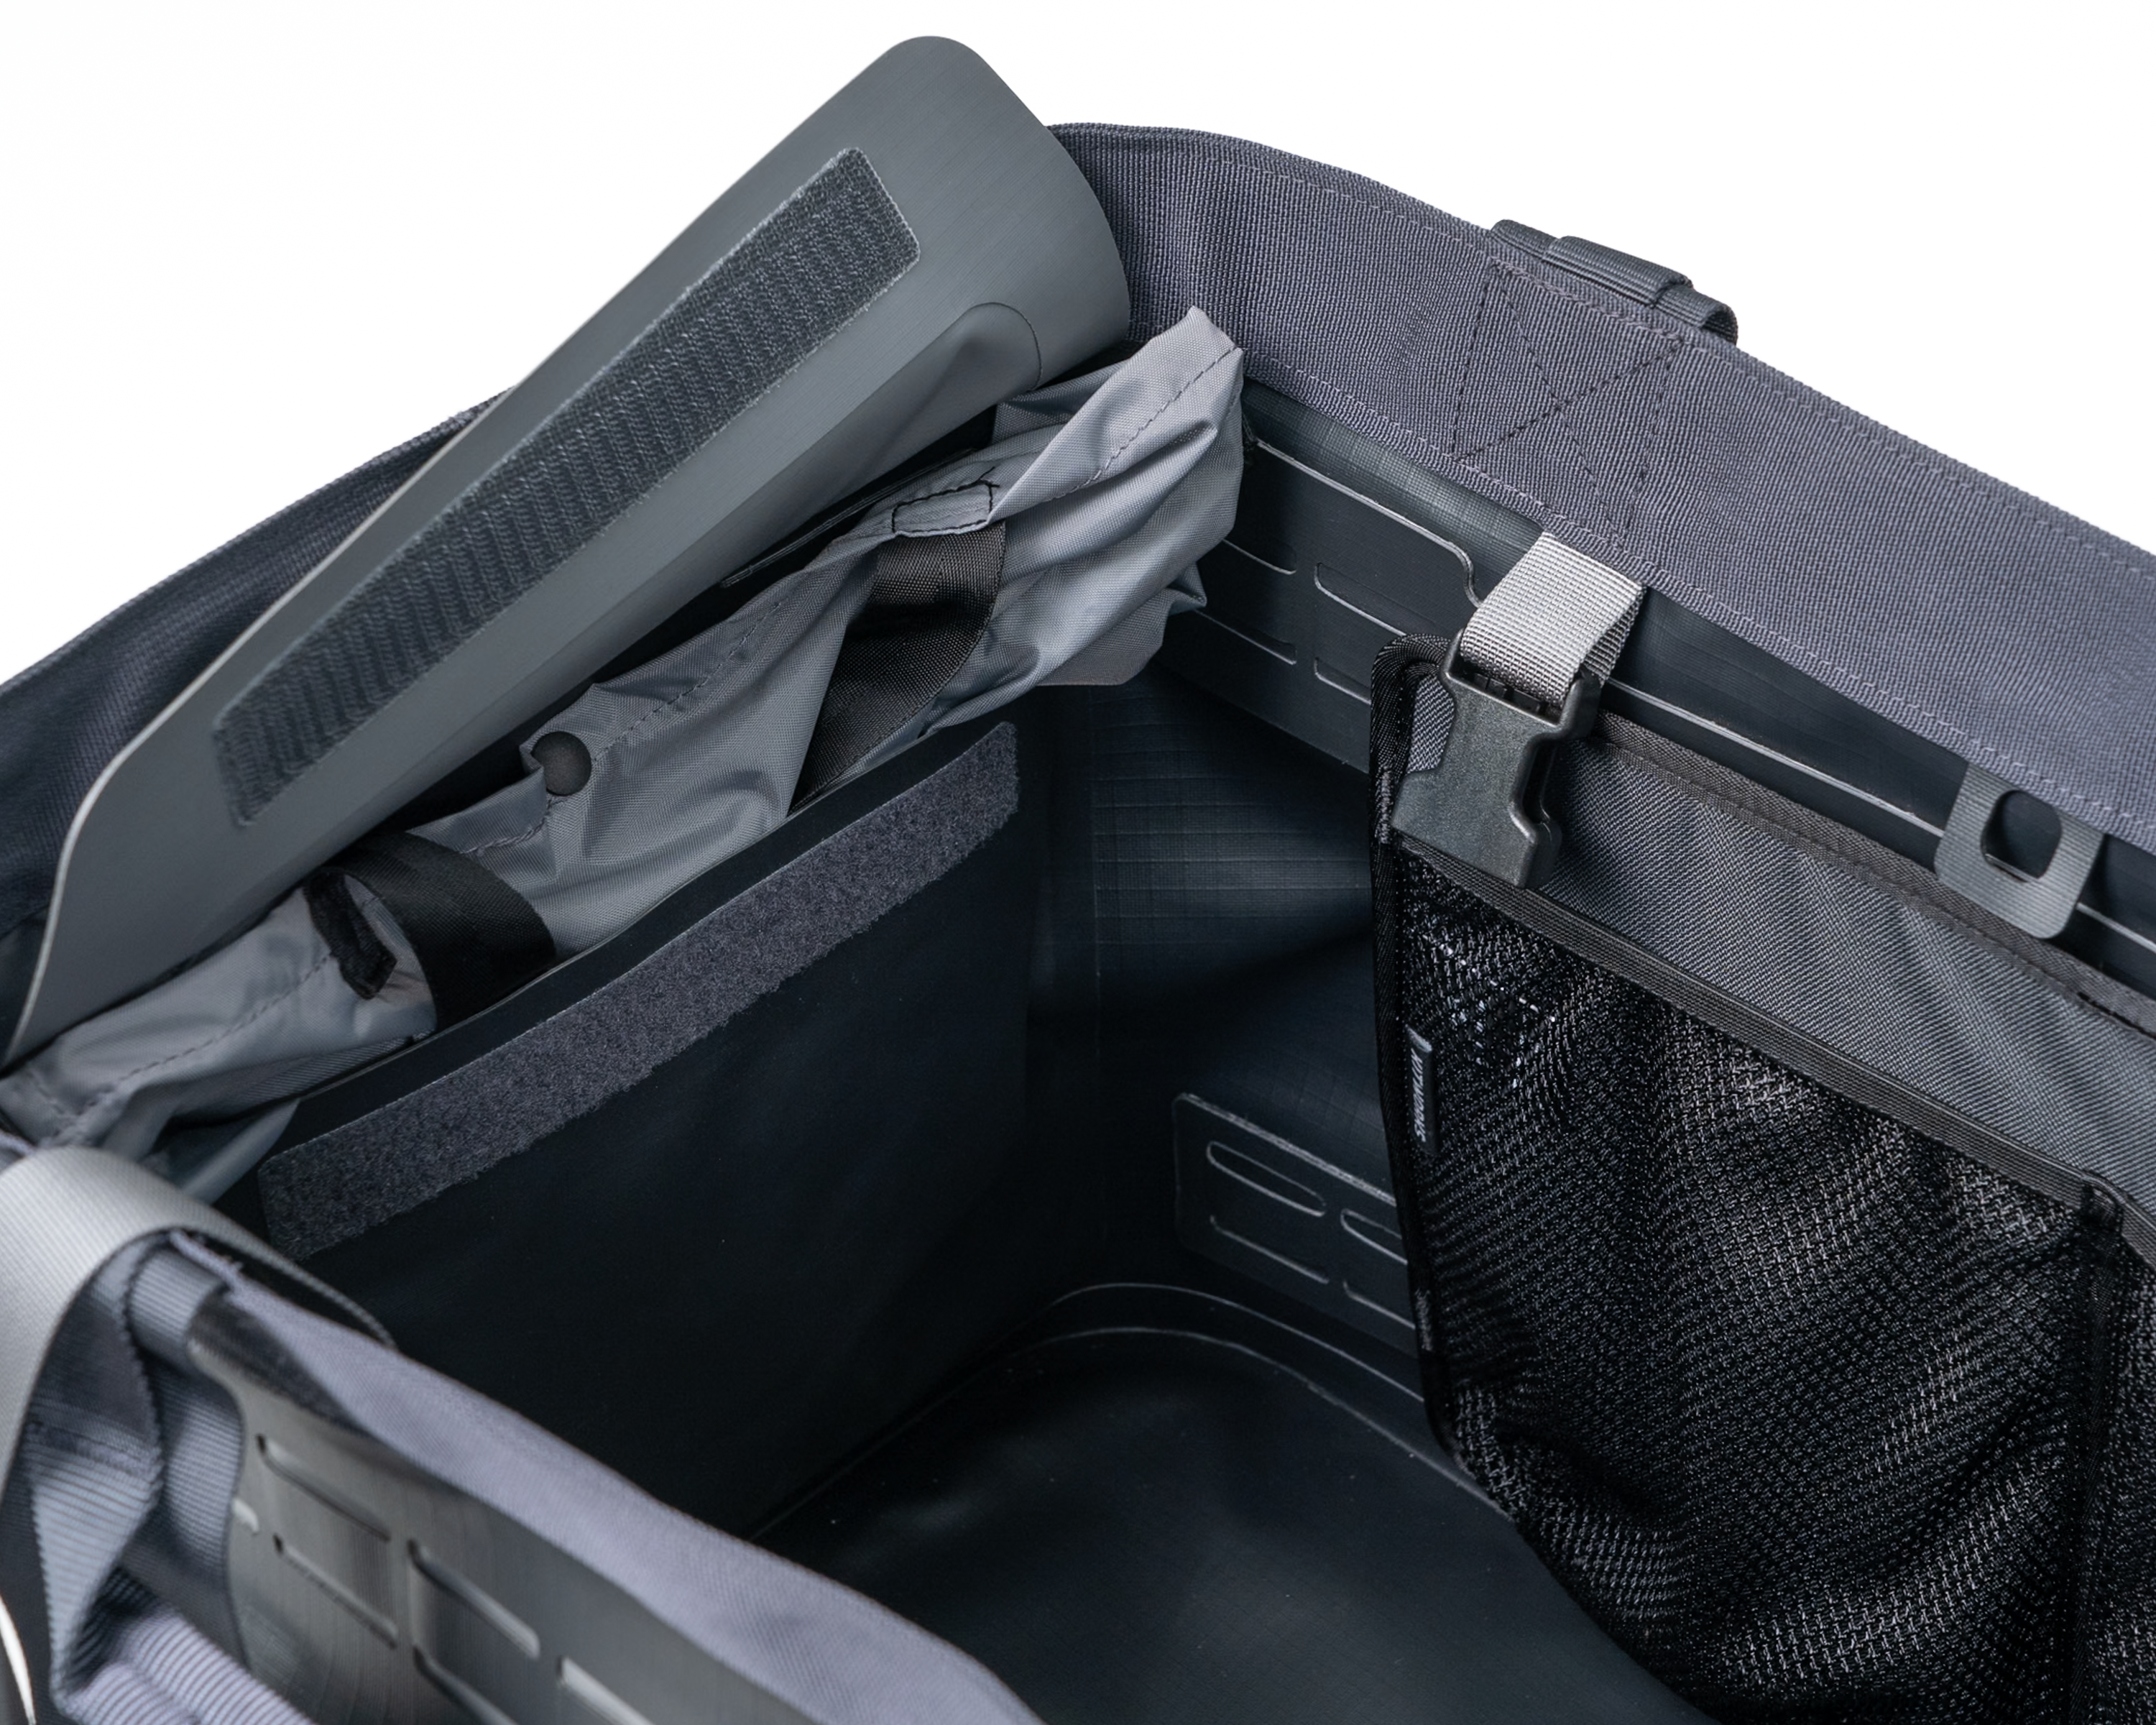
Reset the memory in the top opening.
Your Gear Tote uses semi-rigid material under the top webbing (recycled HDPE) - this keeps the bag upright and open. But it needs to be bent back into shape after being folded. Just fold the corners open and the side panels against the folds.
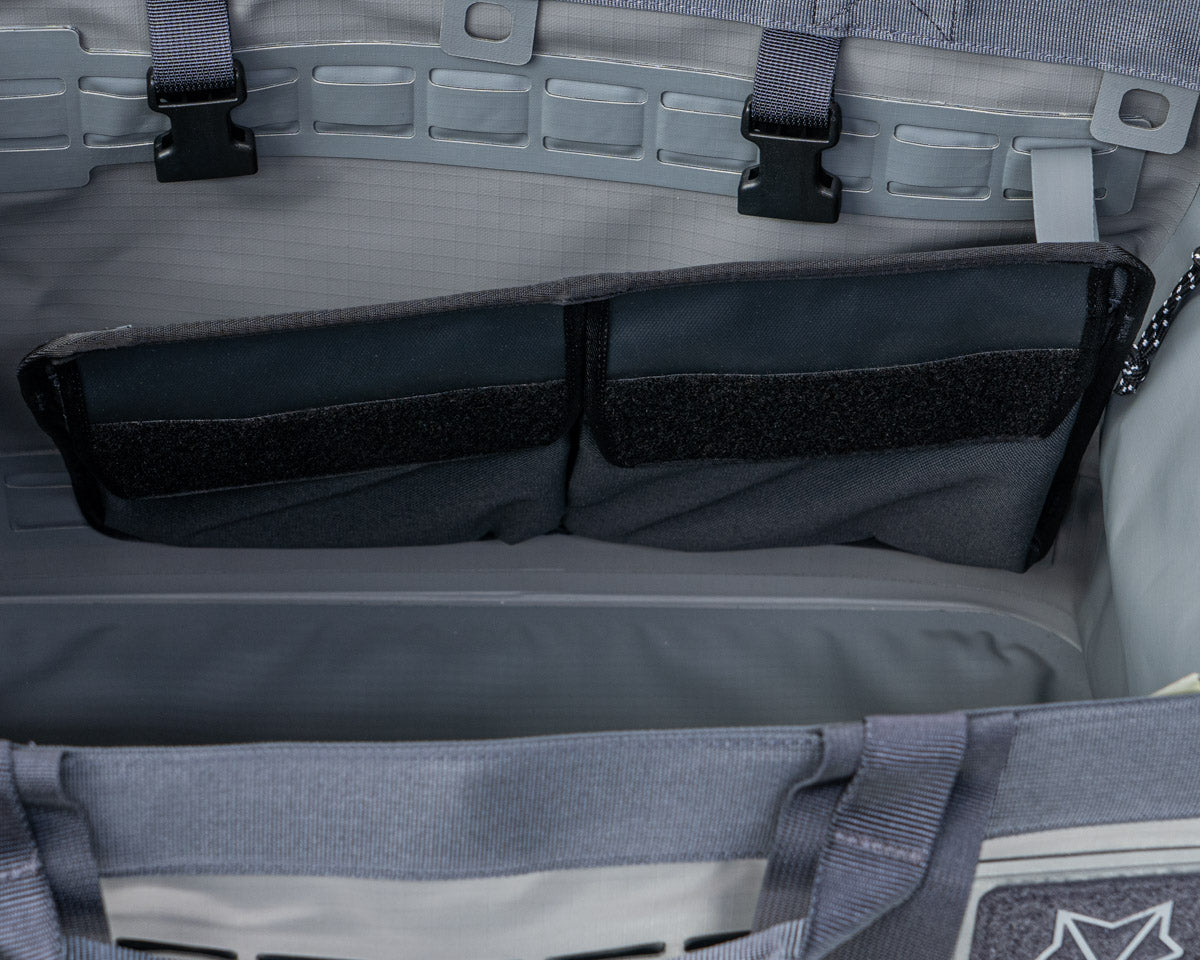
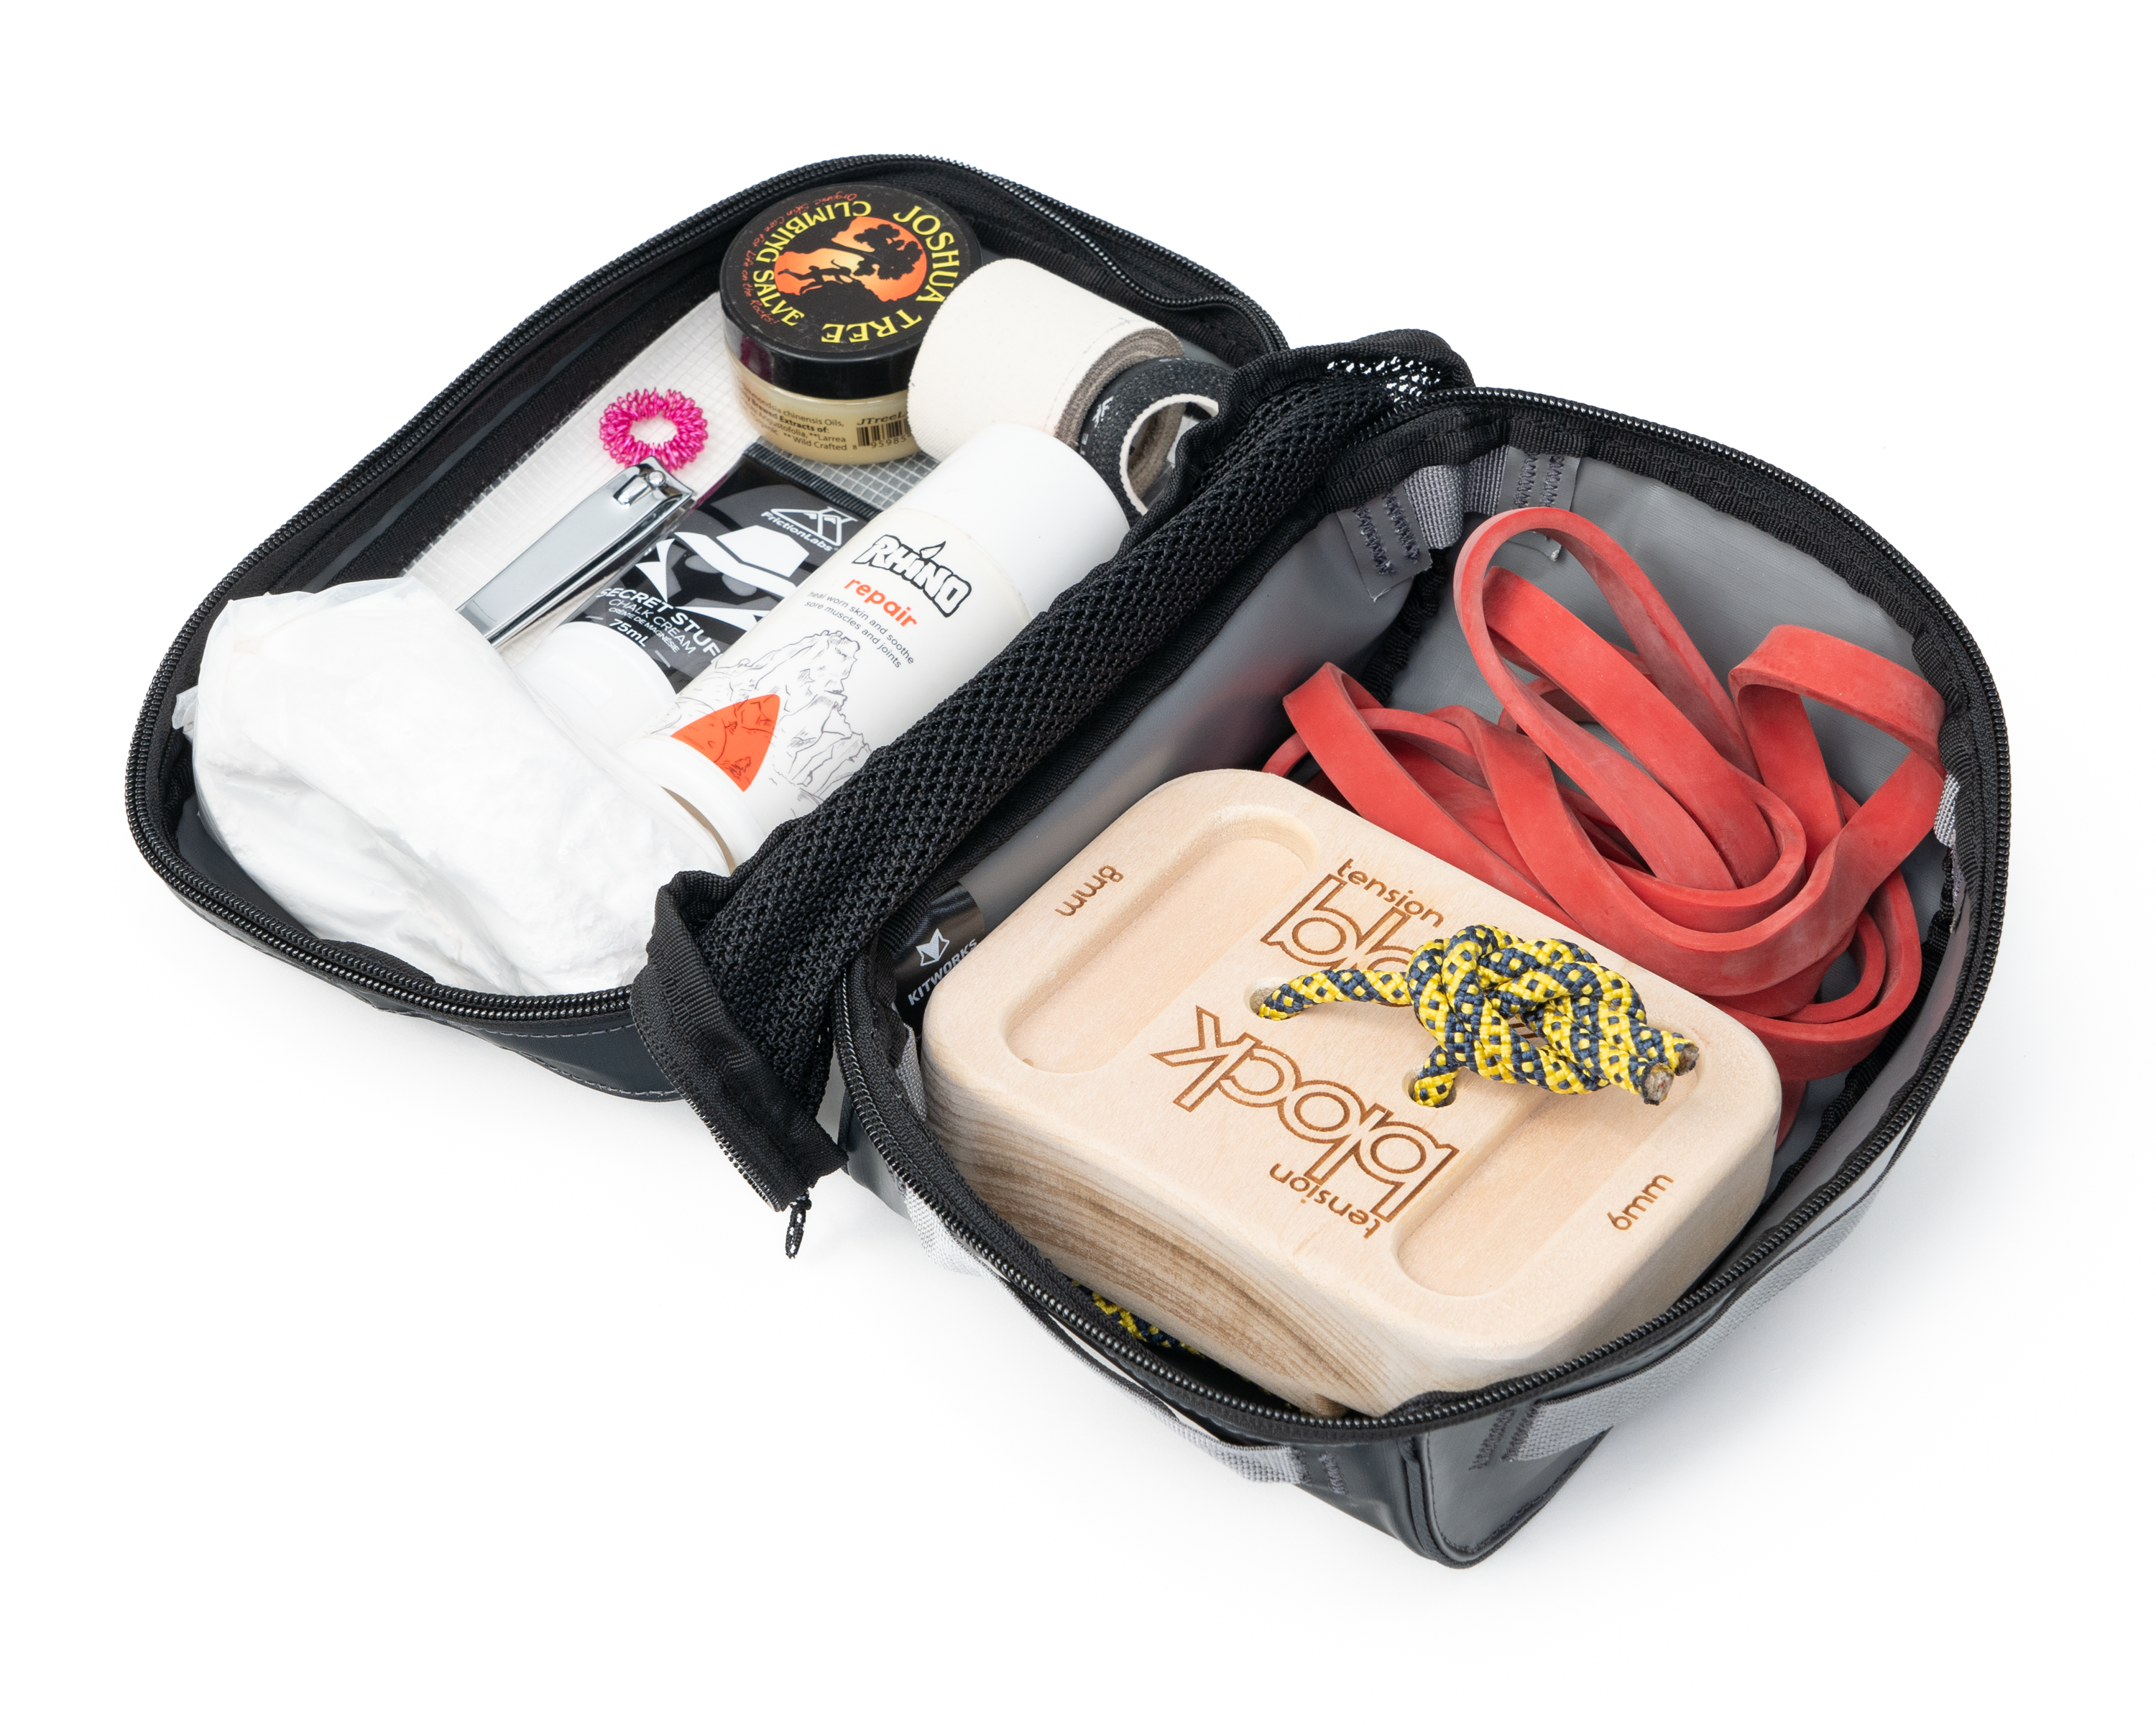
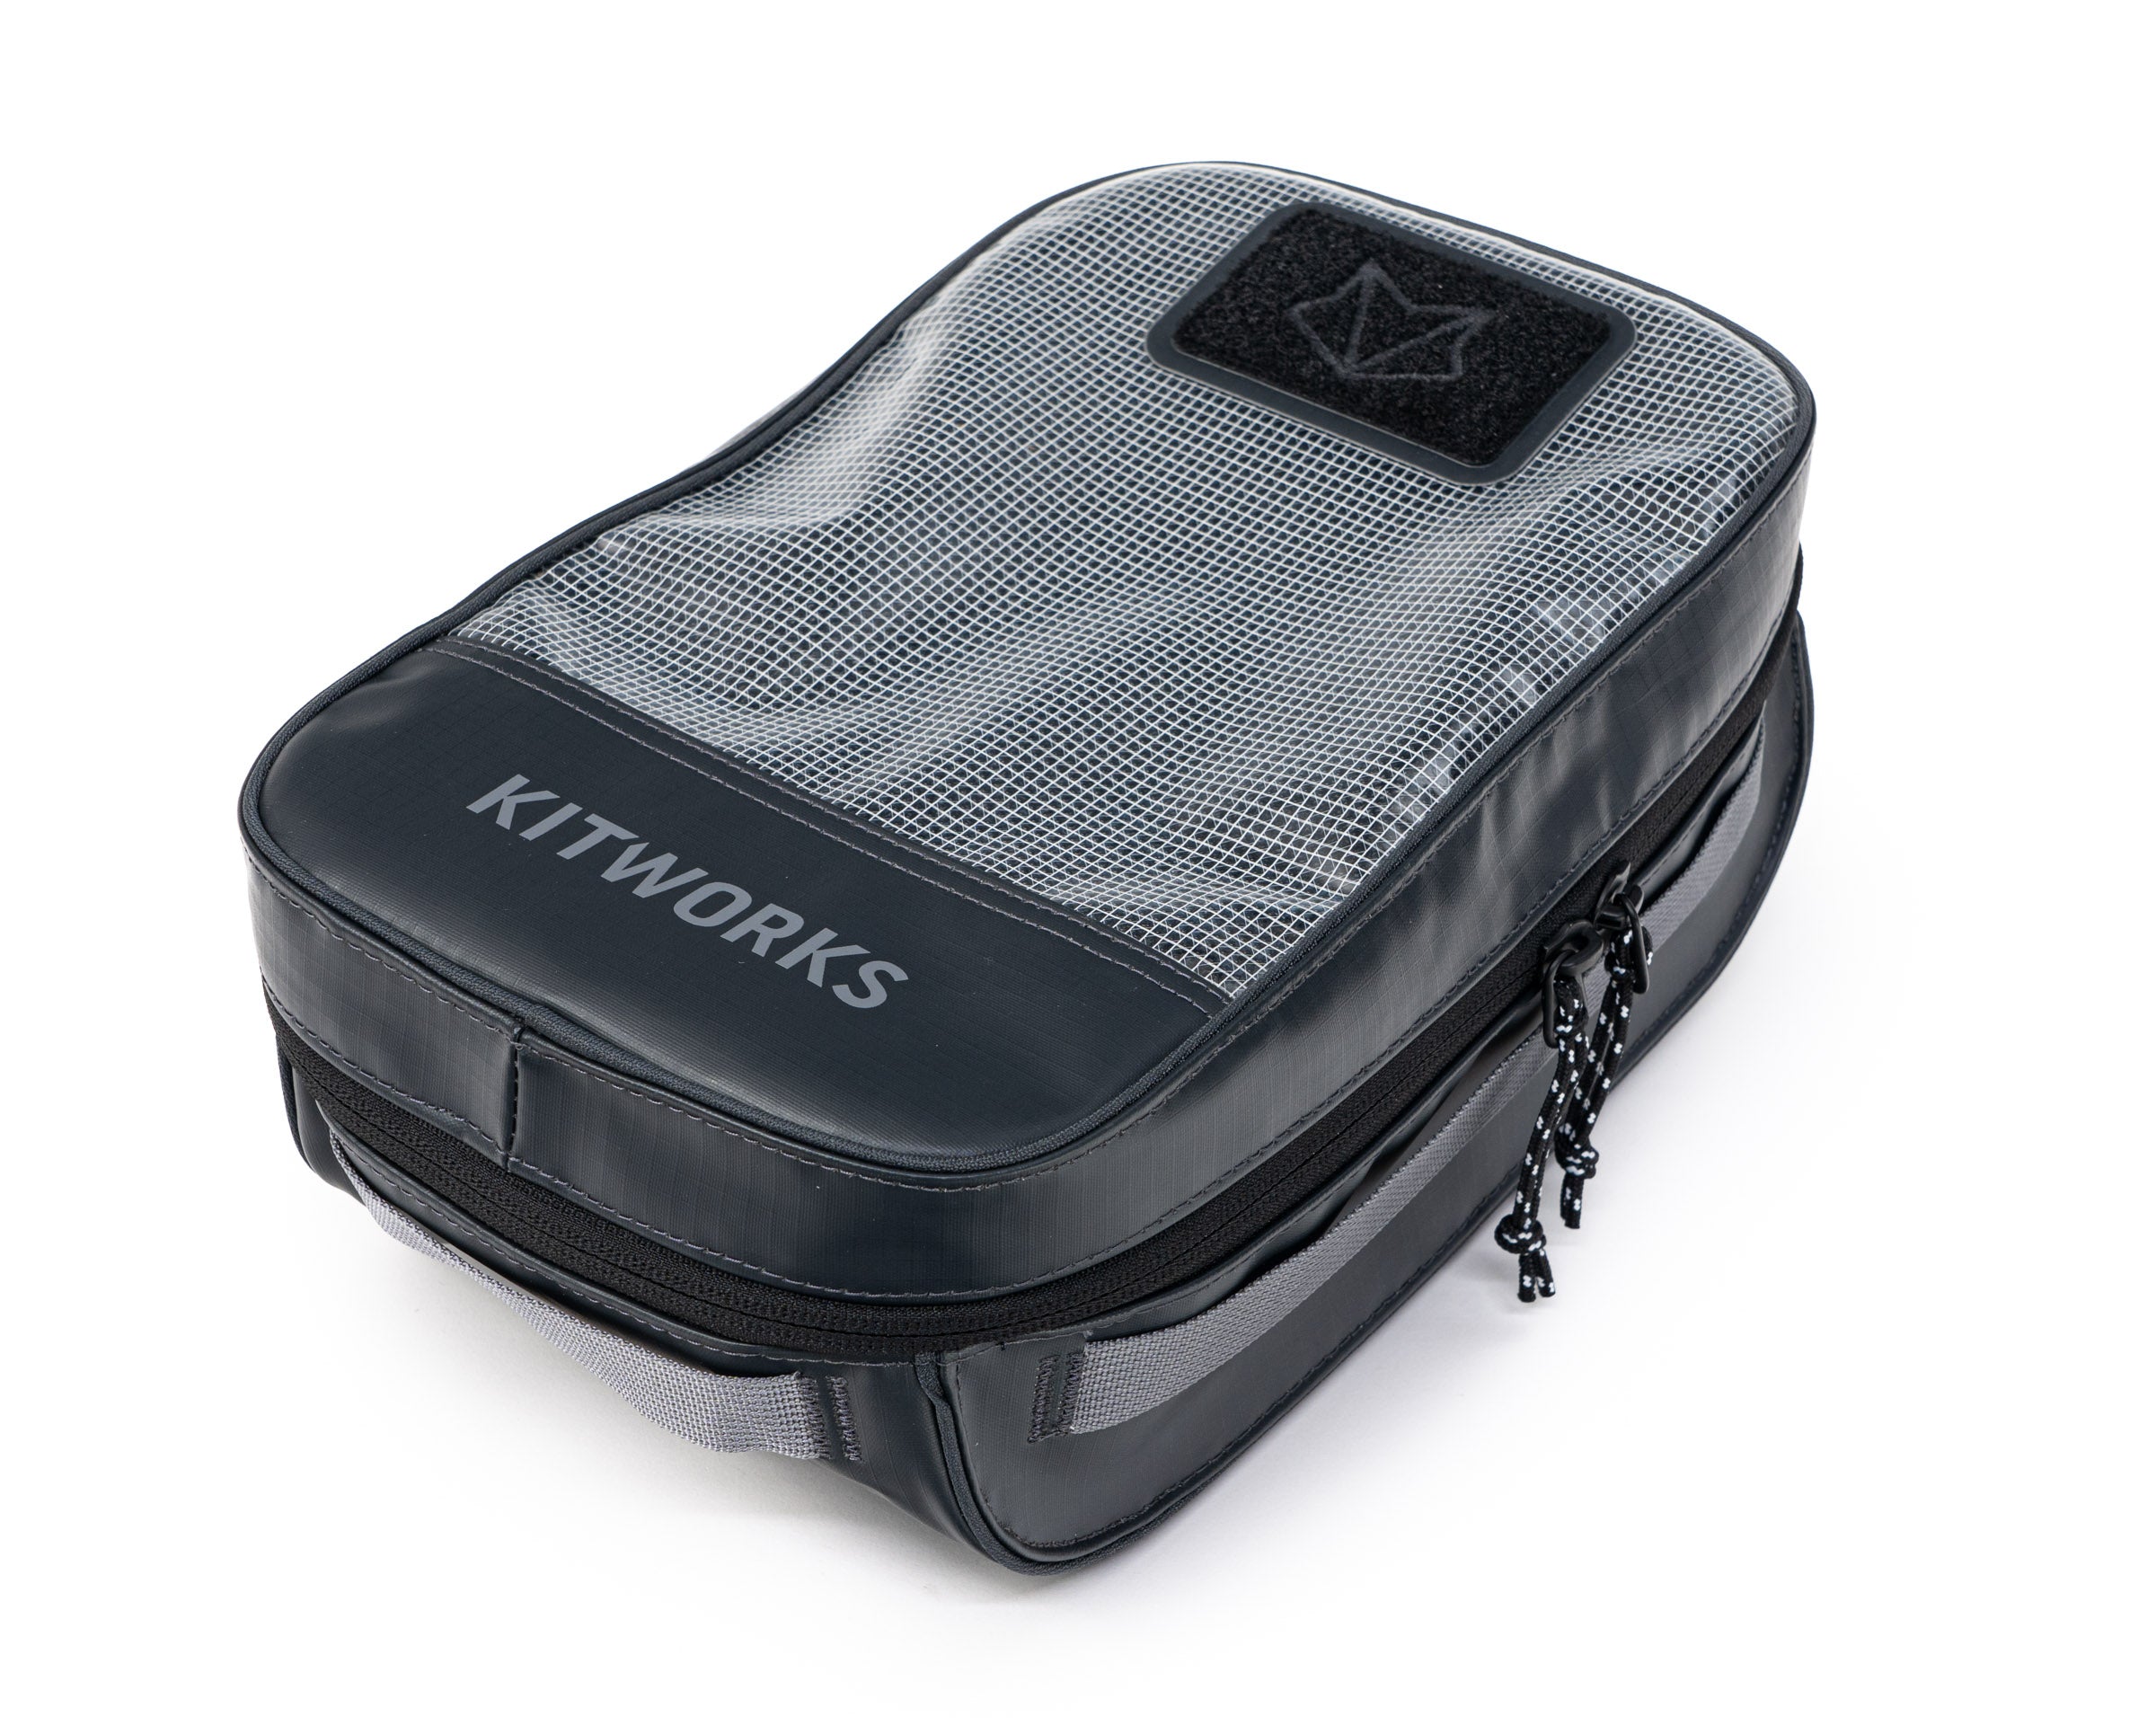
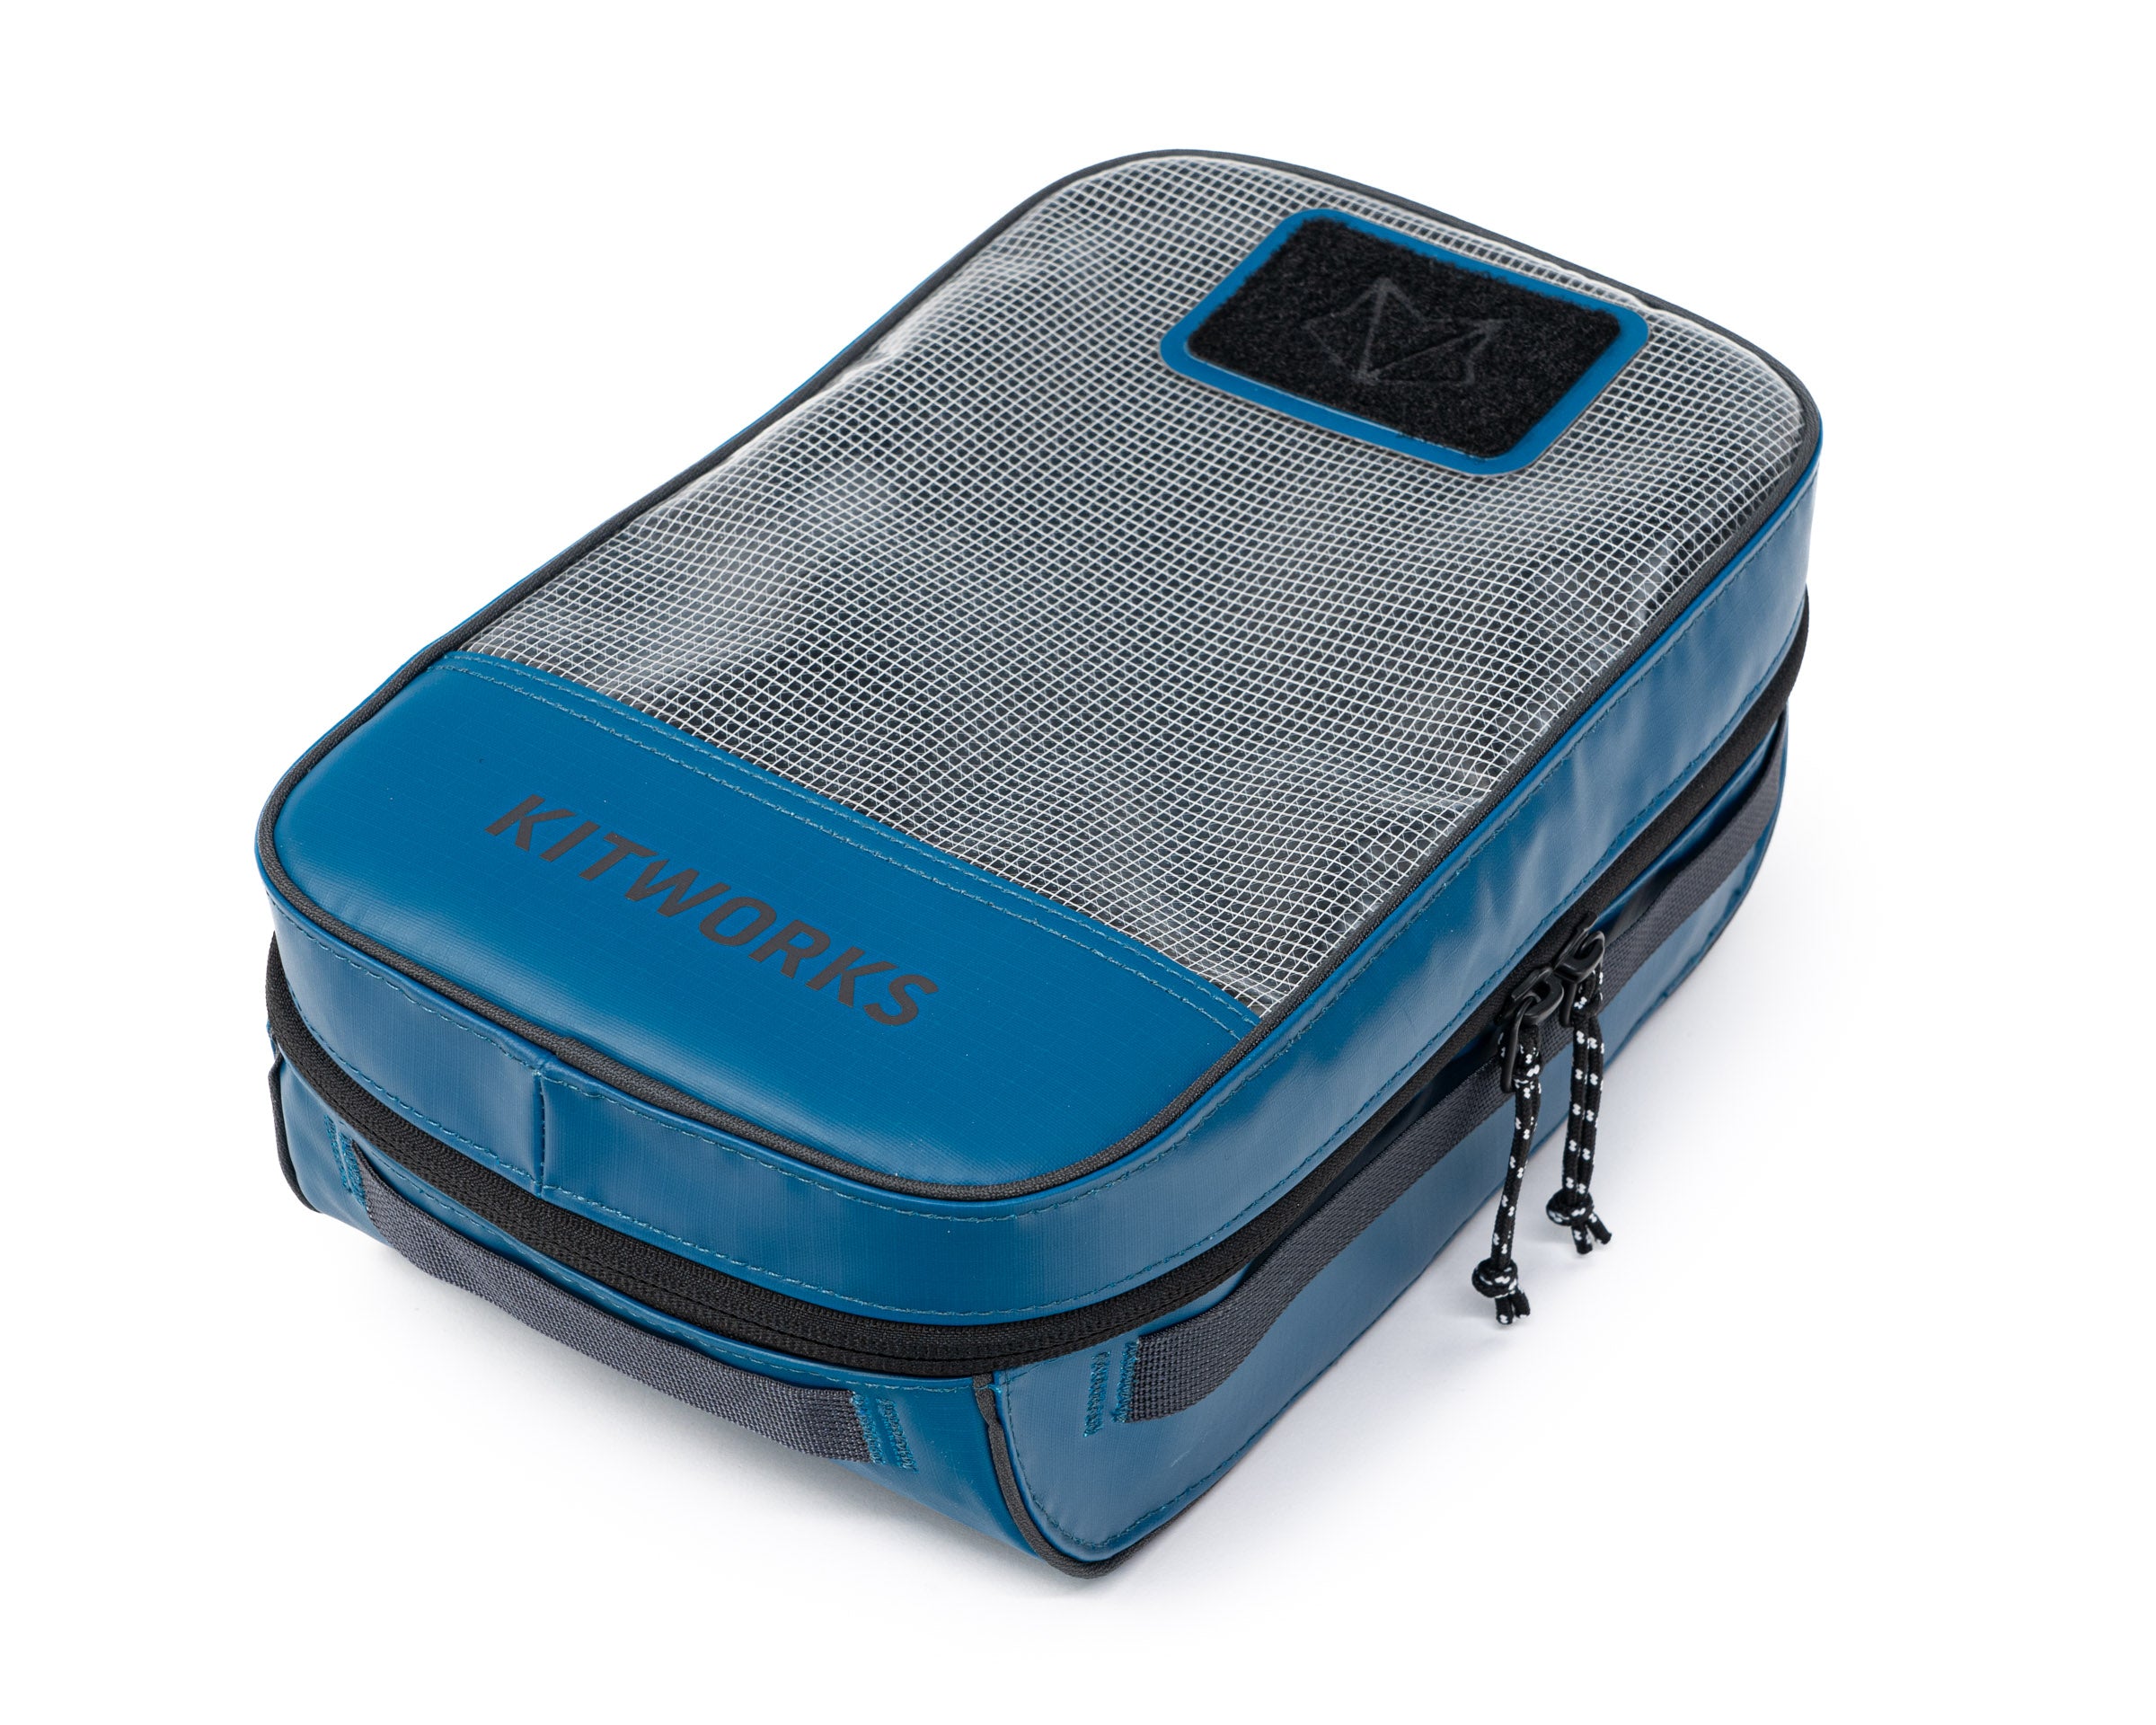
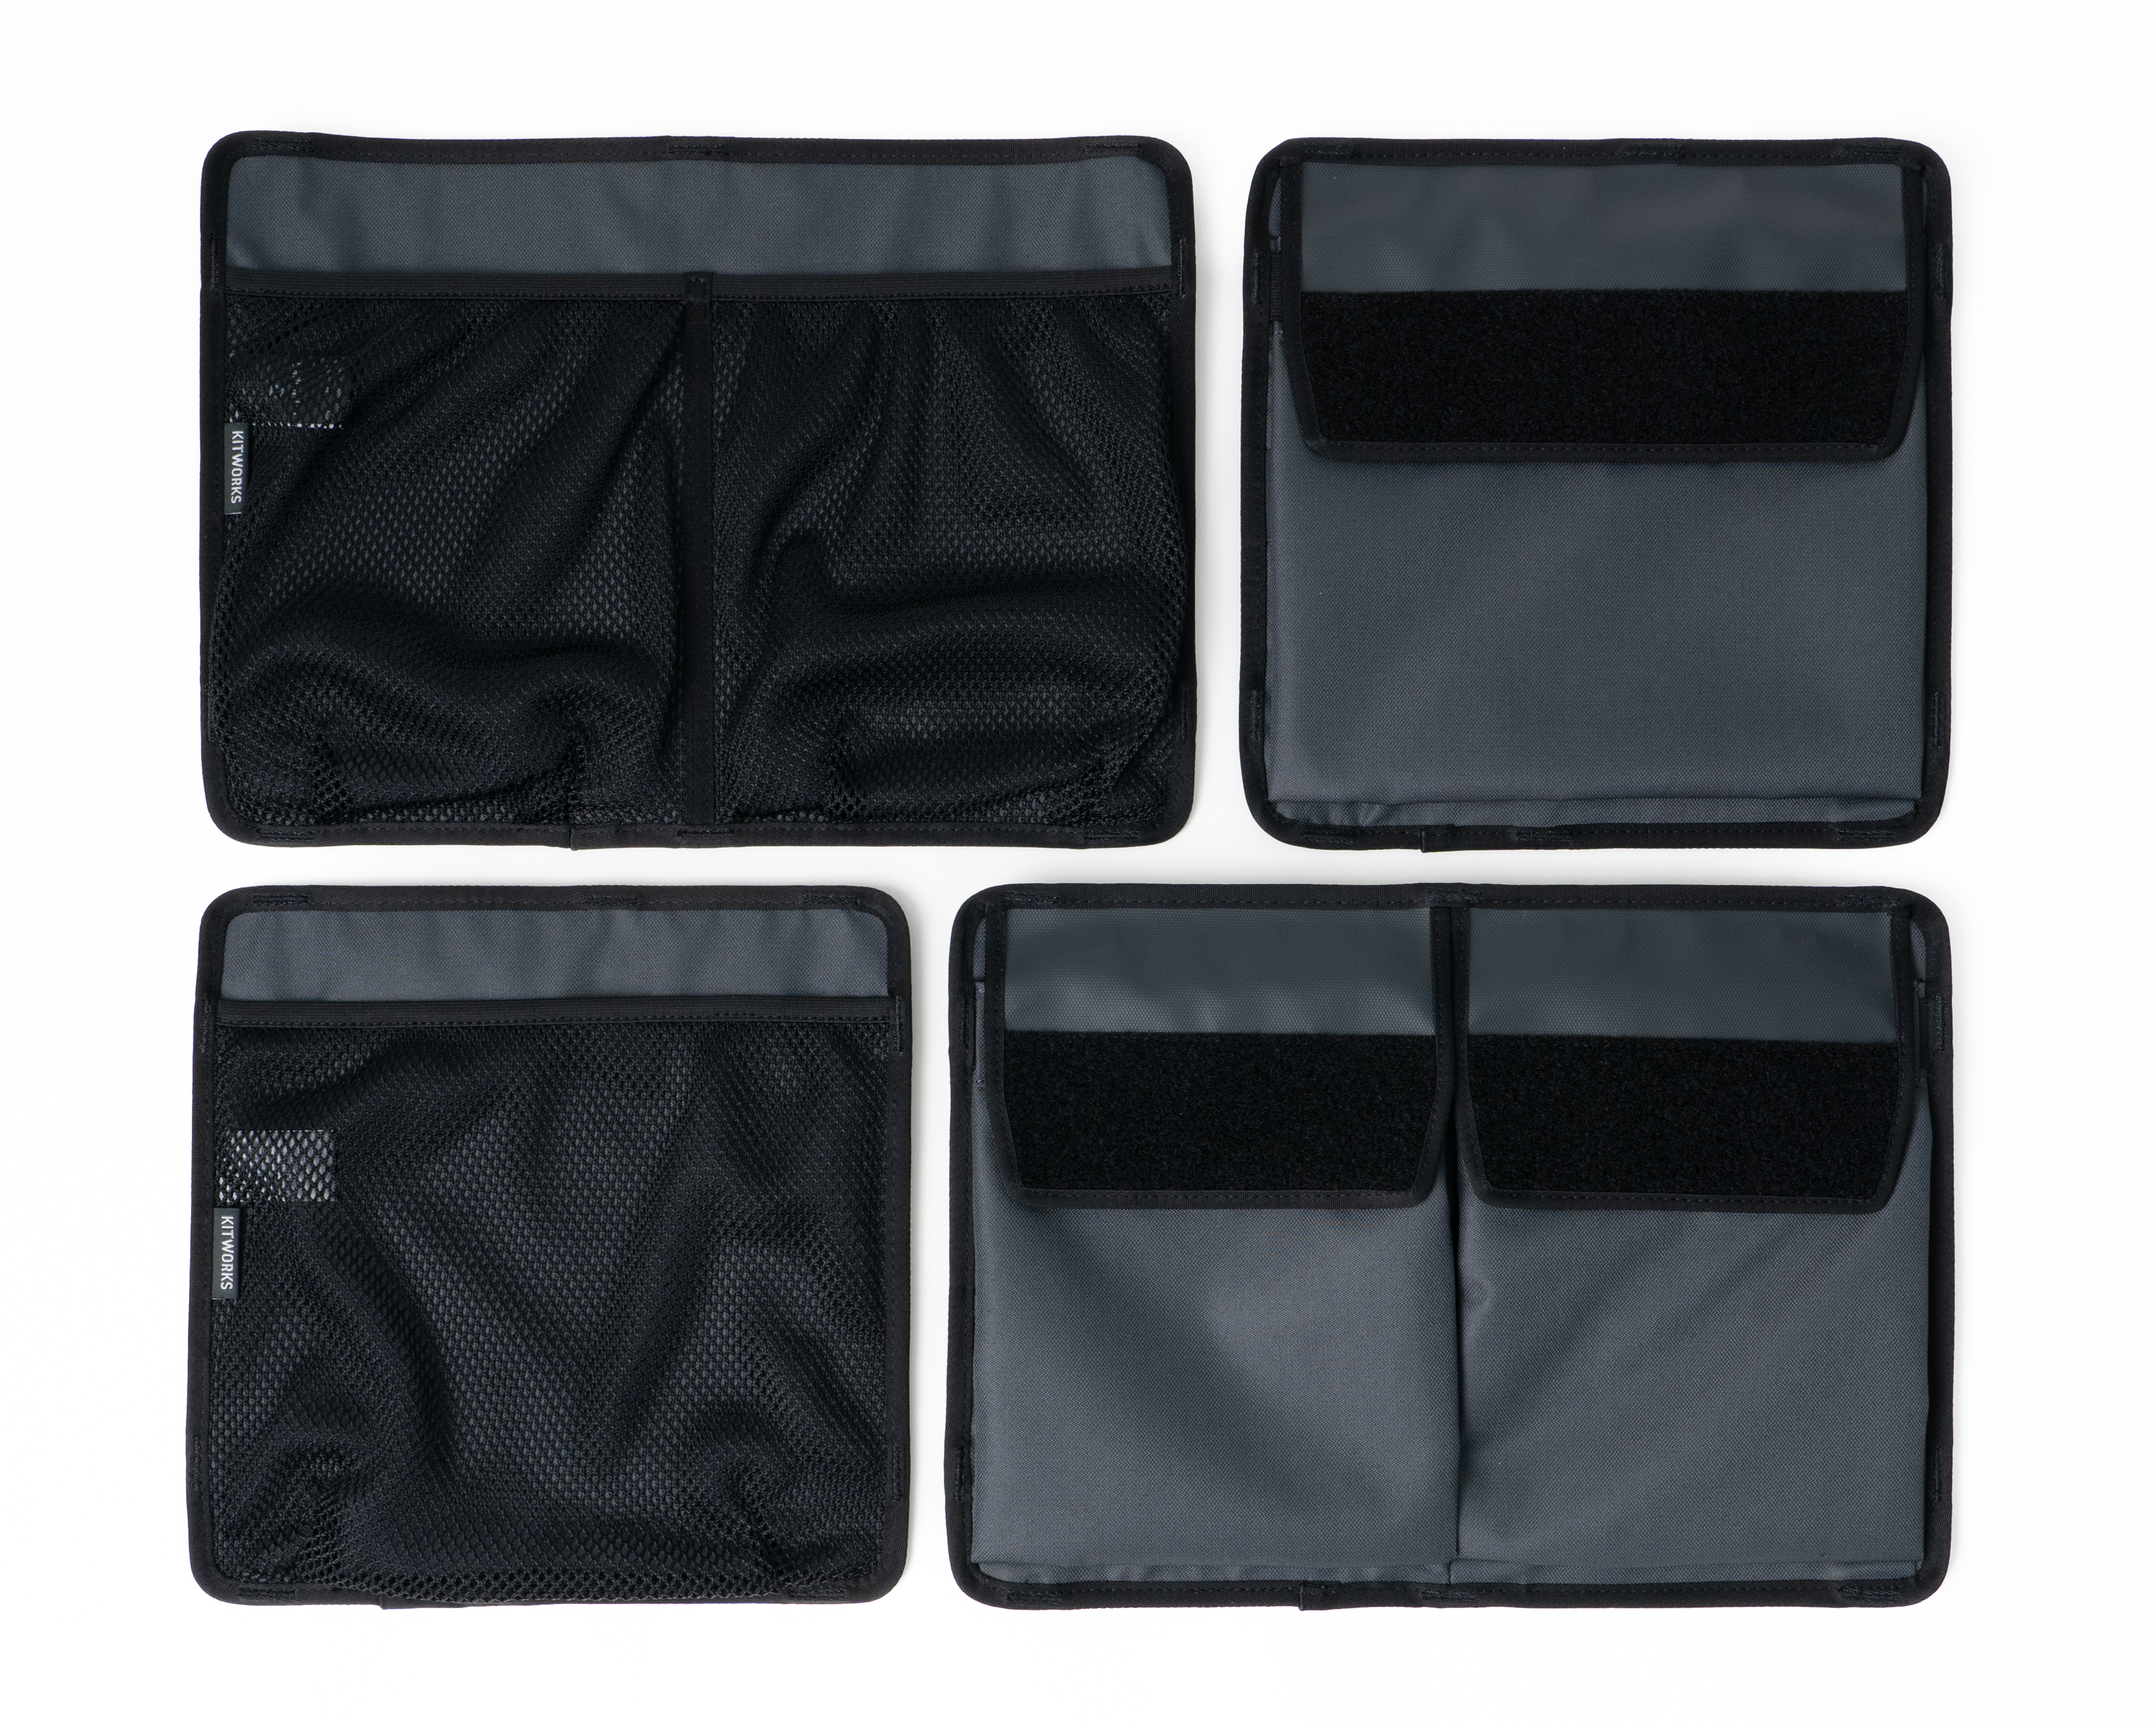
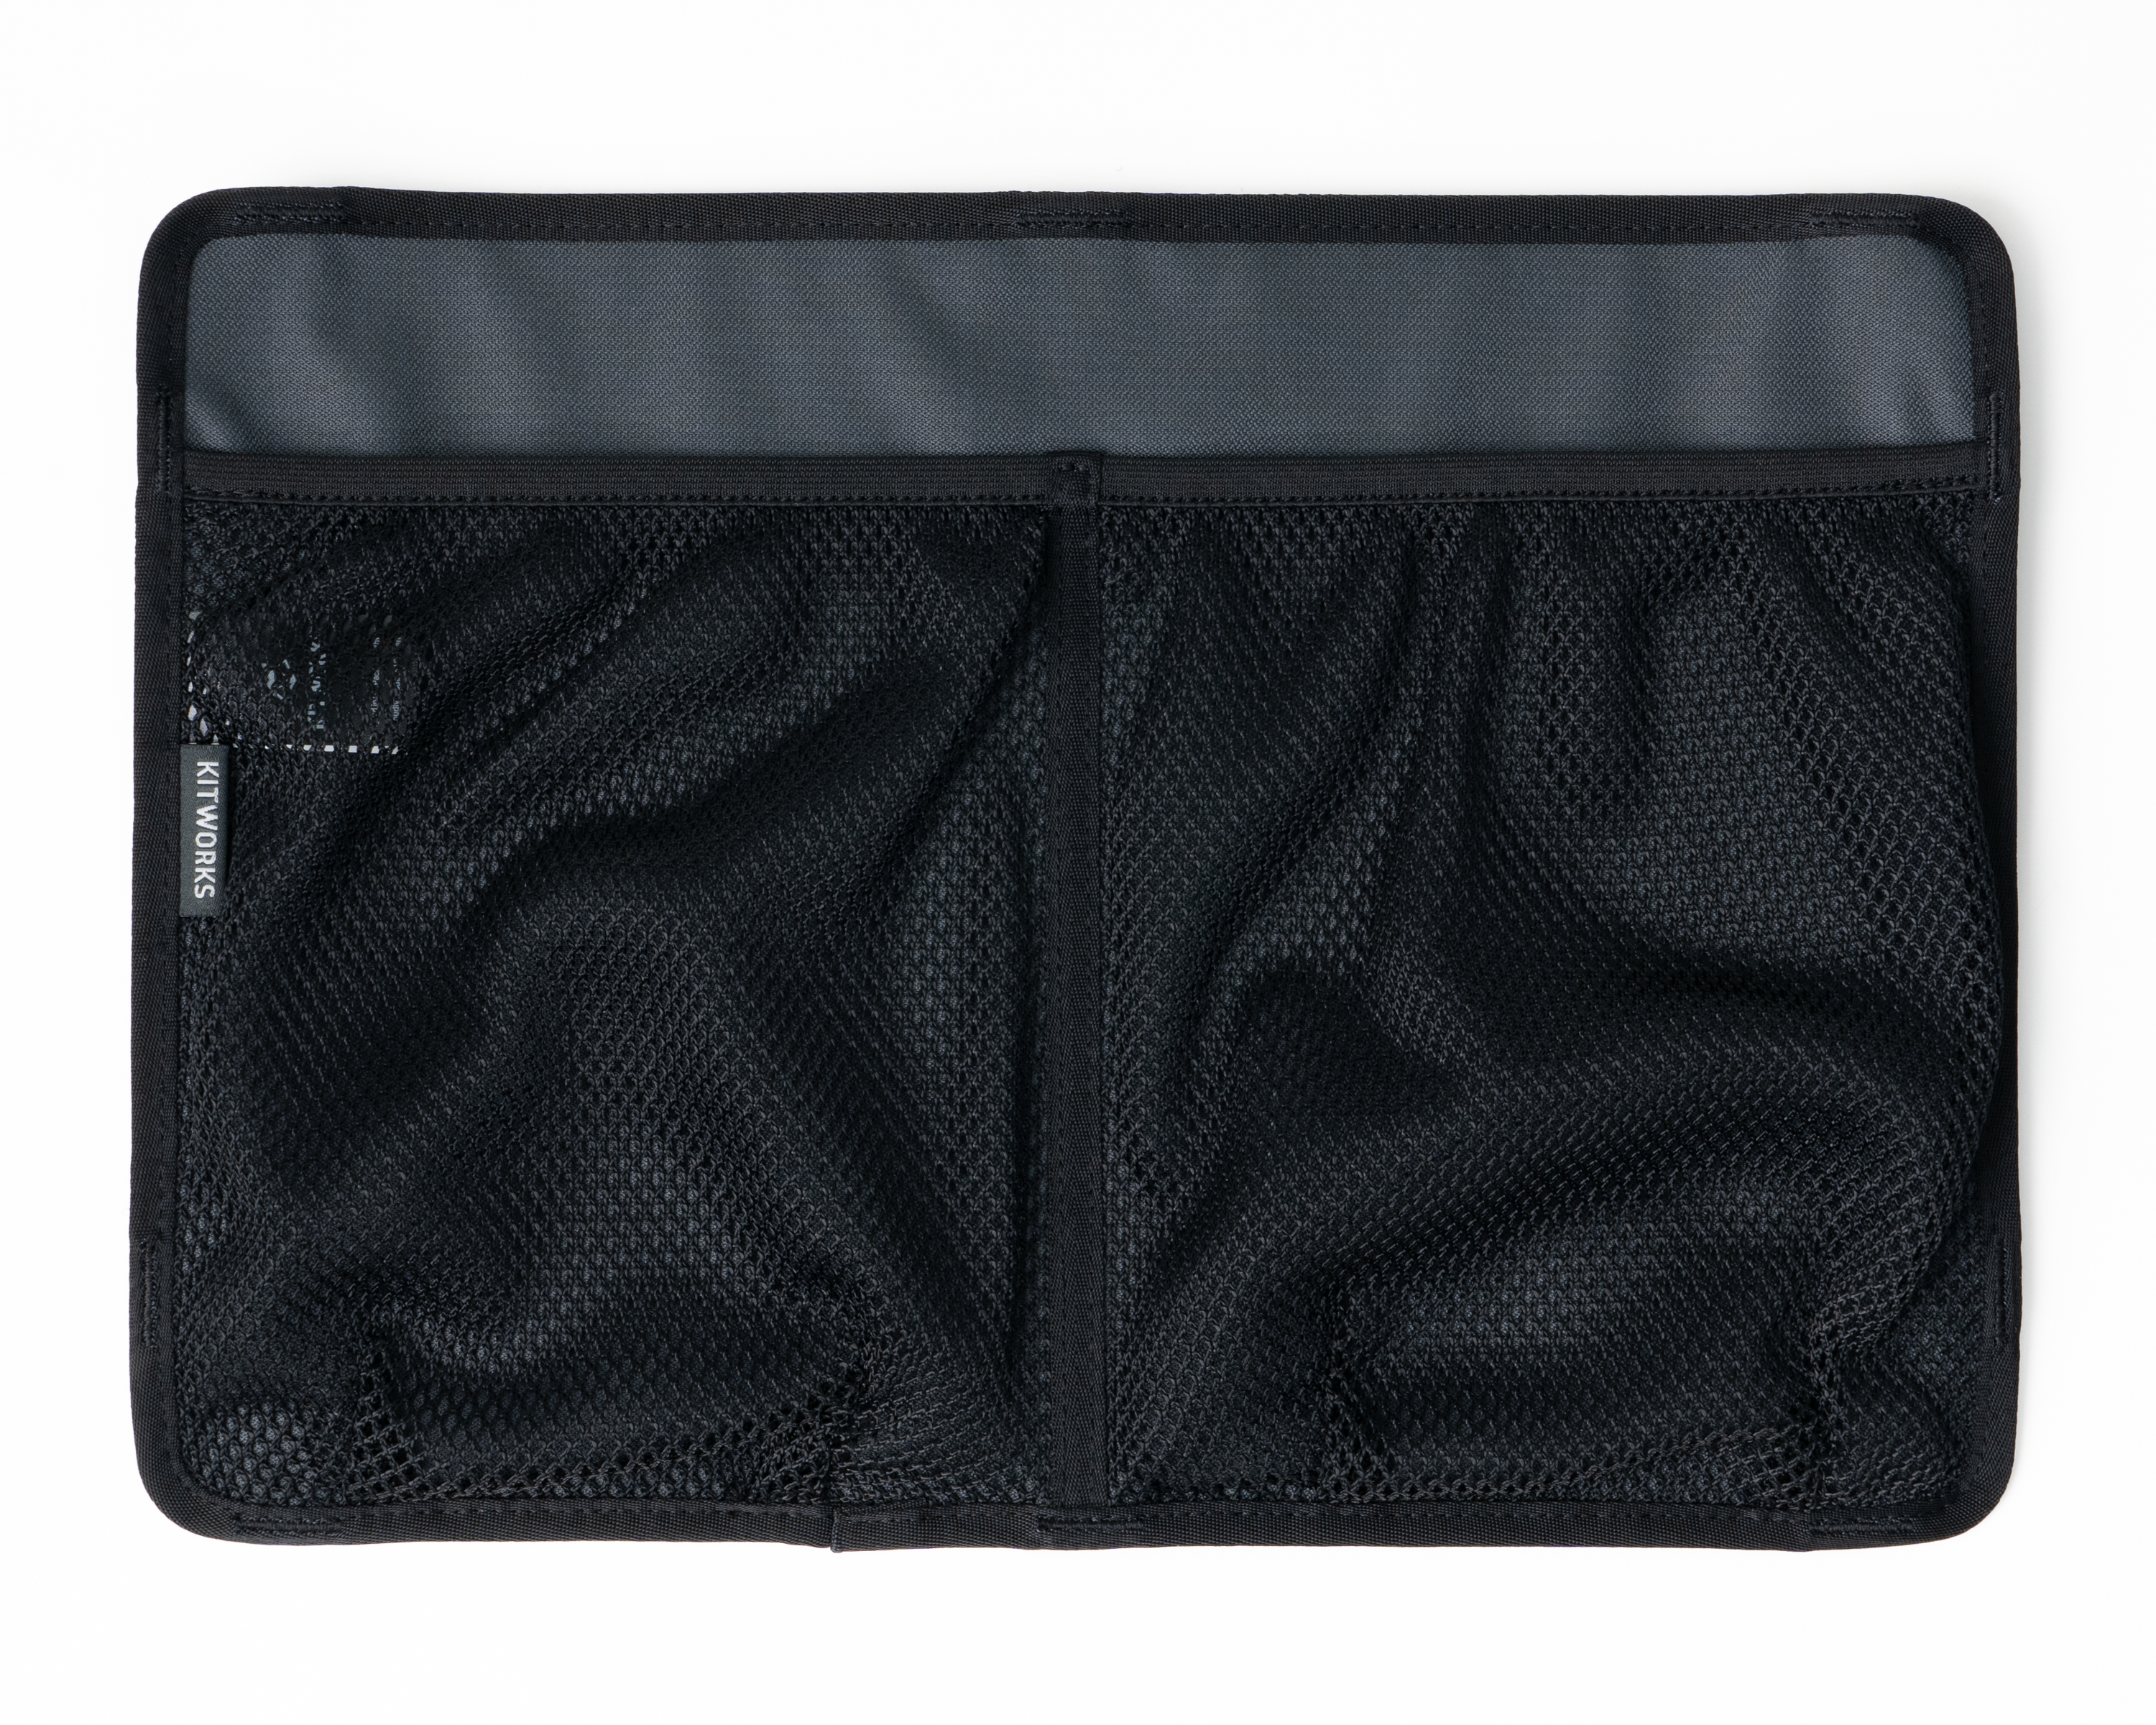
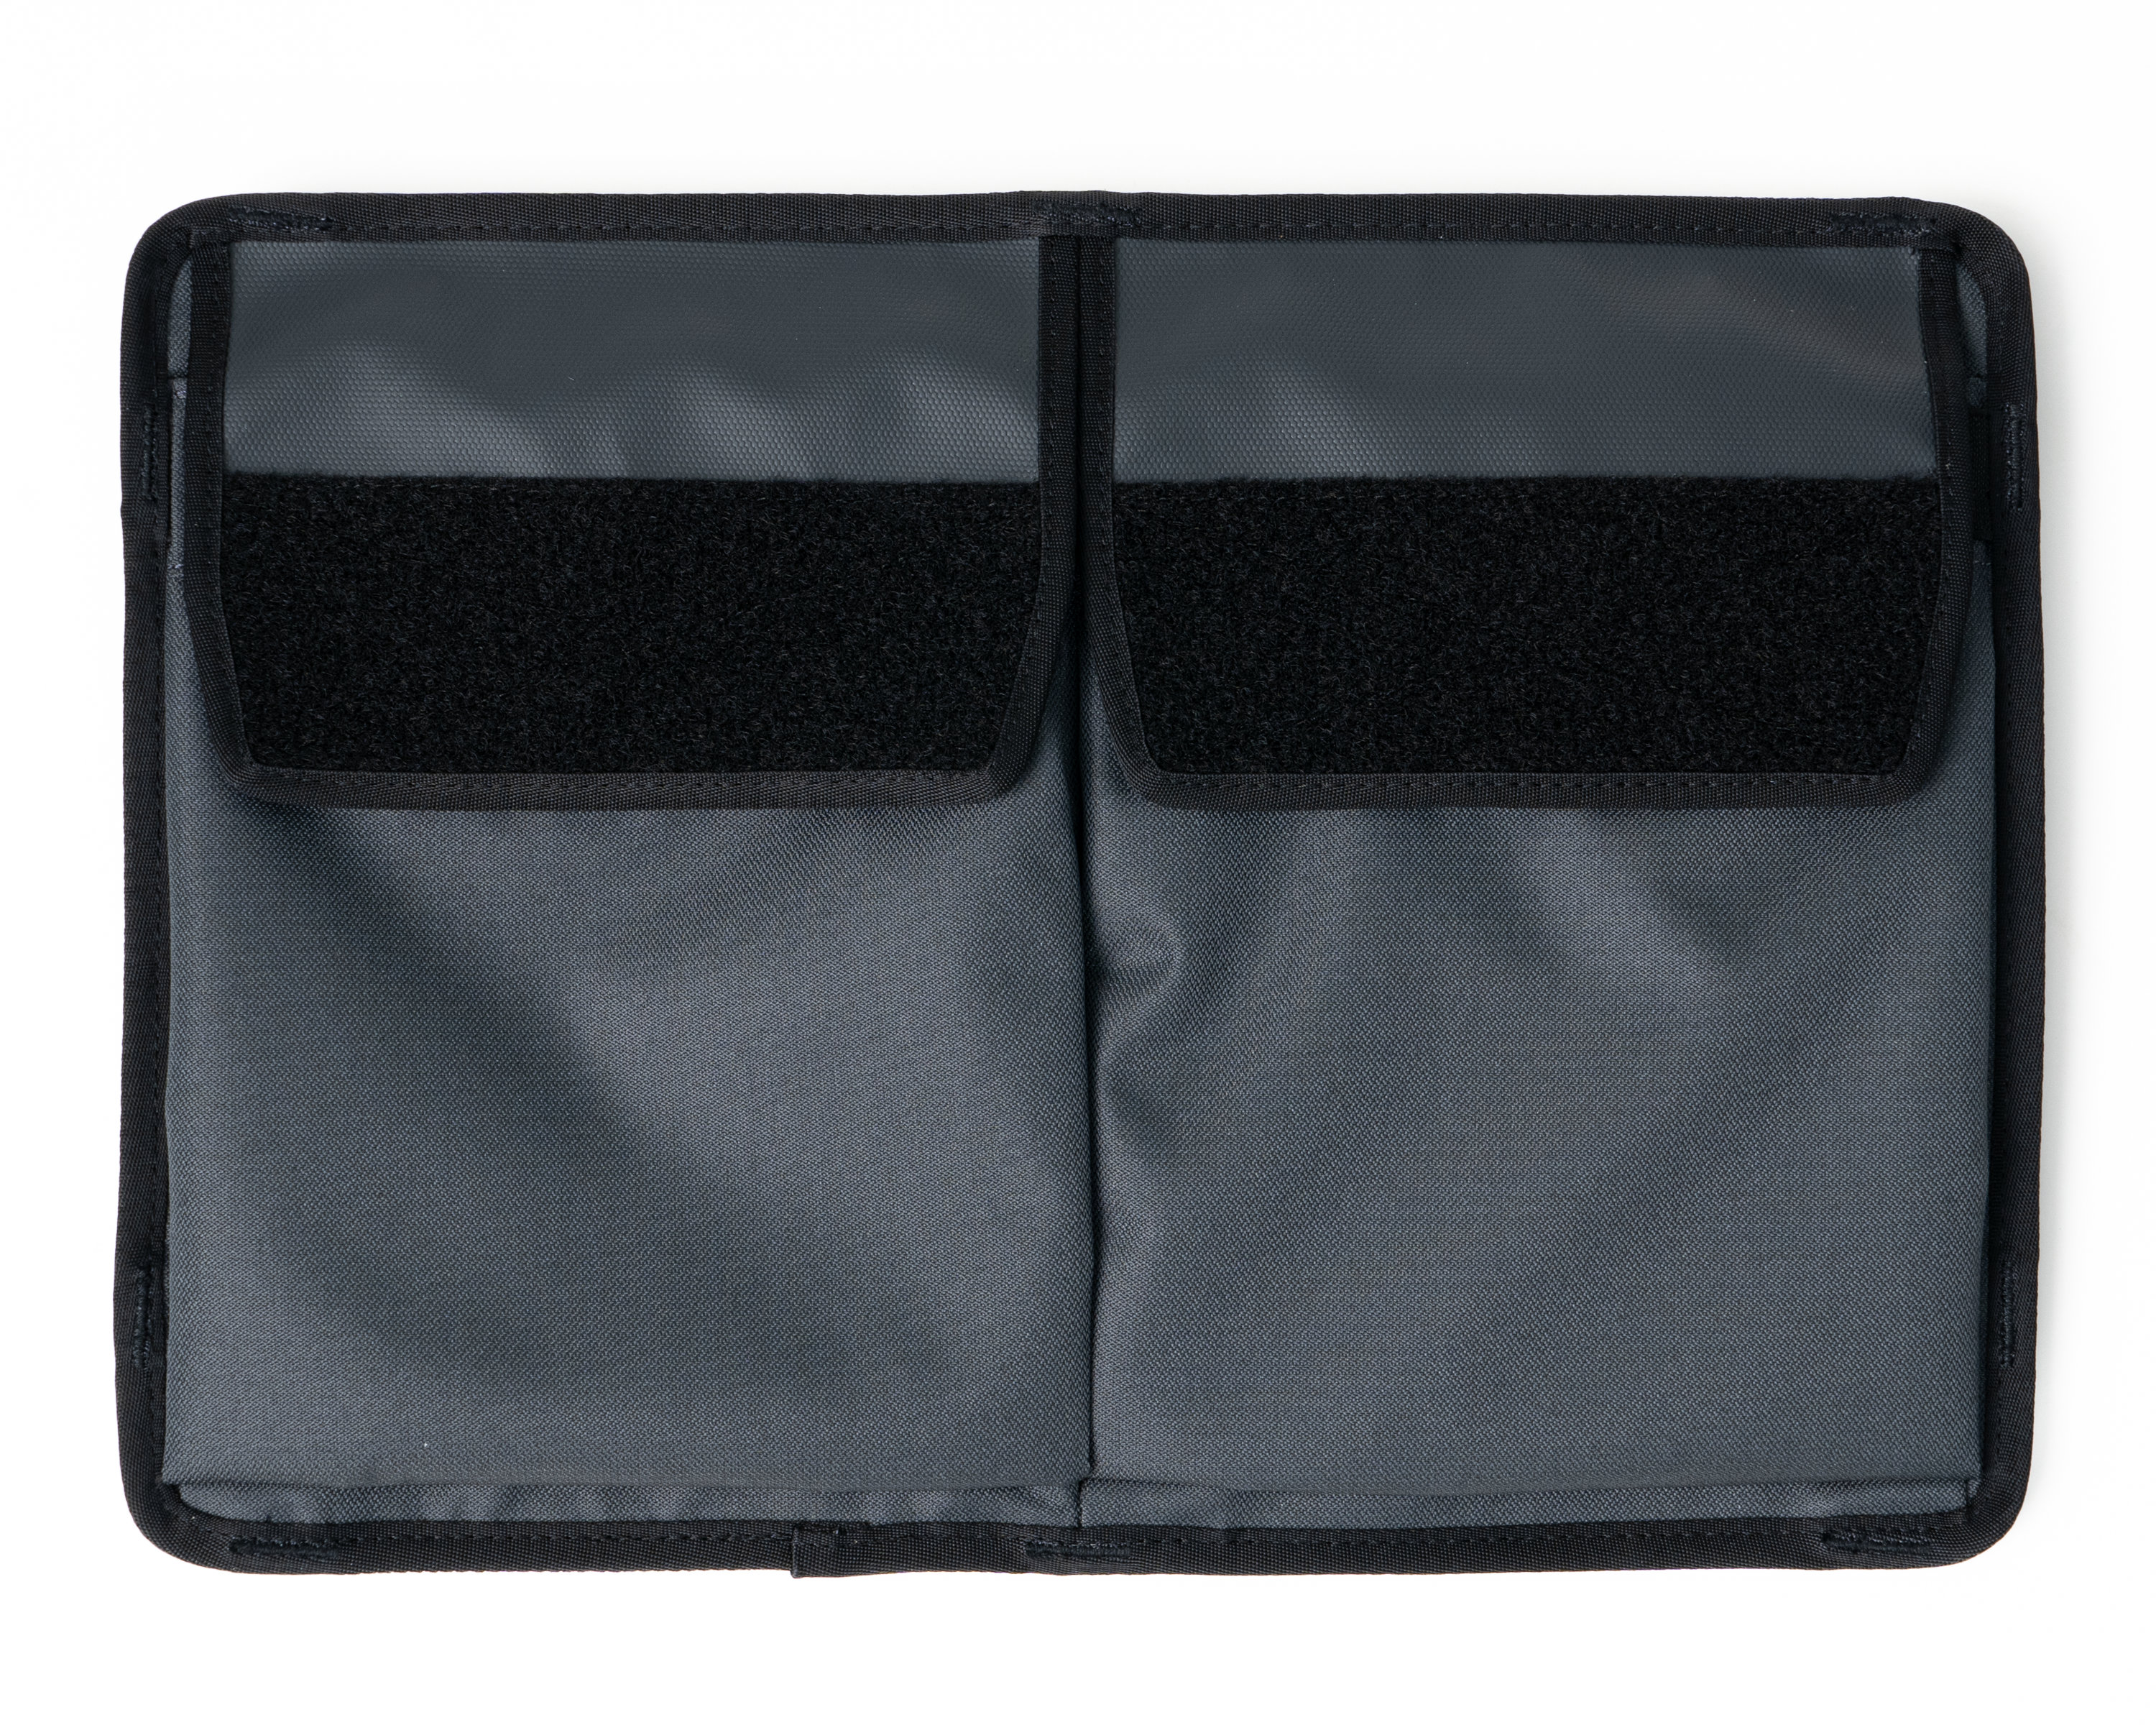
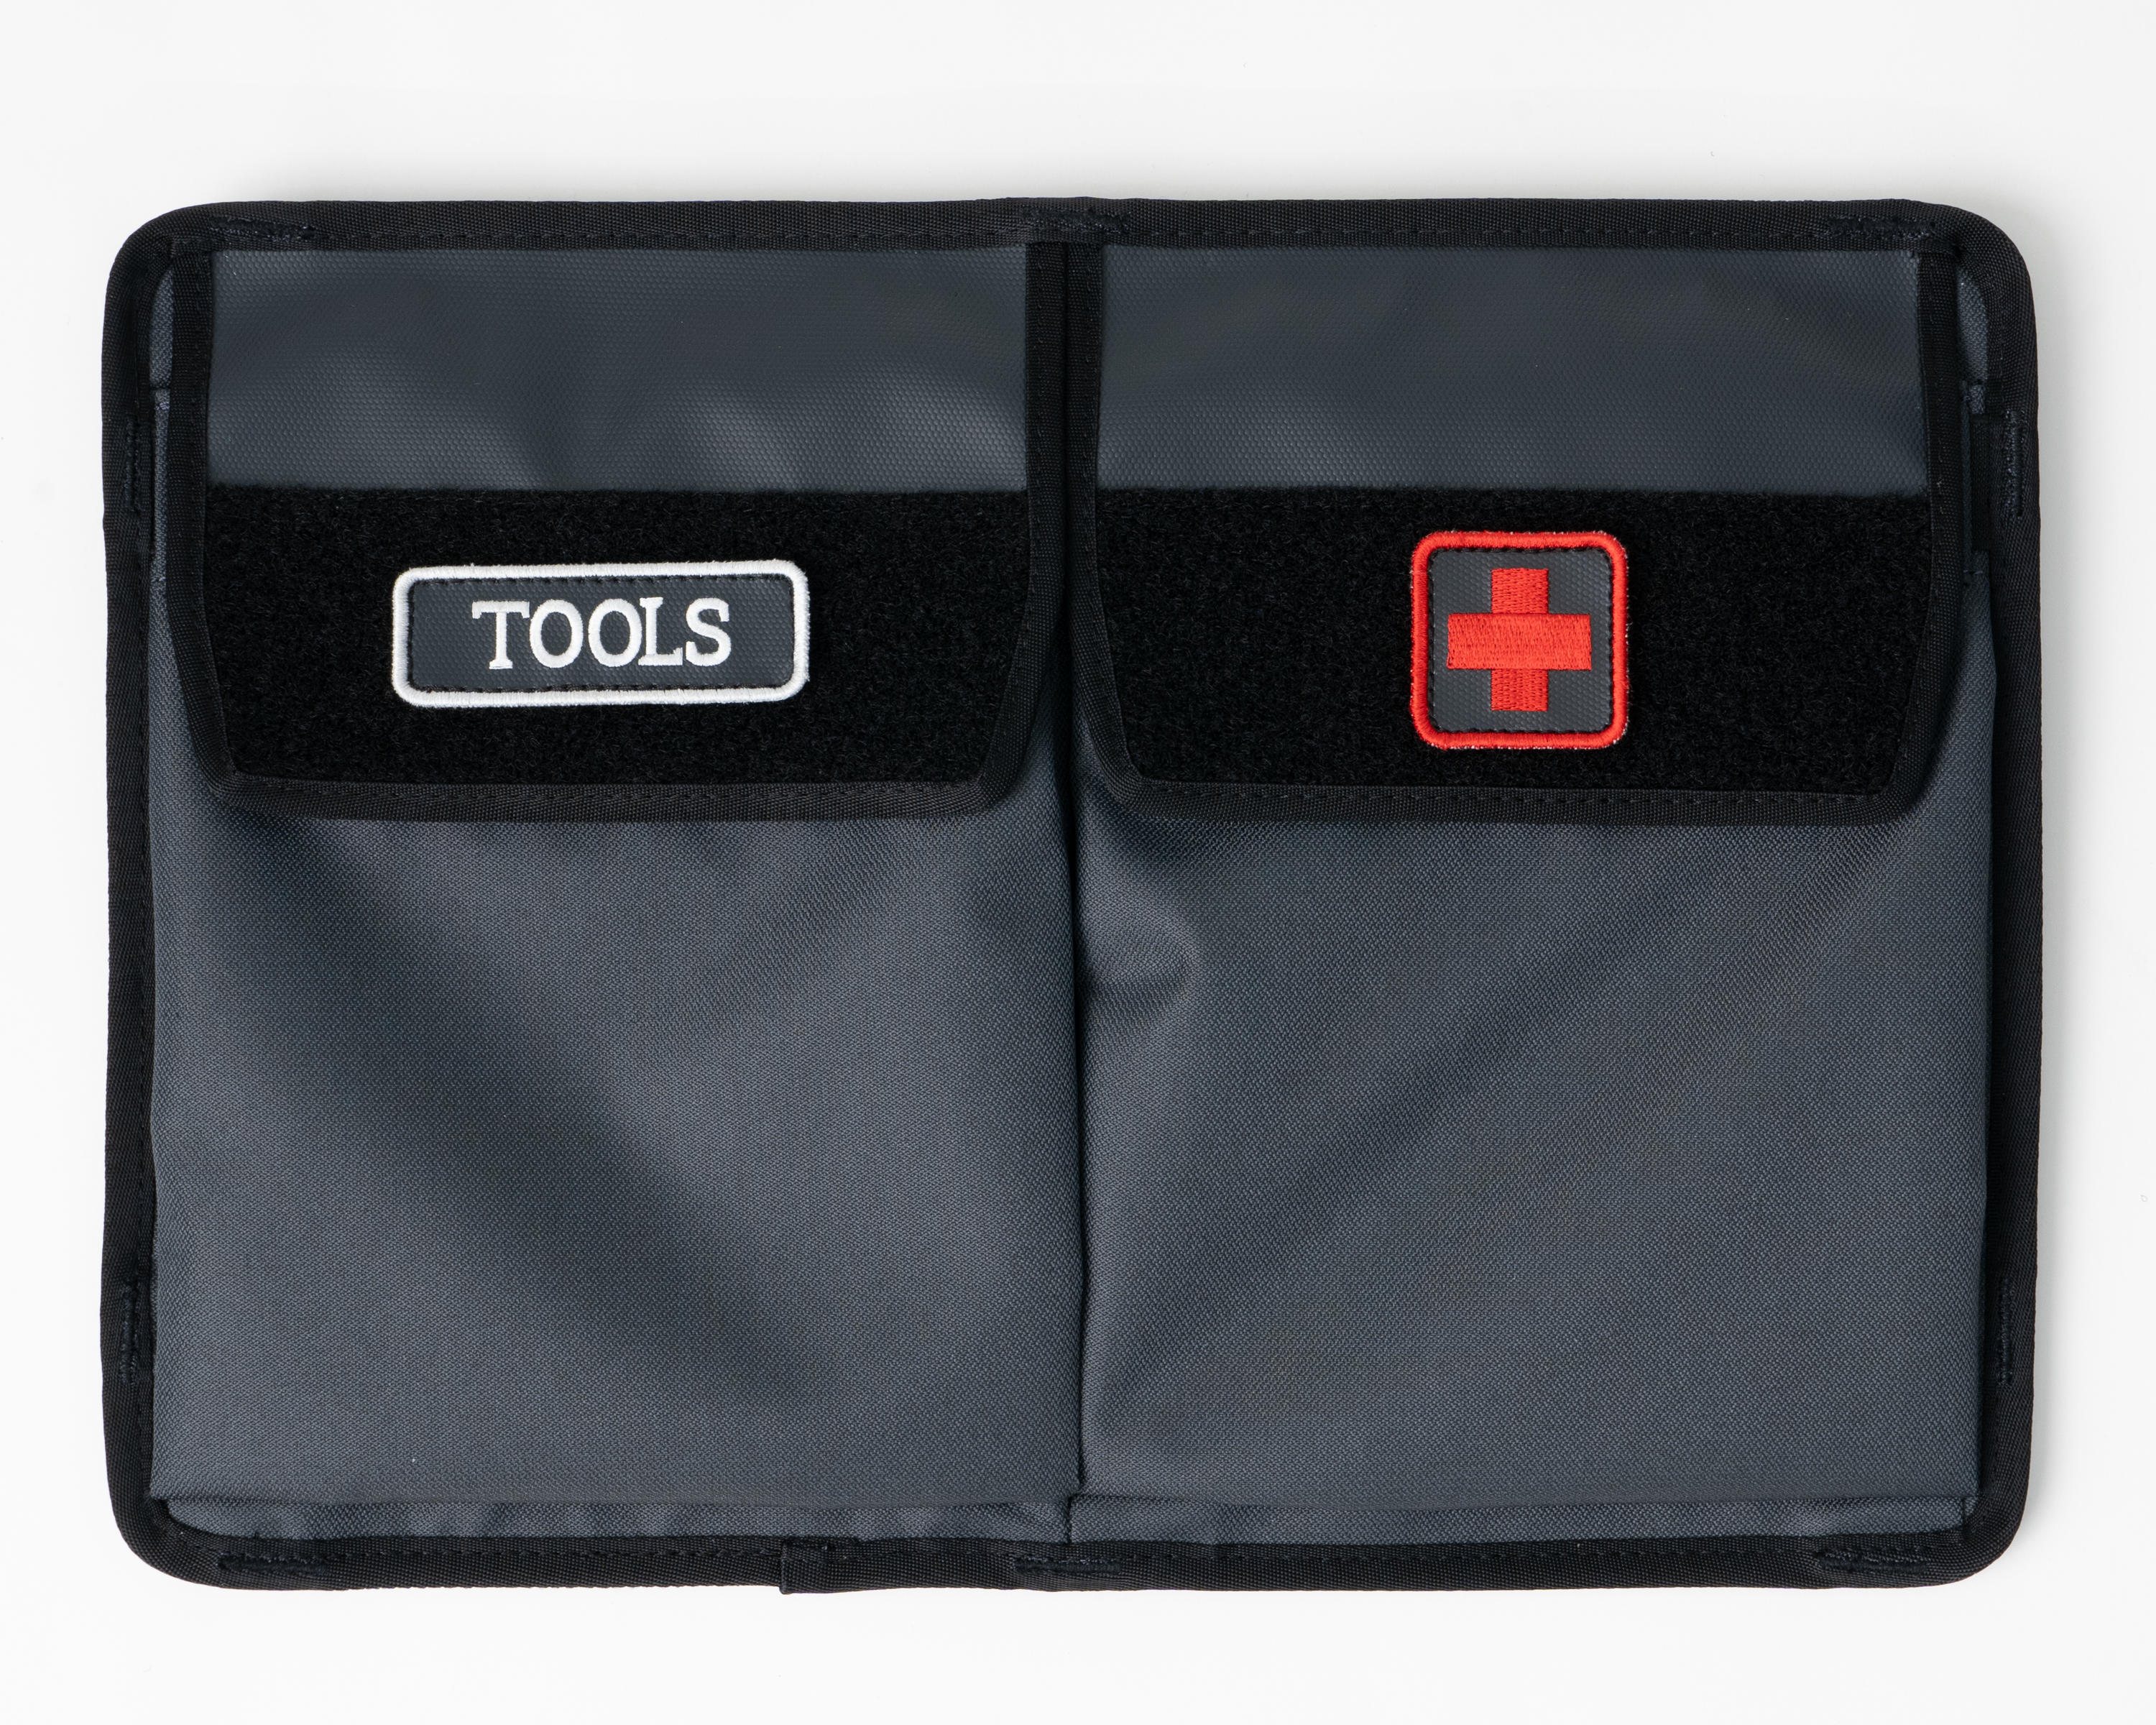
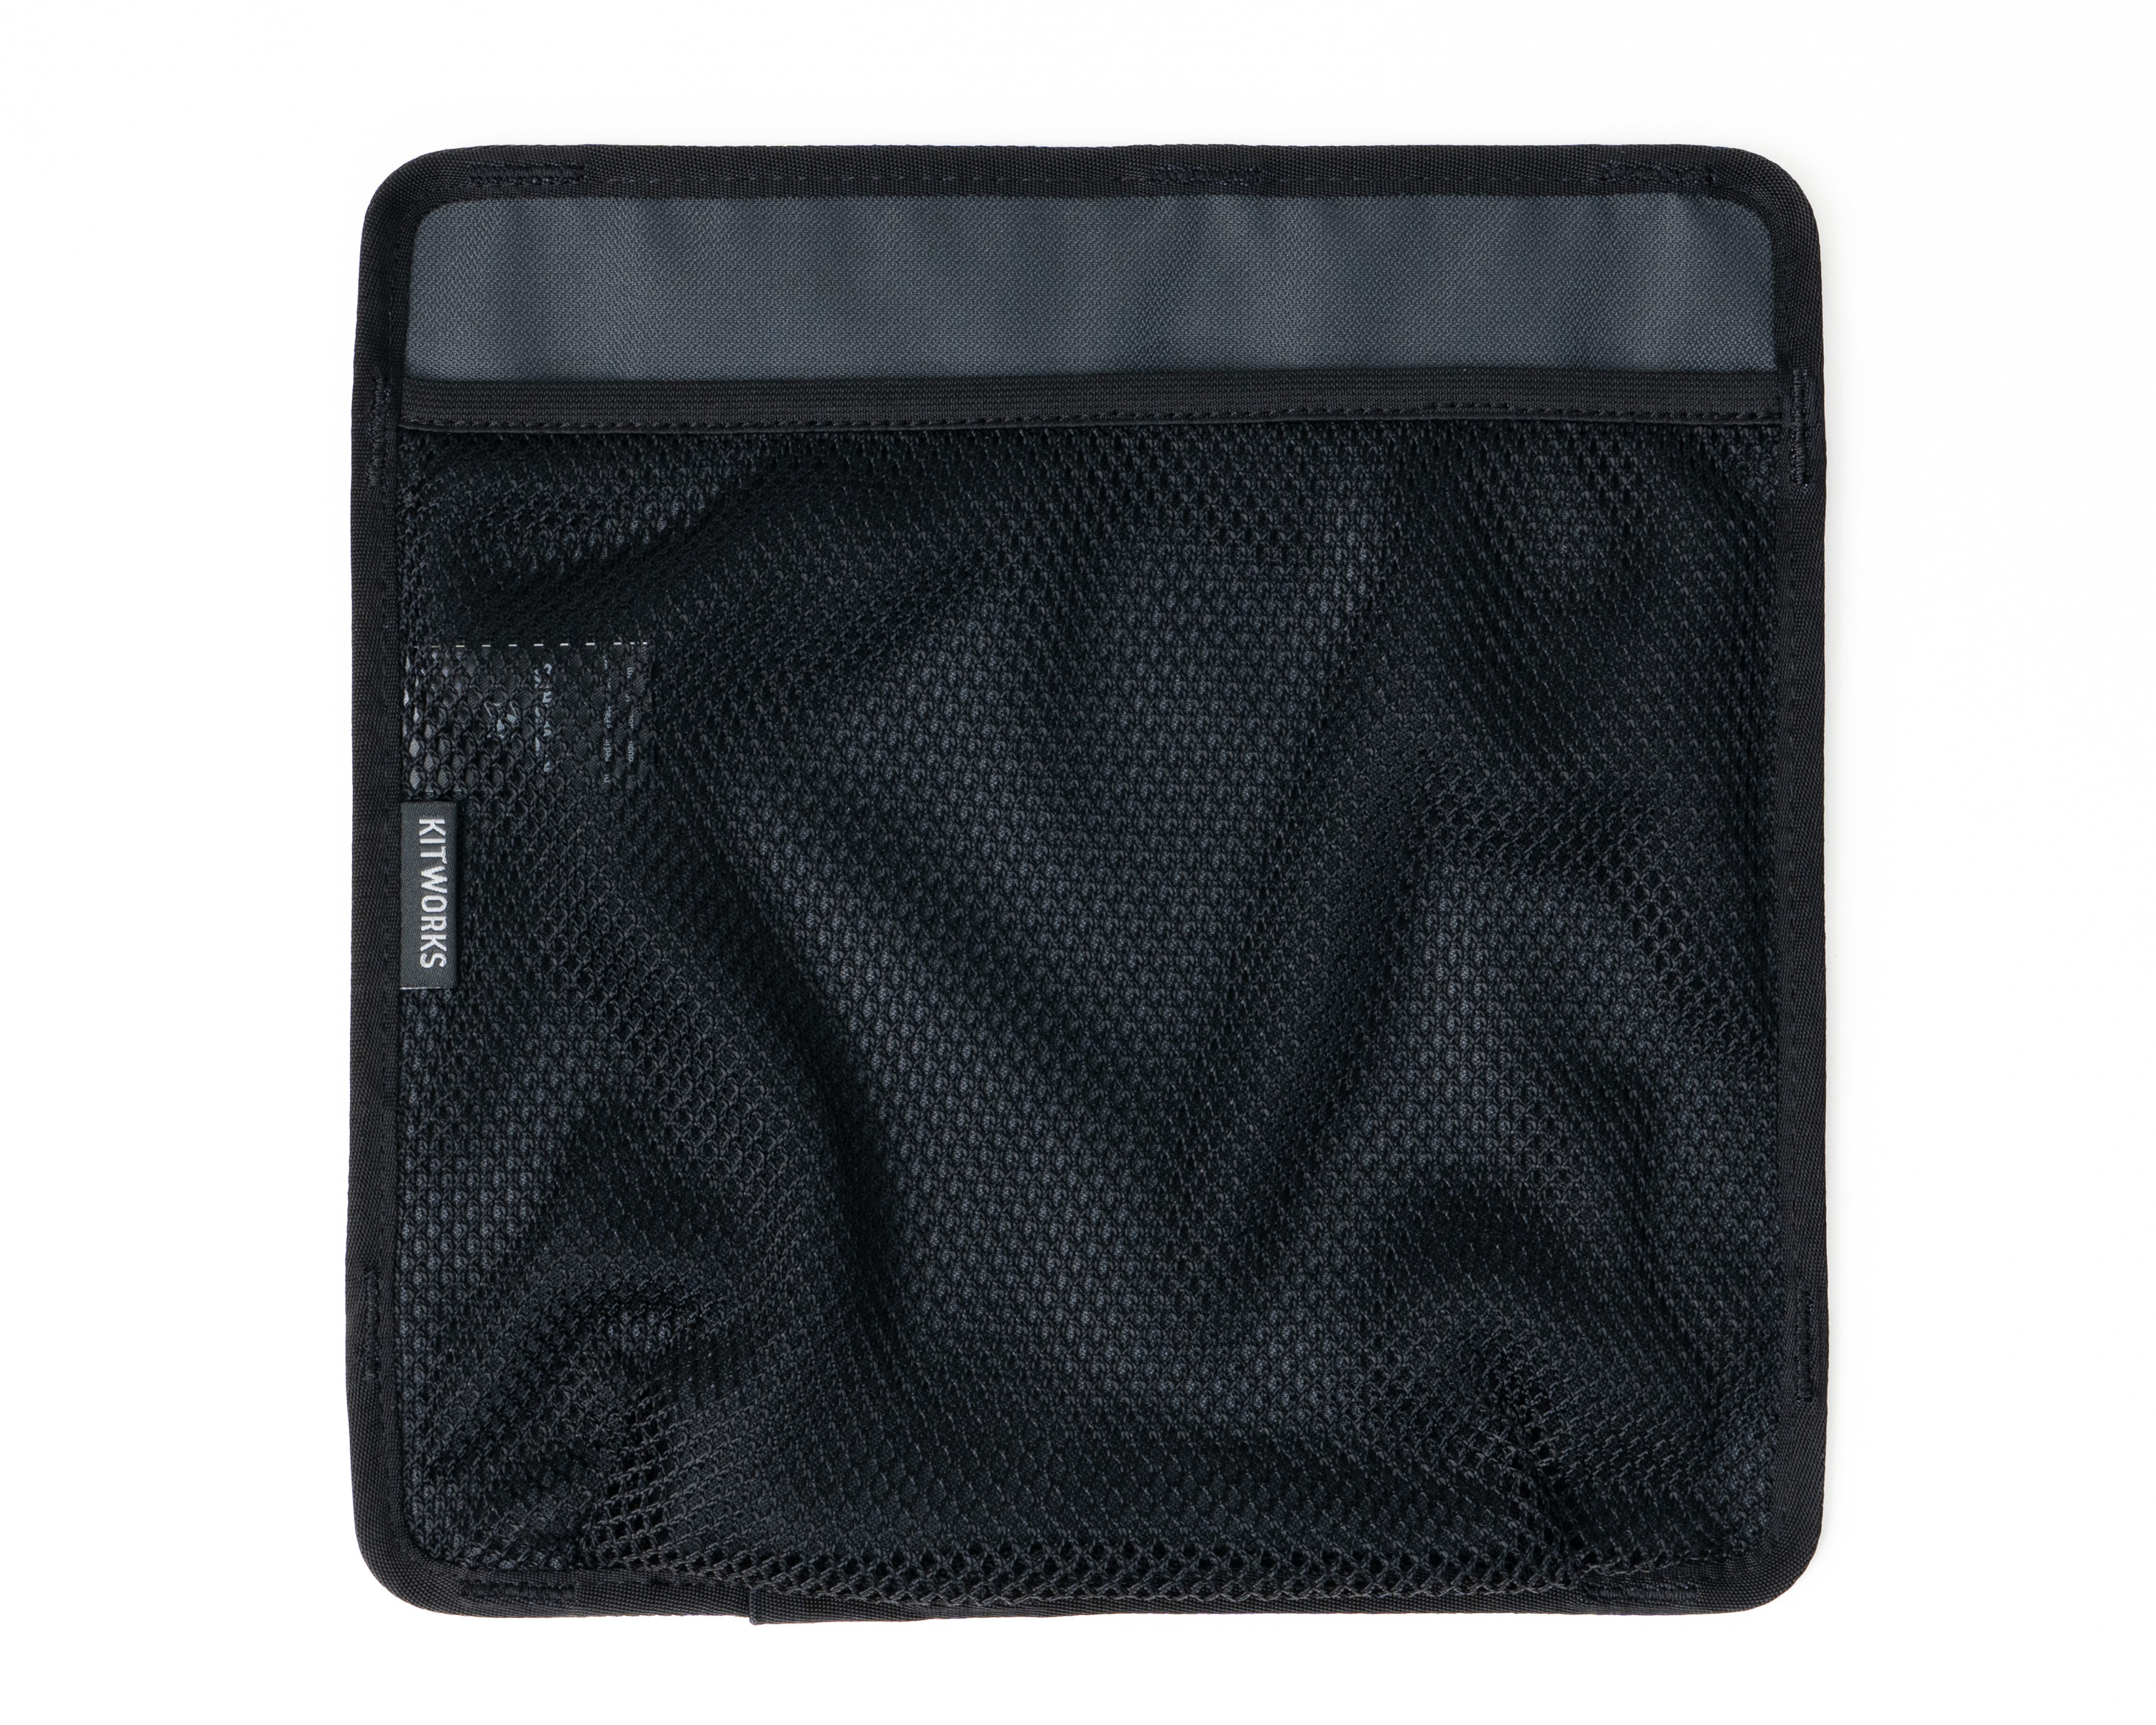
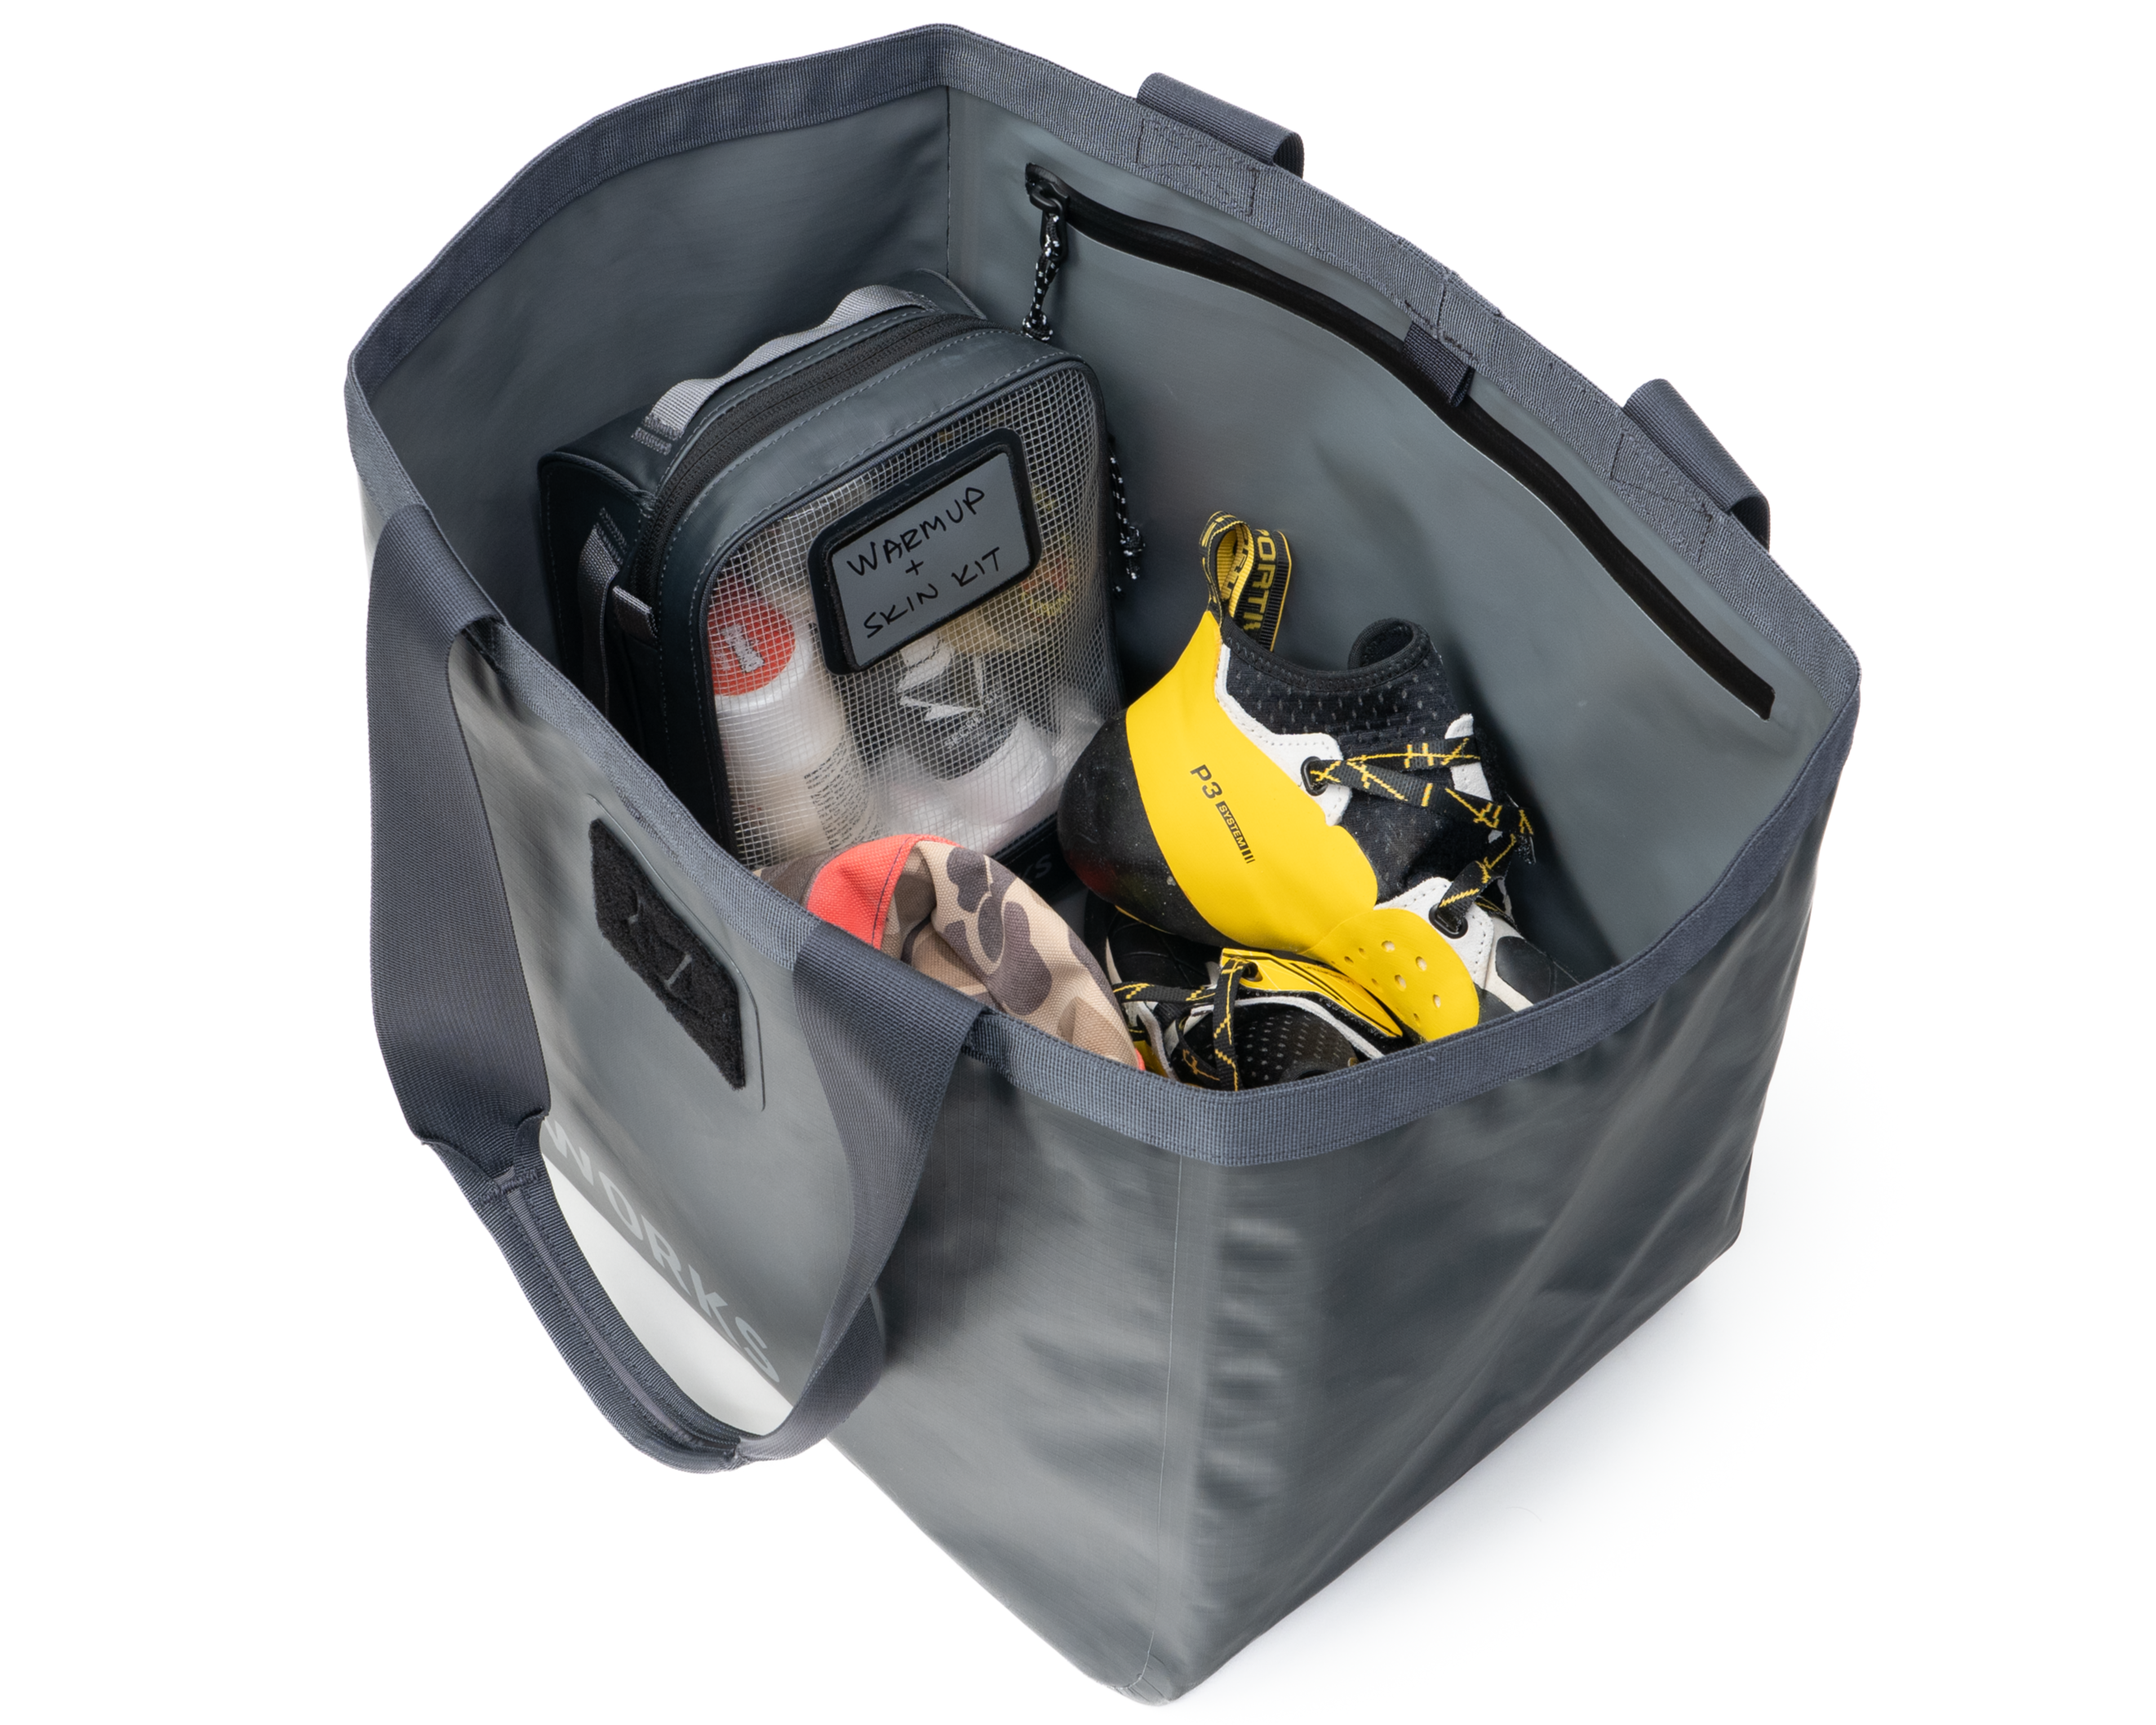
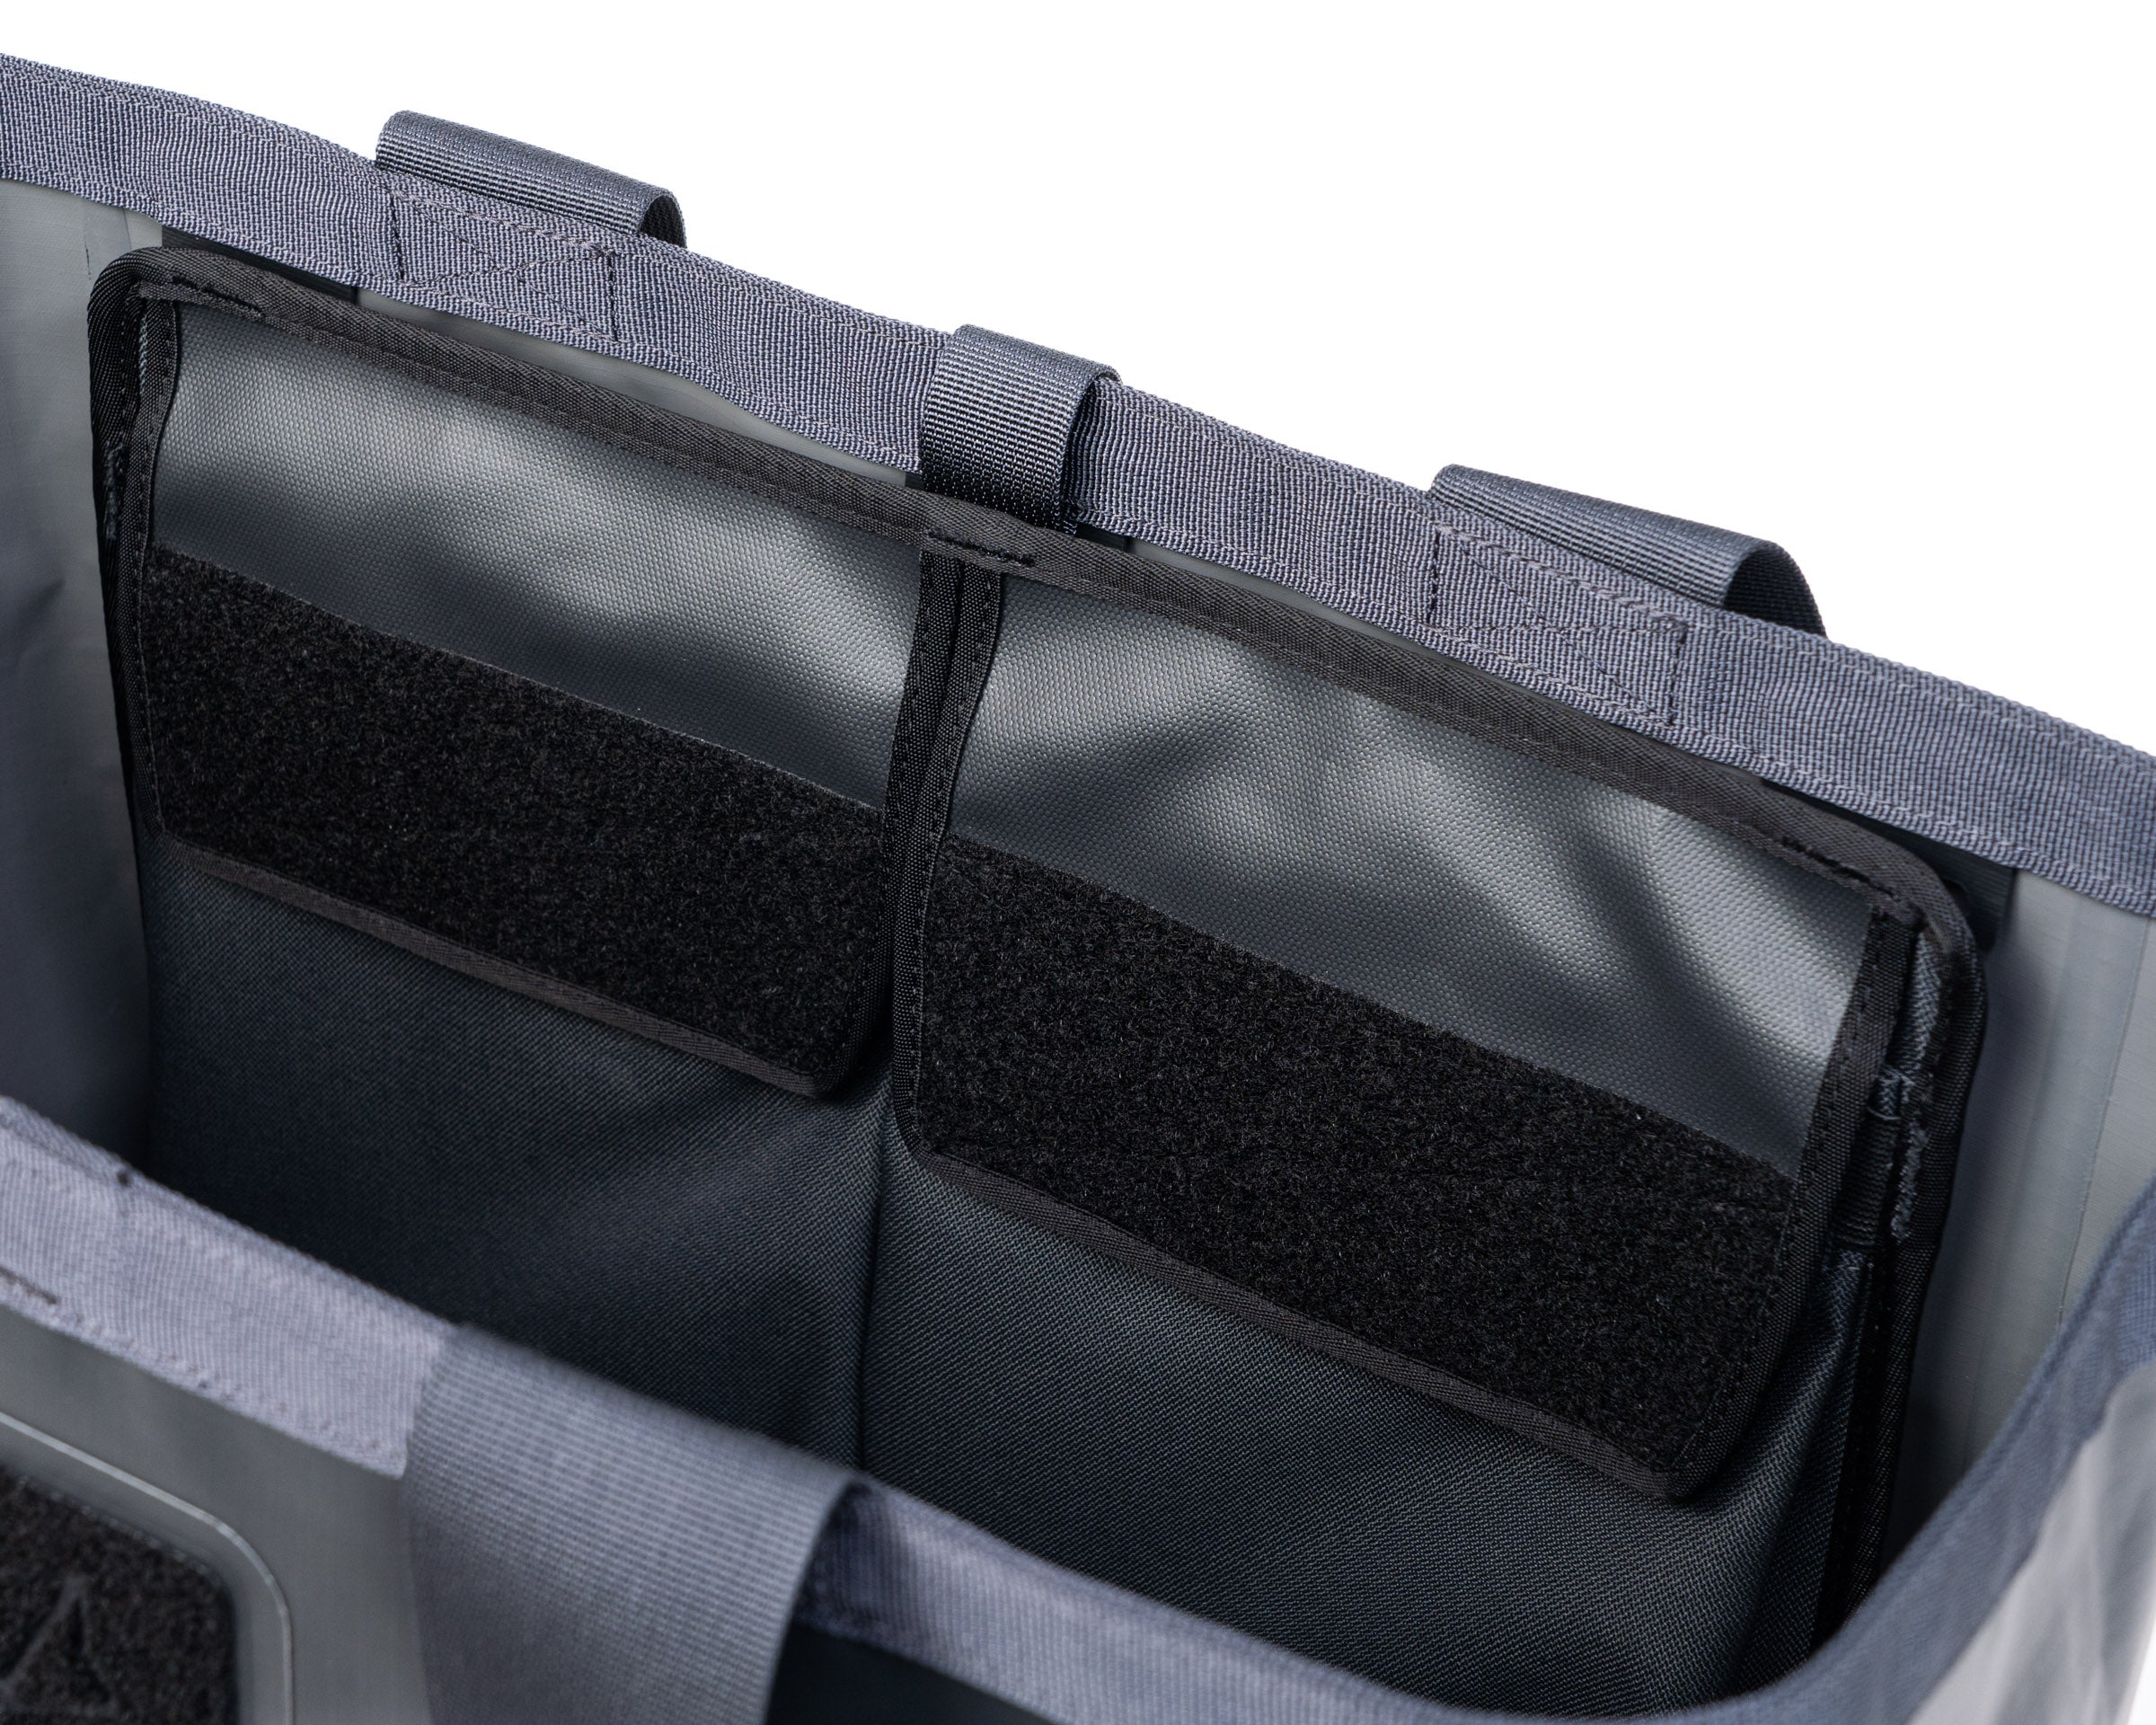
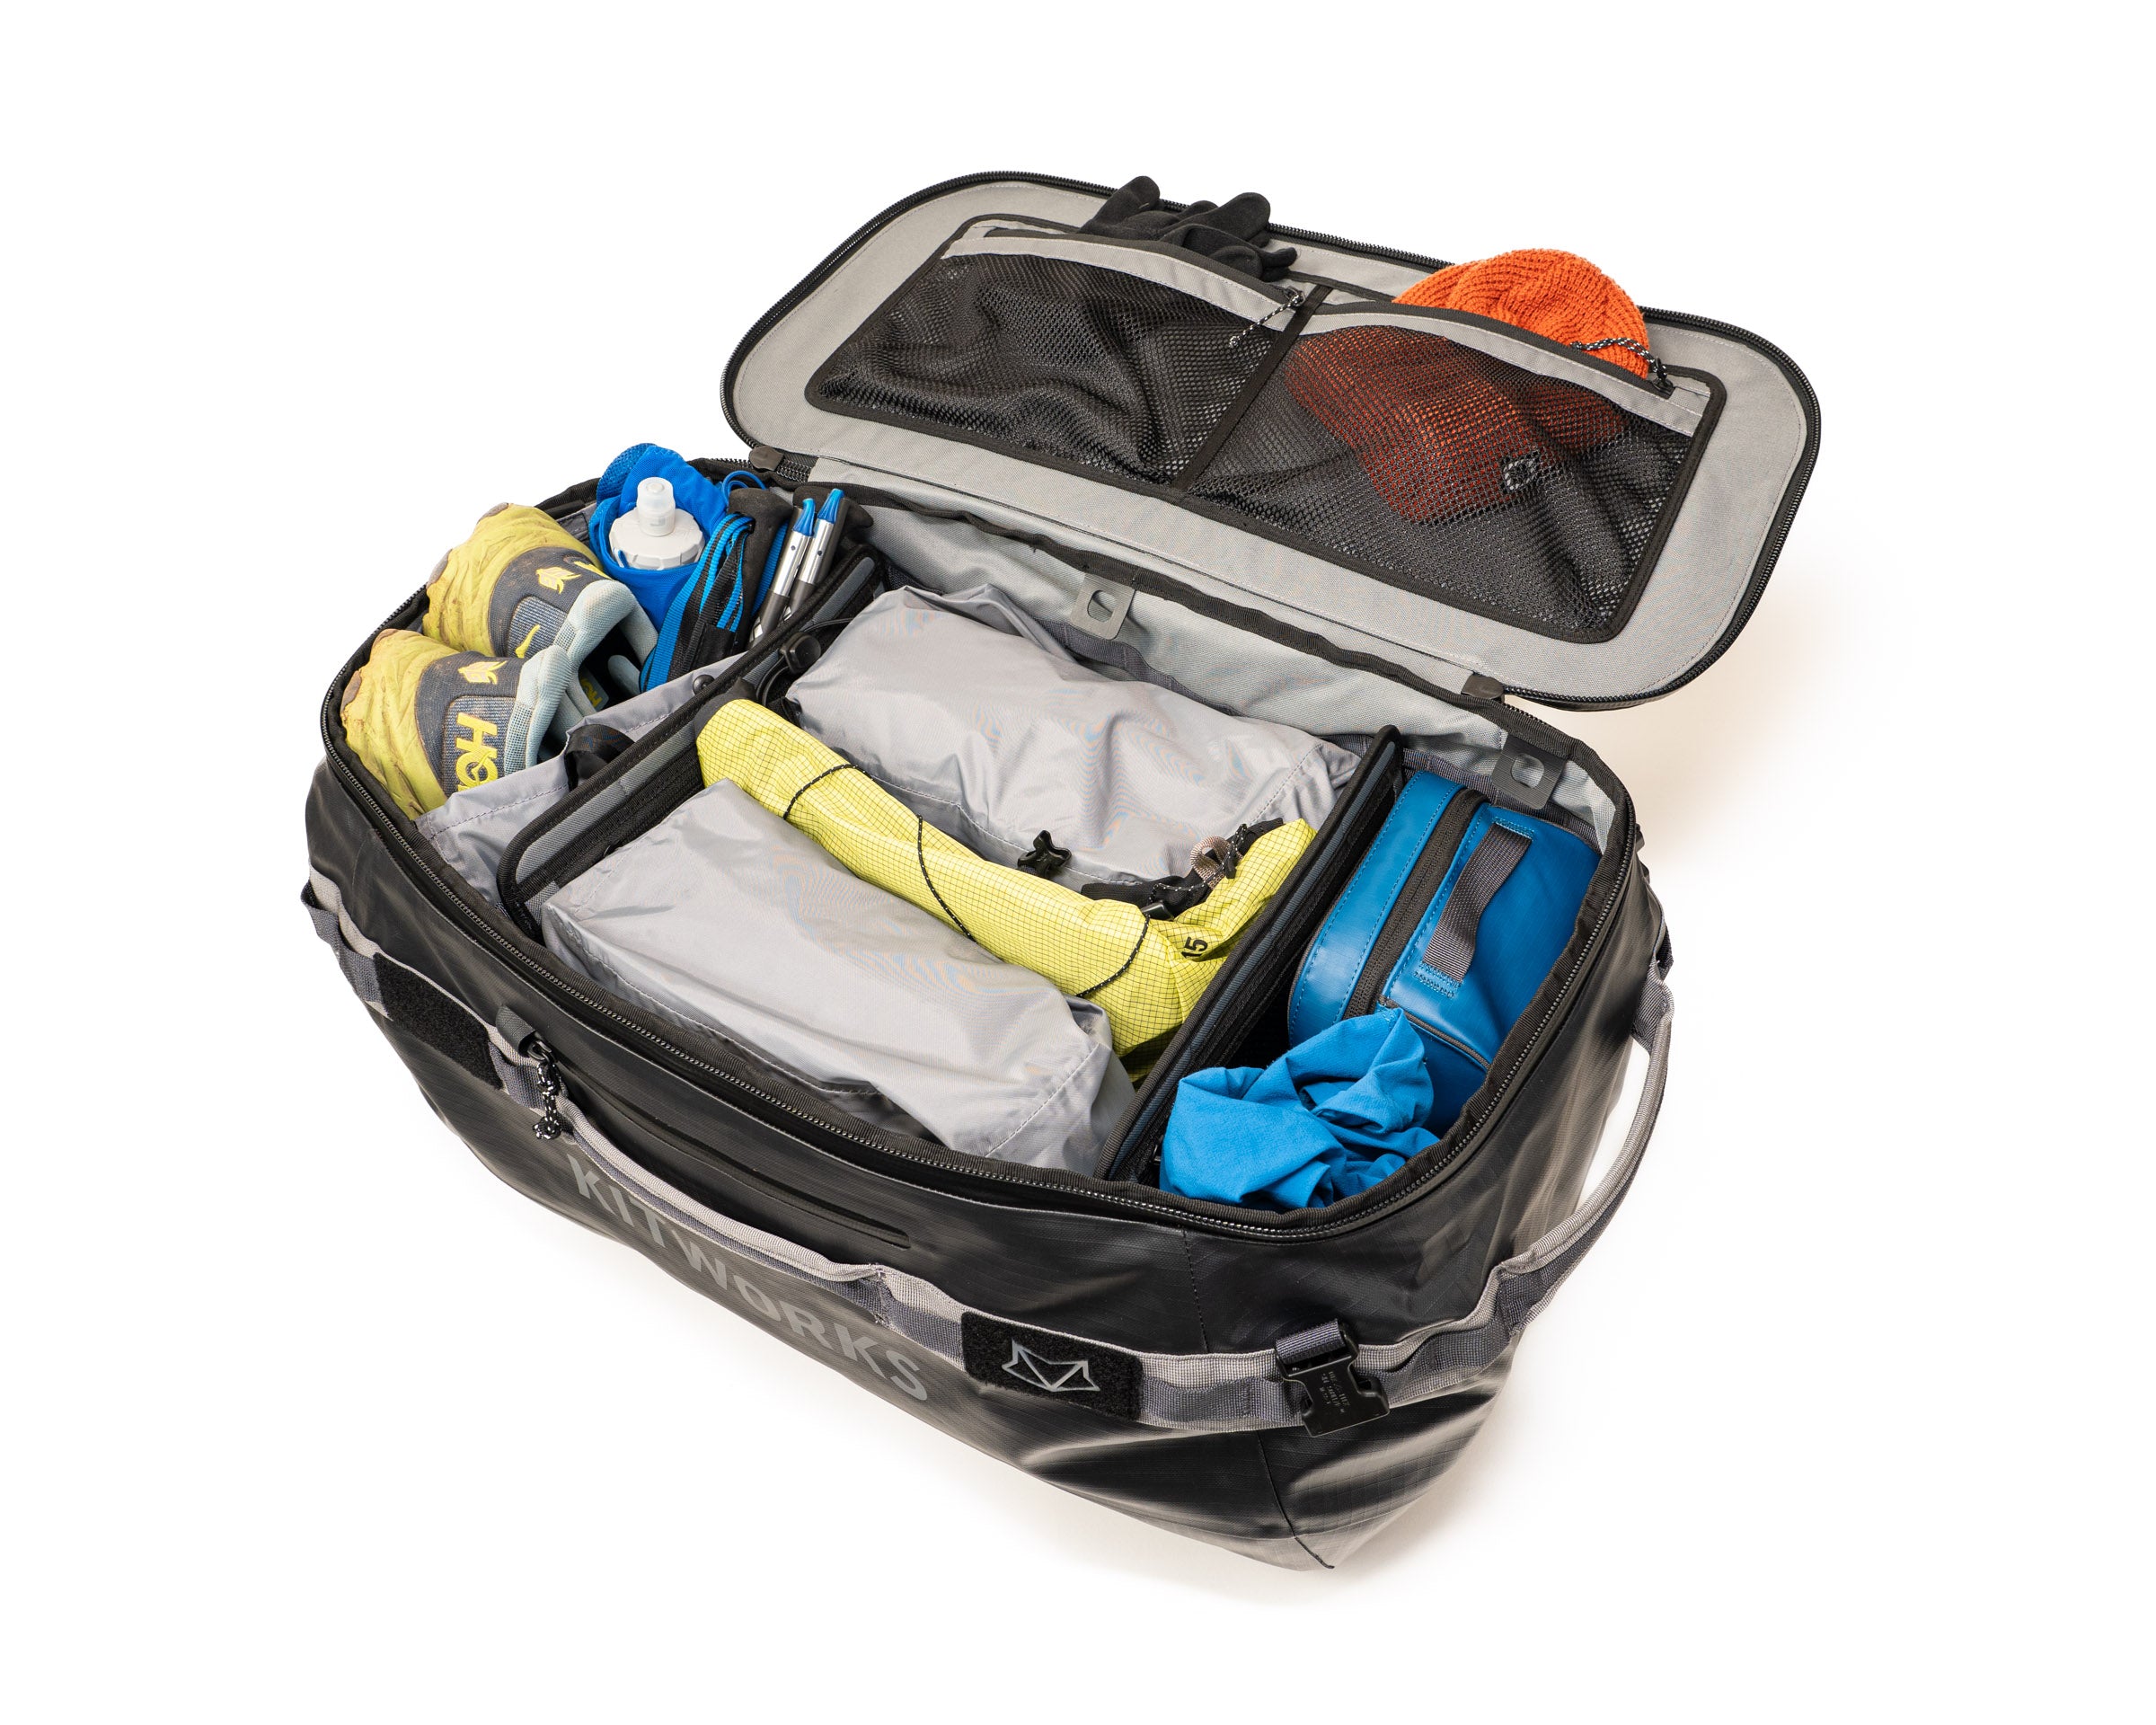
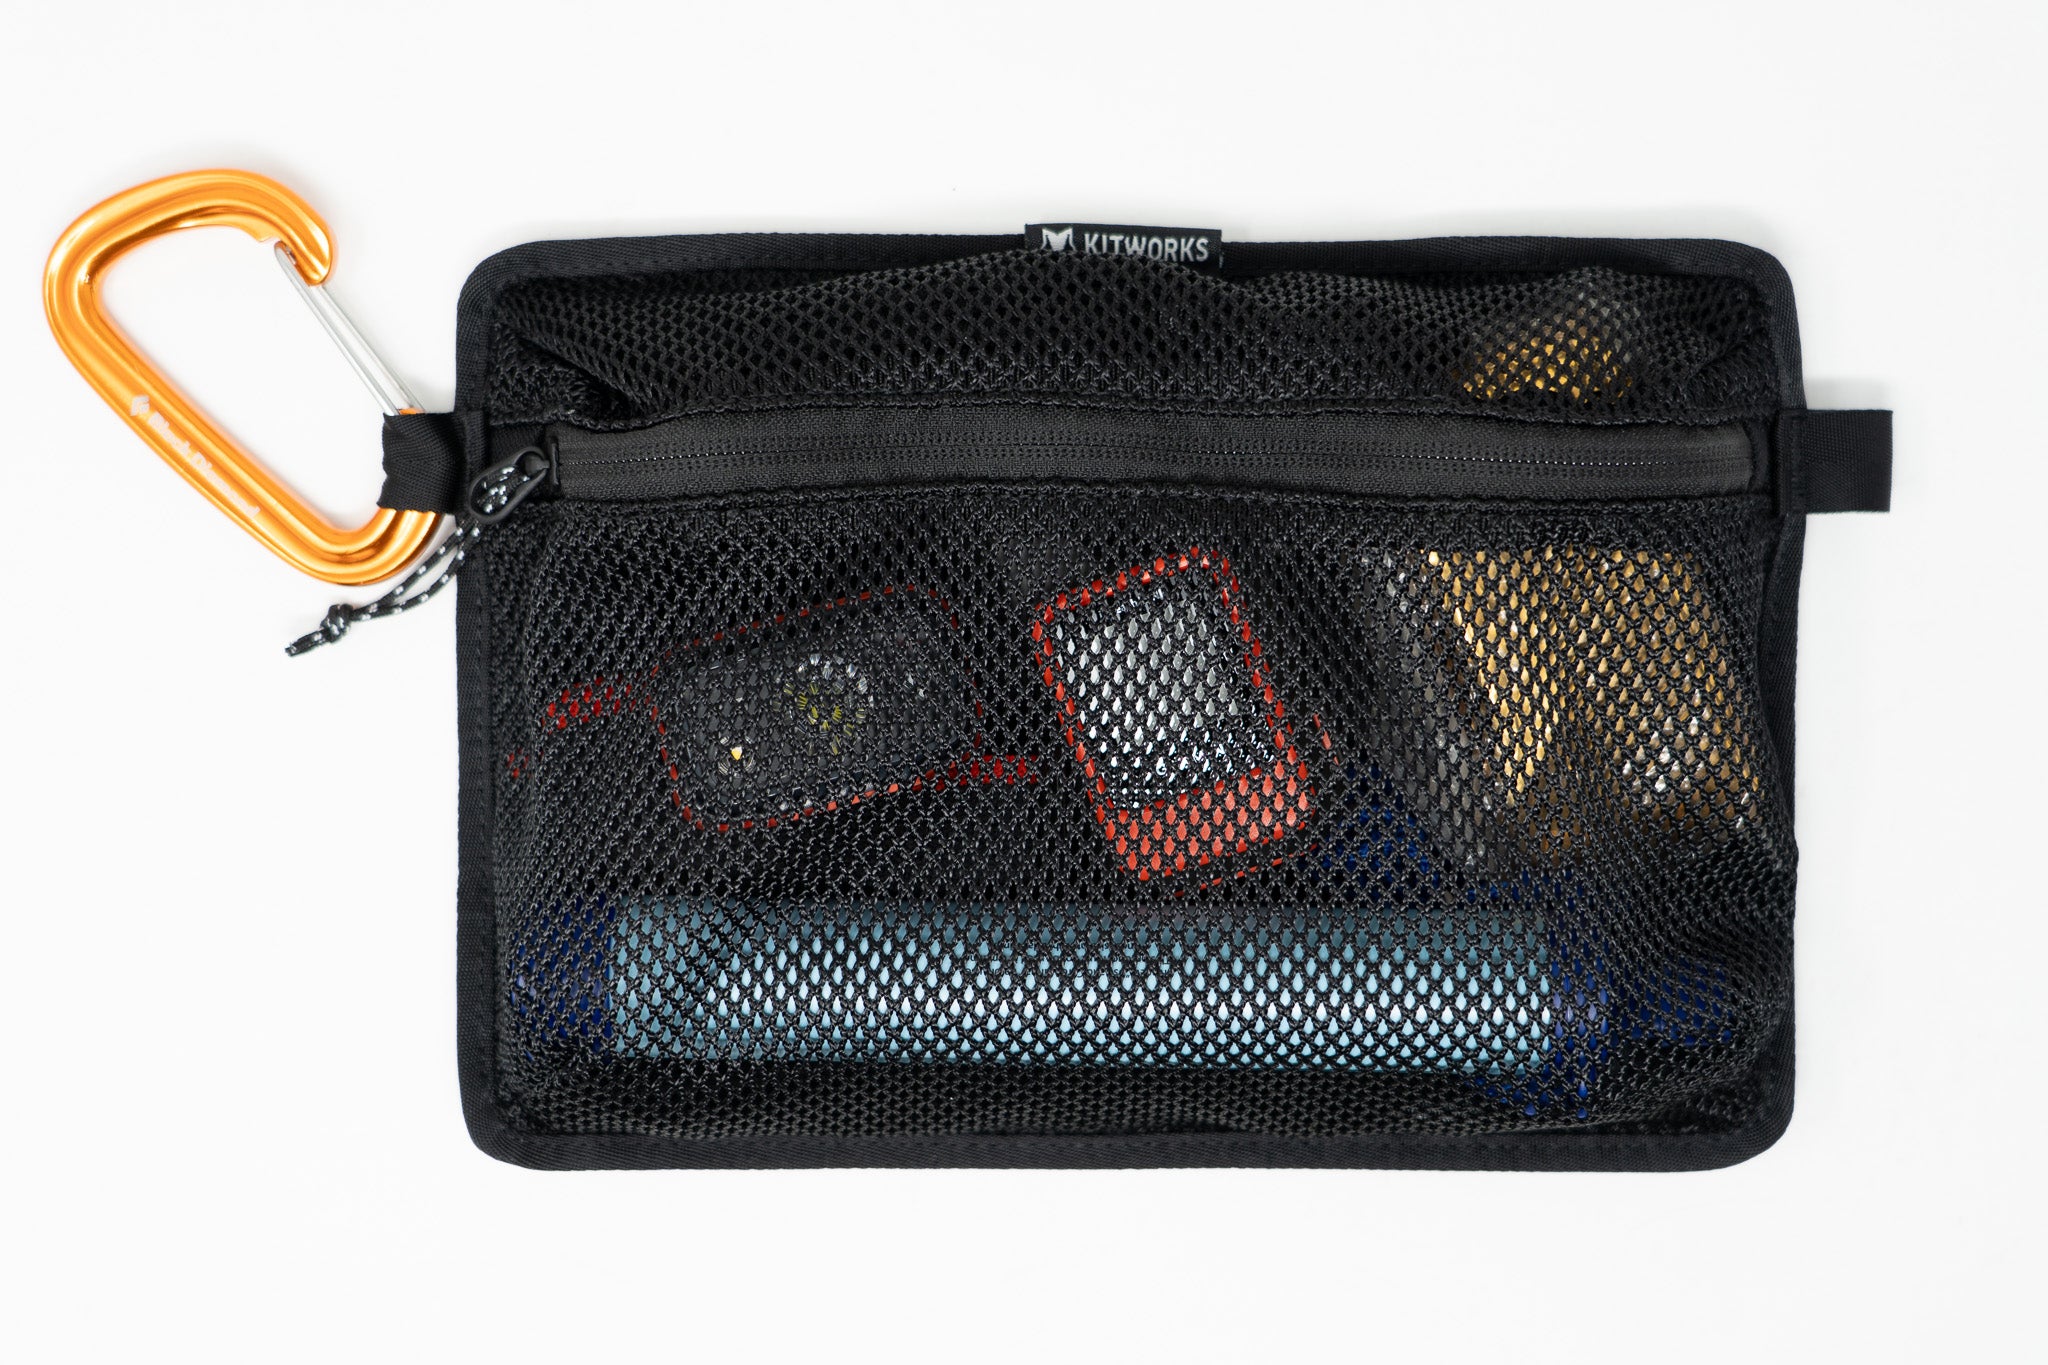
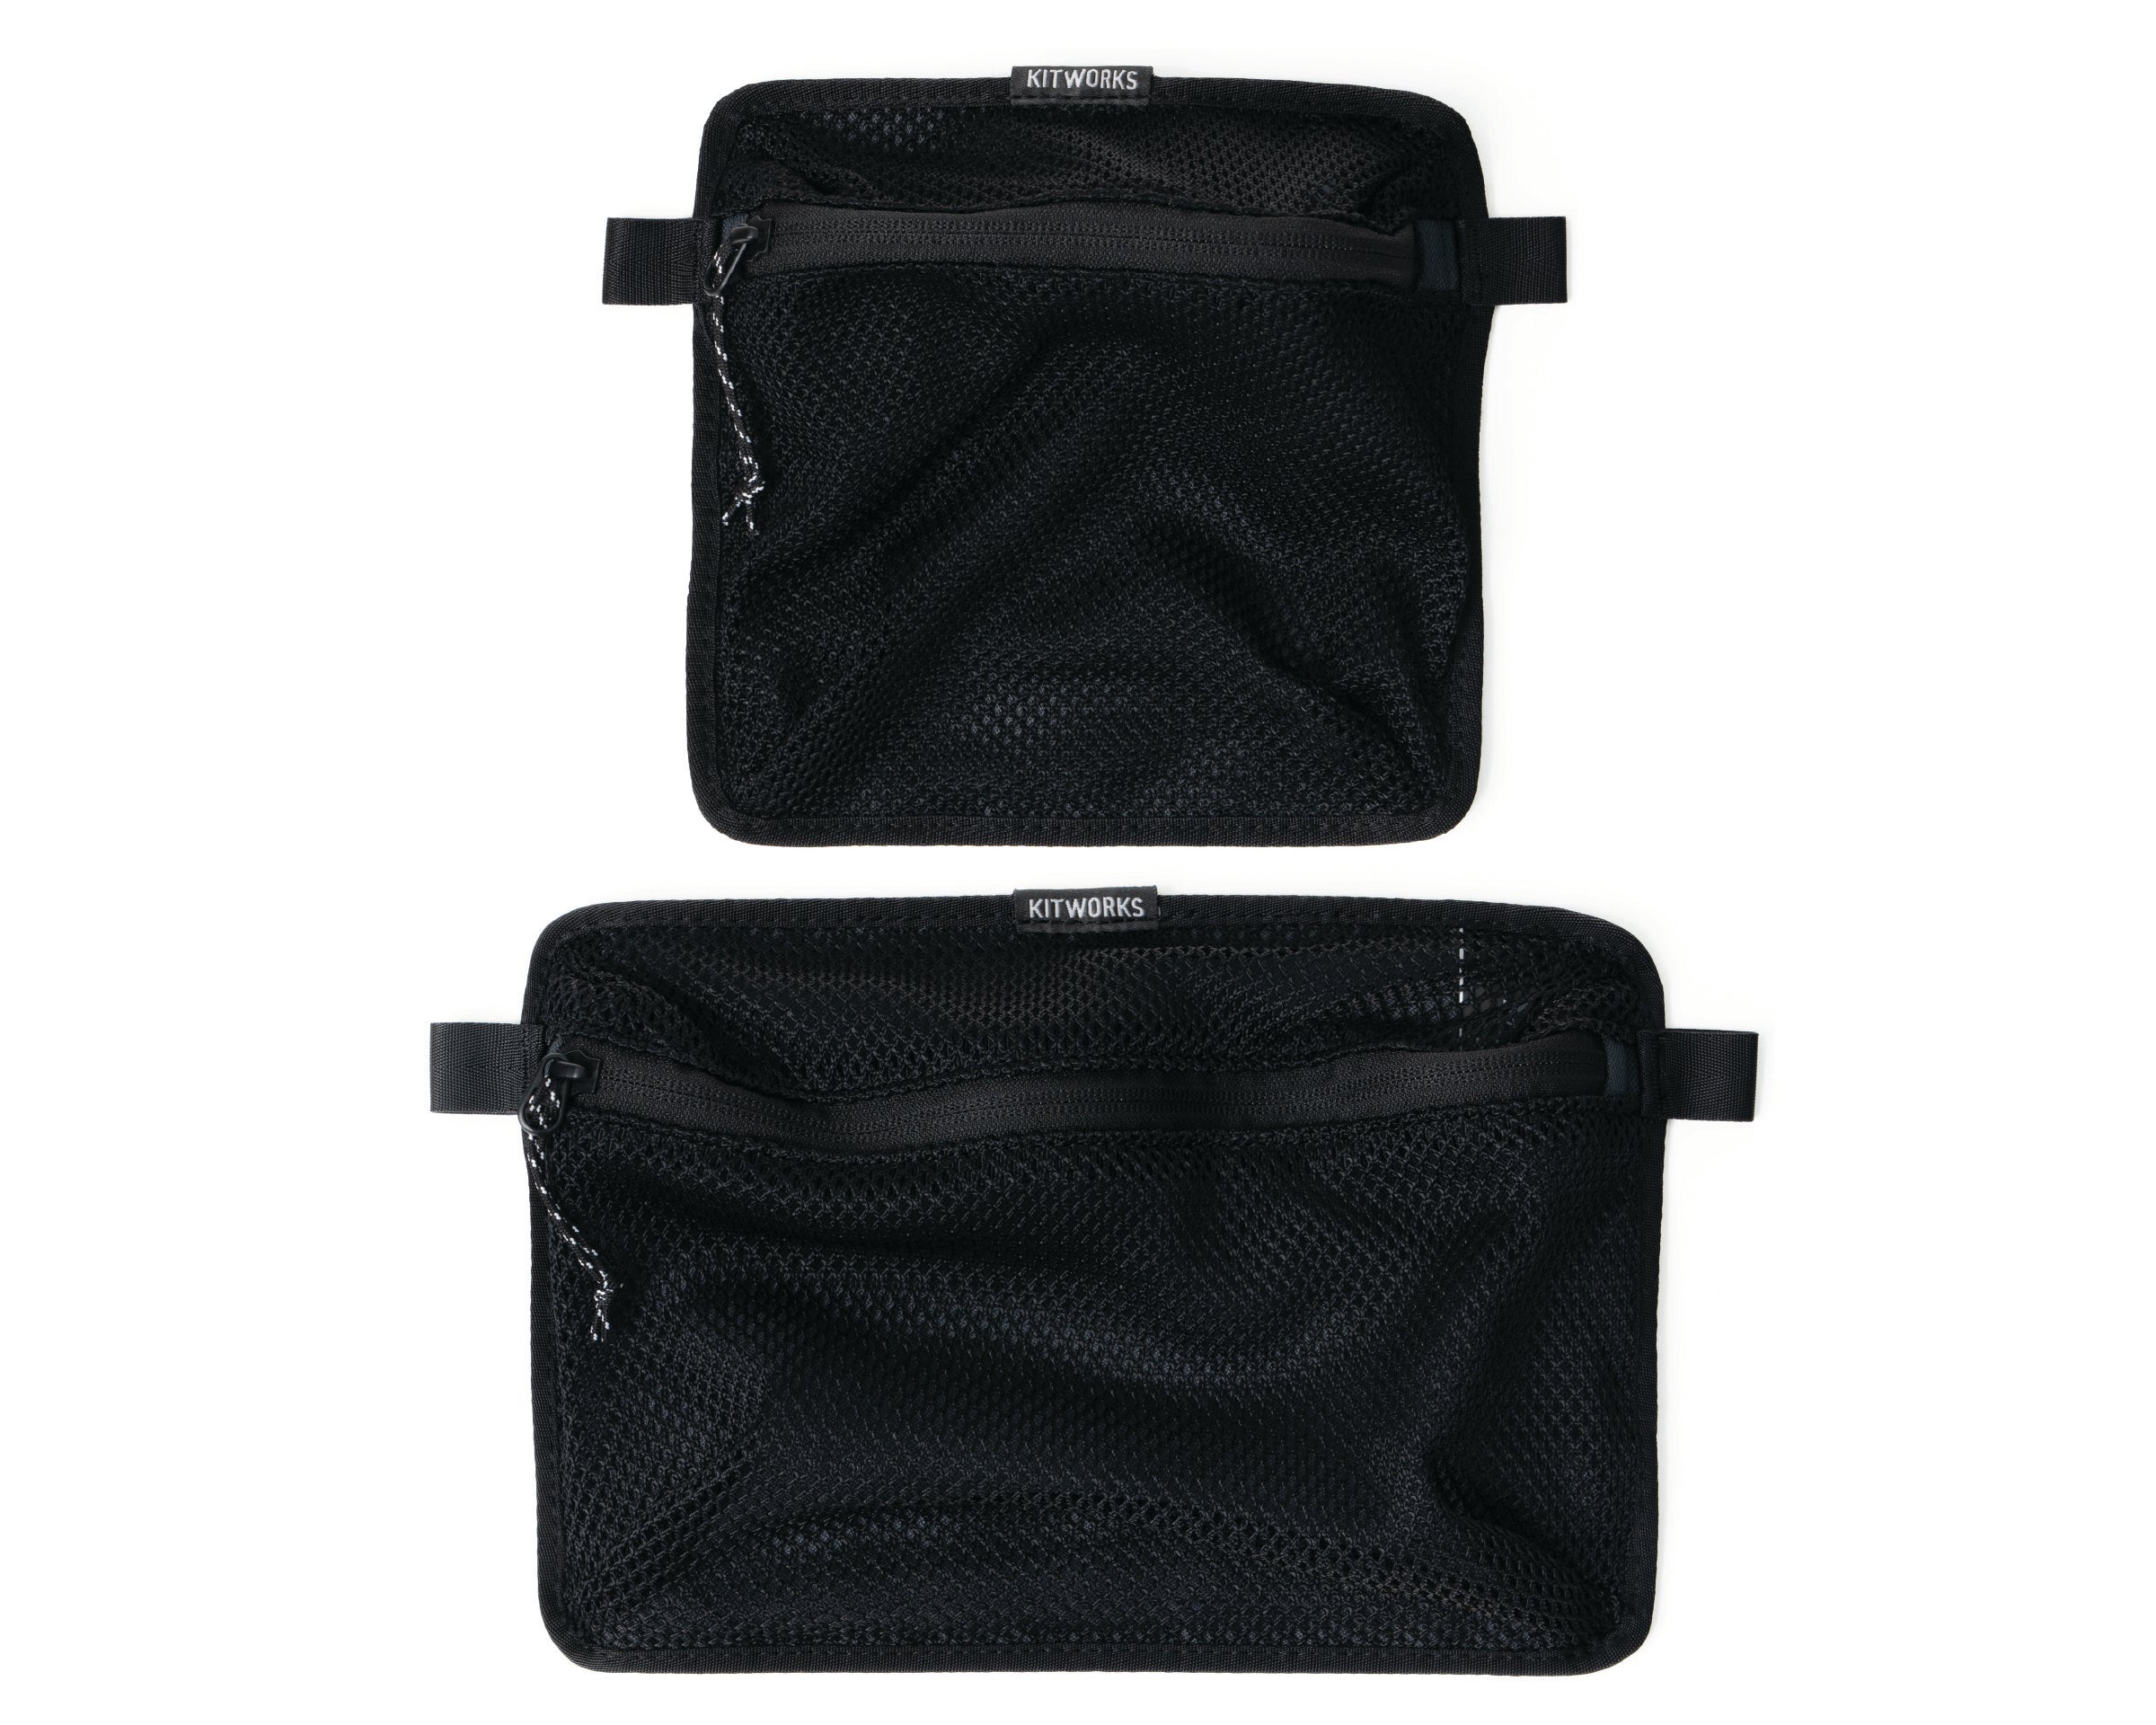
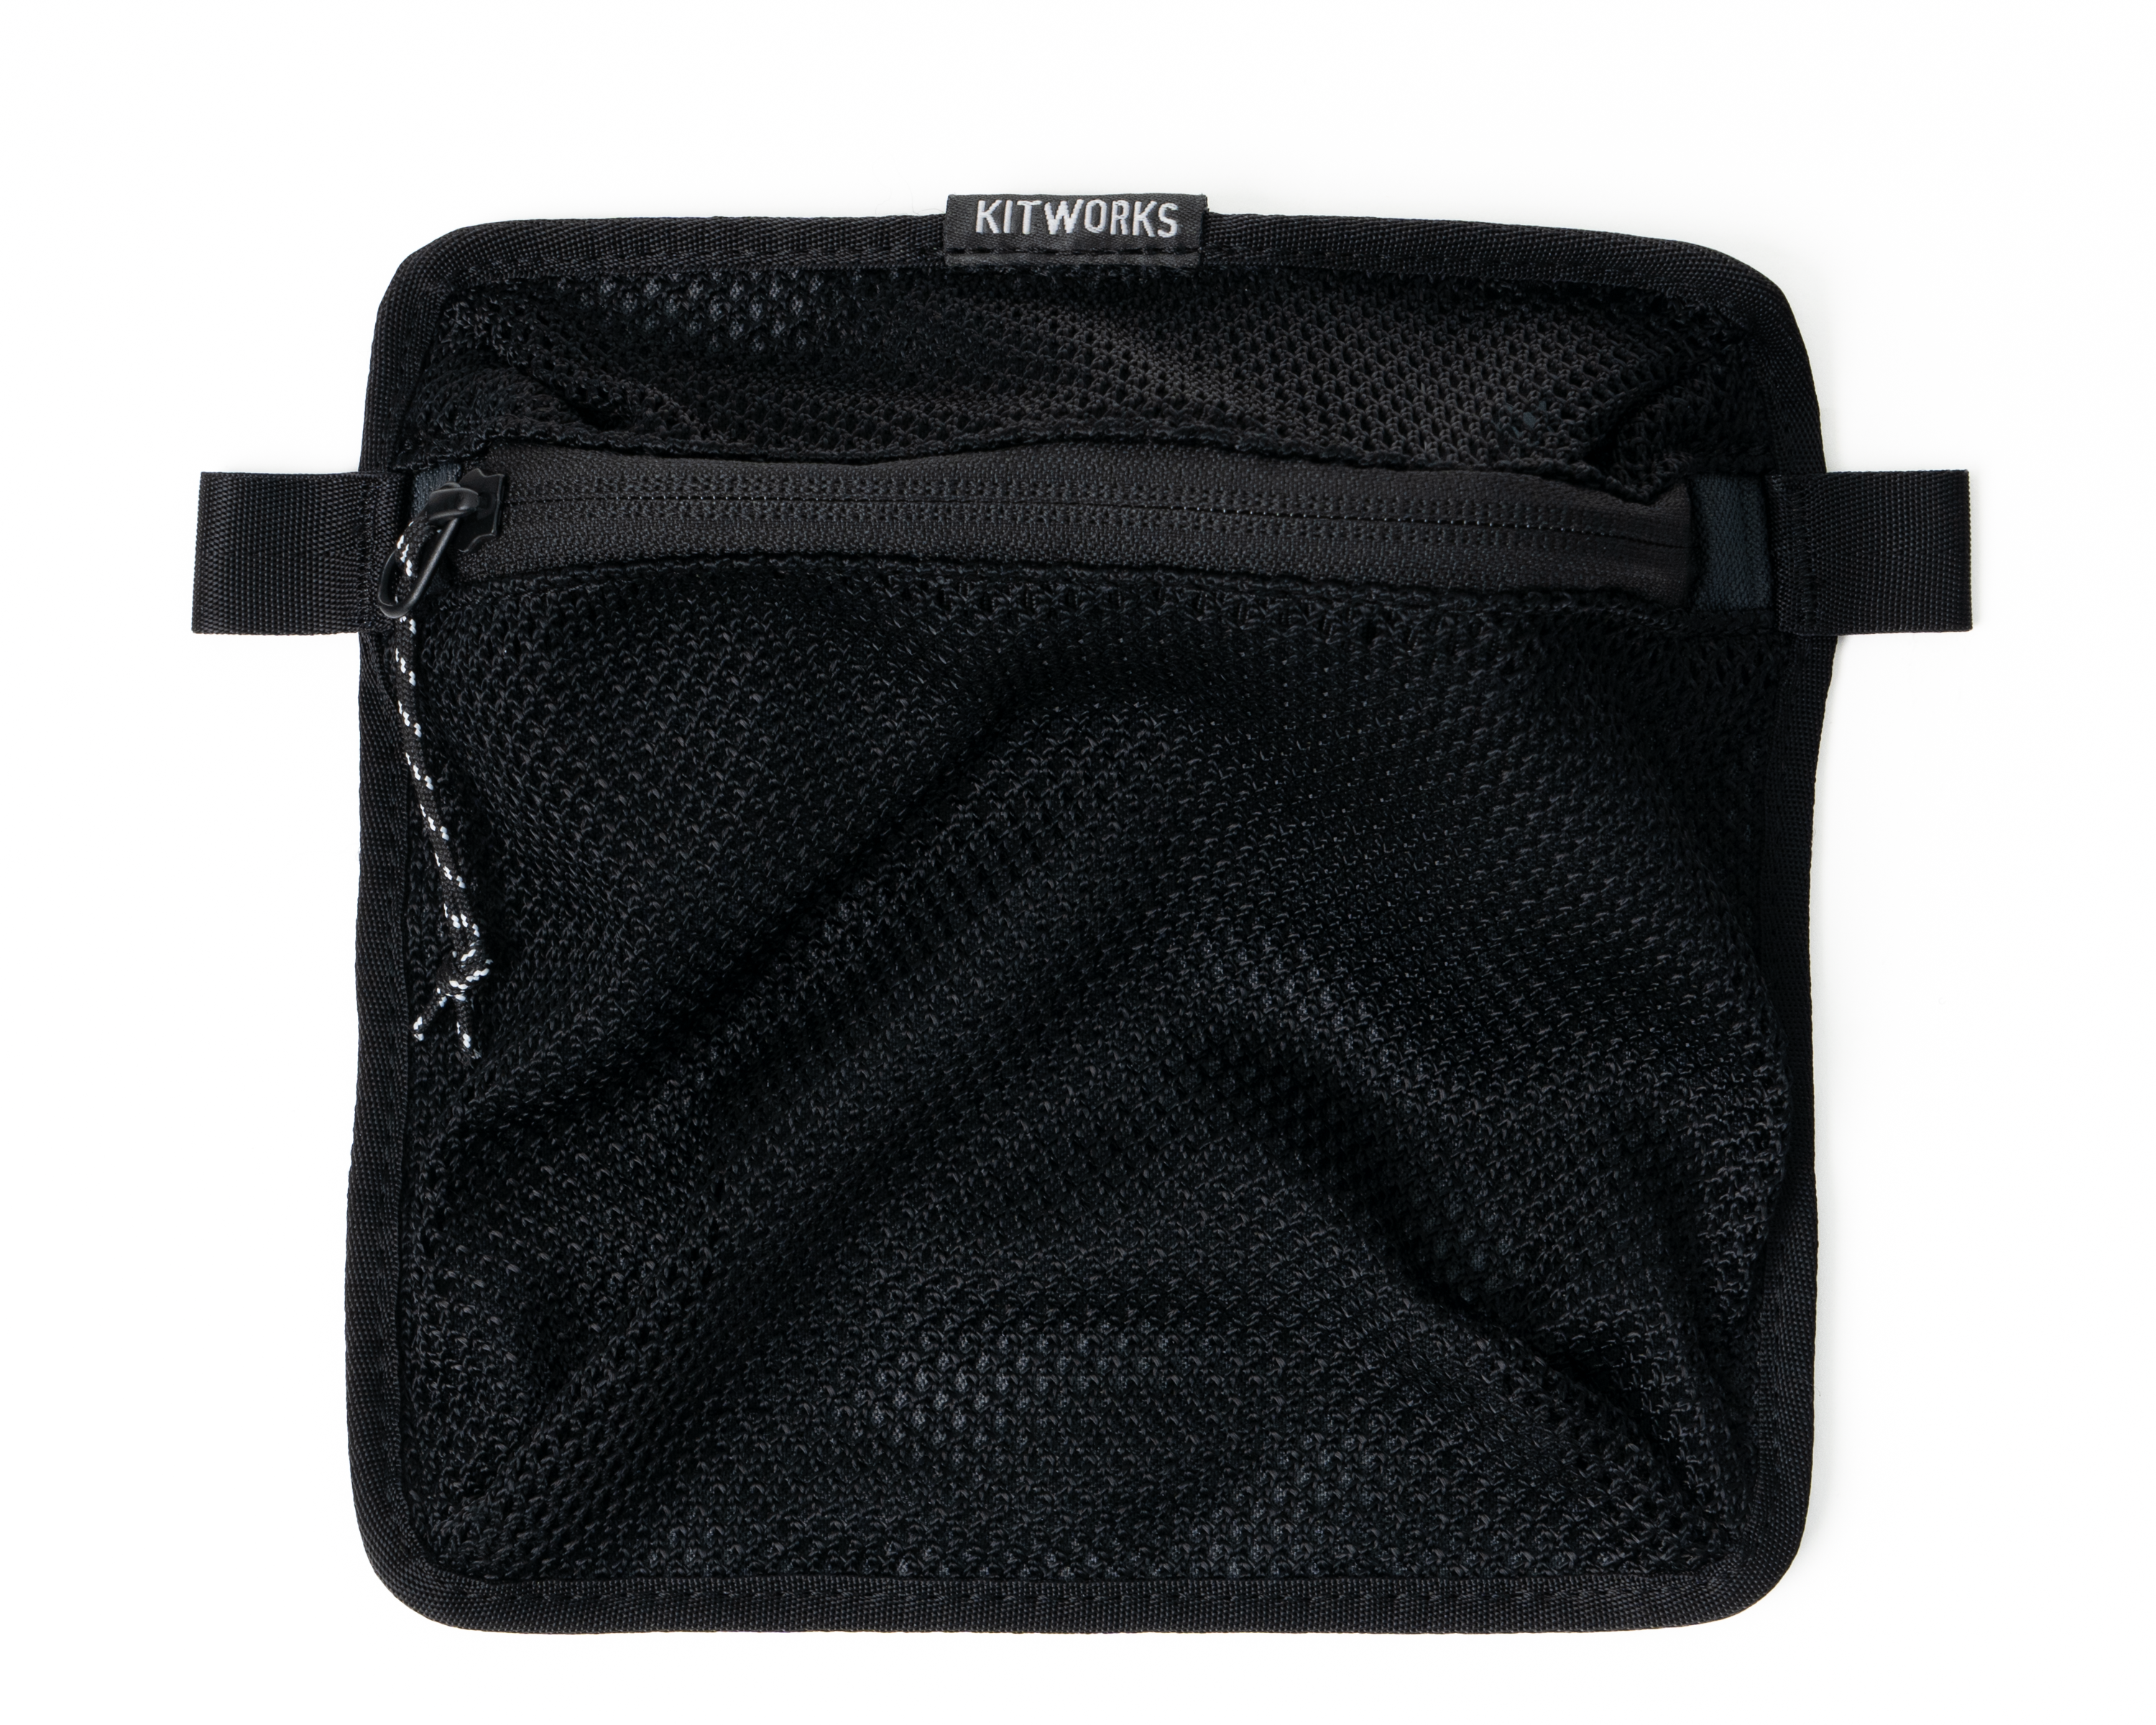
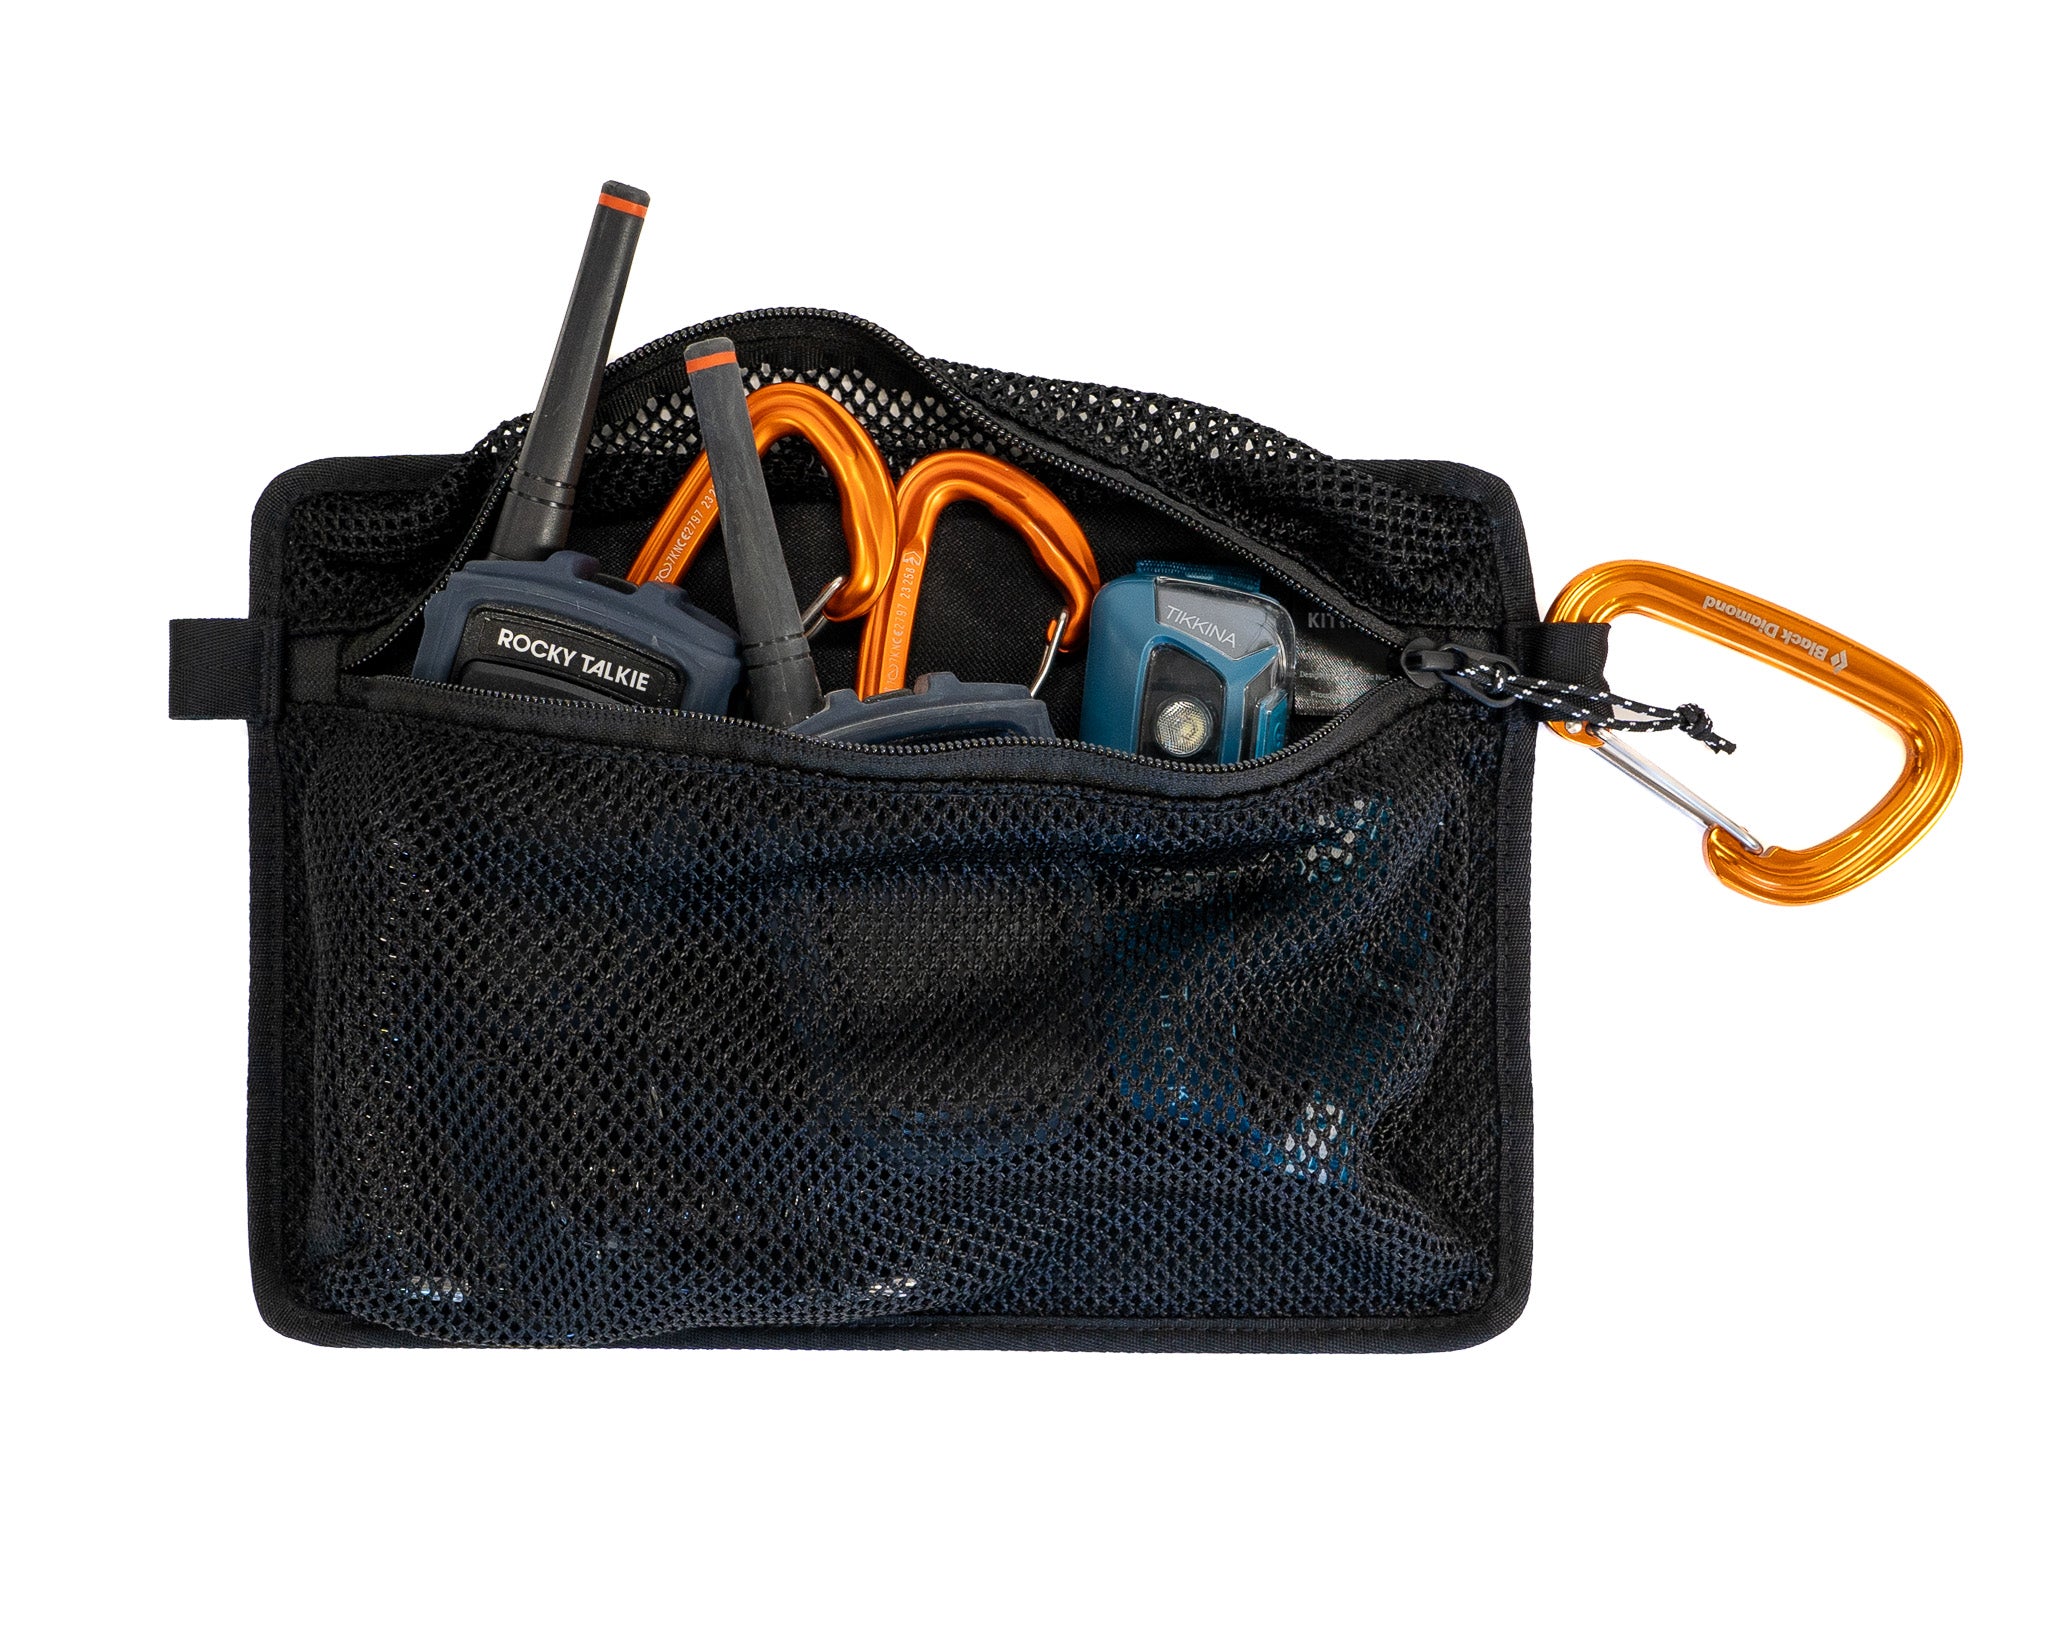
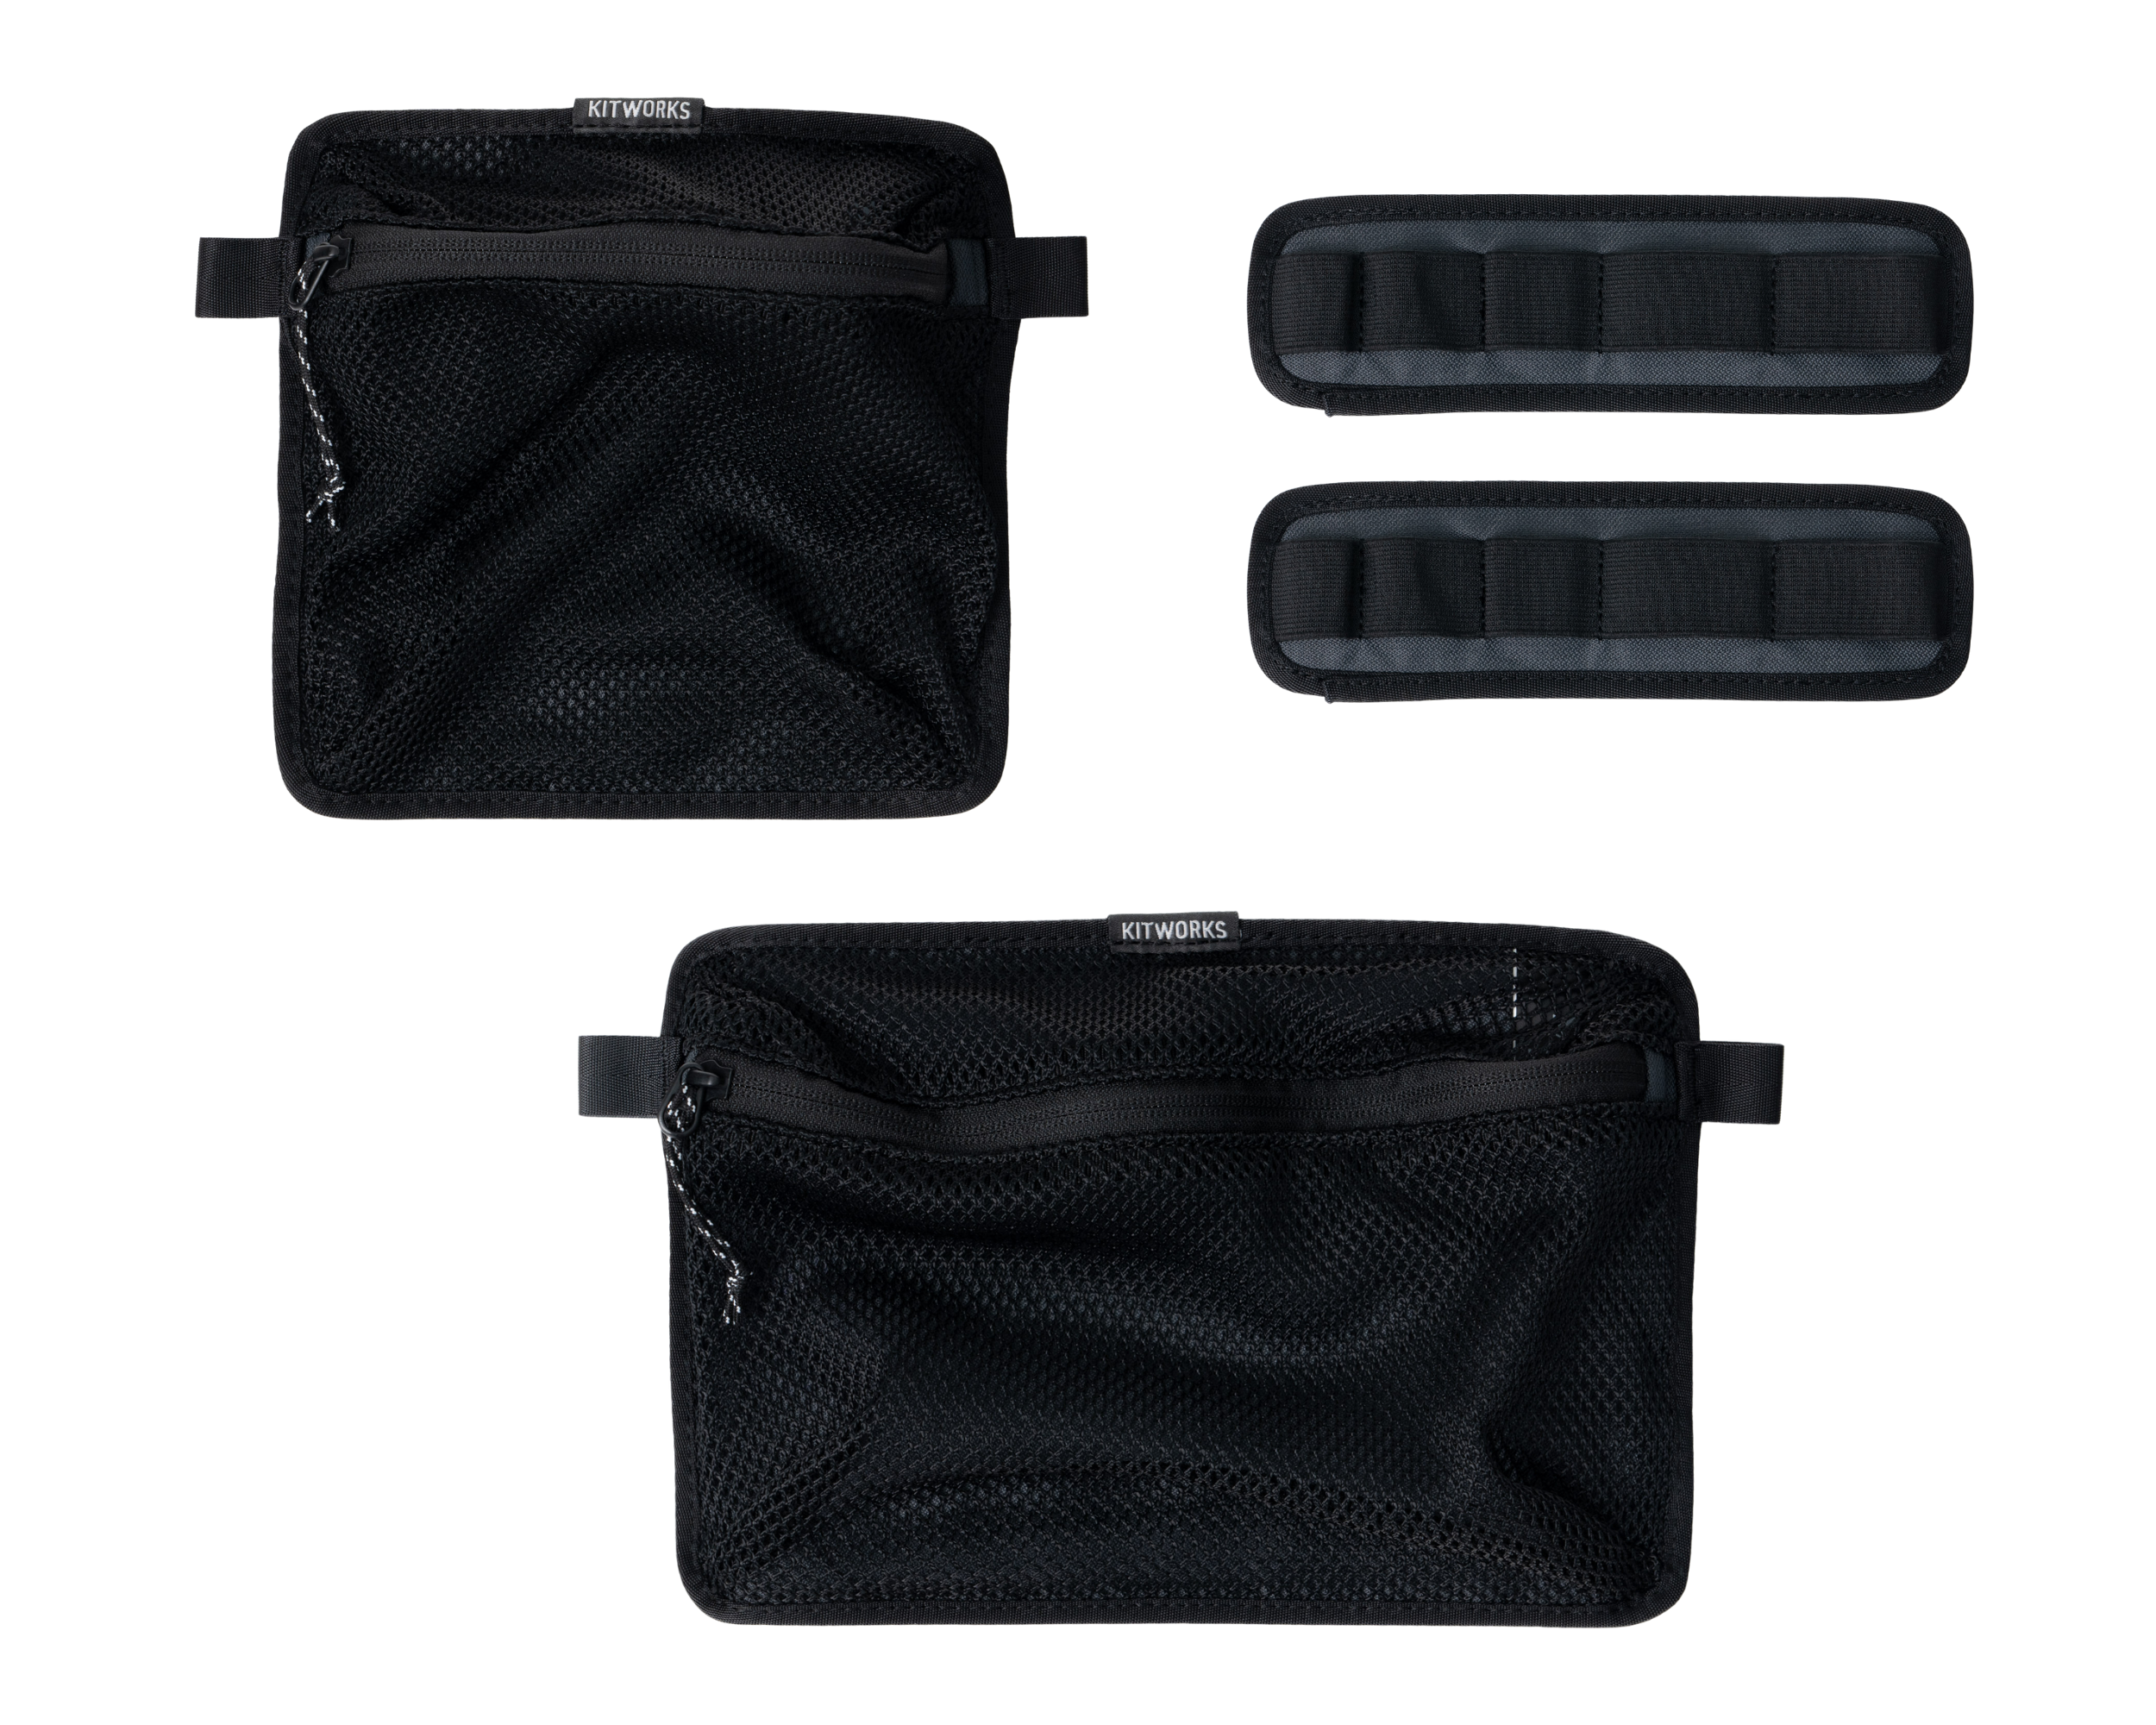
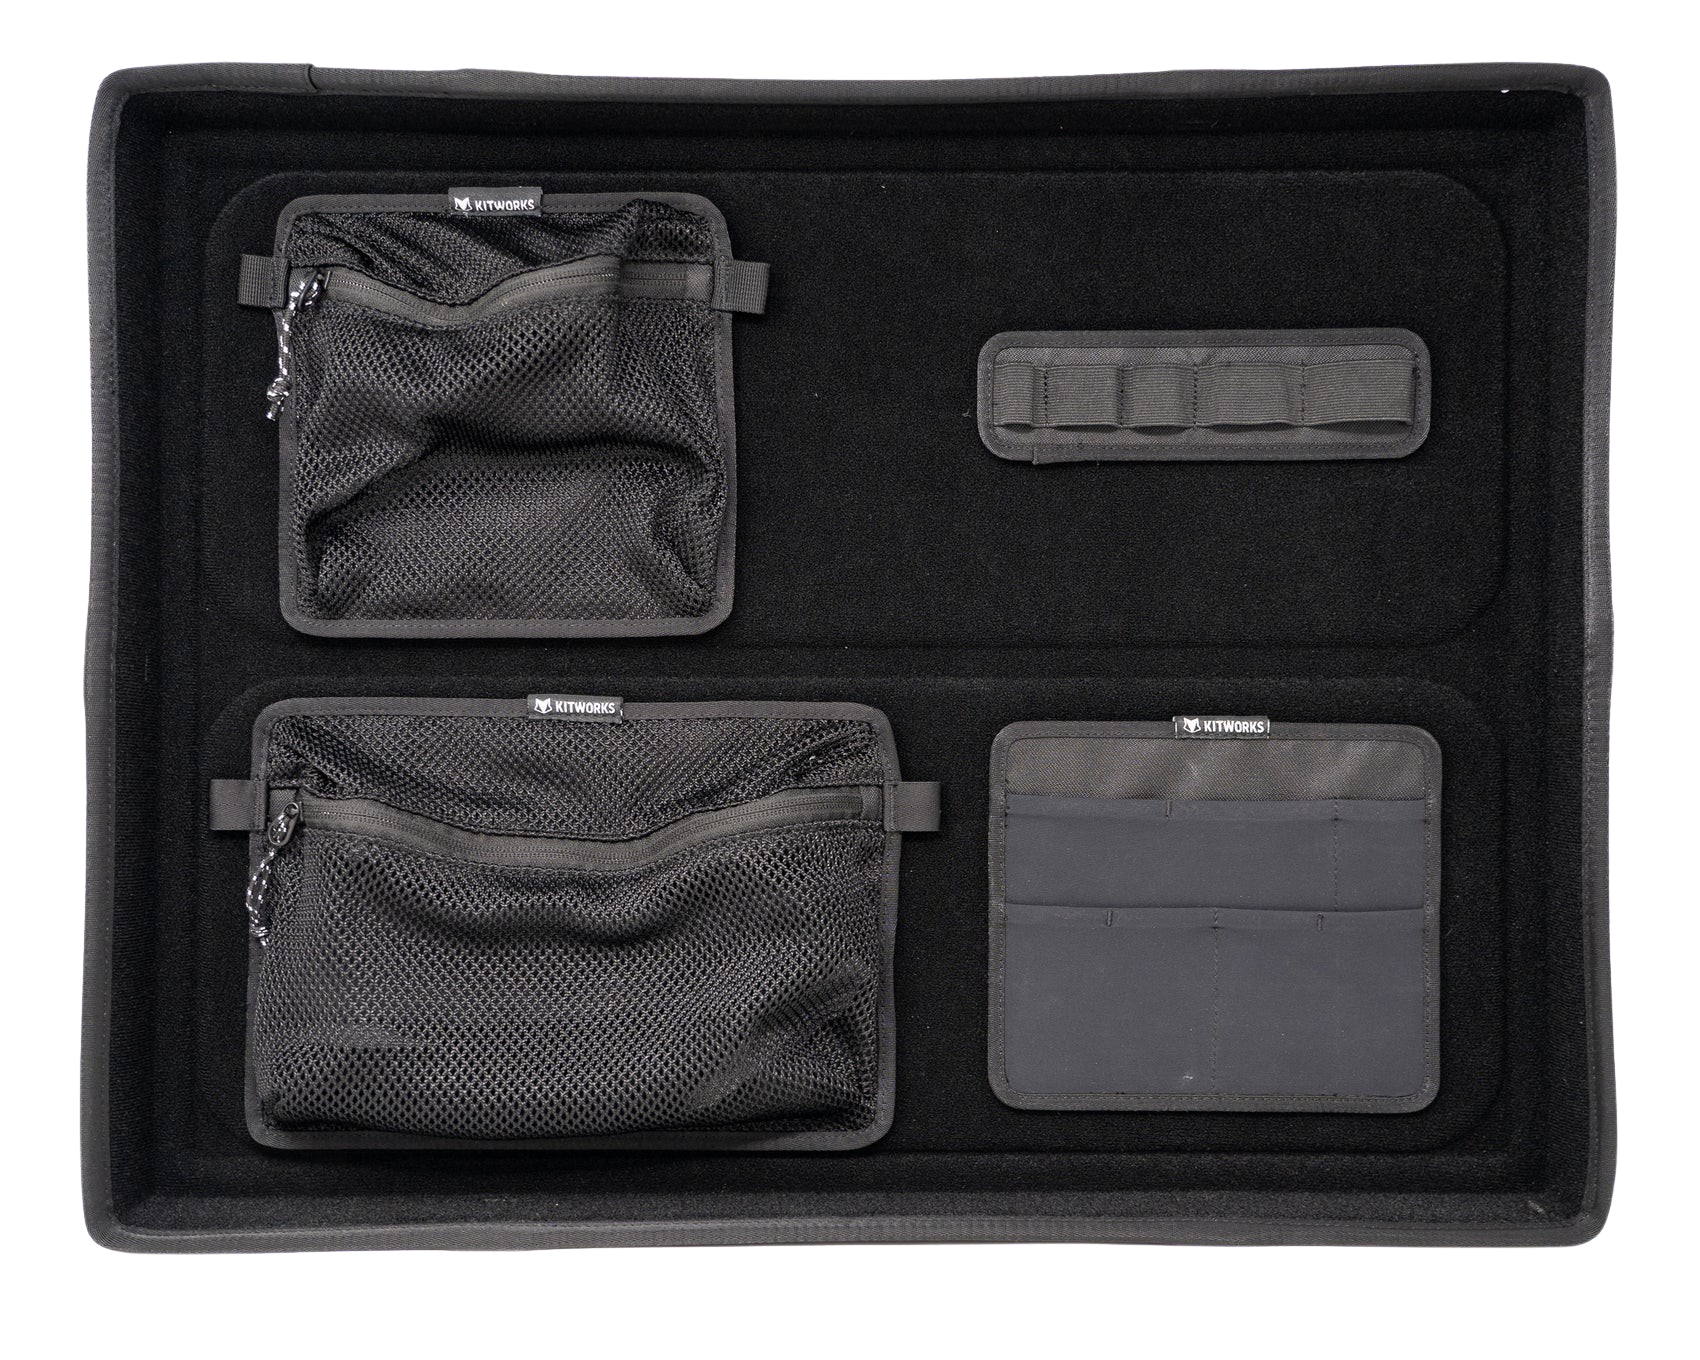
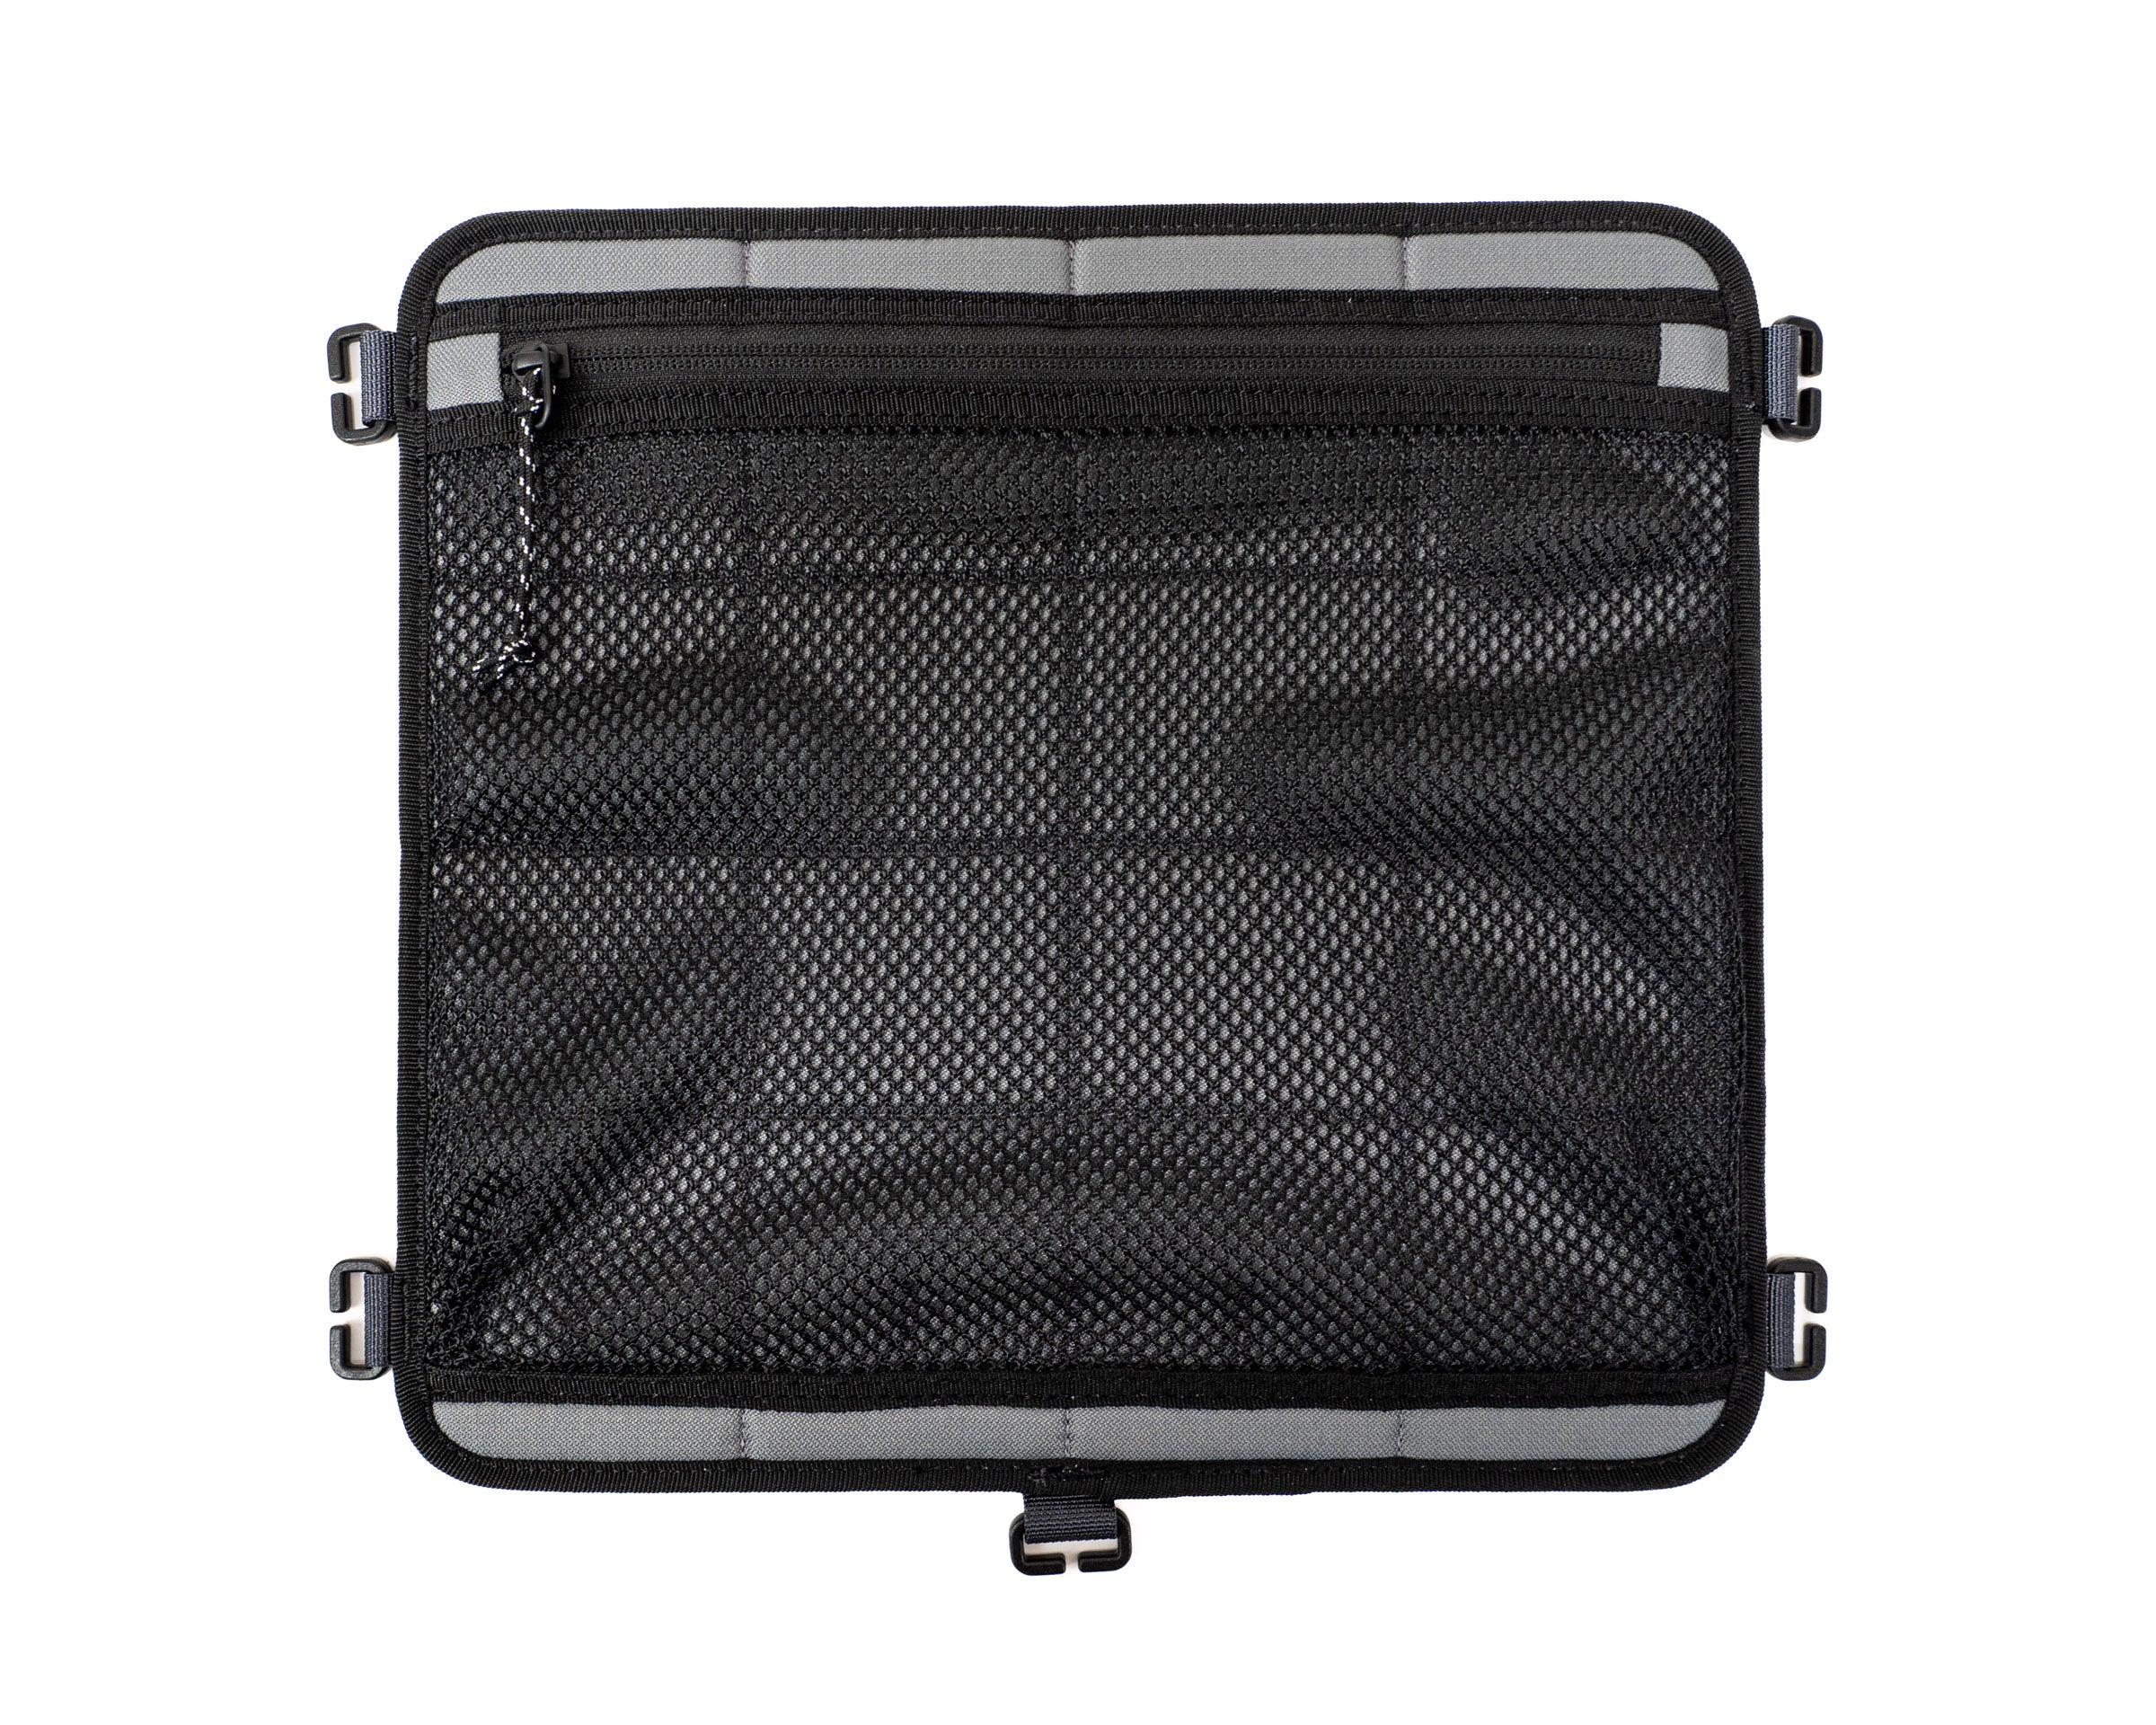
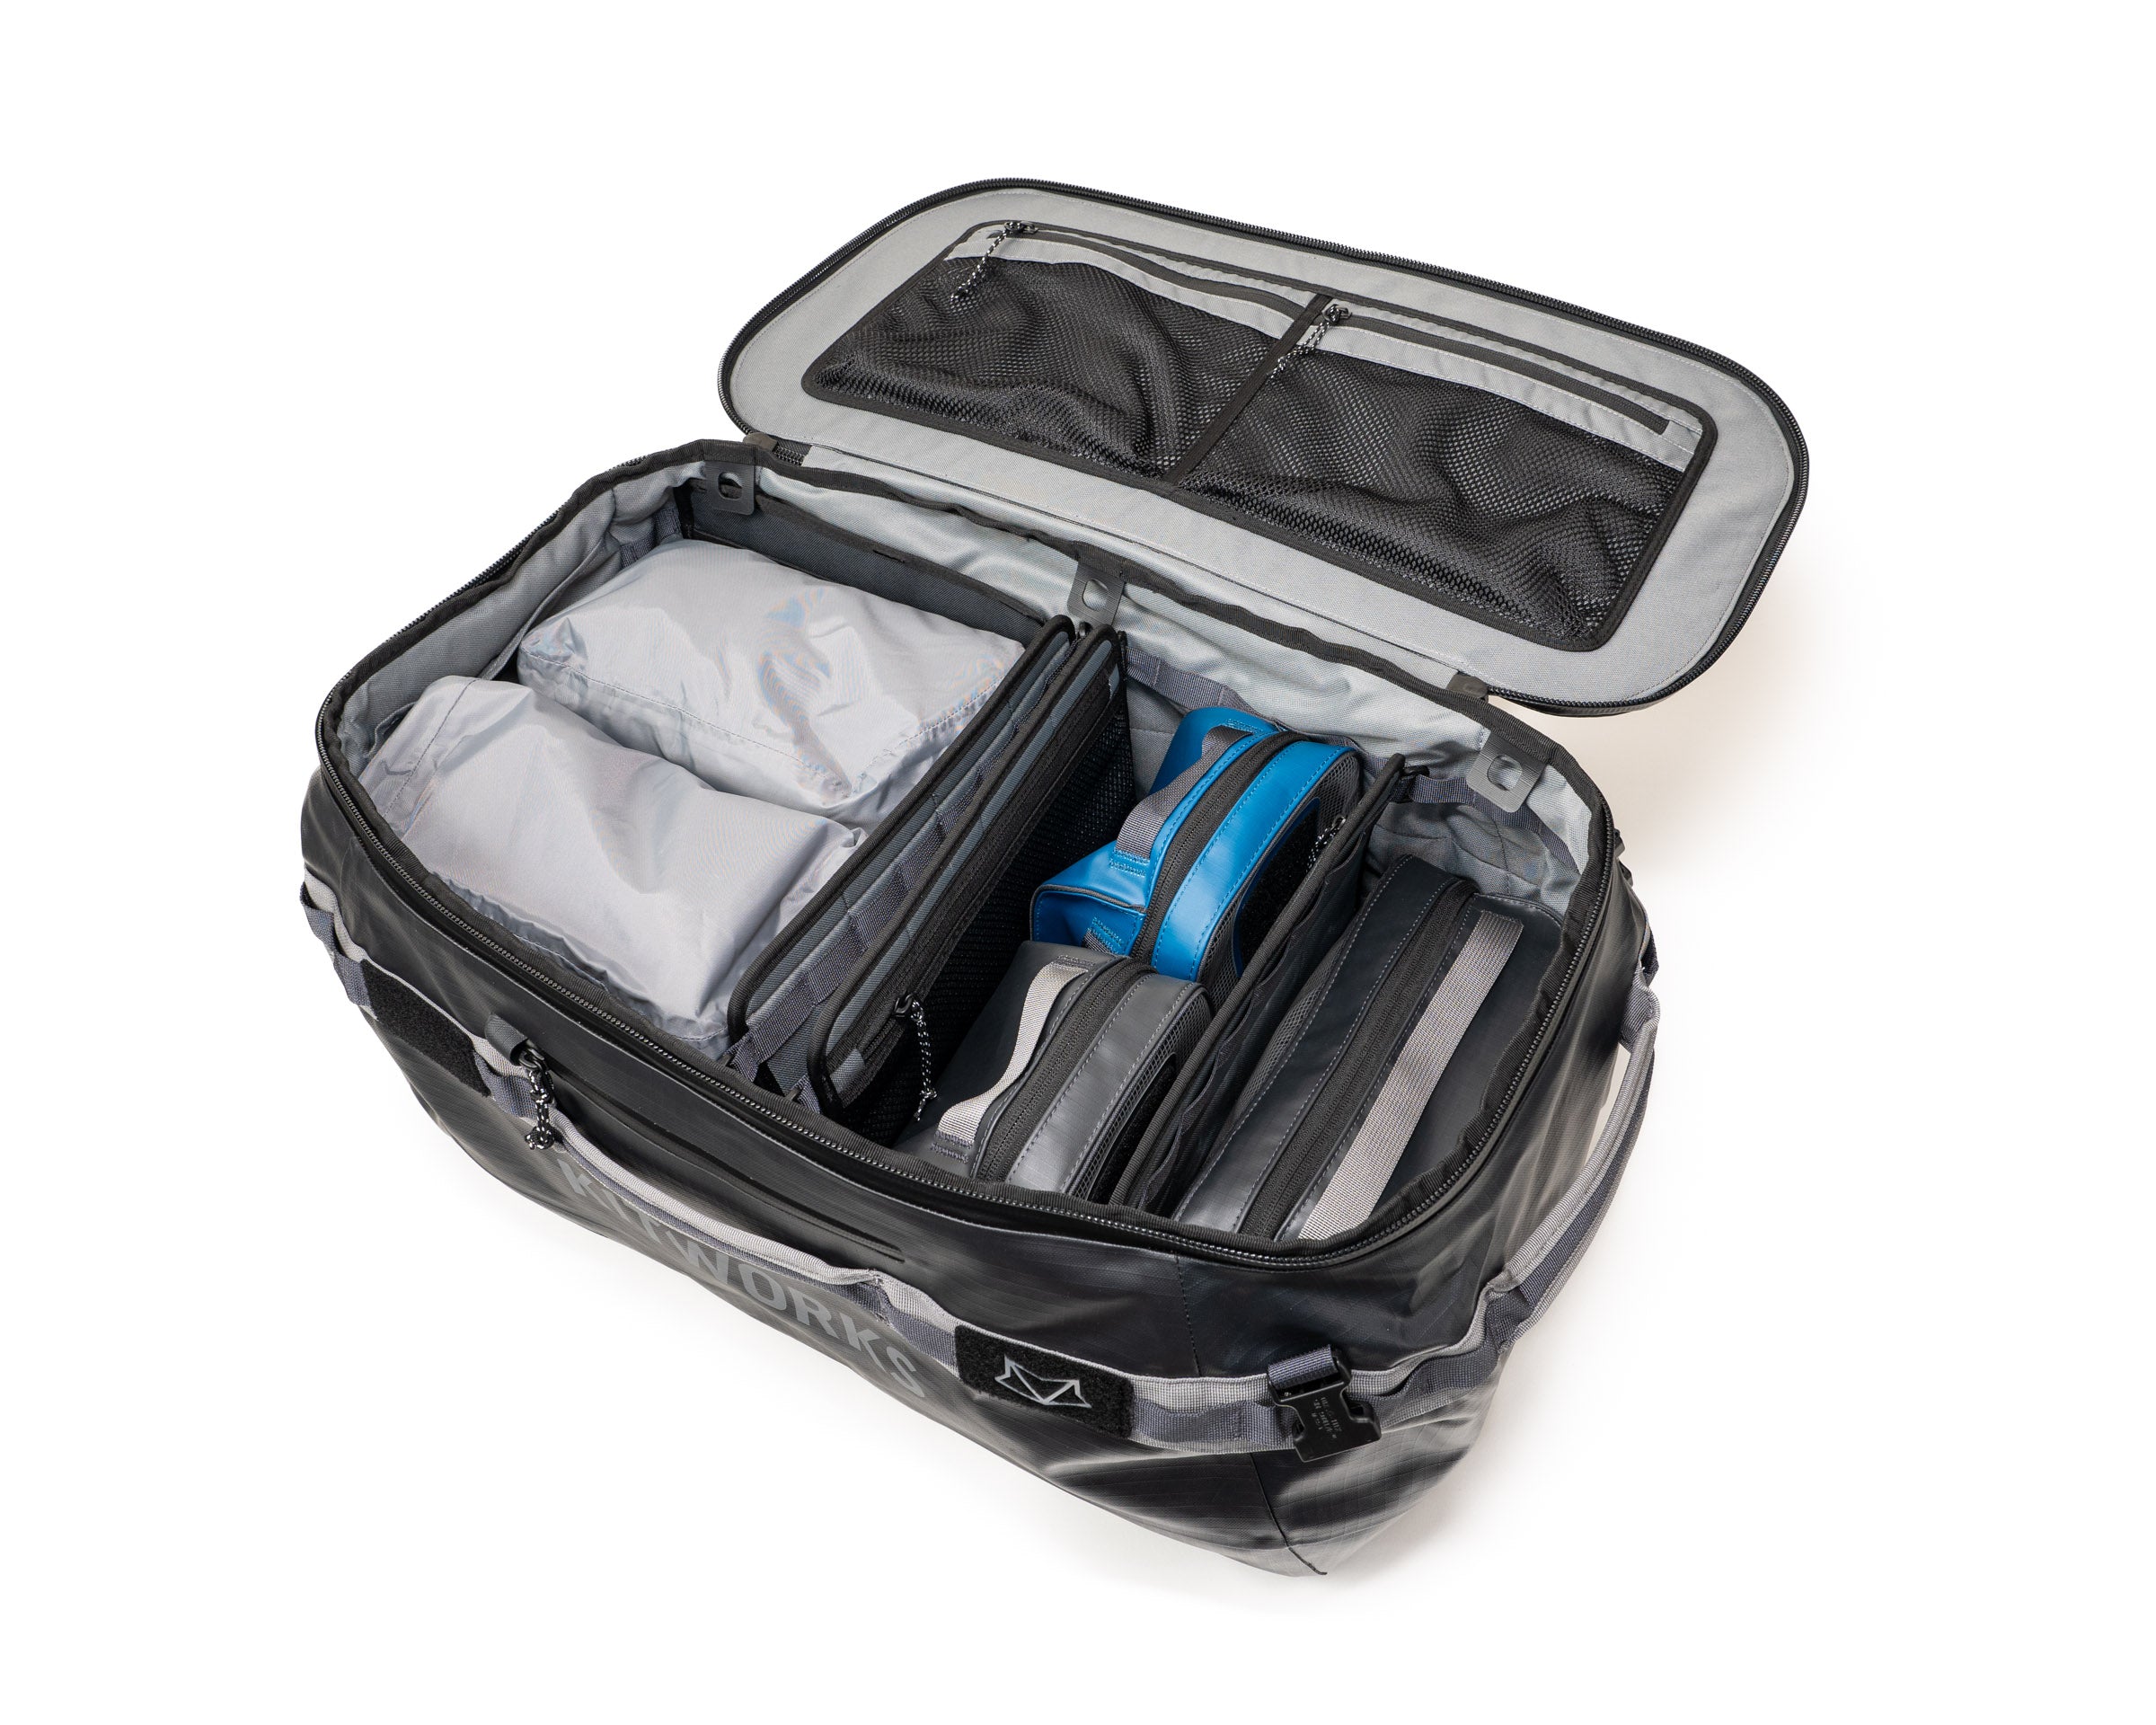
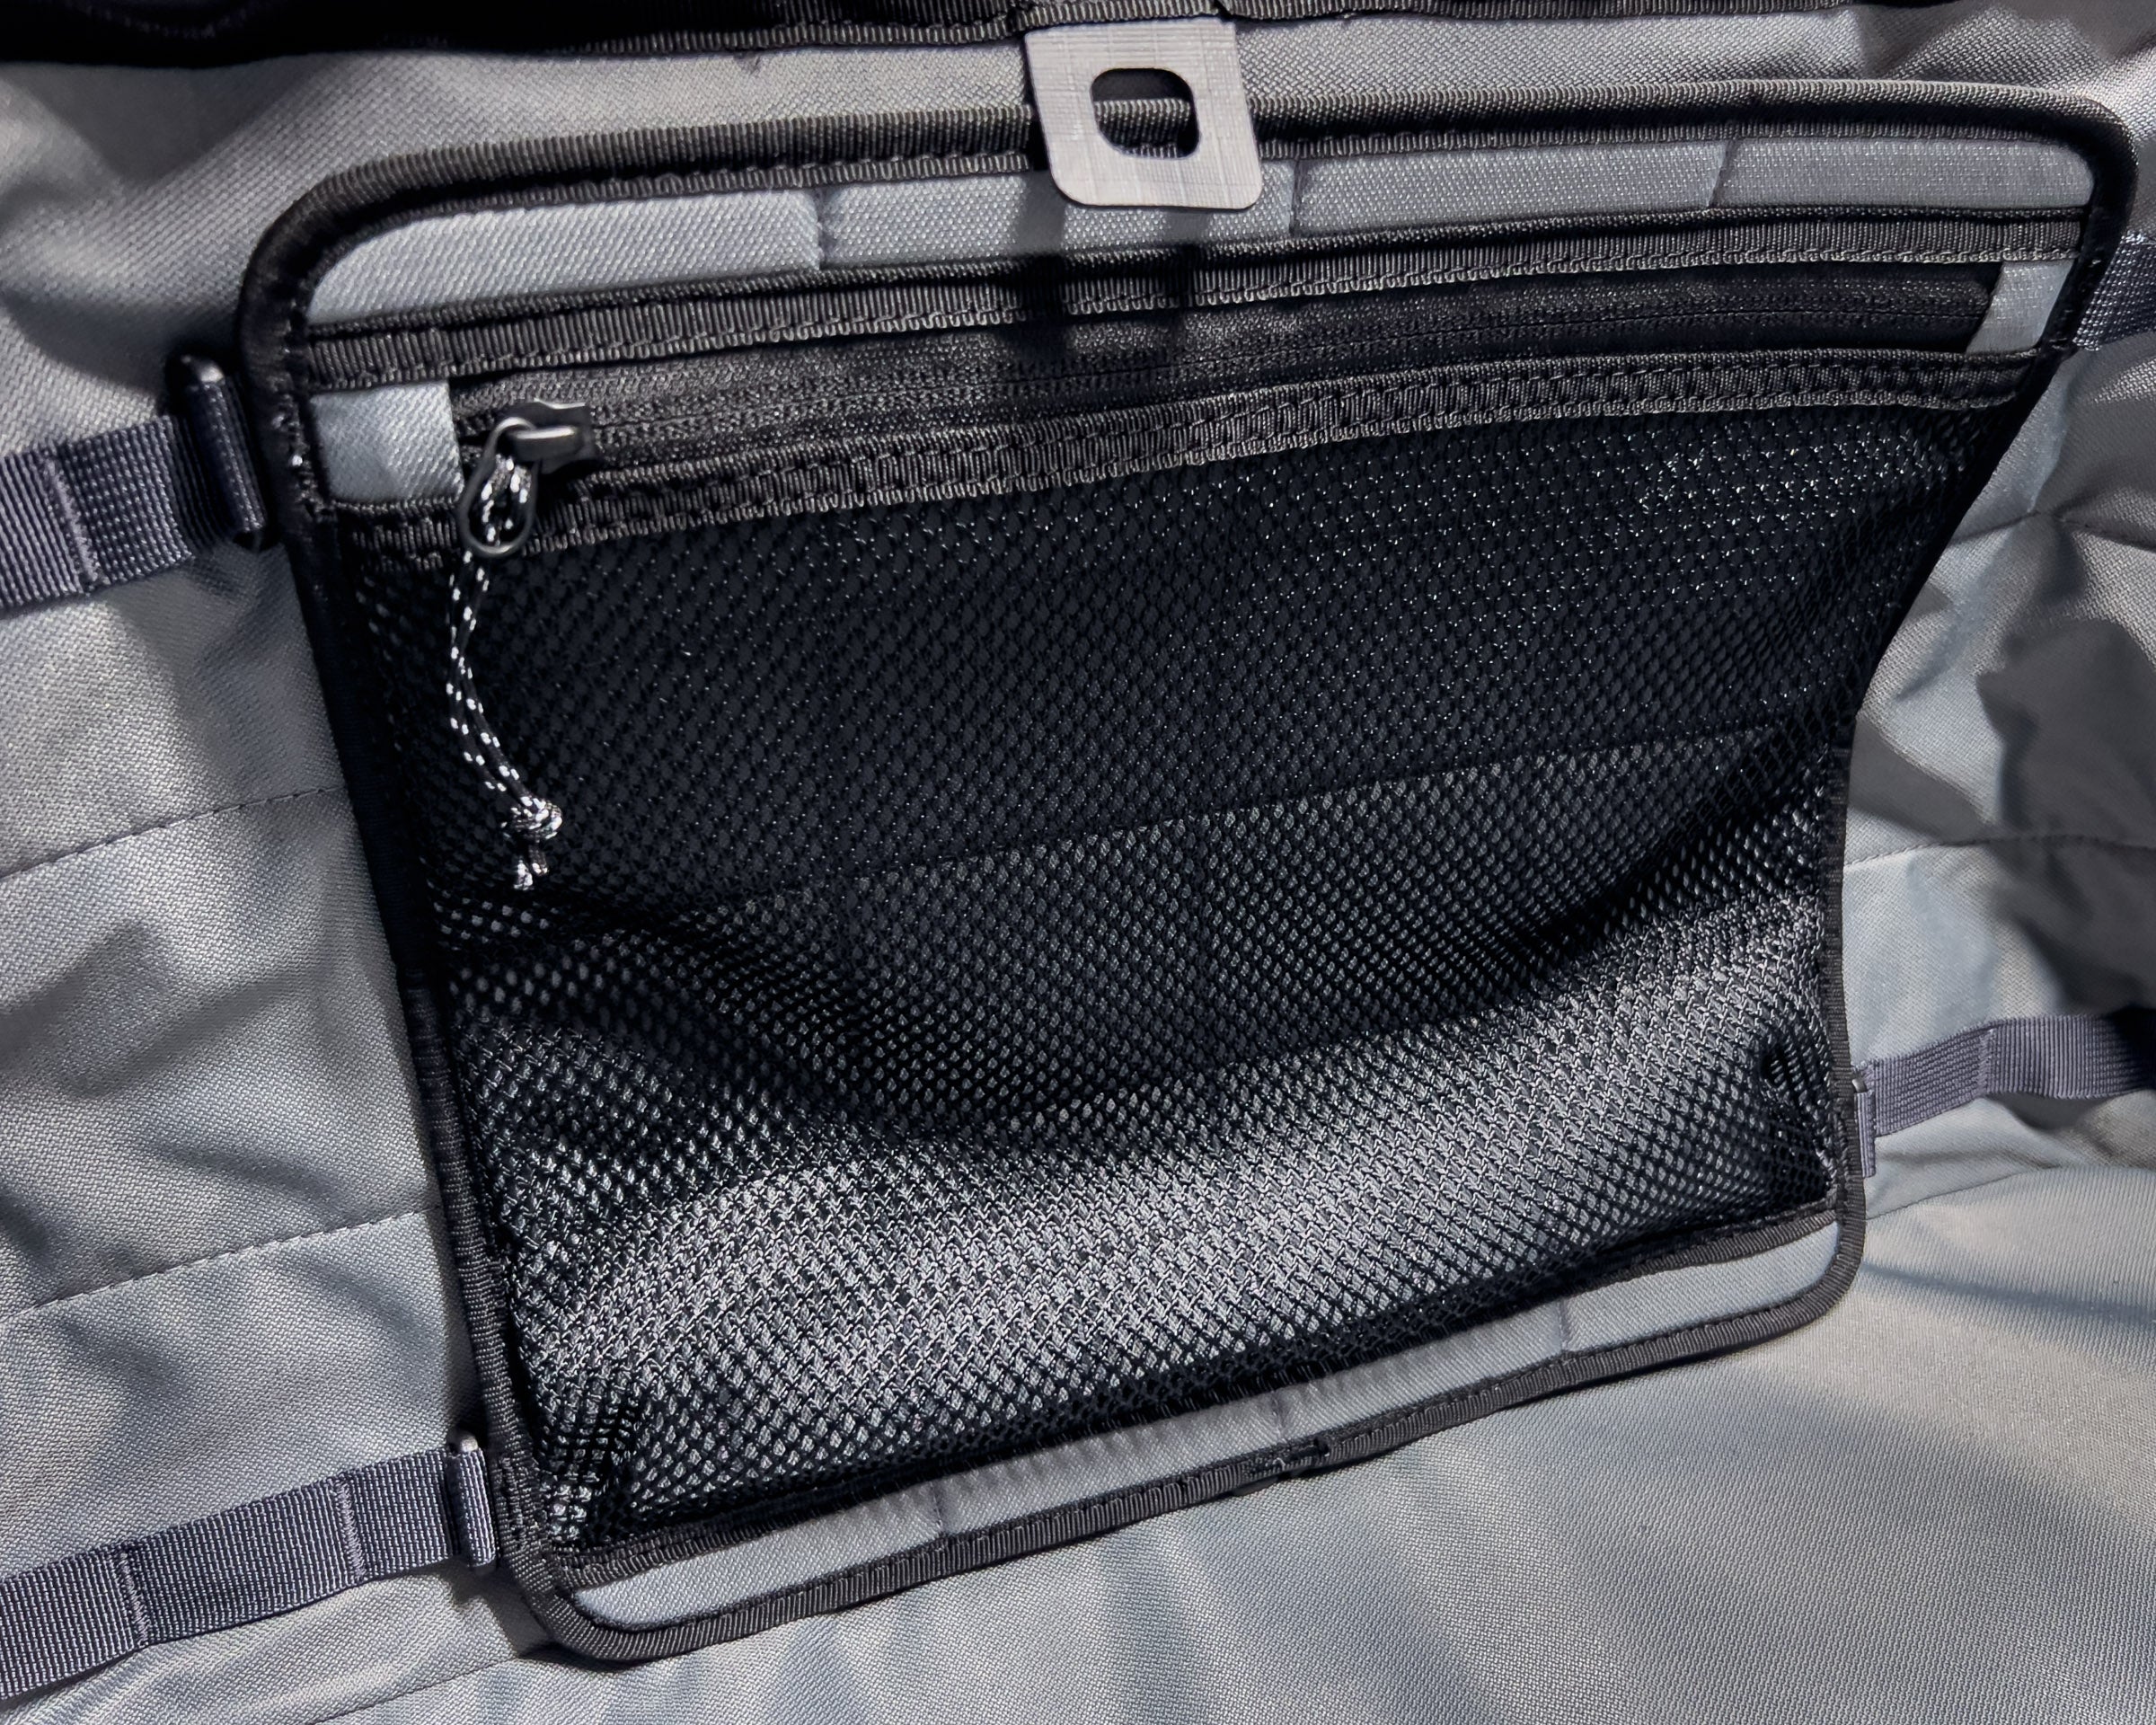
Install System Pockets
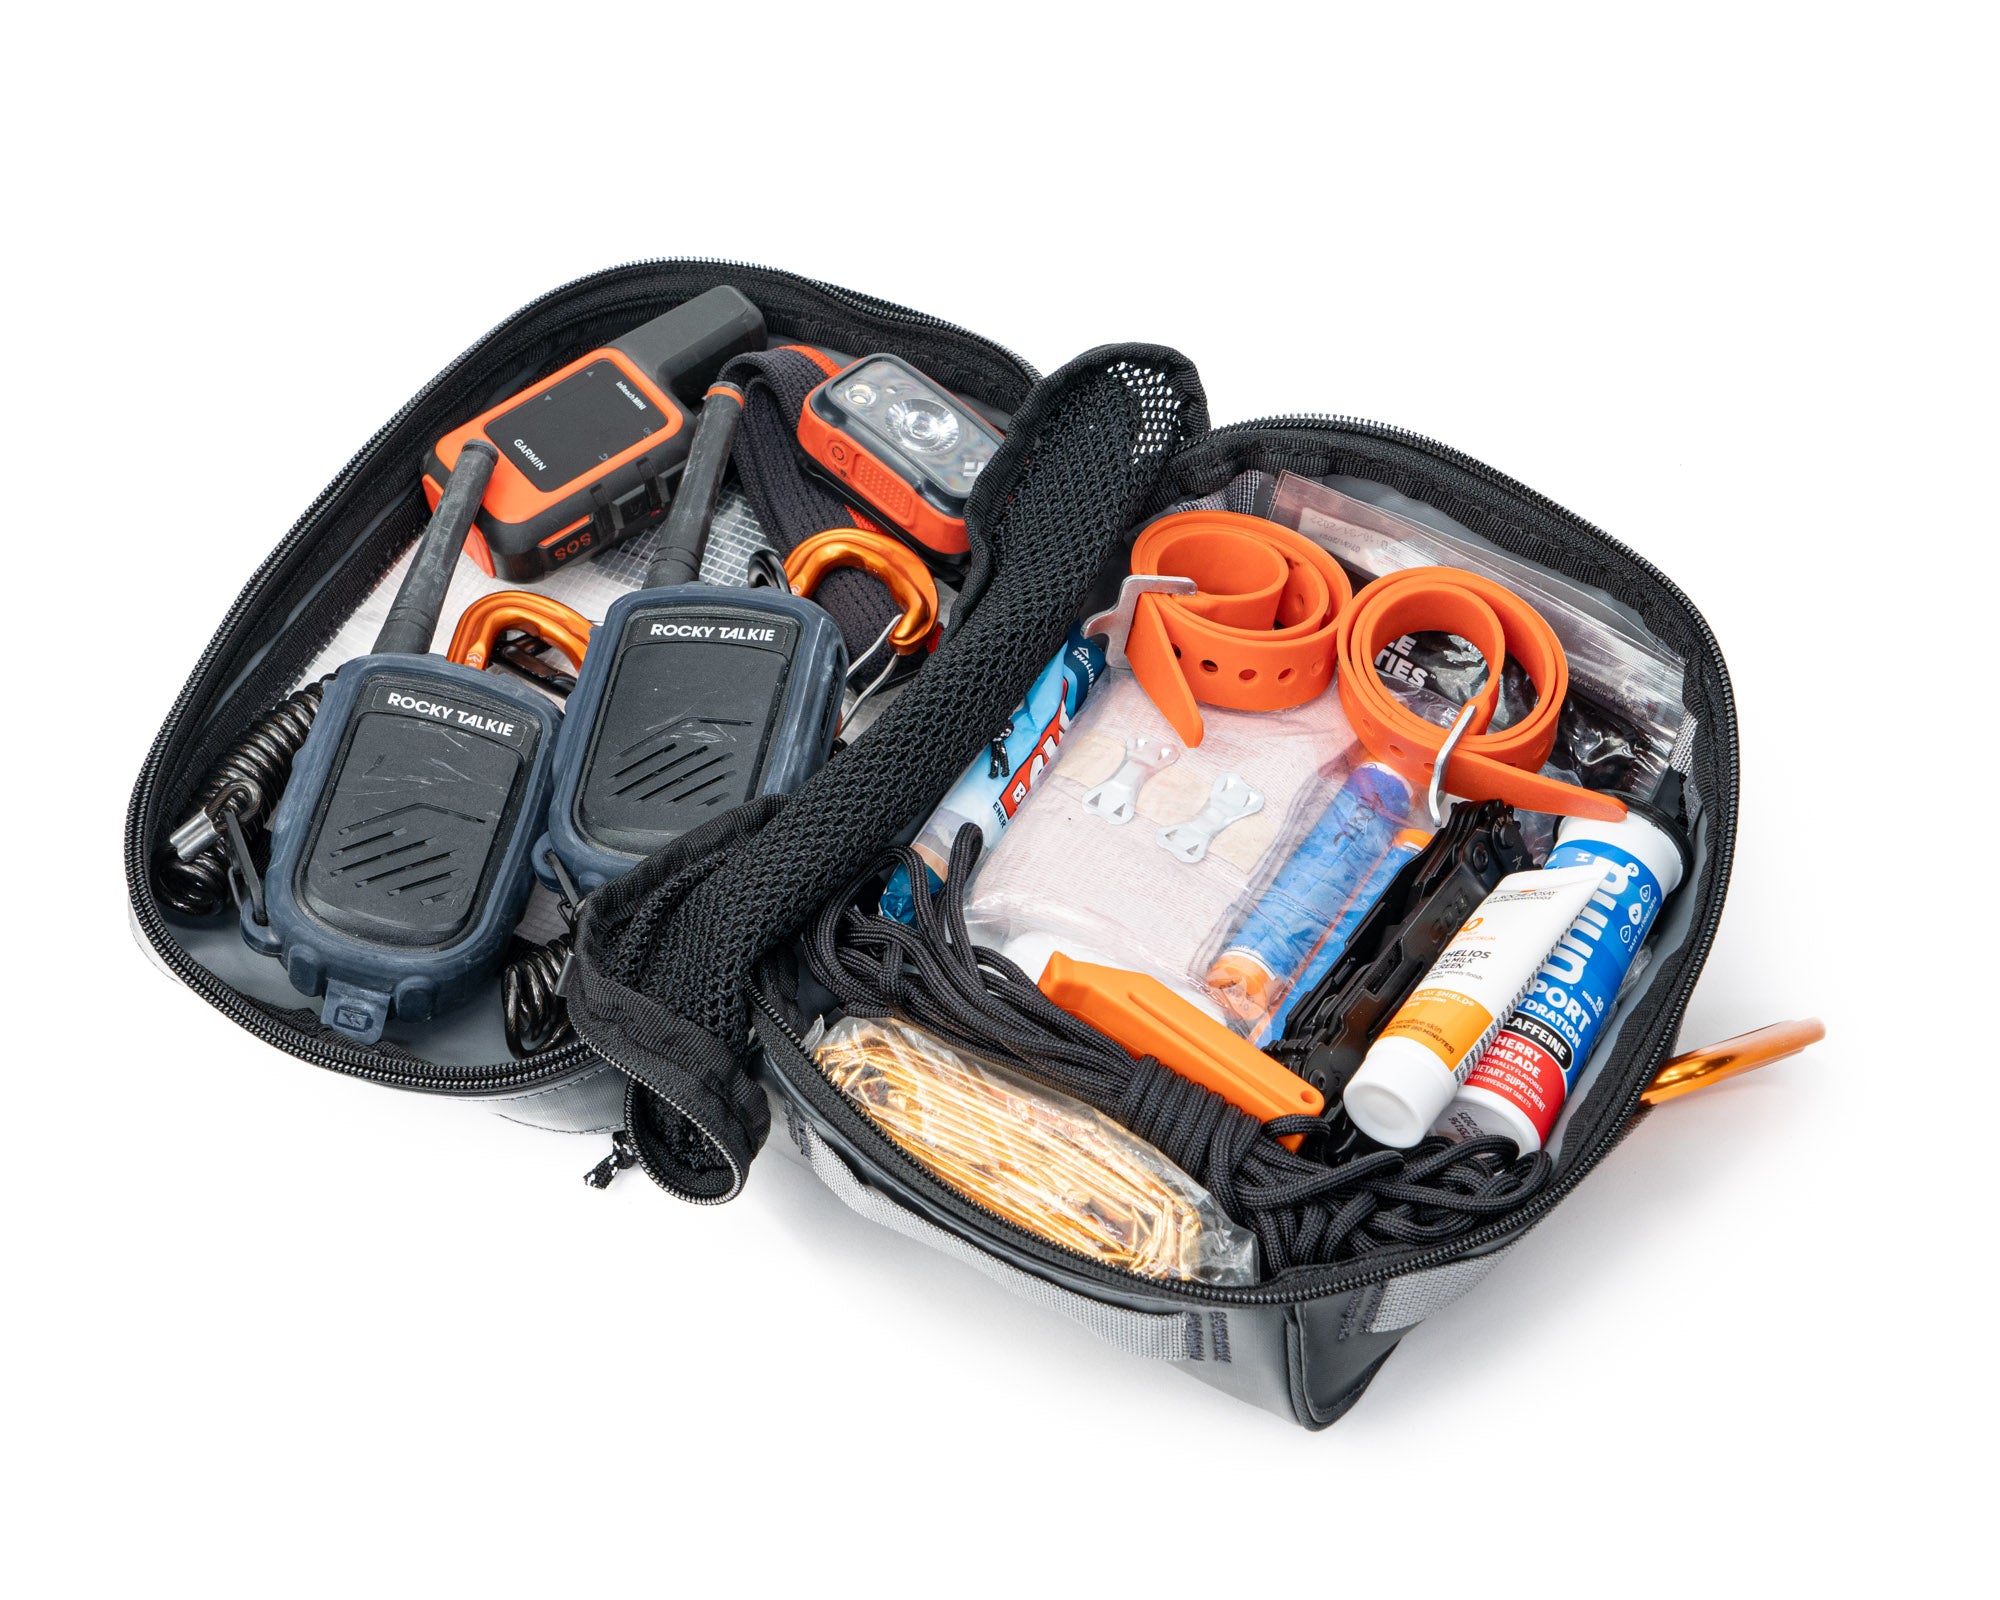
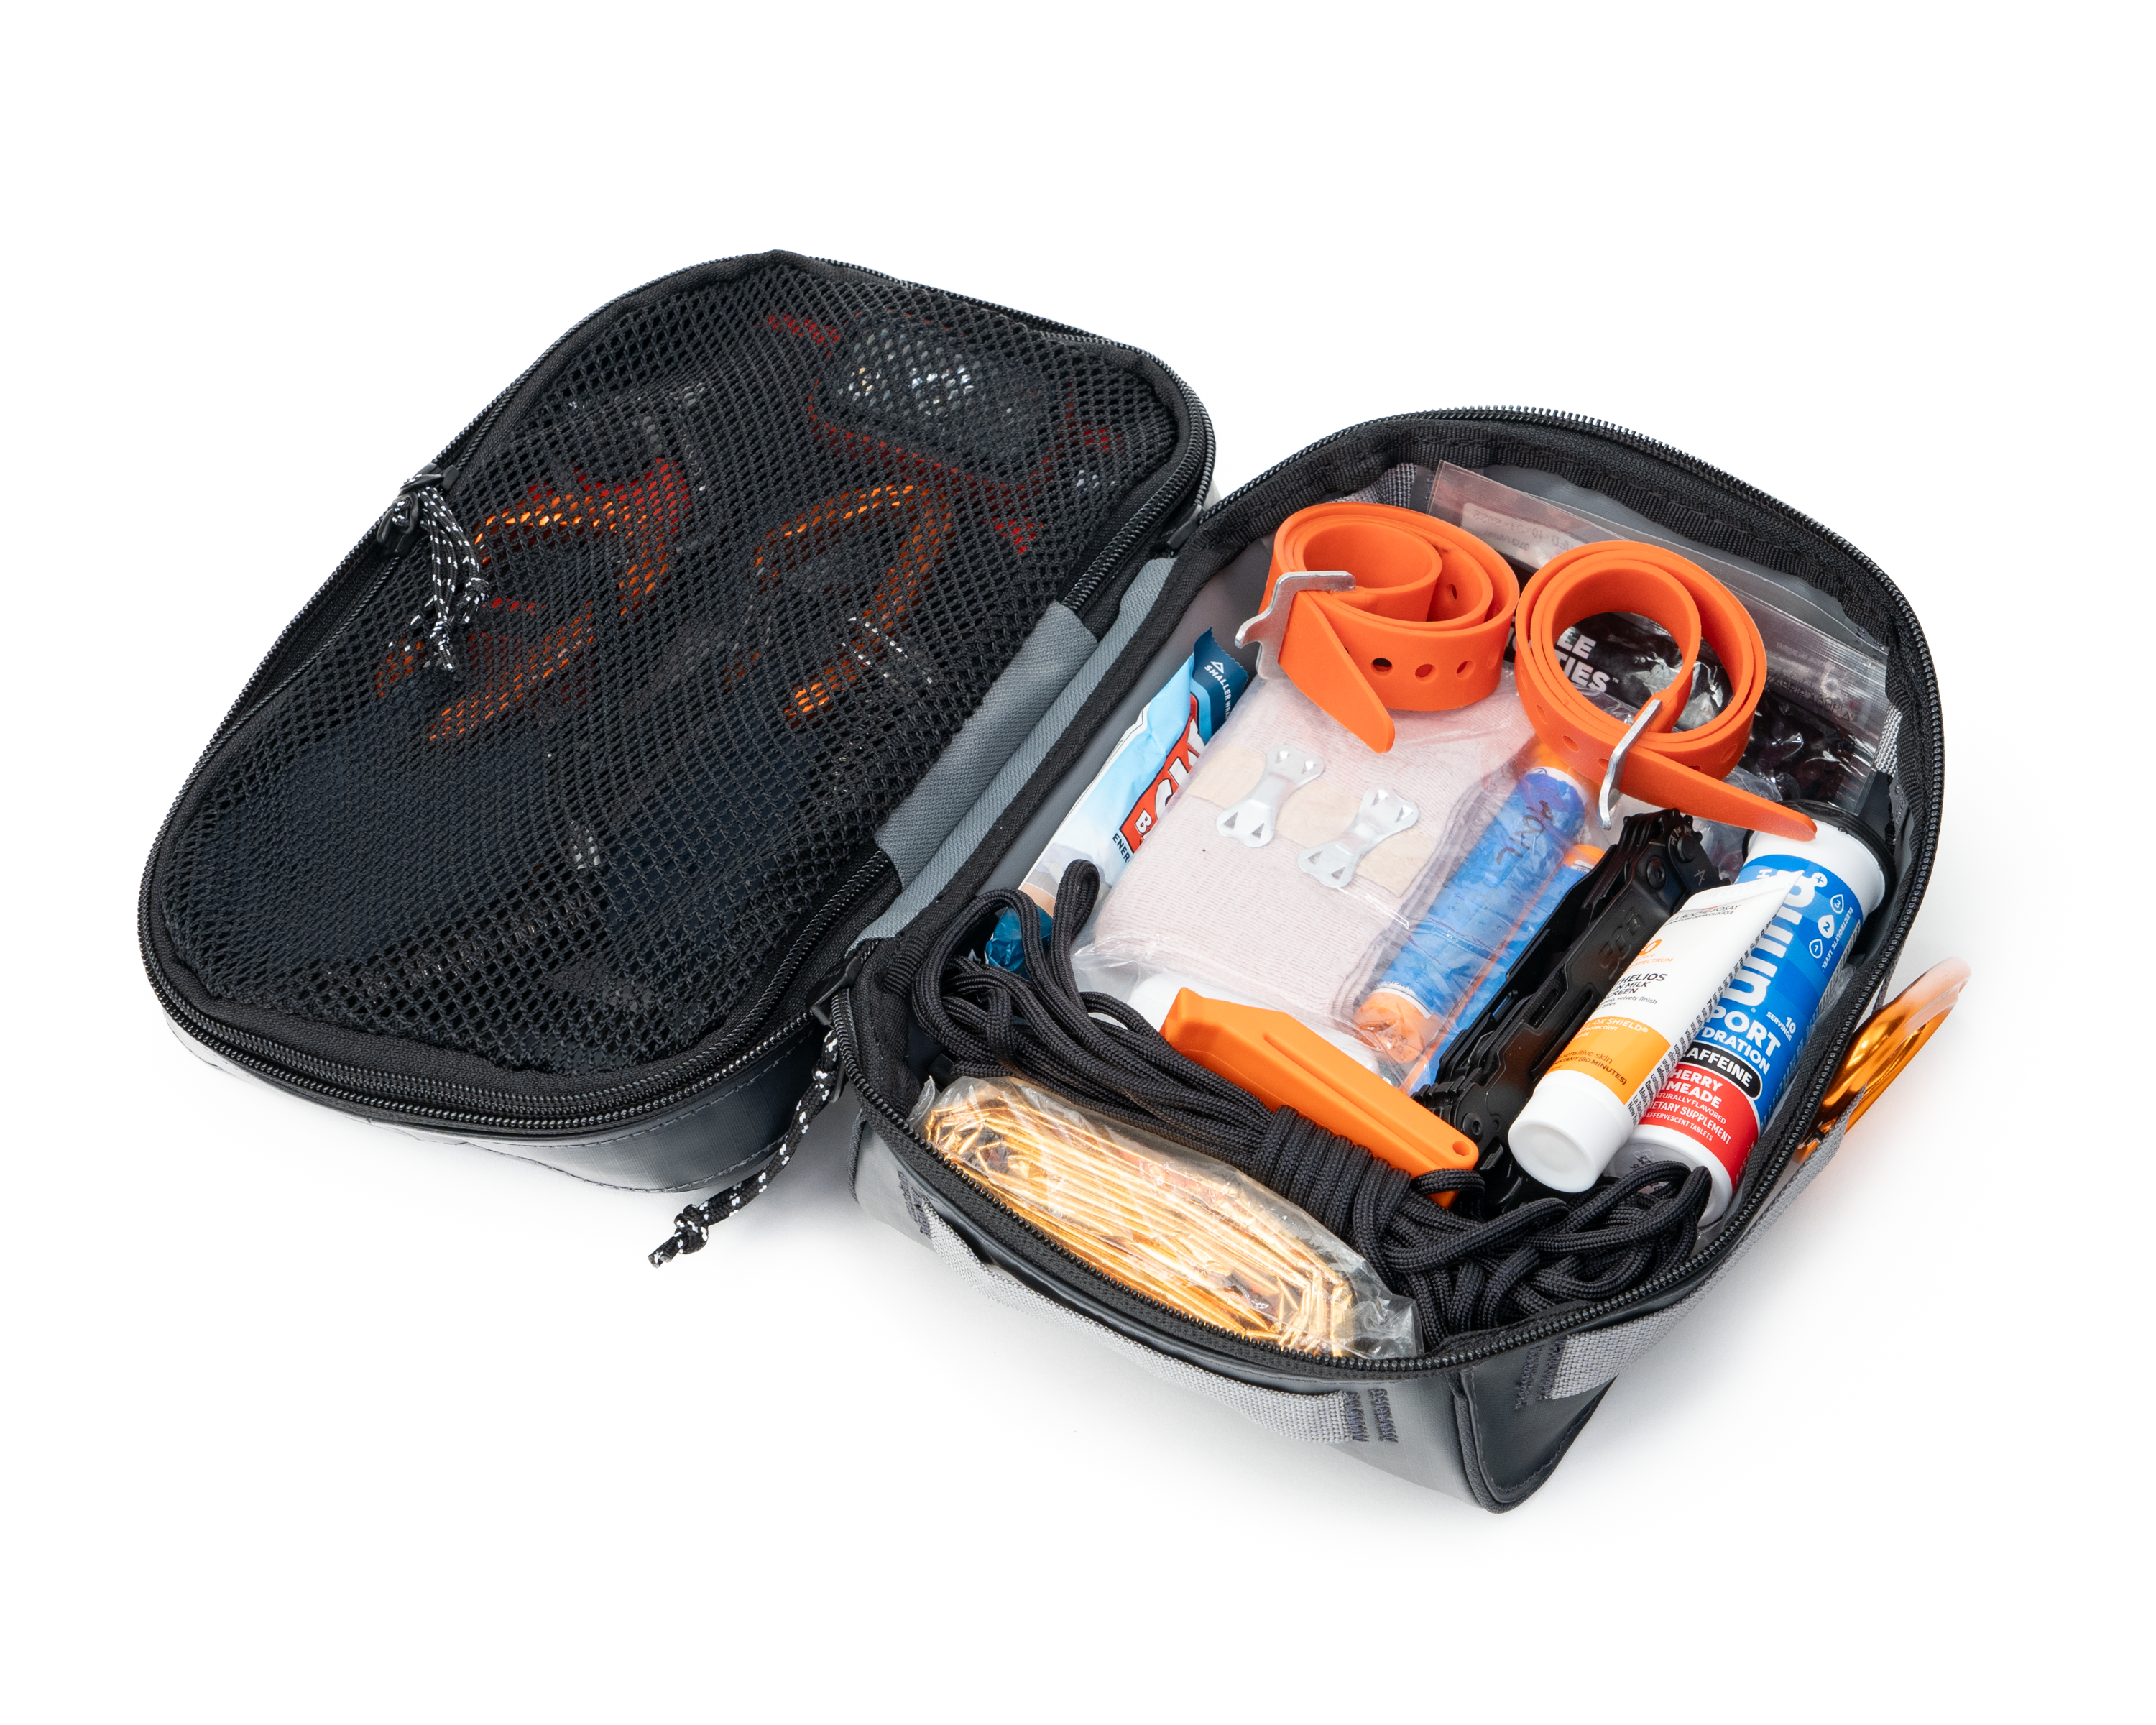
Mesh pockets for items needing airflow. Flap pockets for gear you want to secure. See pocket installation tips below.

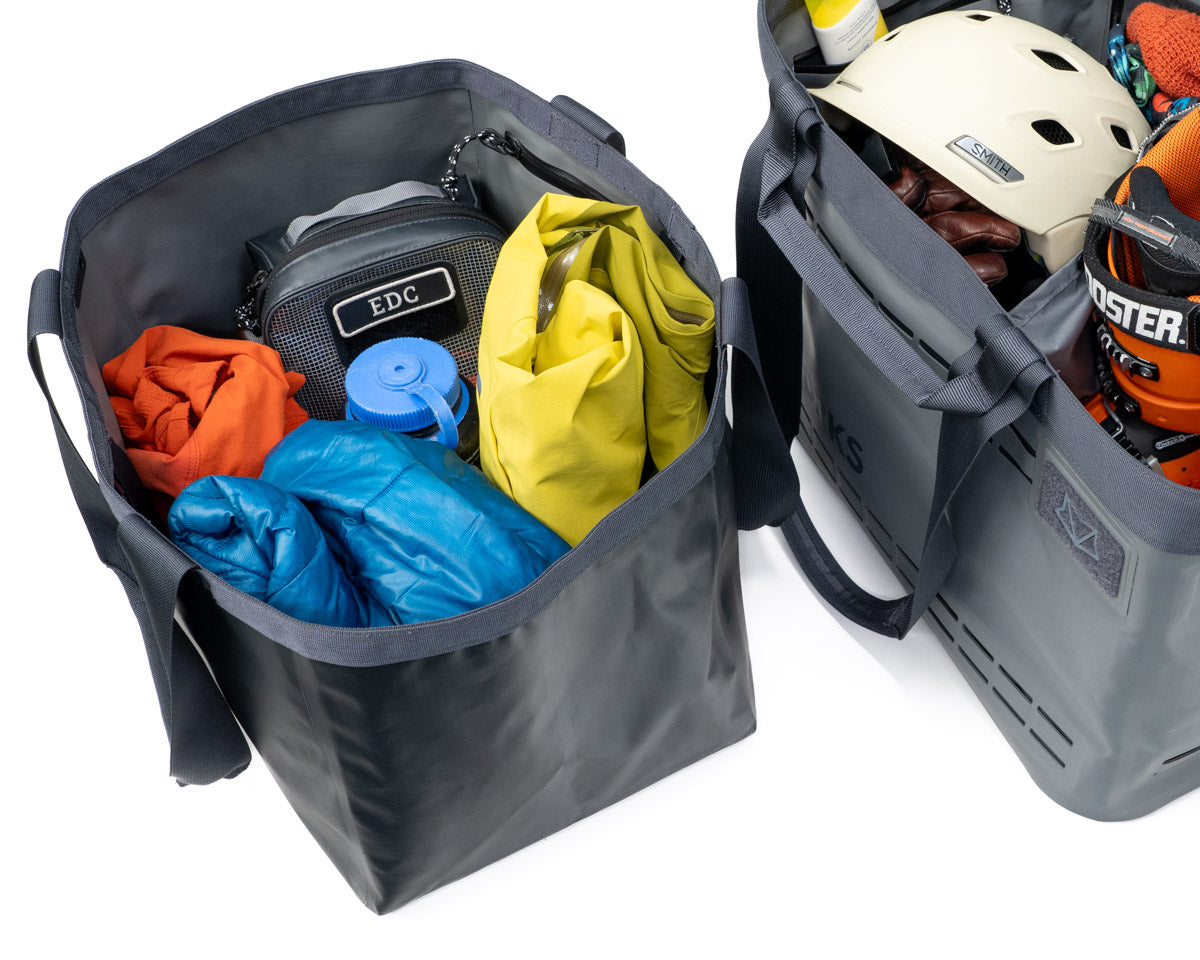
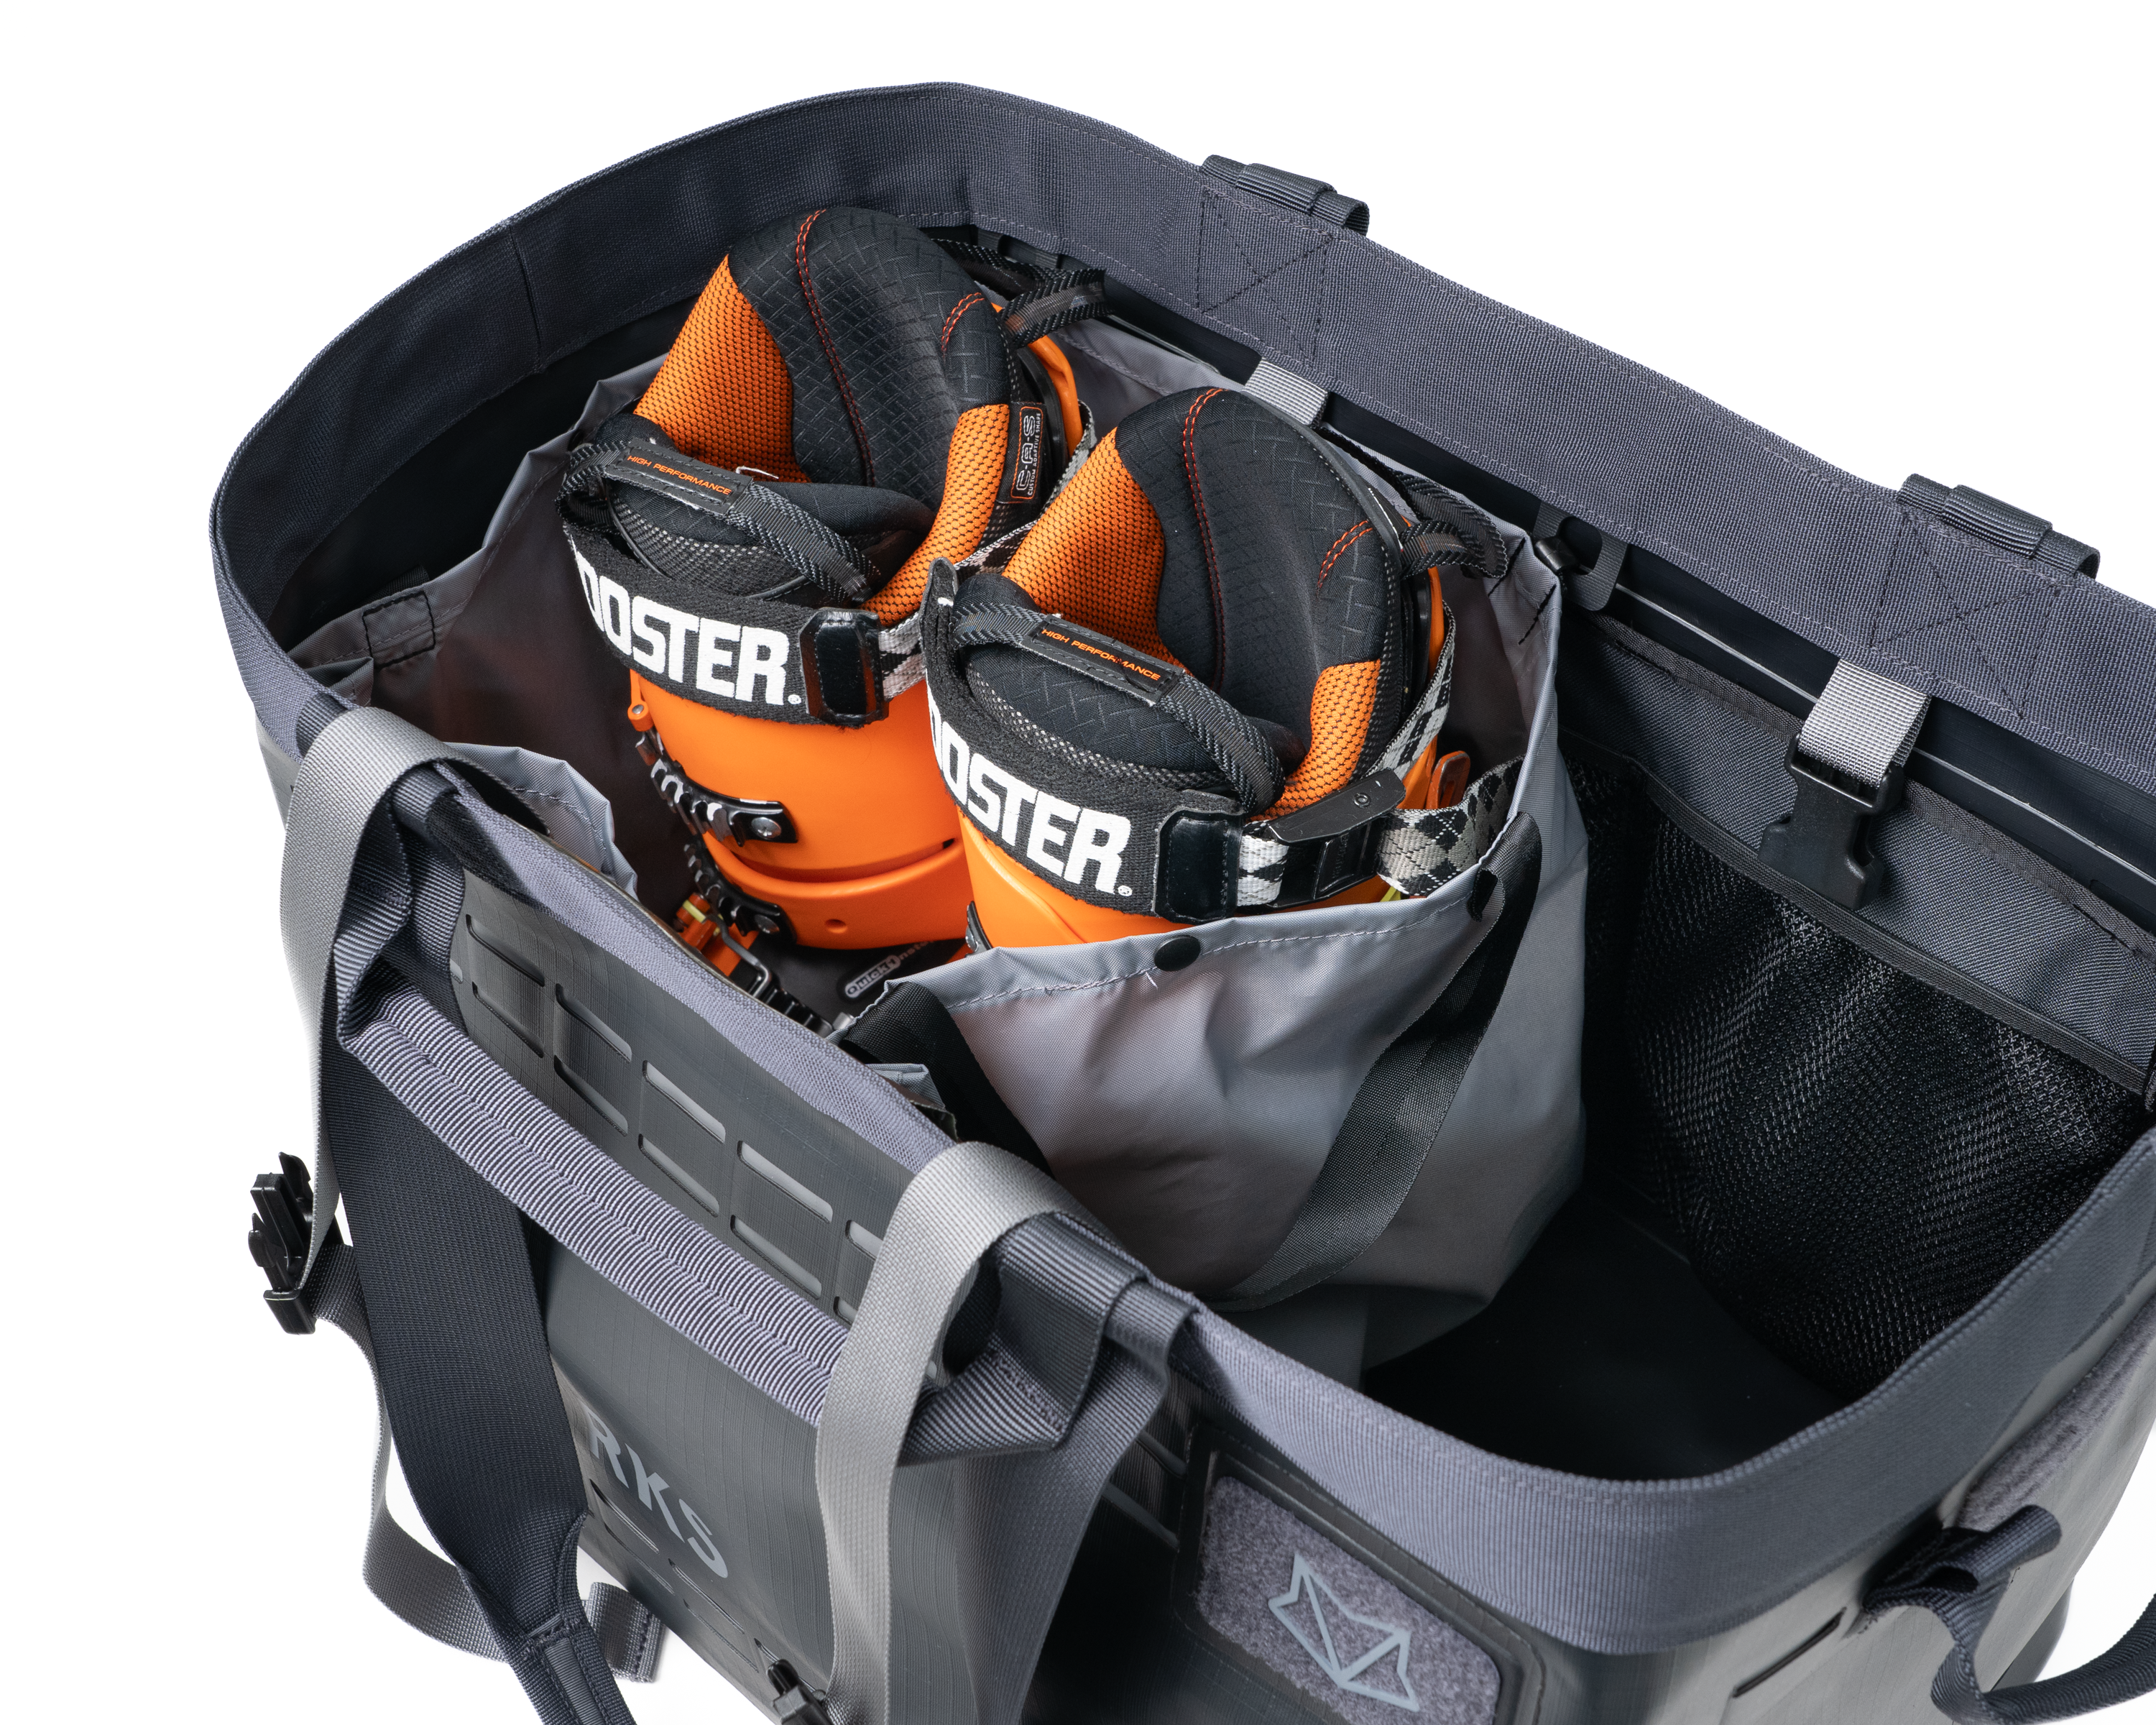
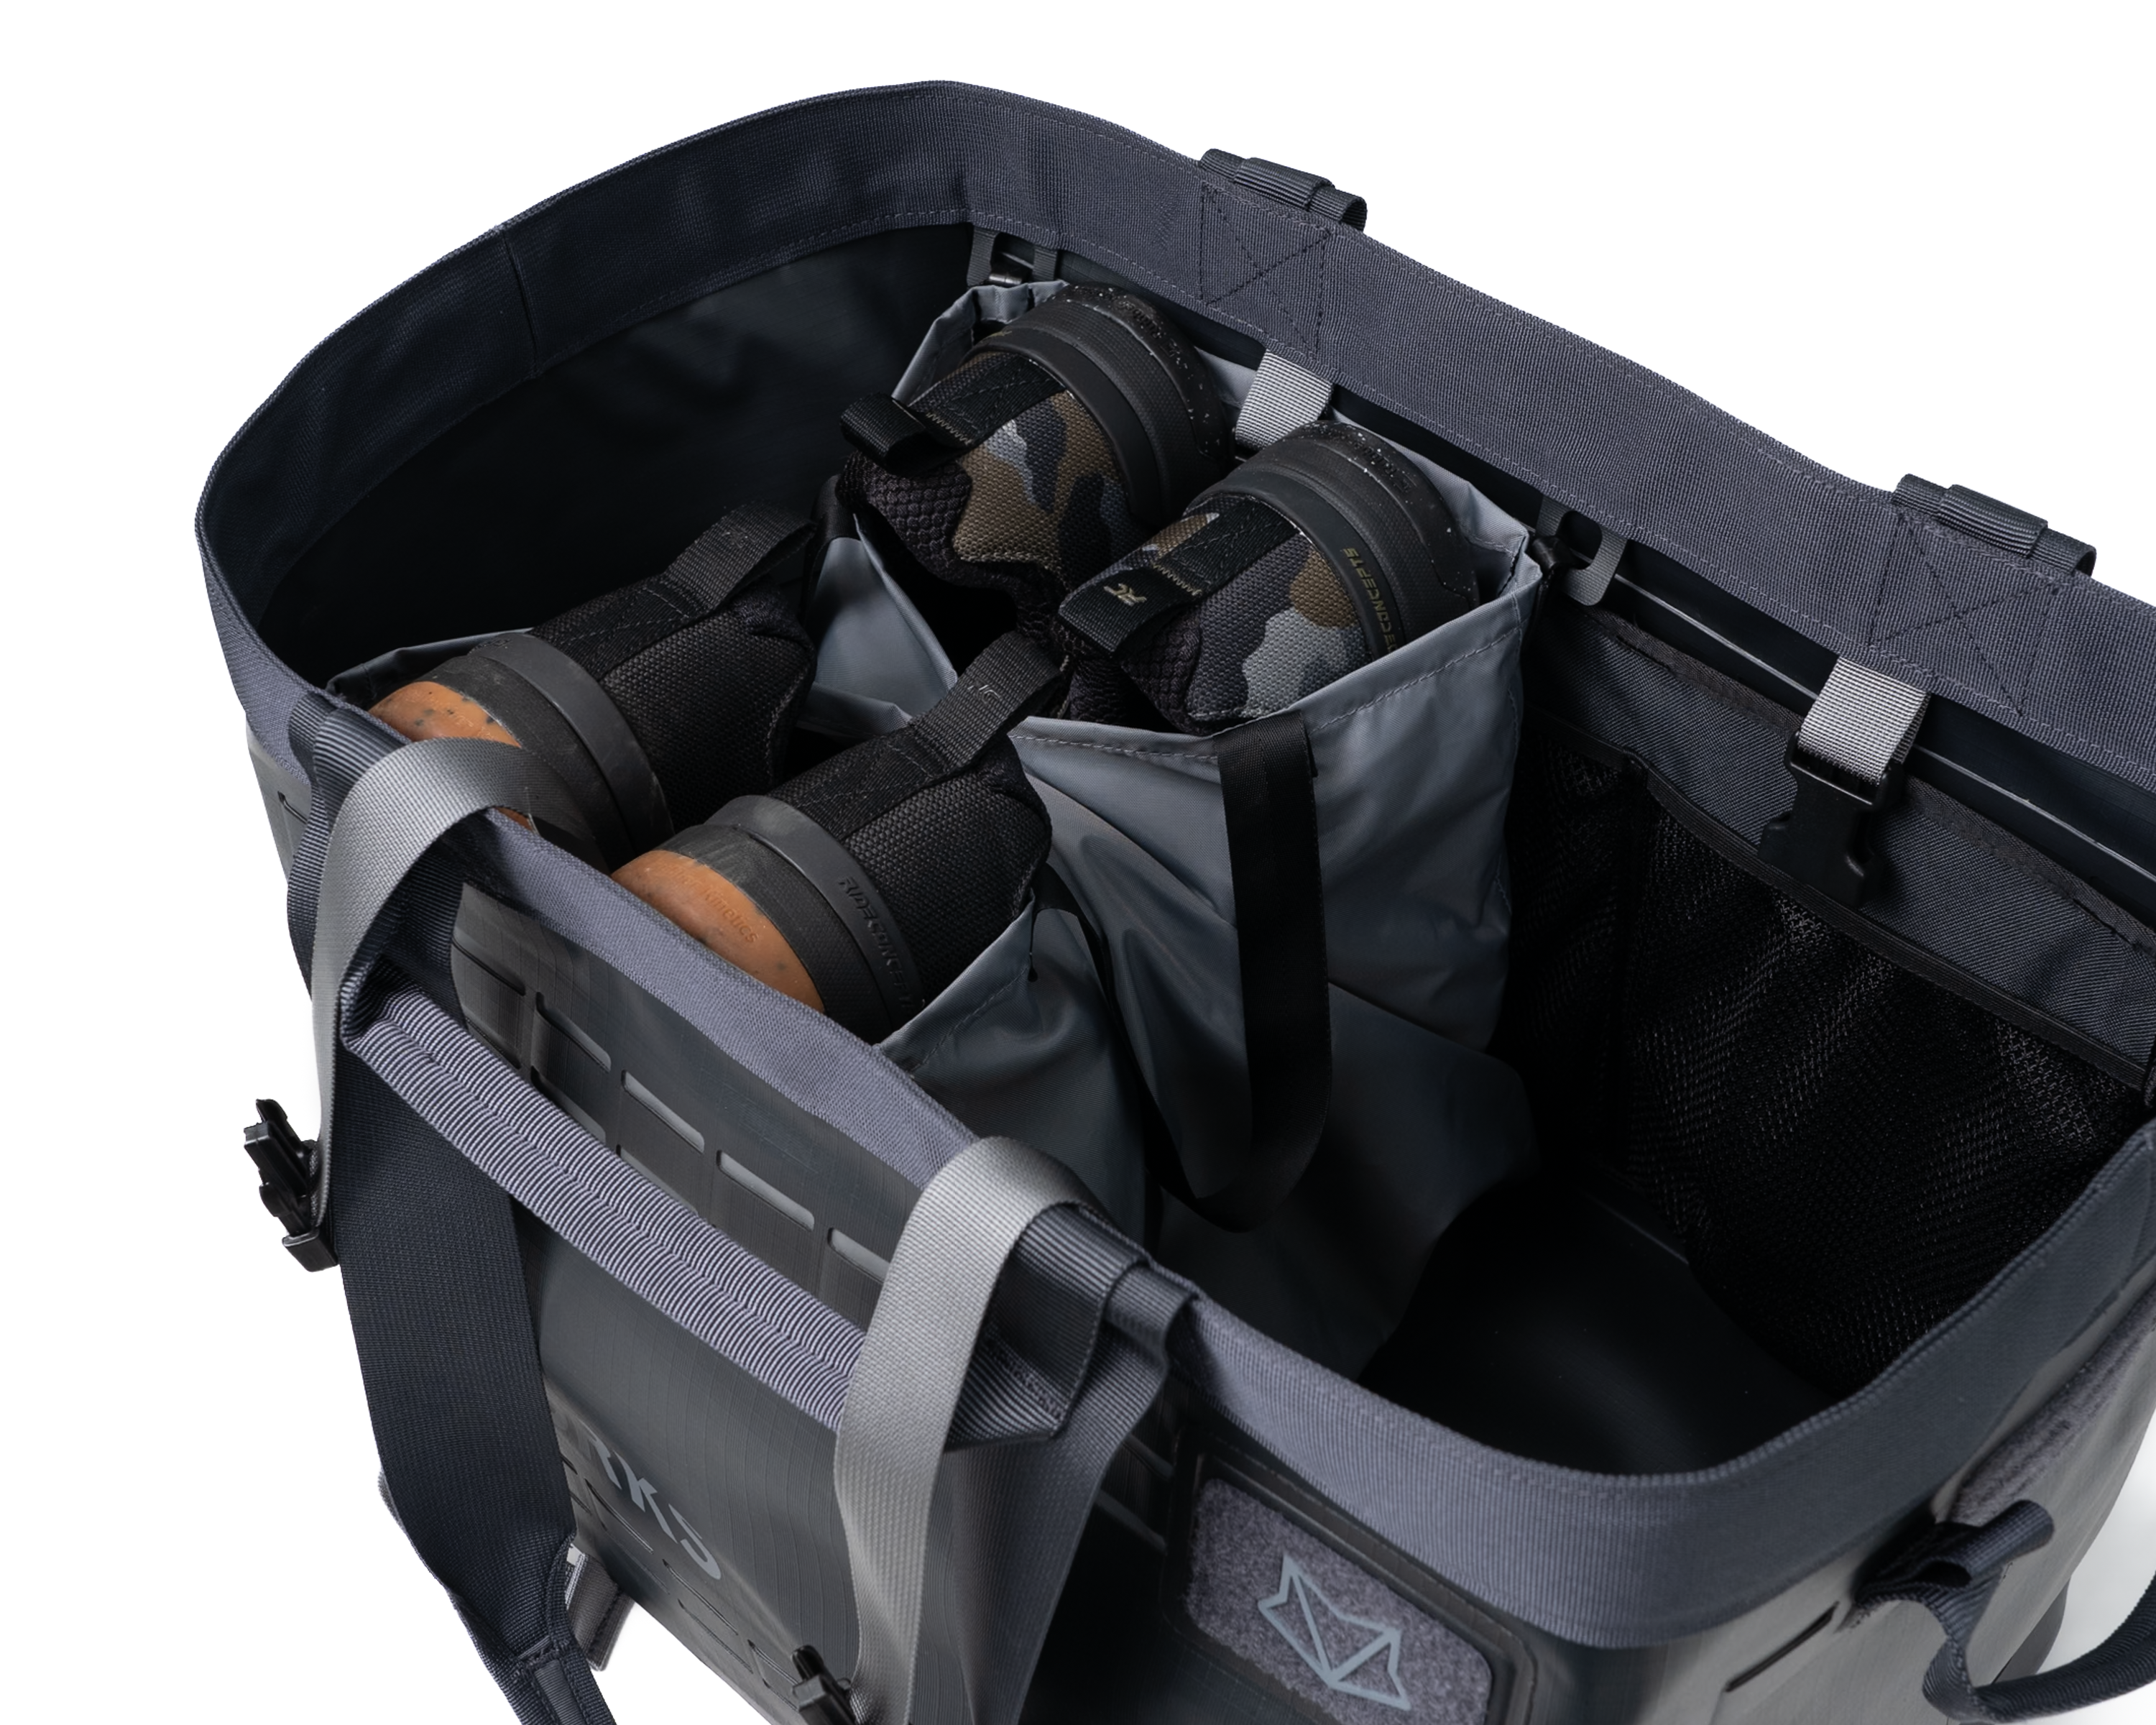
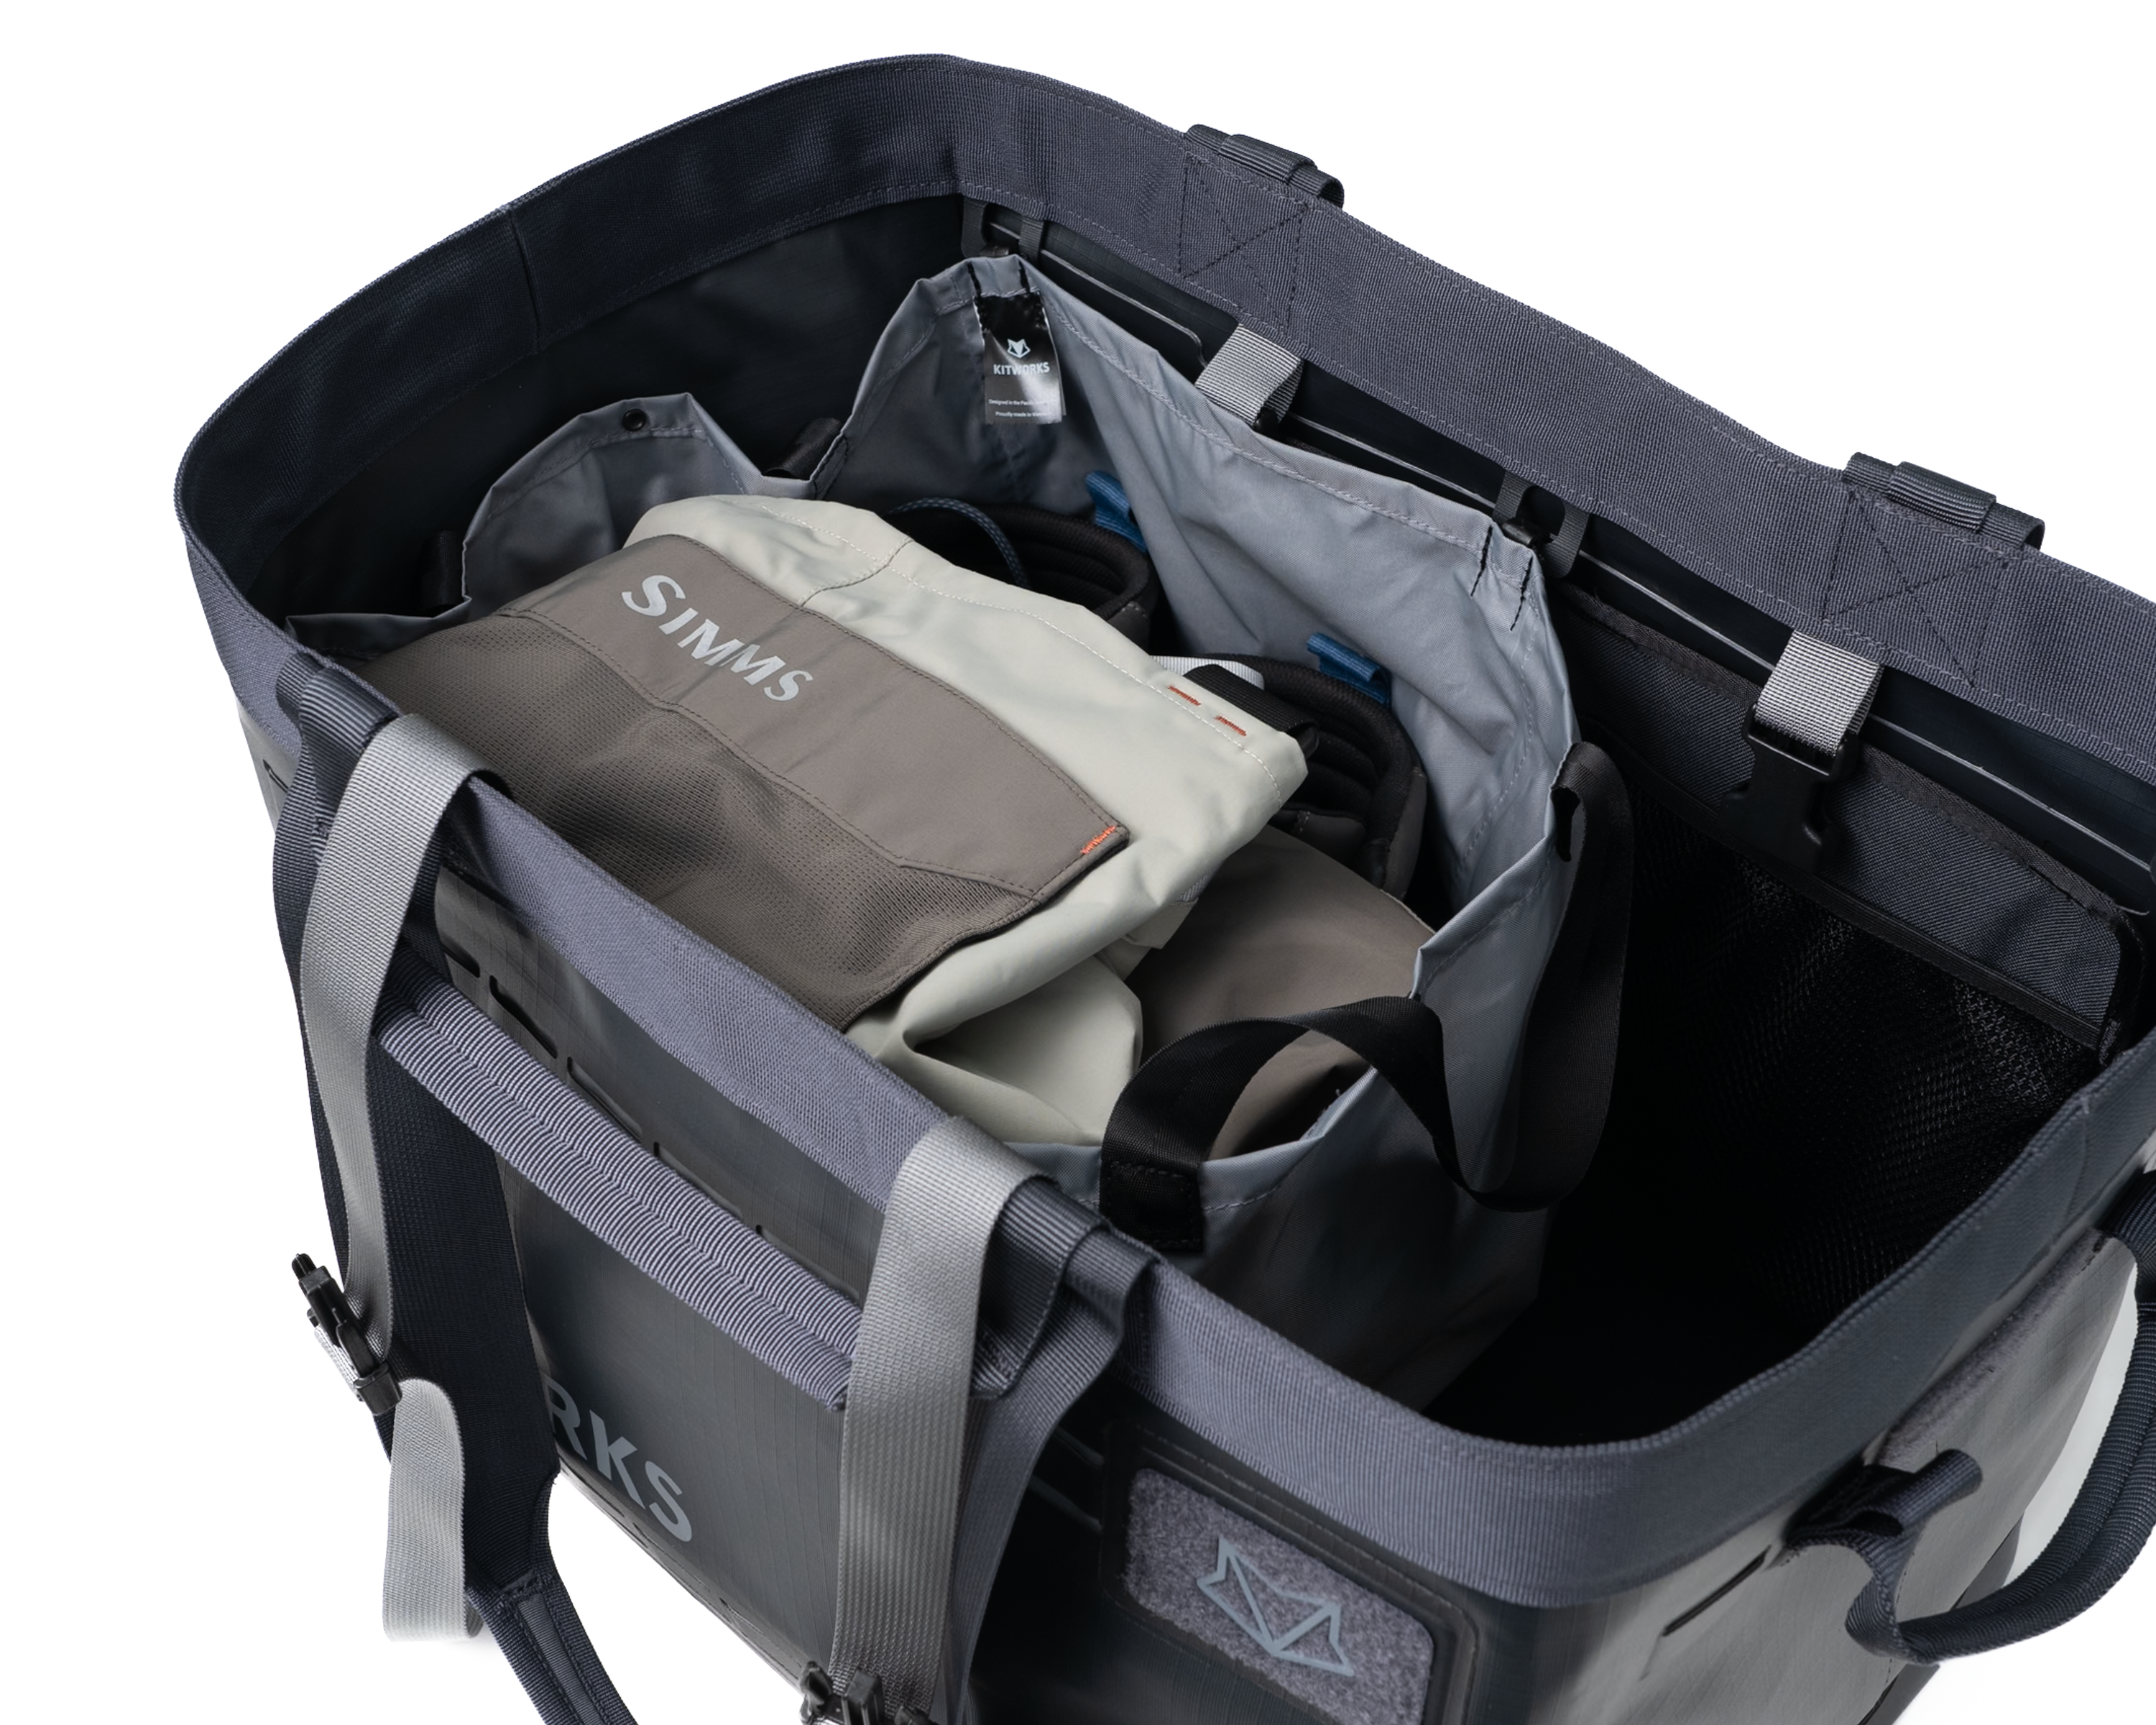
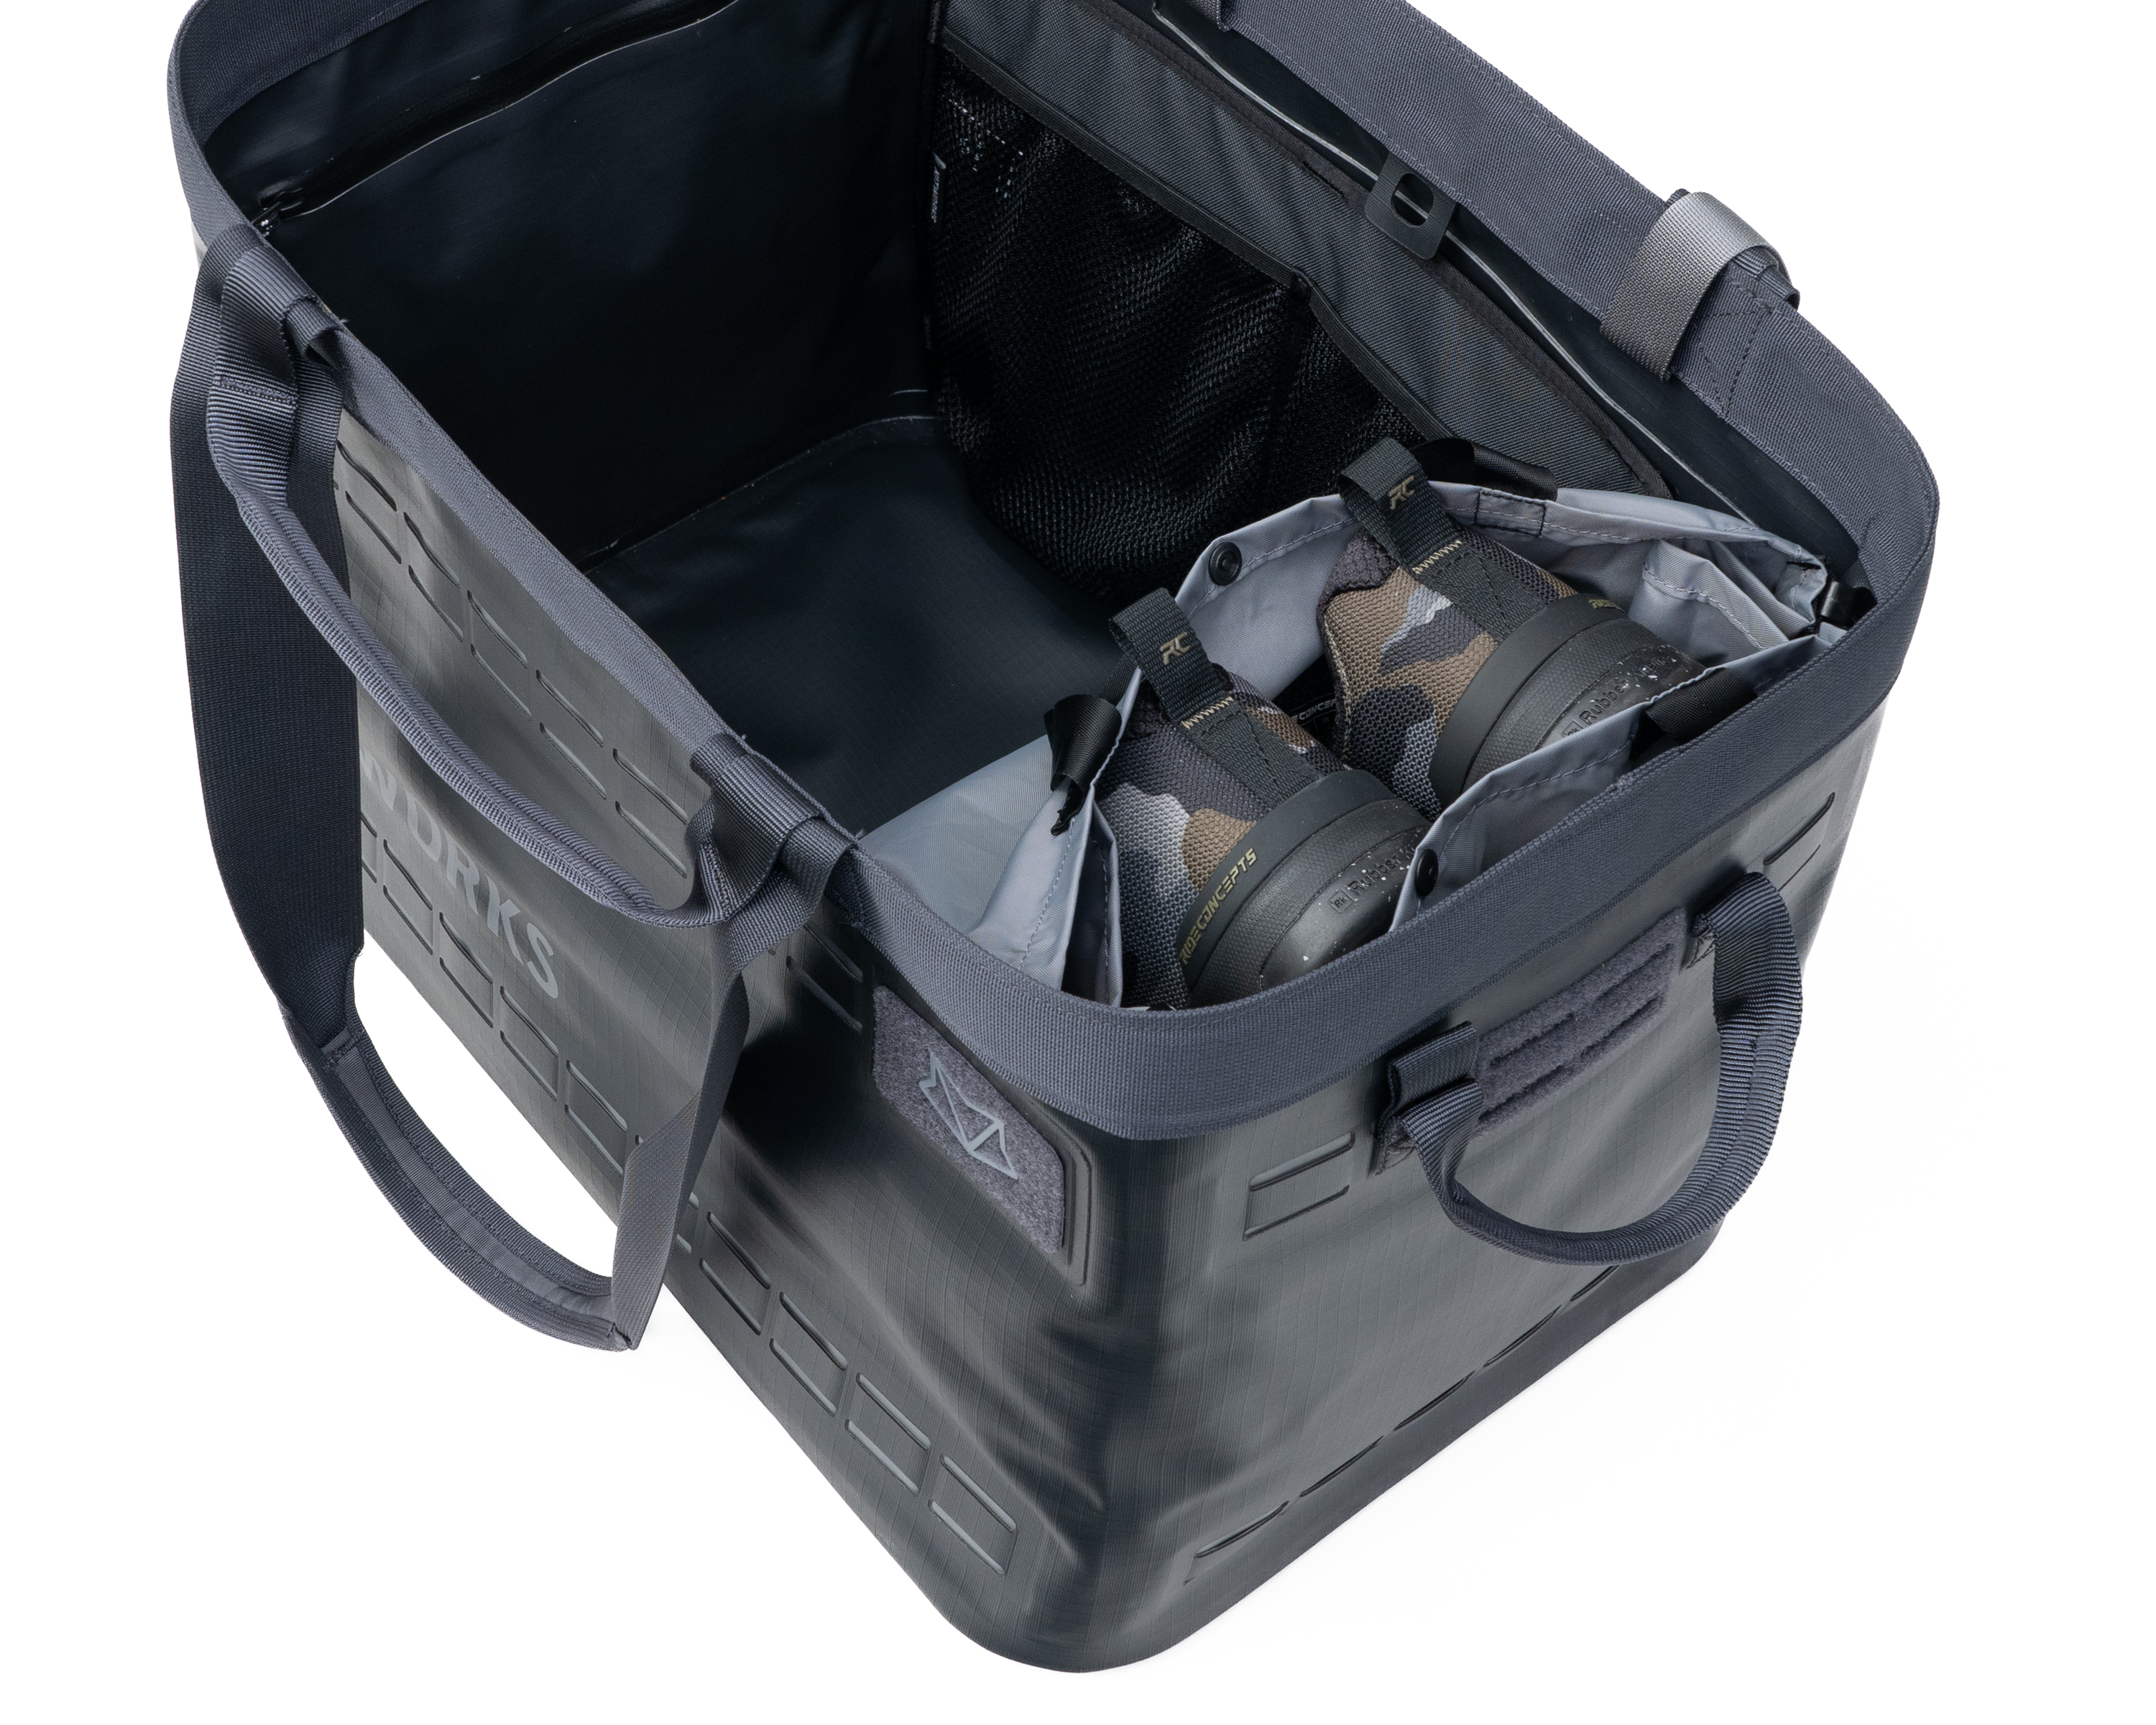
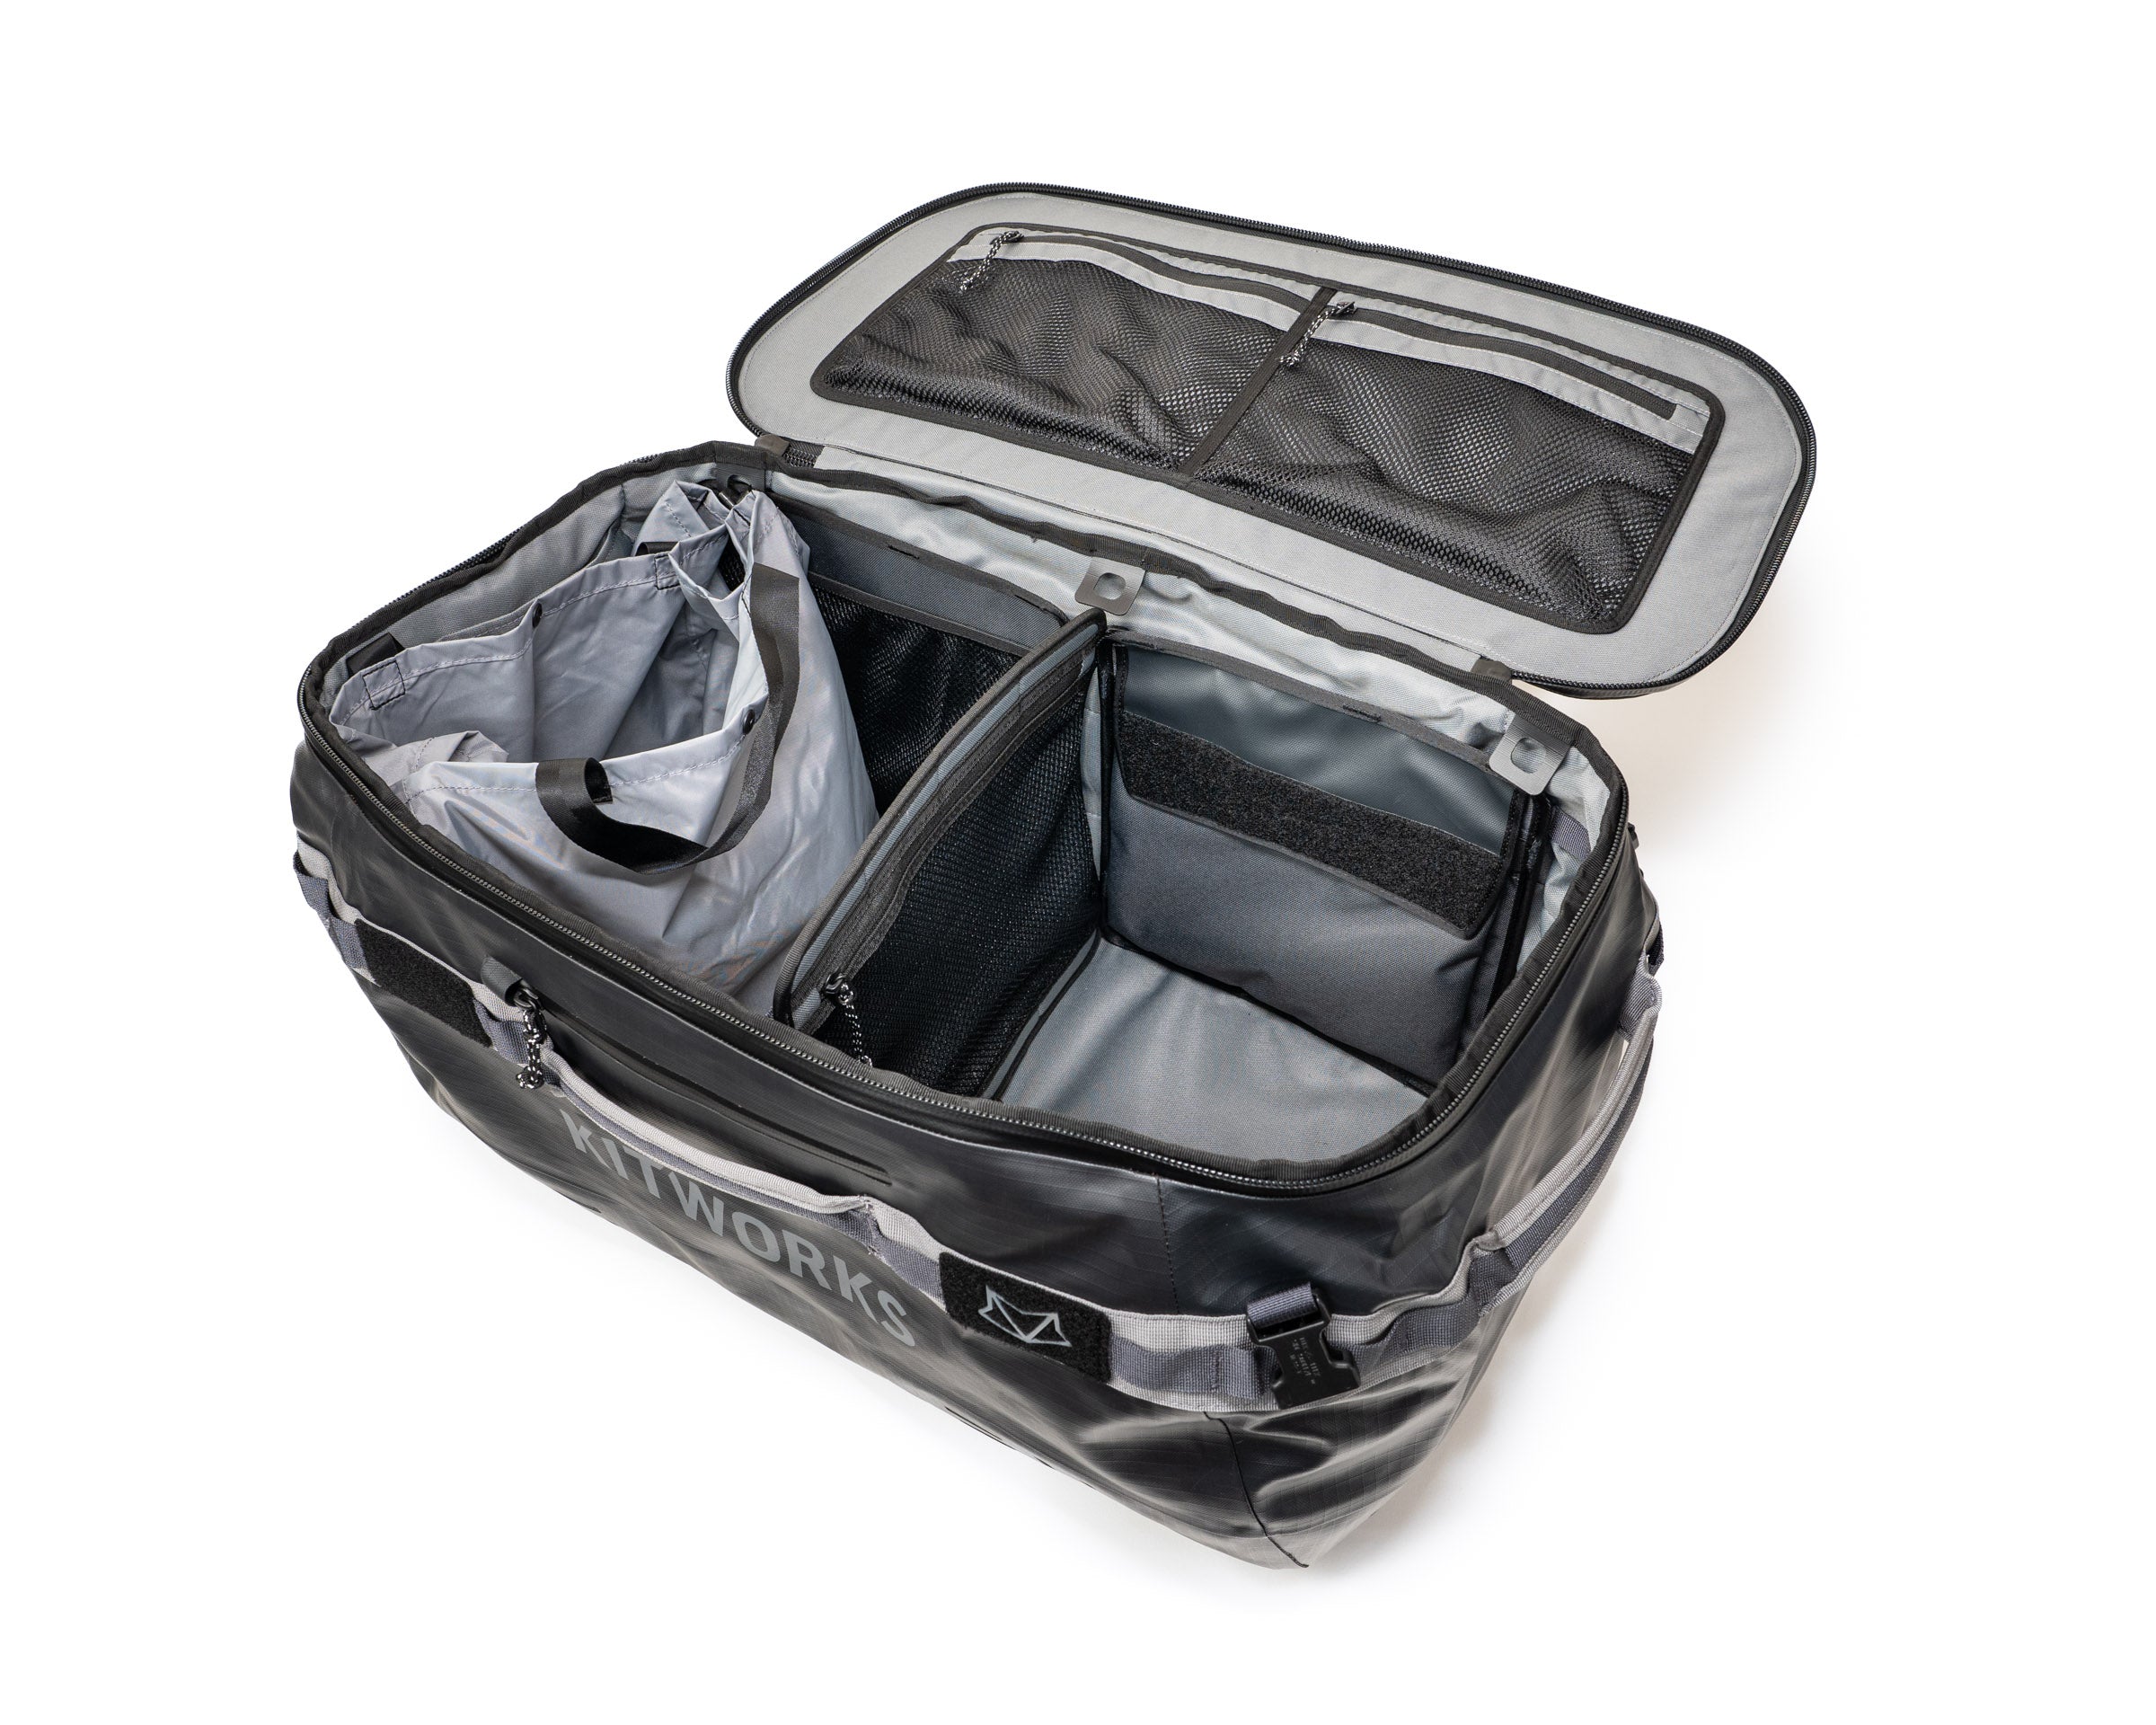
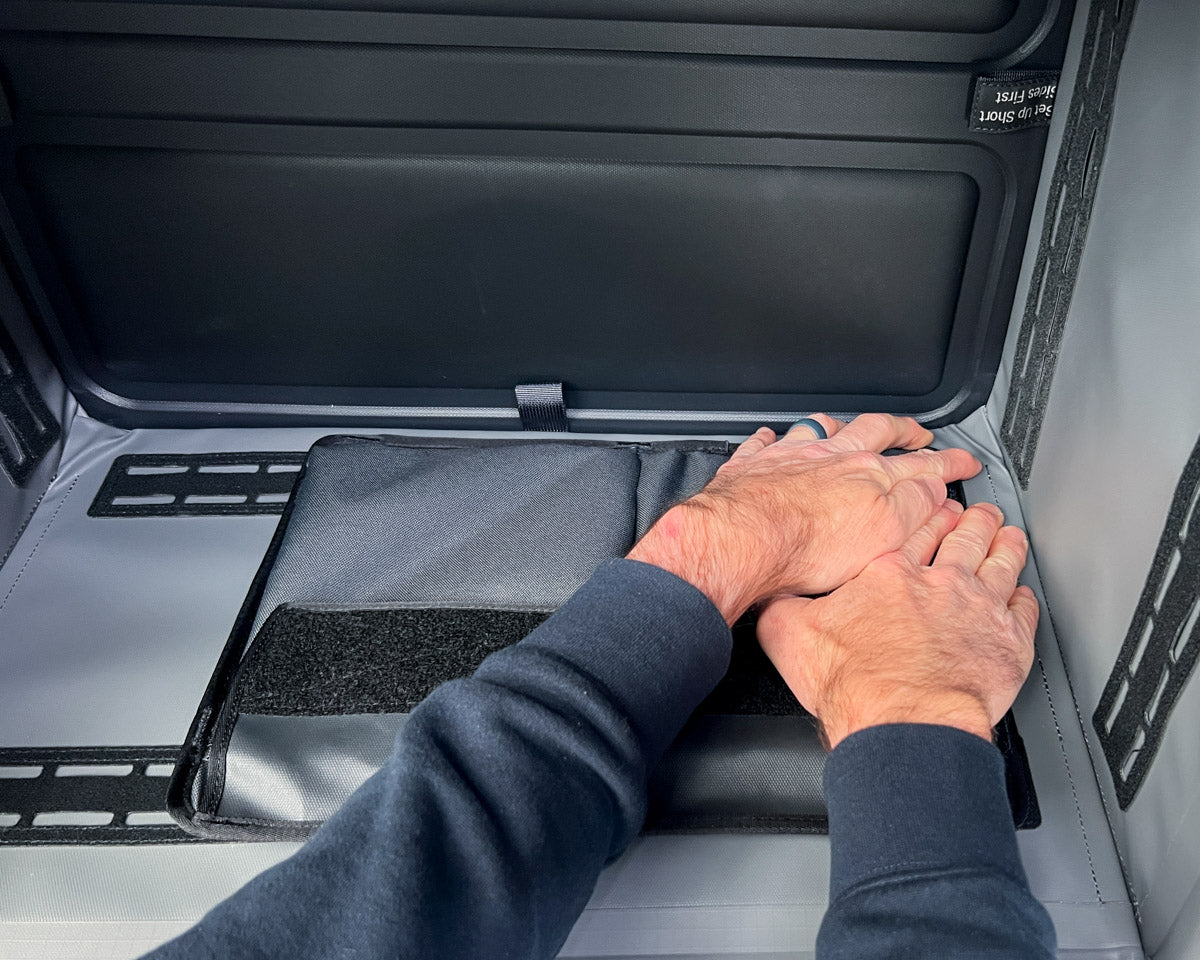
Install Wet/DirtY Bag
Attach wet/dirty bag to tabs and configure as needed:
1. Fully deployed for larger gear like ski boots and waders
2. Shoe bag mode saves space
3. Double shoe bag mode
4. Stow it away for when you need it


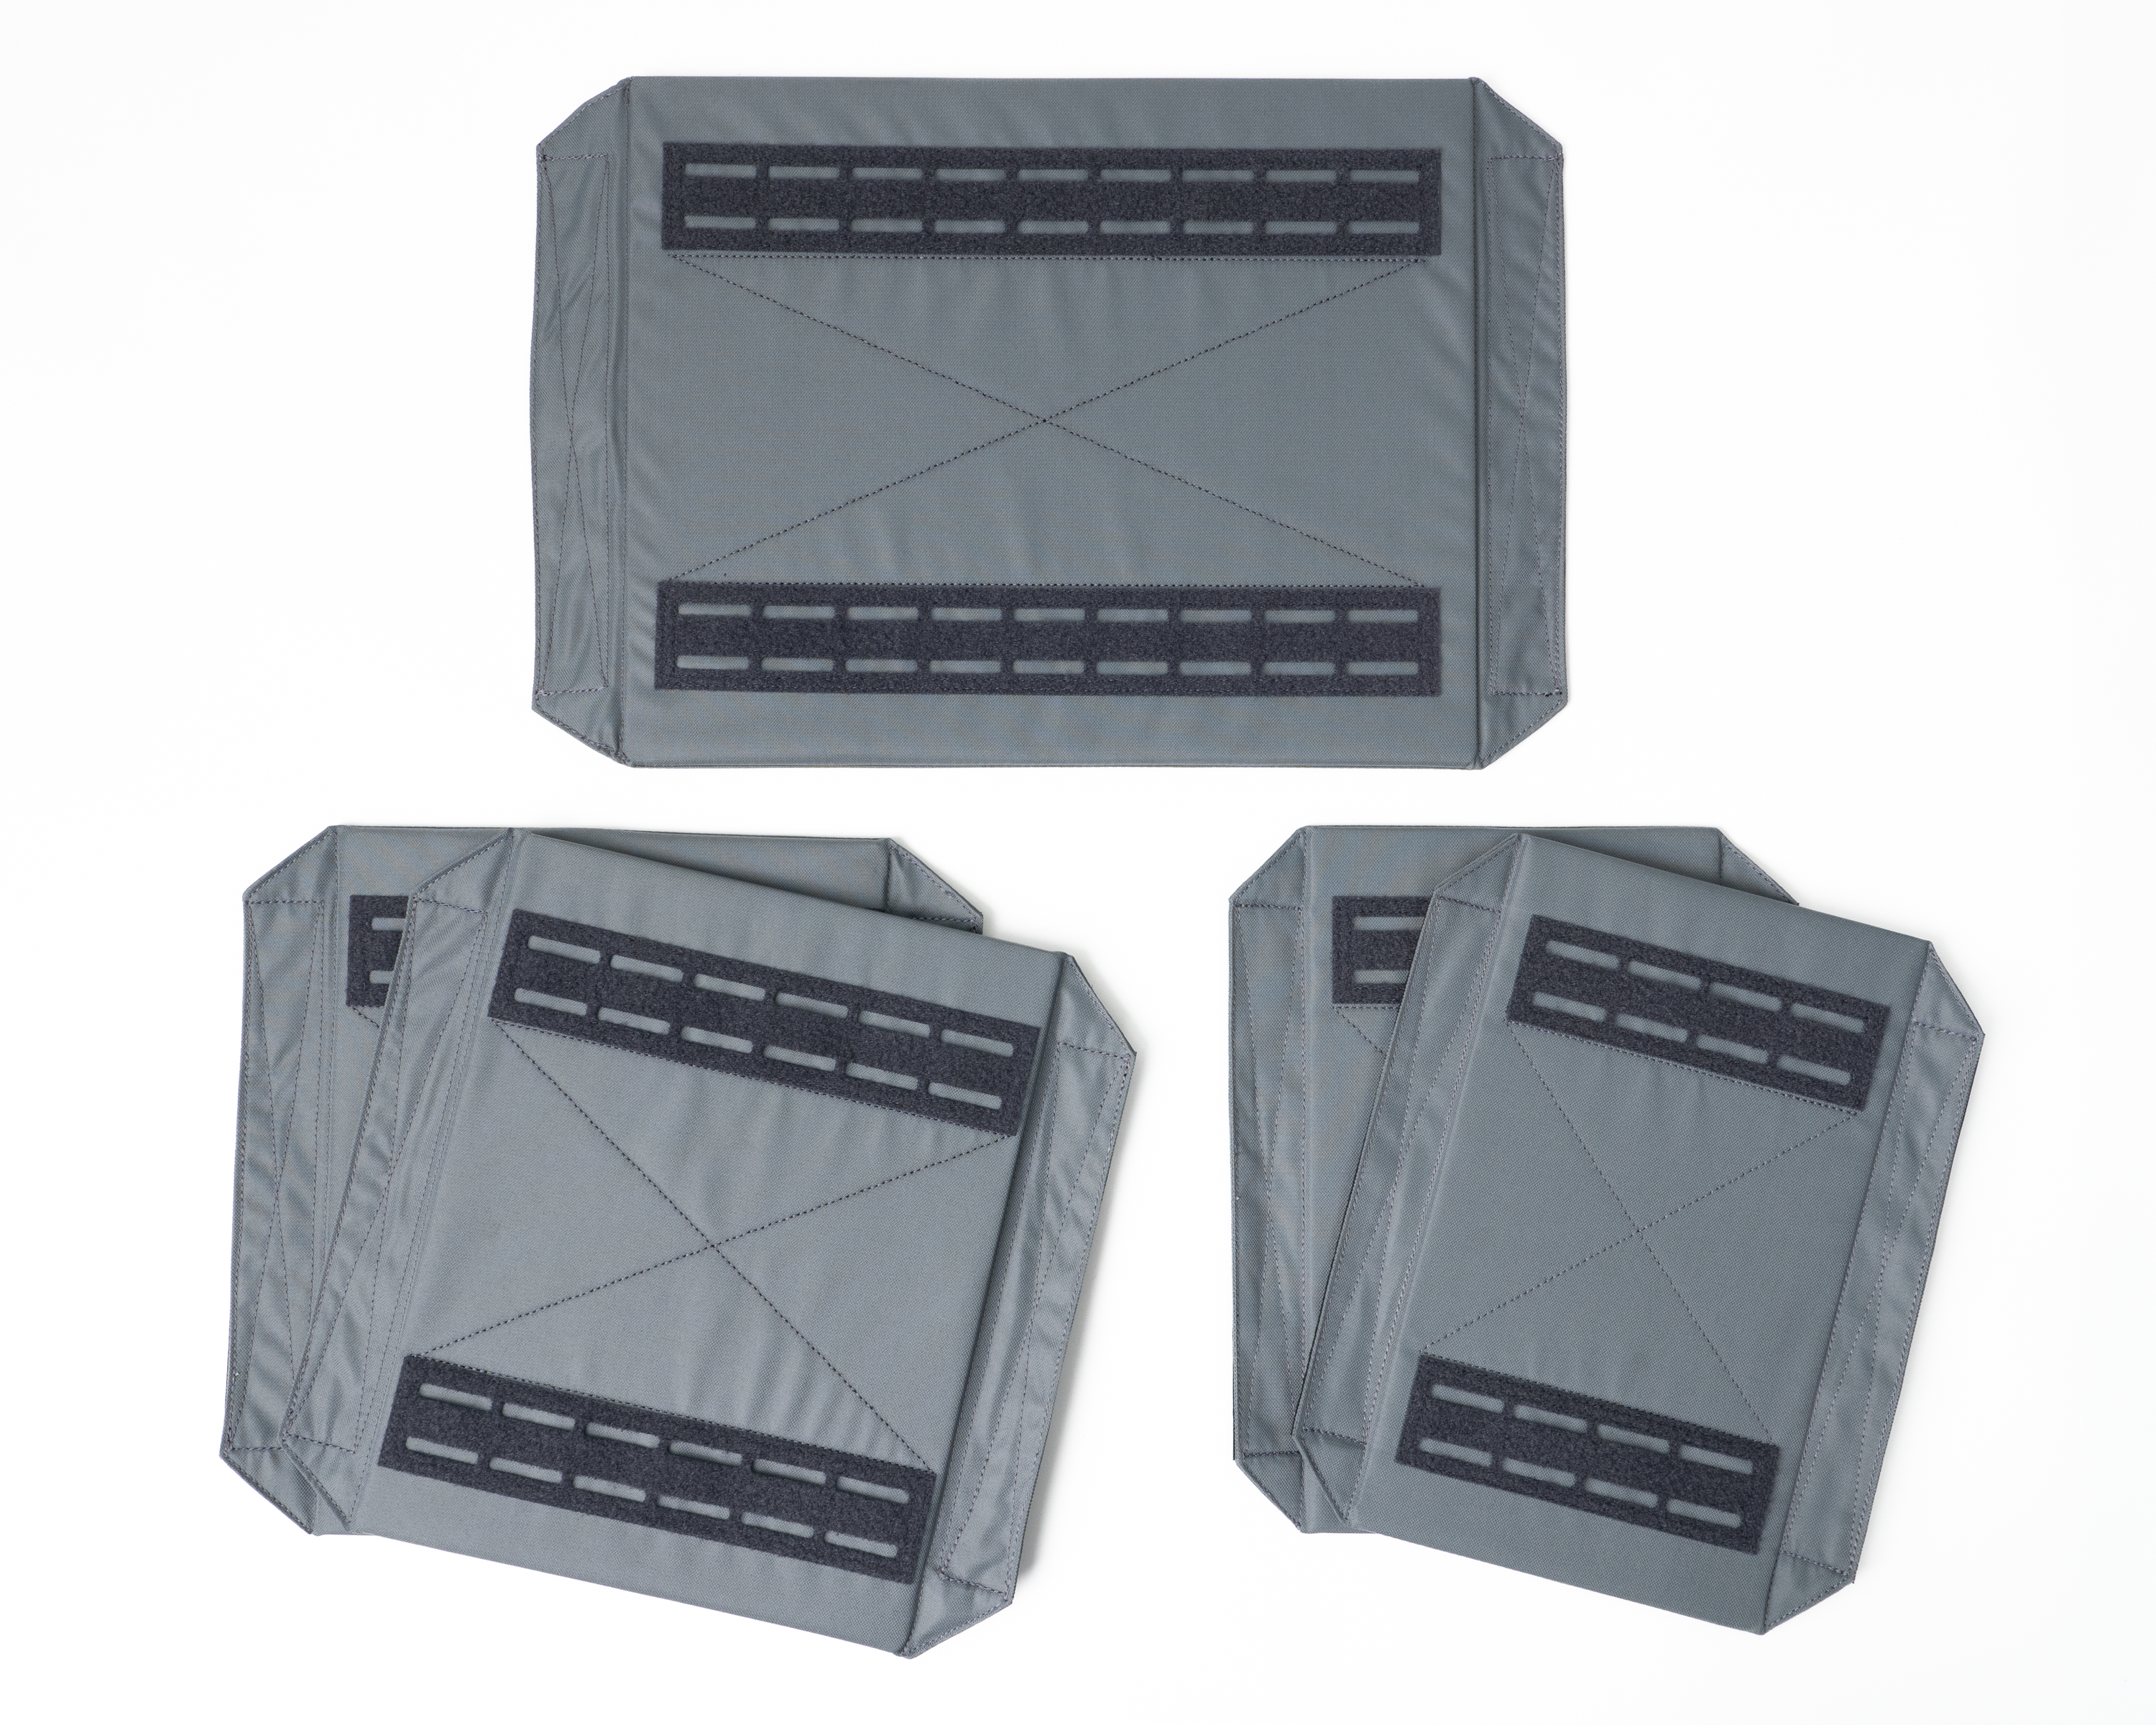
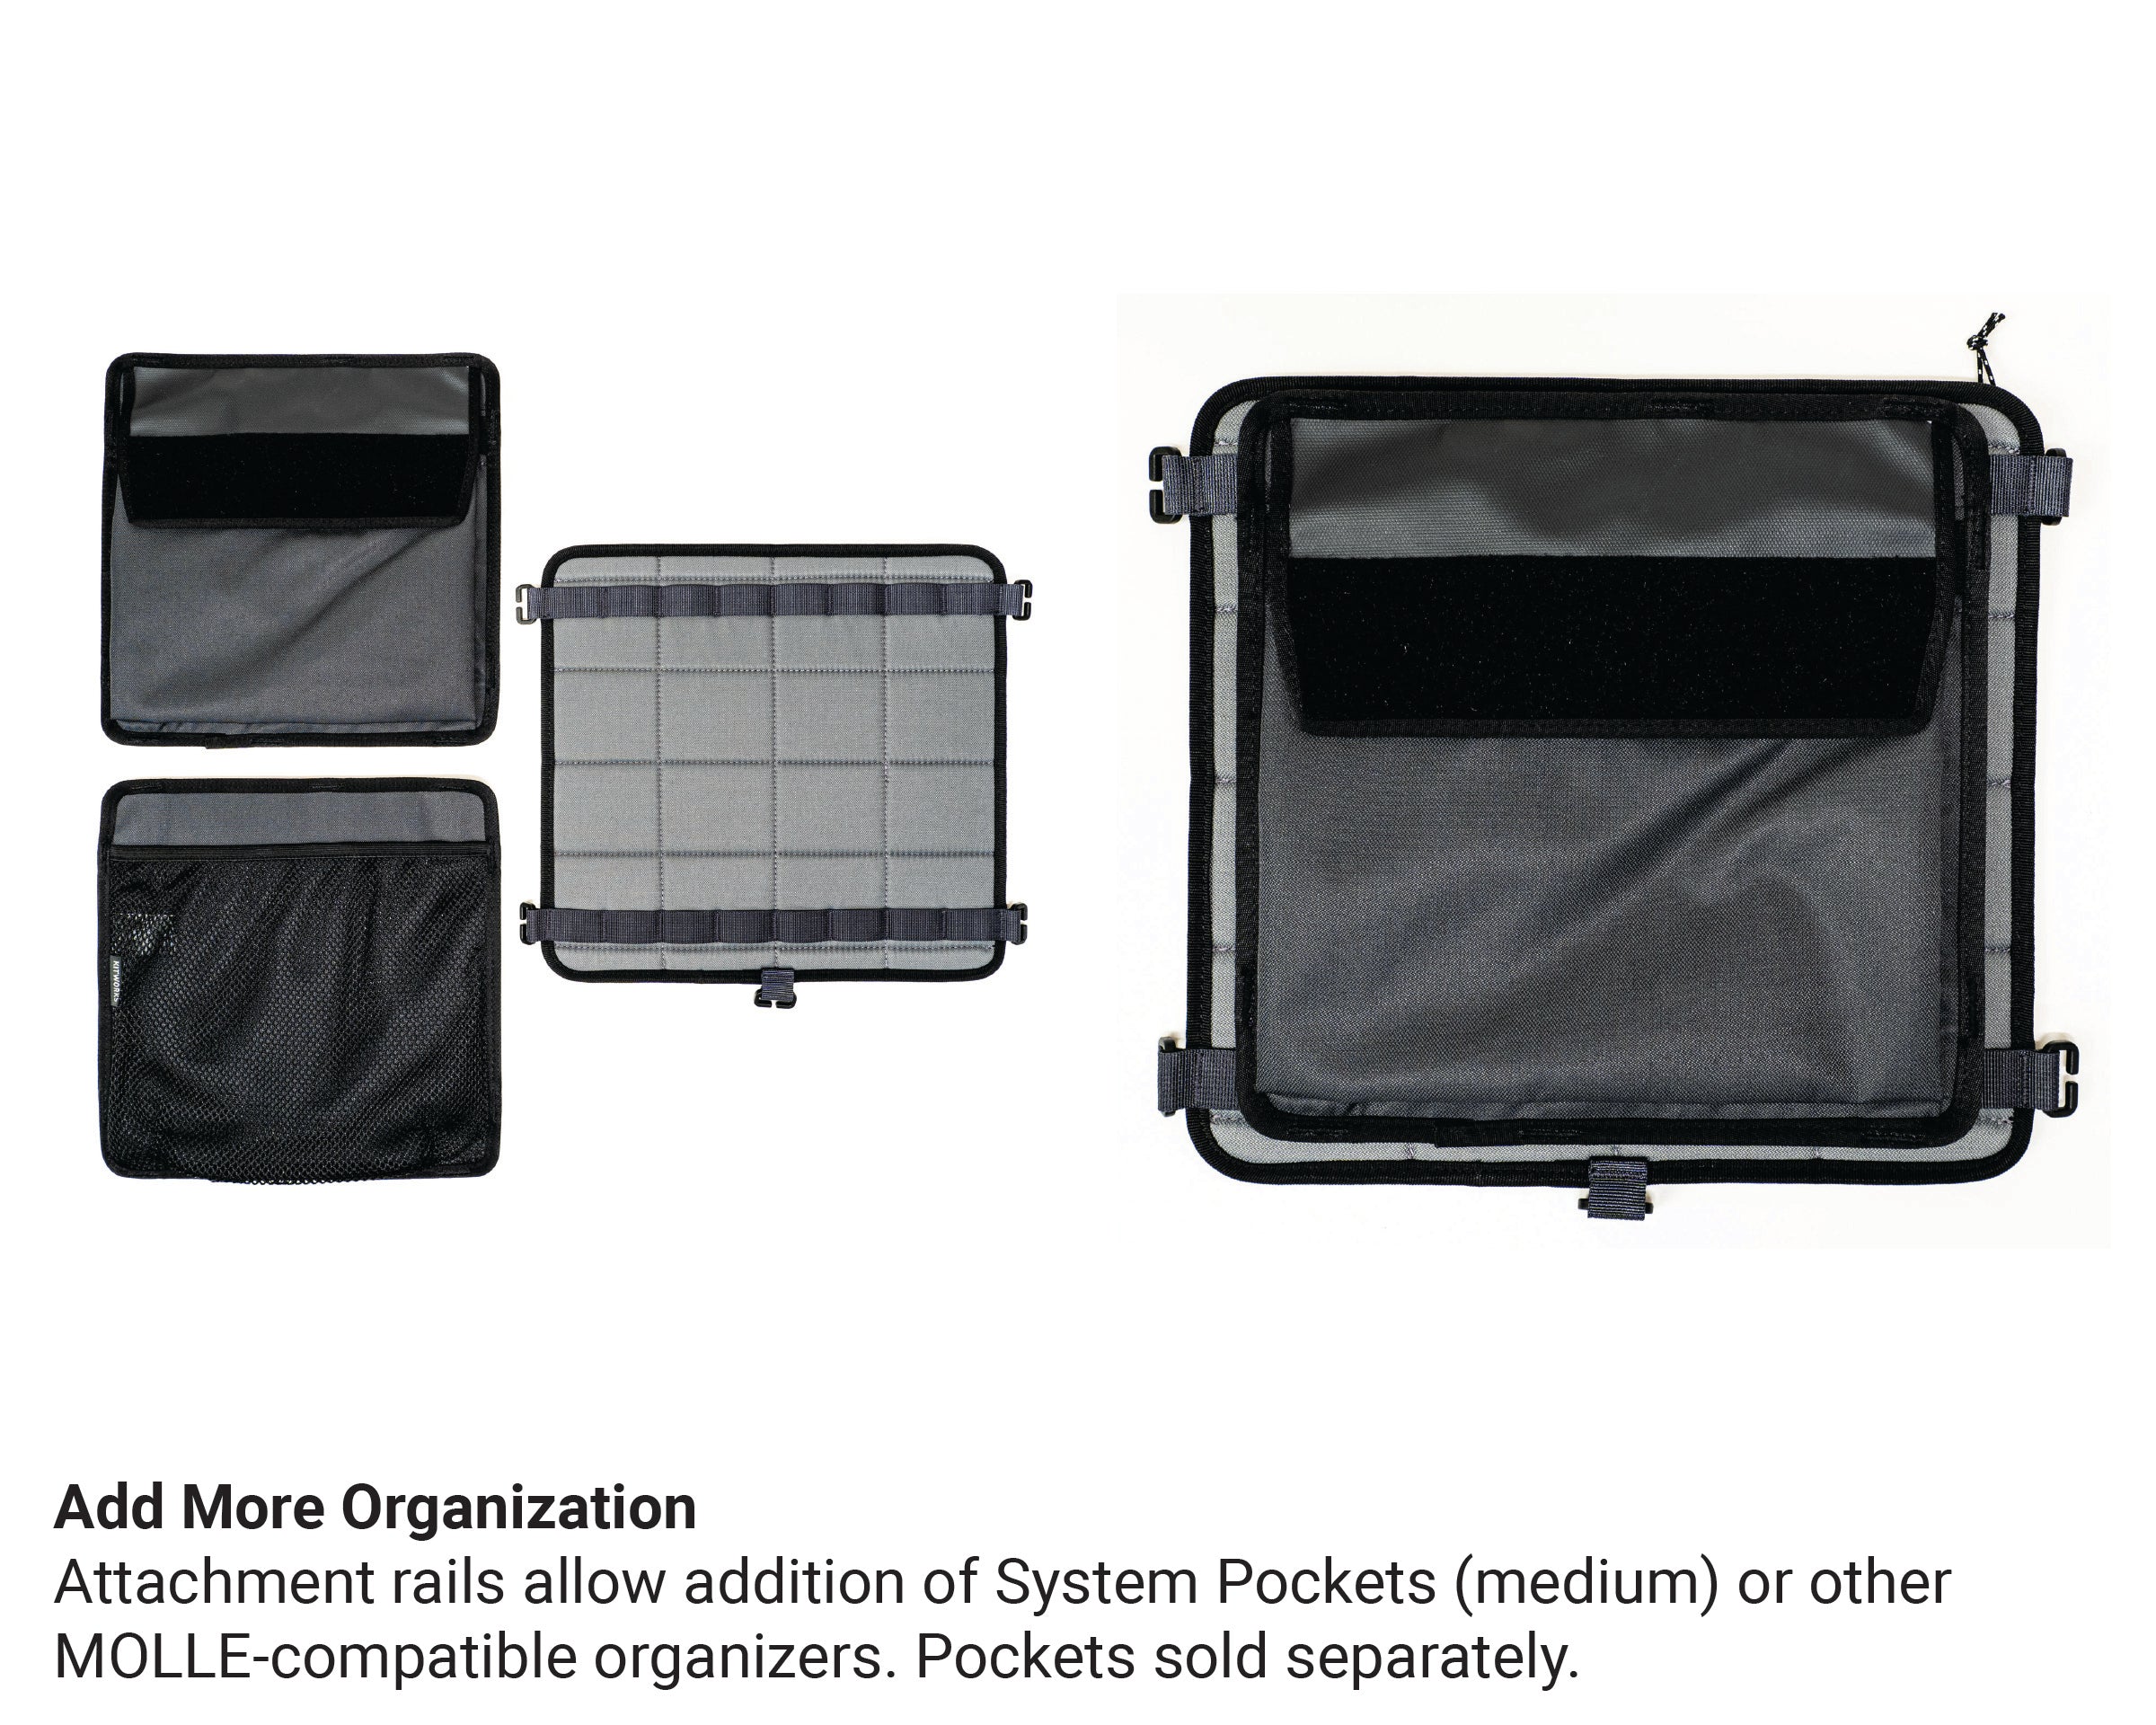
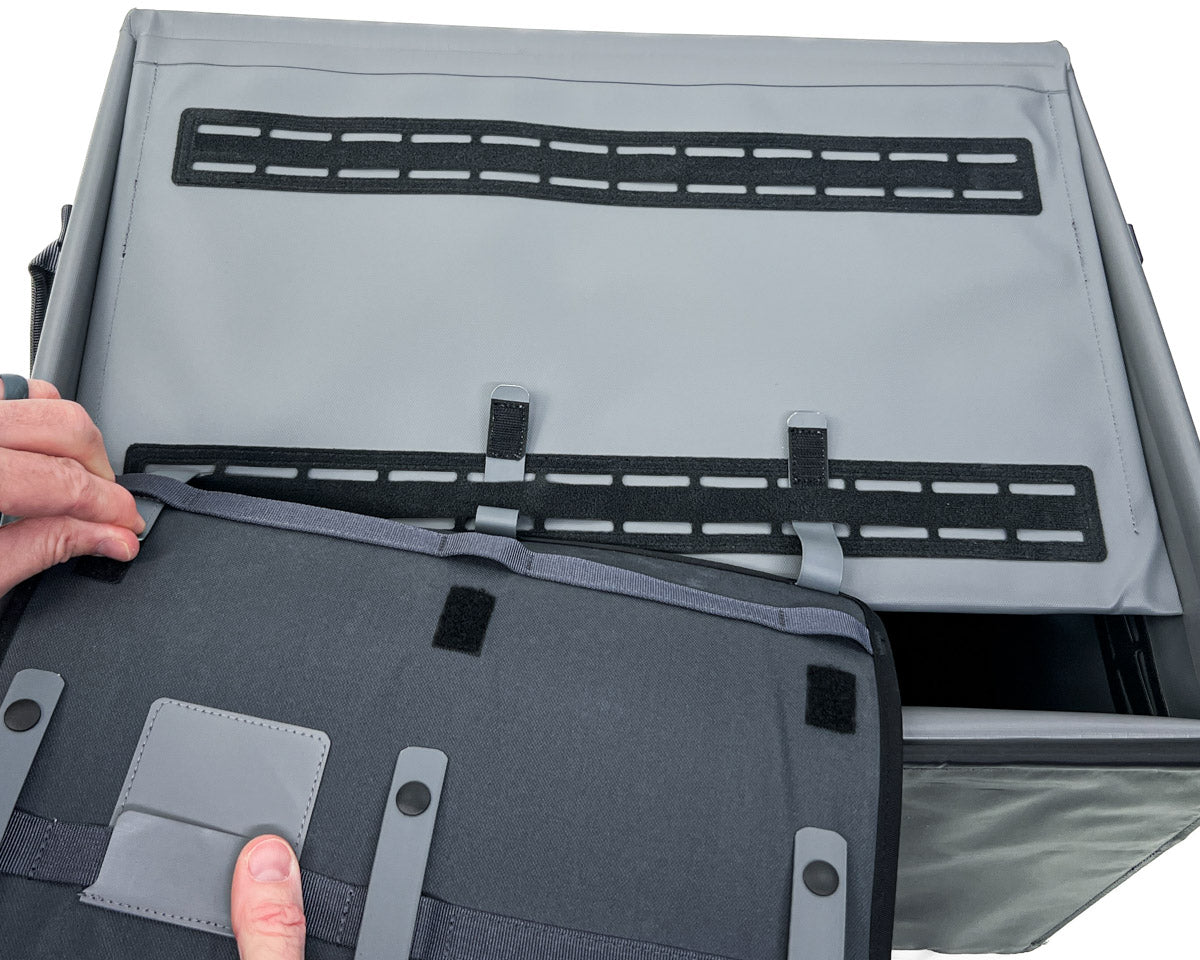
System Pocket Installation
Pocket Installation Options

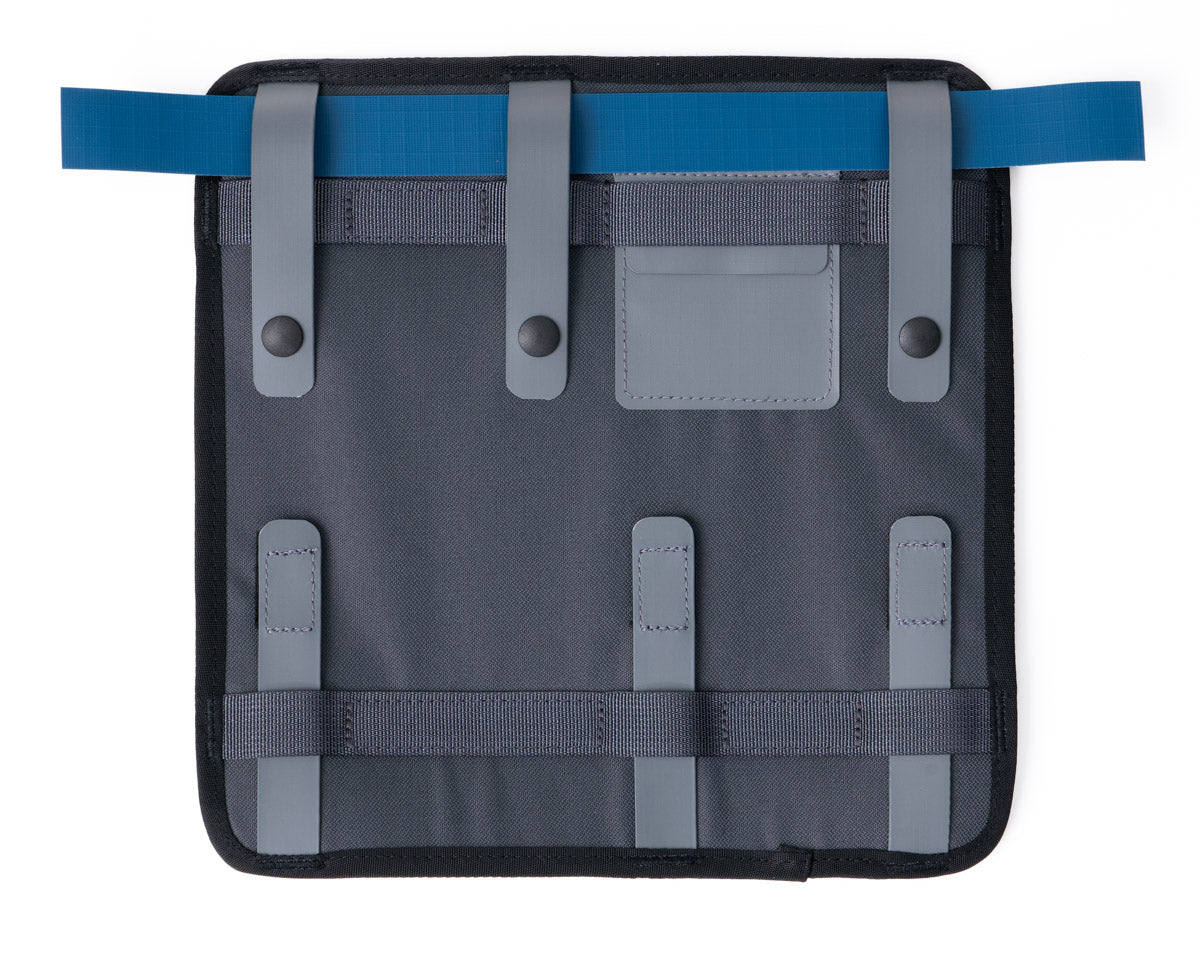
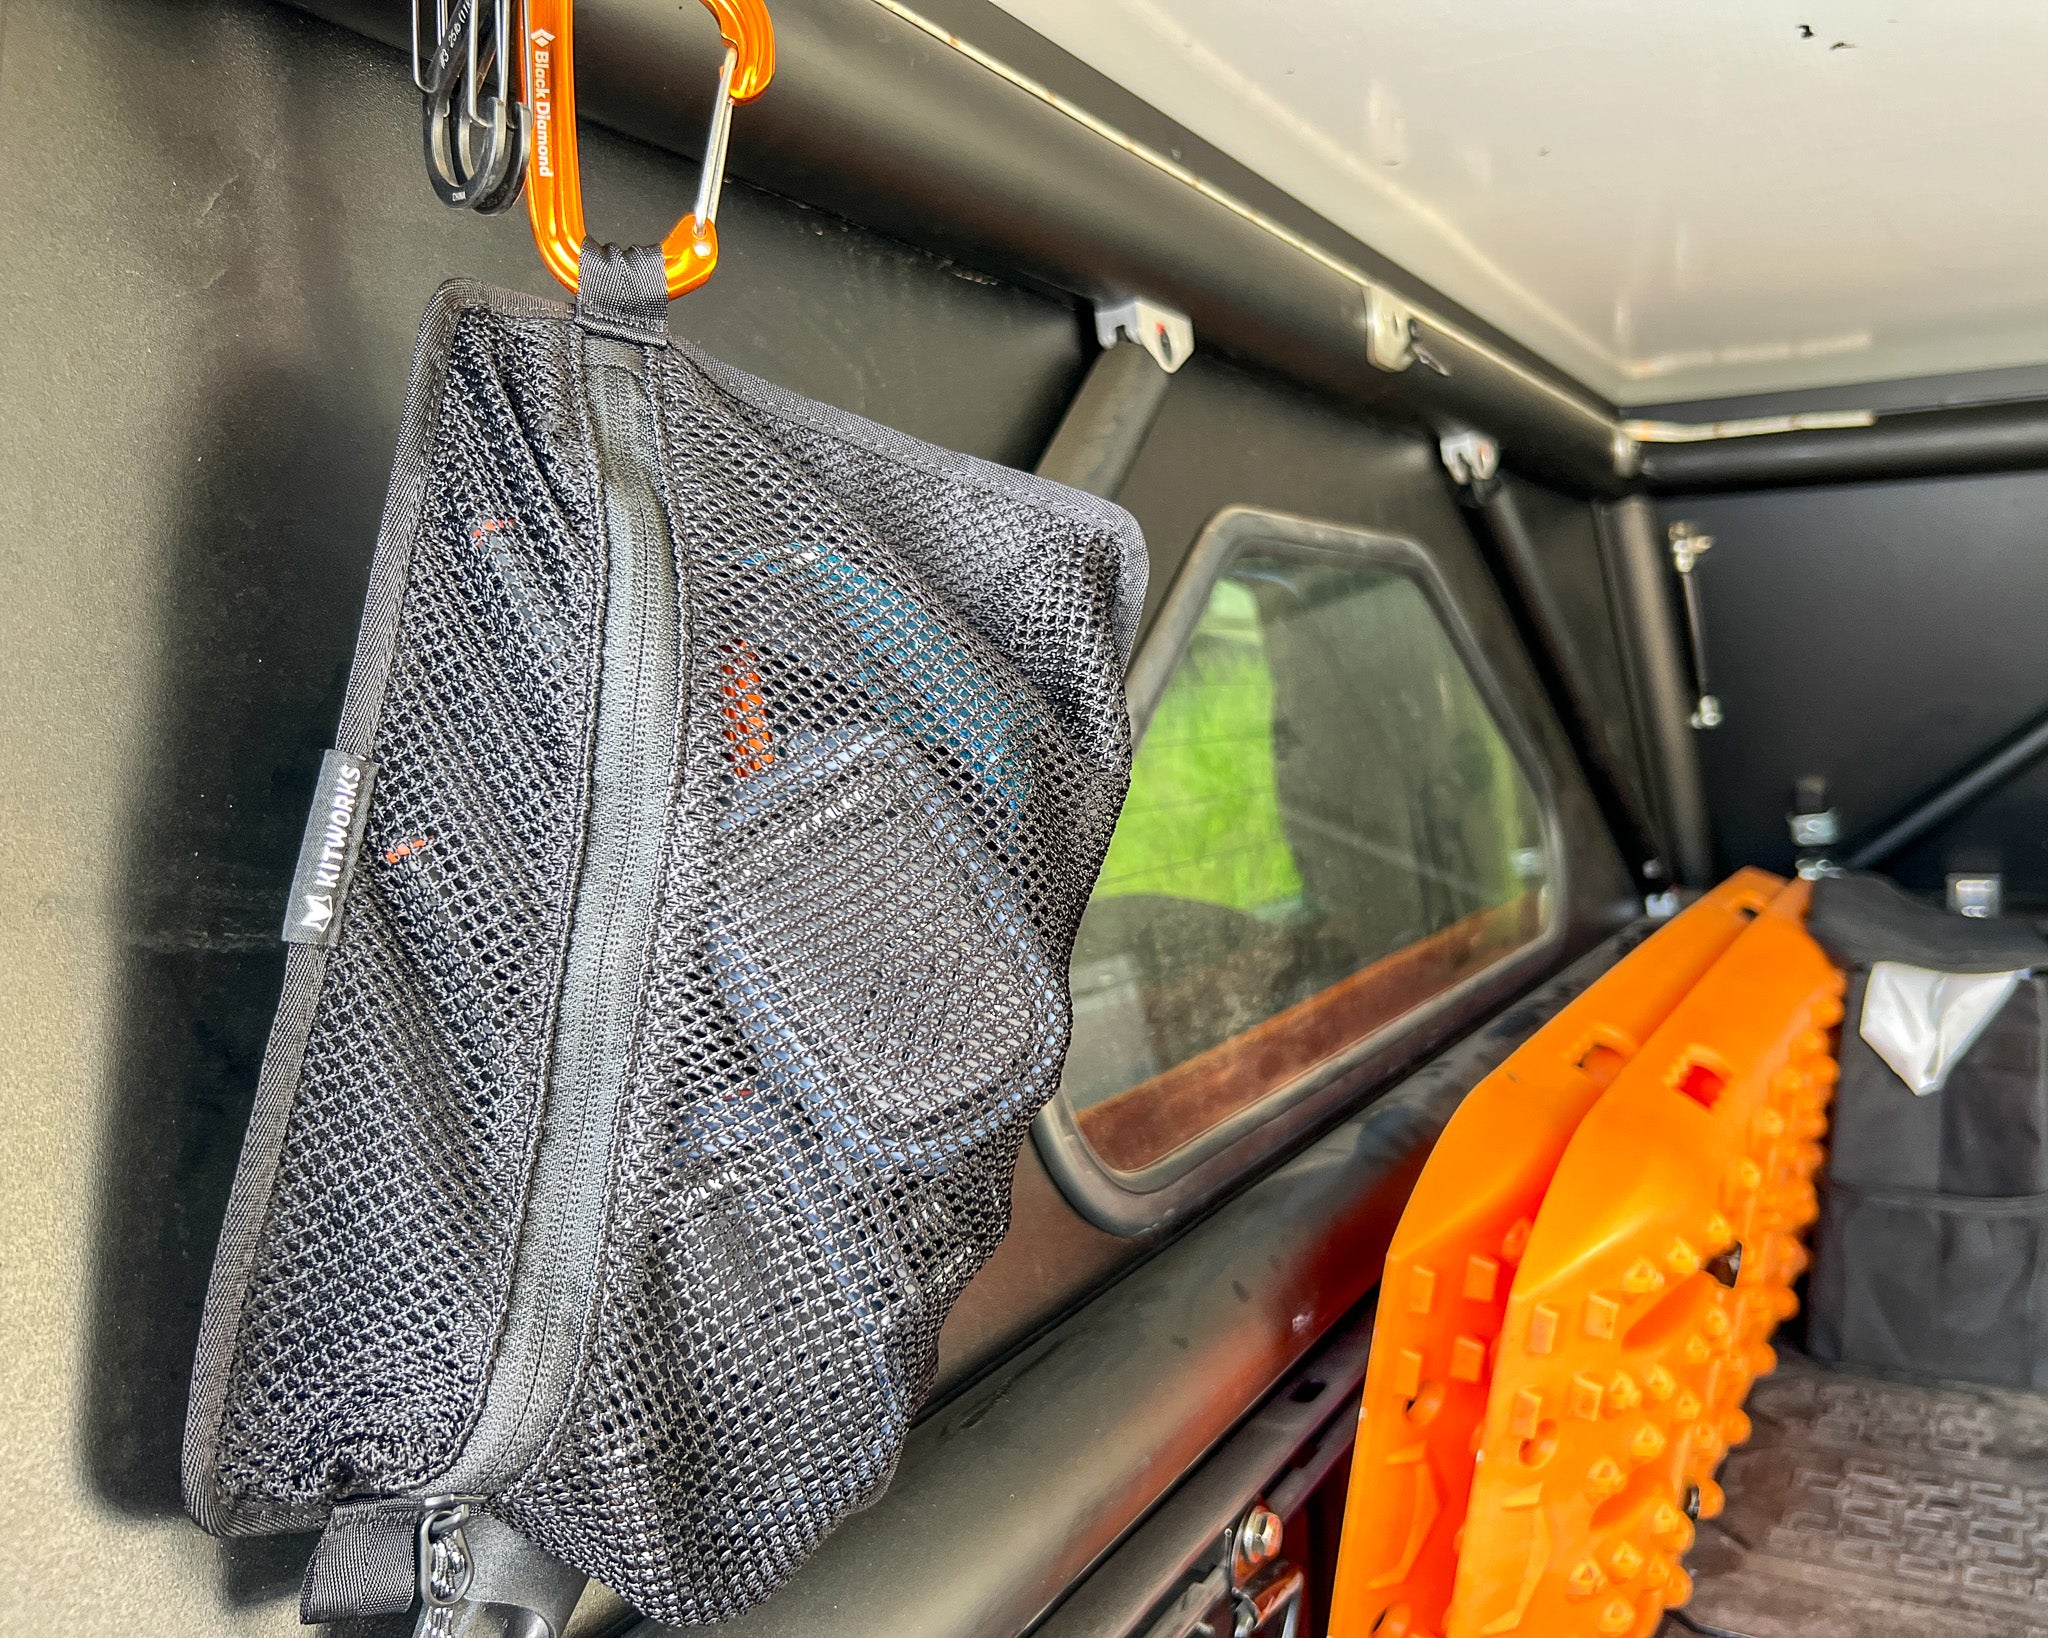
Quick Install
The simplest install. Hang pockets by top accessory rail. Use for temporary installation.
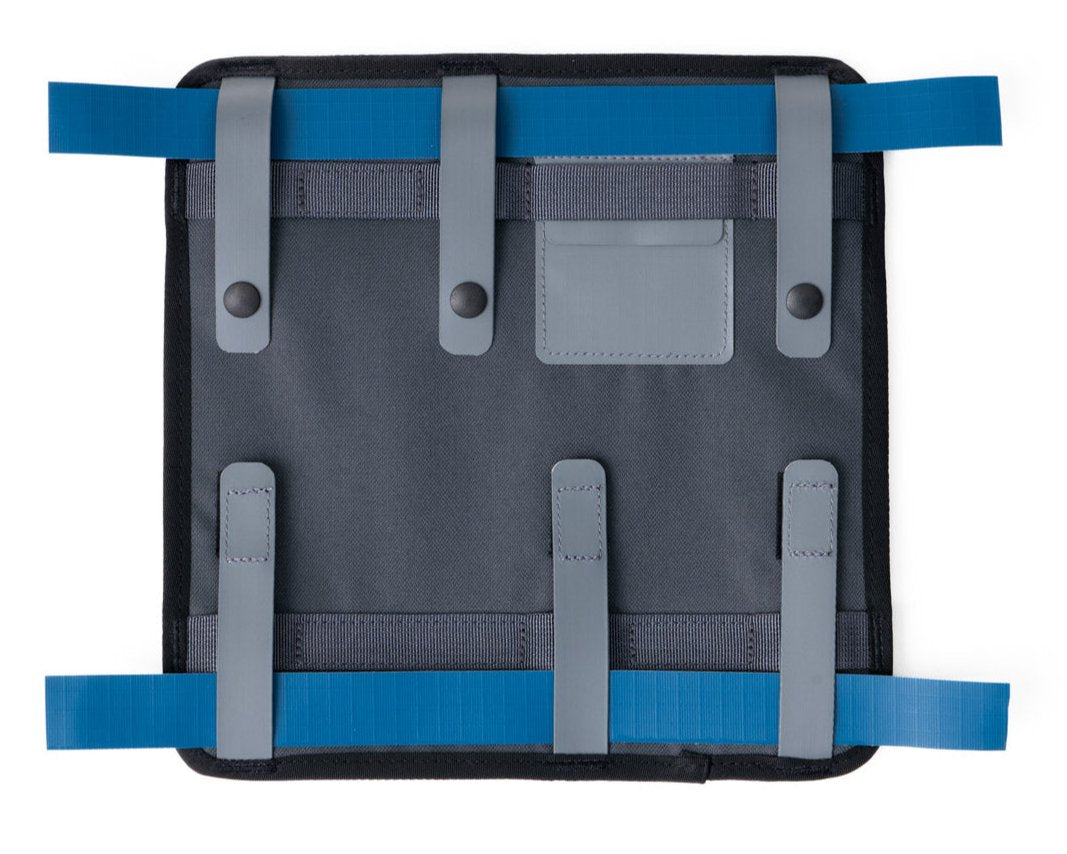
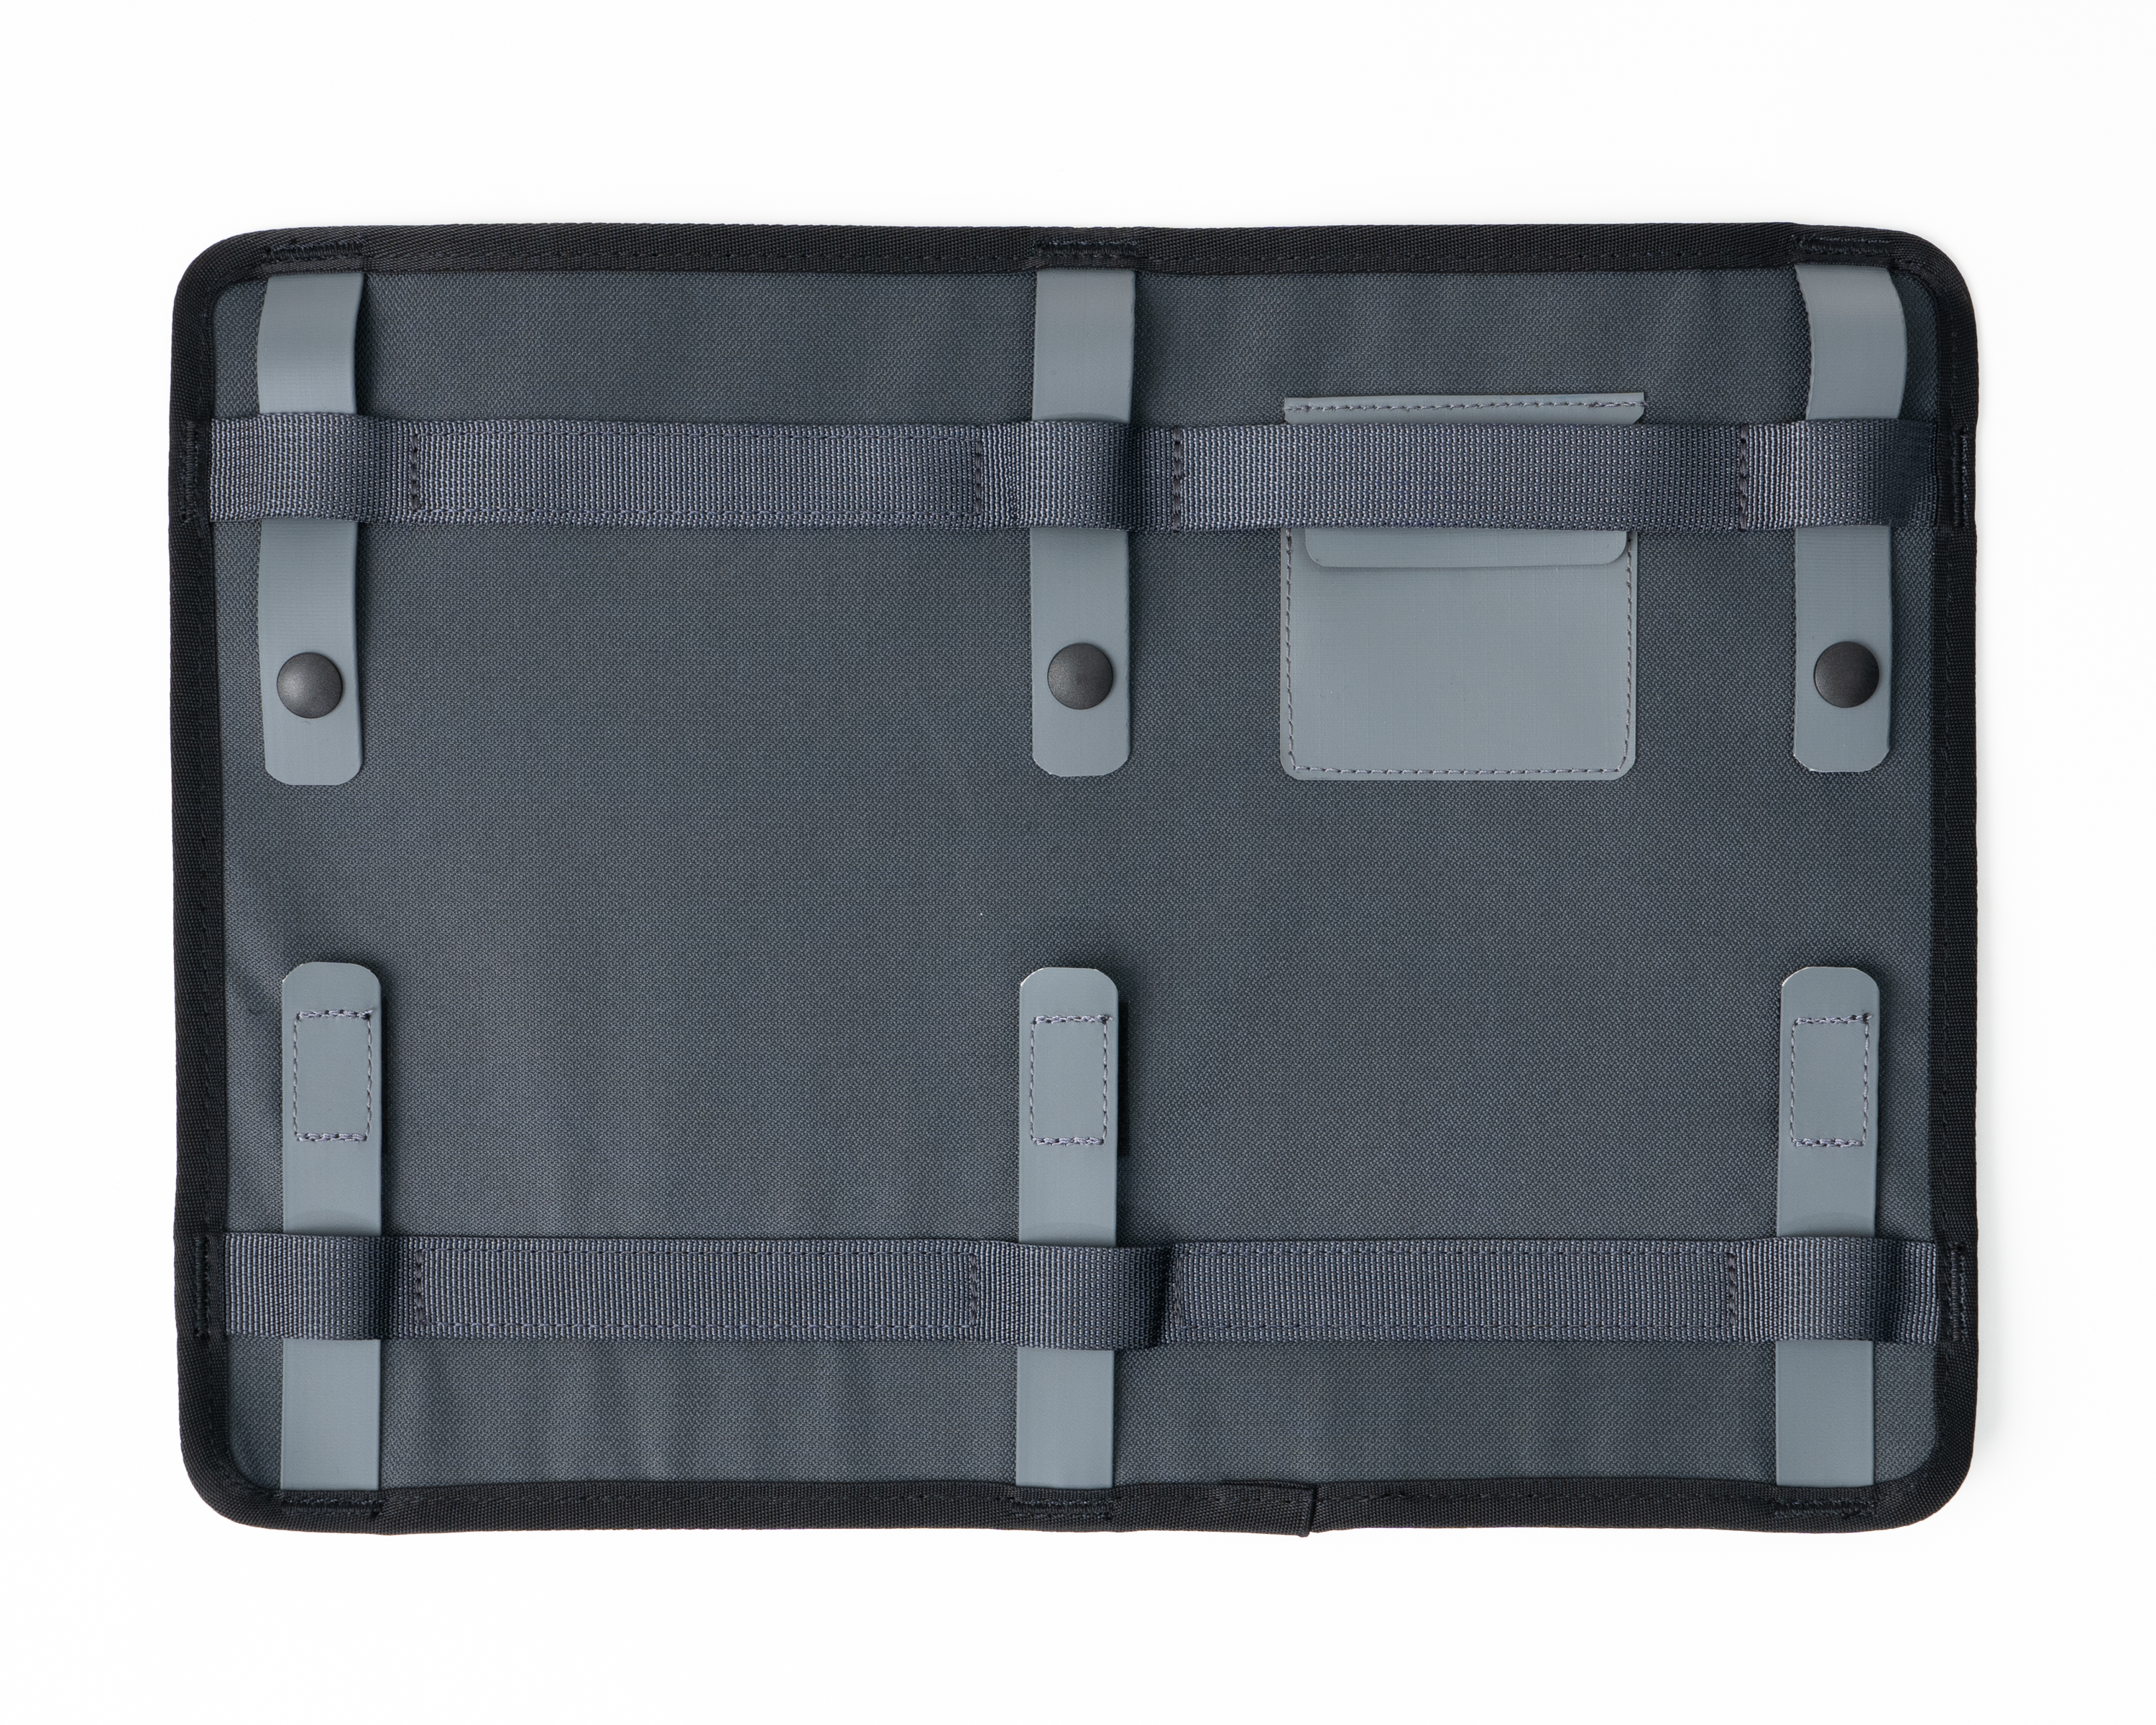
Basic Installation
Attach to top and bottom accessory rails. Suitable for internal or temporary external connection.
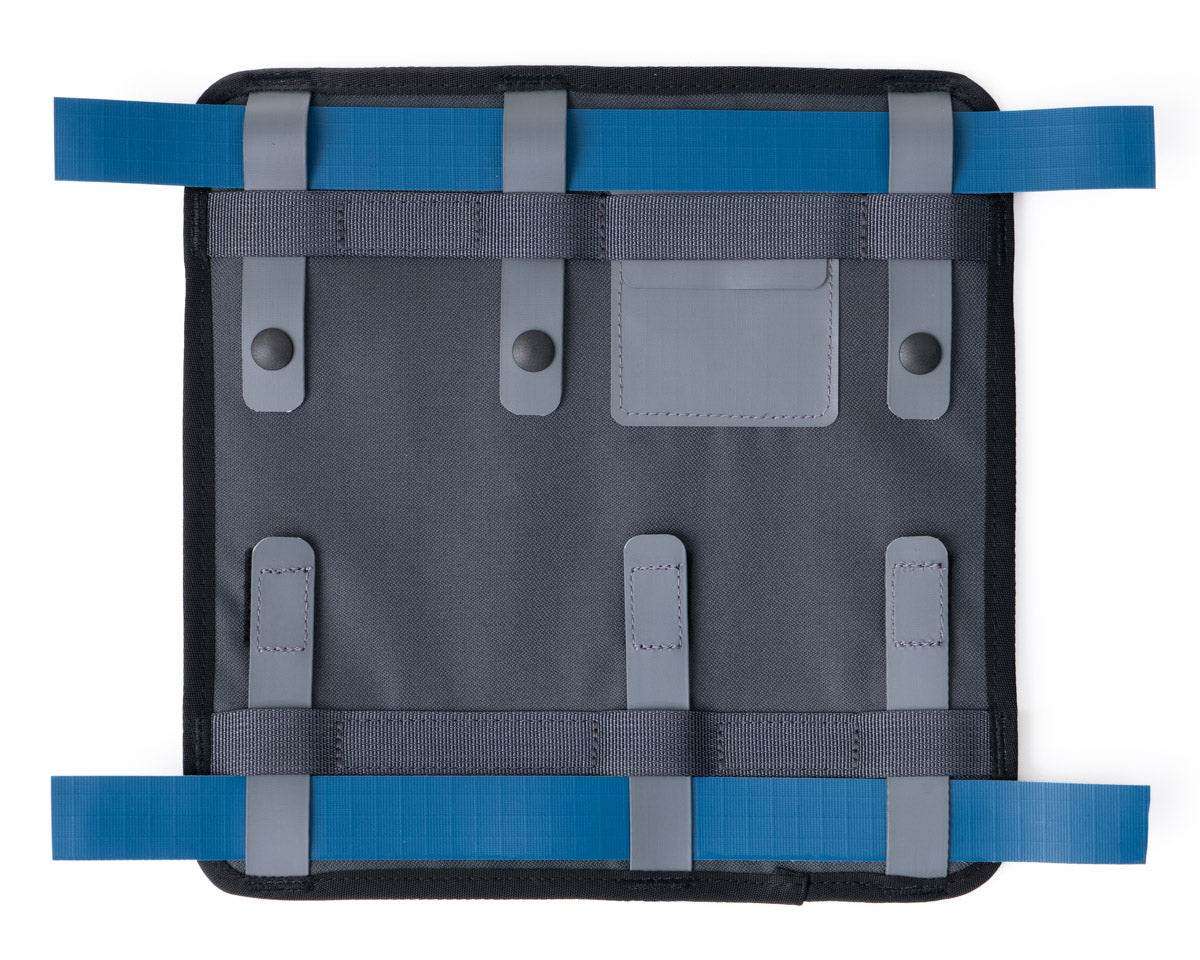
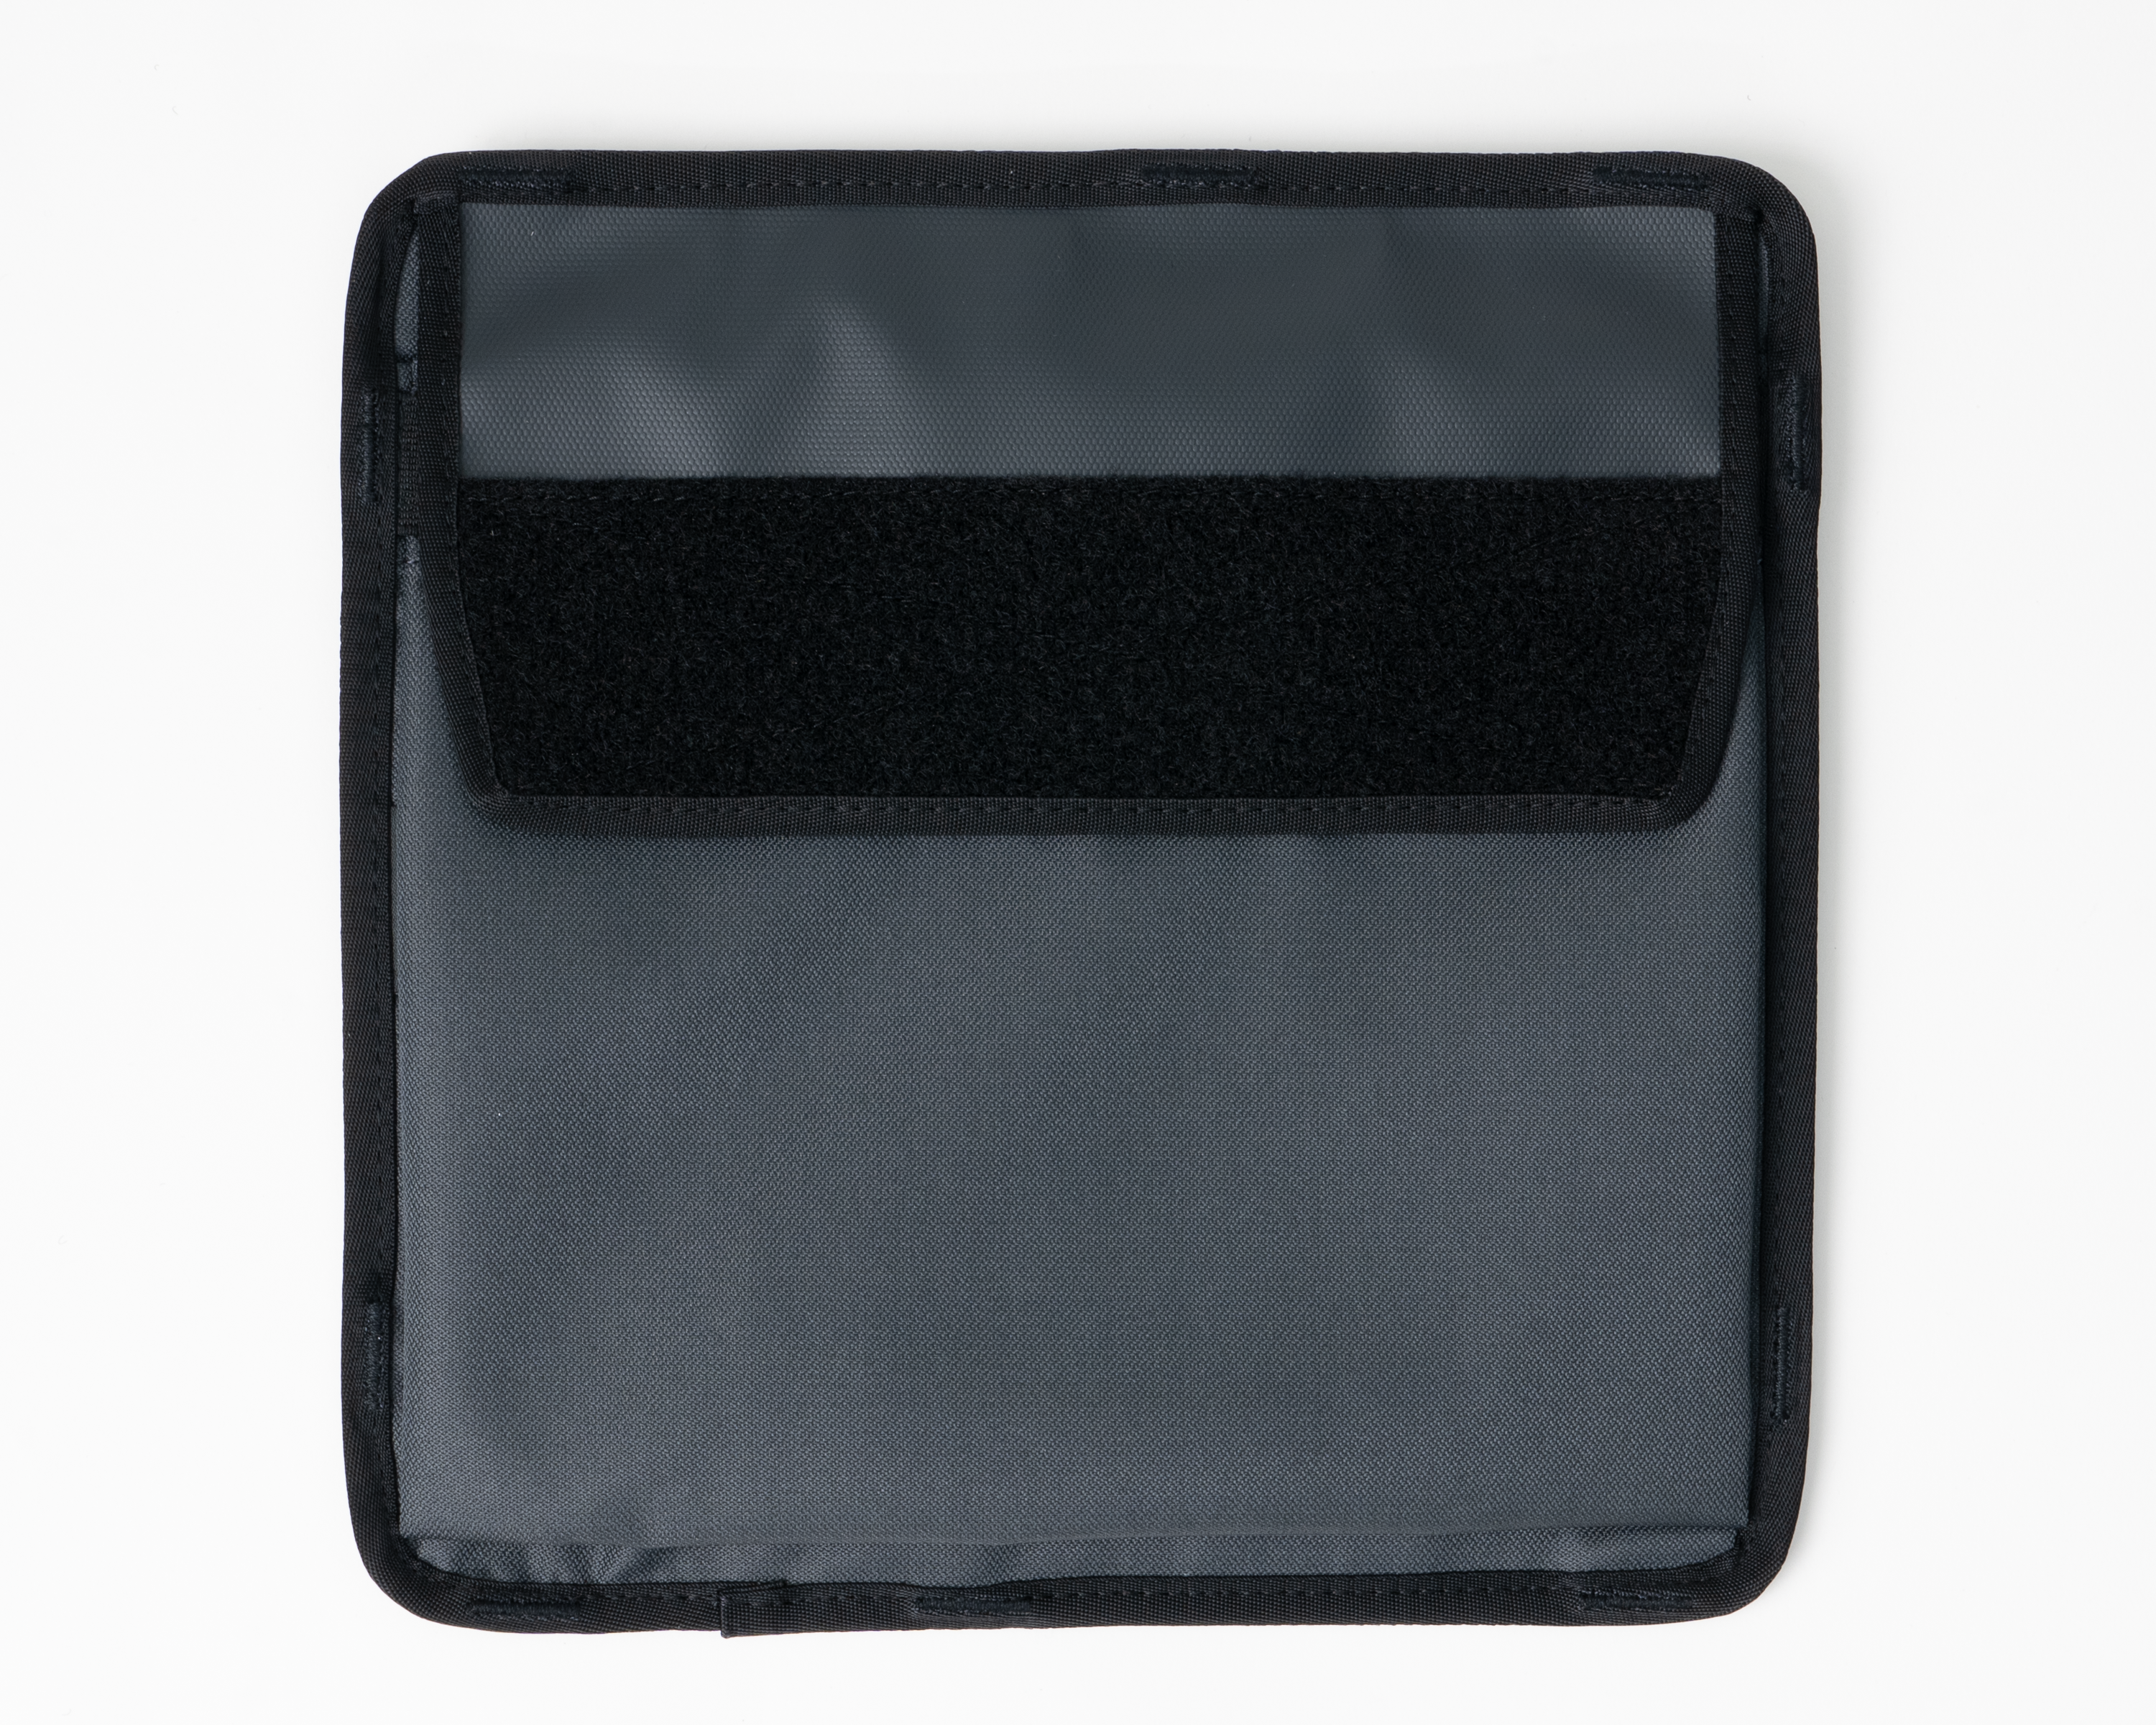
Secure installation
For the most integrated look and function. Recommended for external or semi-permanent installation. Weave tabs behind the webbing strip on back of pockets for the most secure attachment.
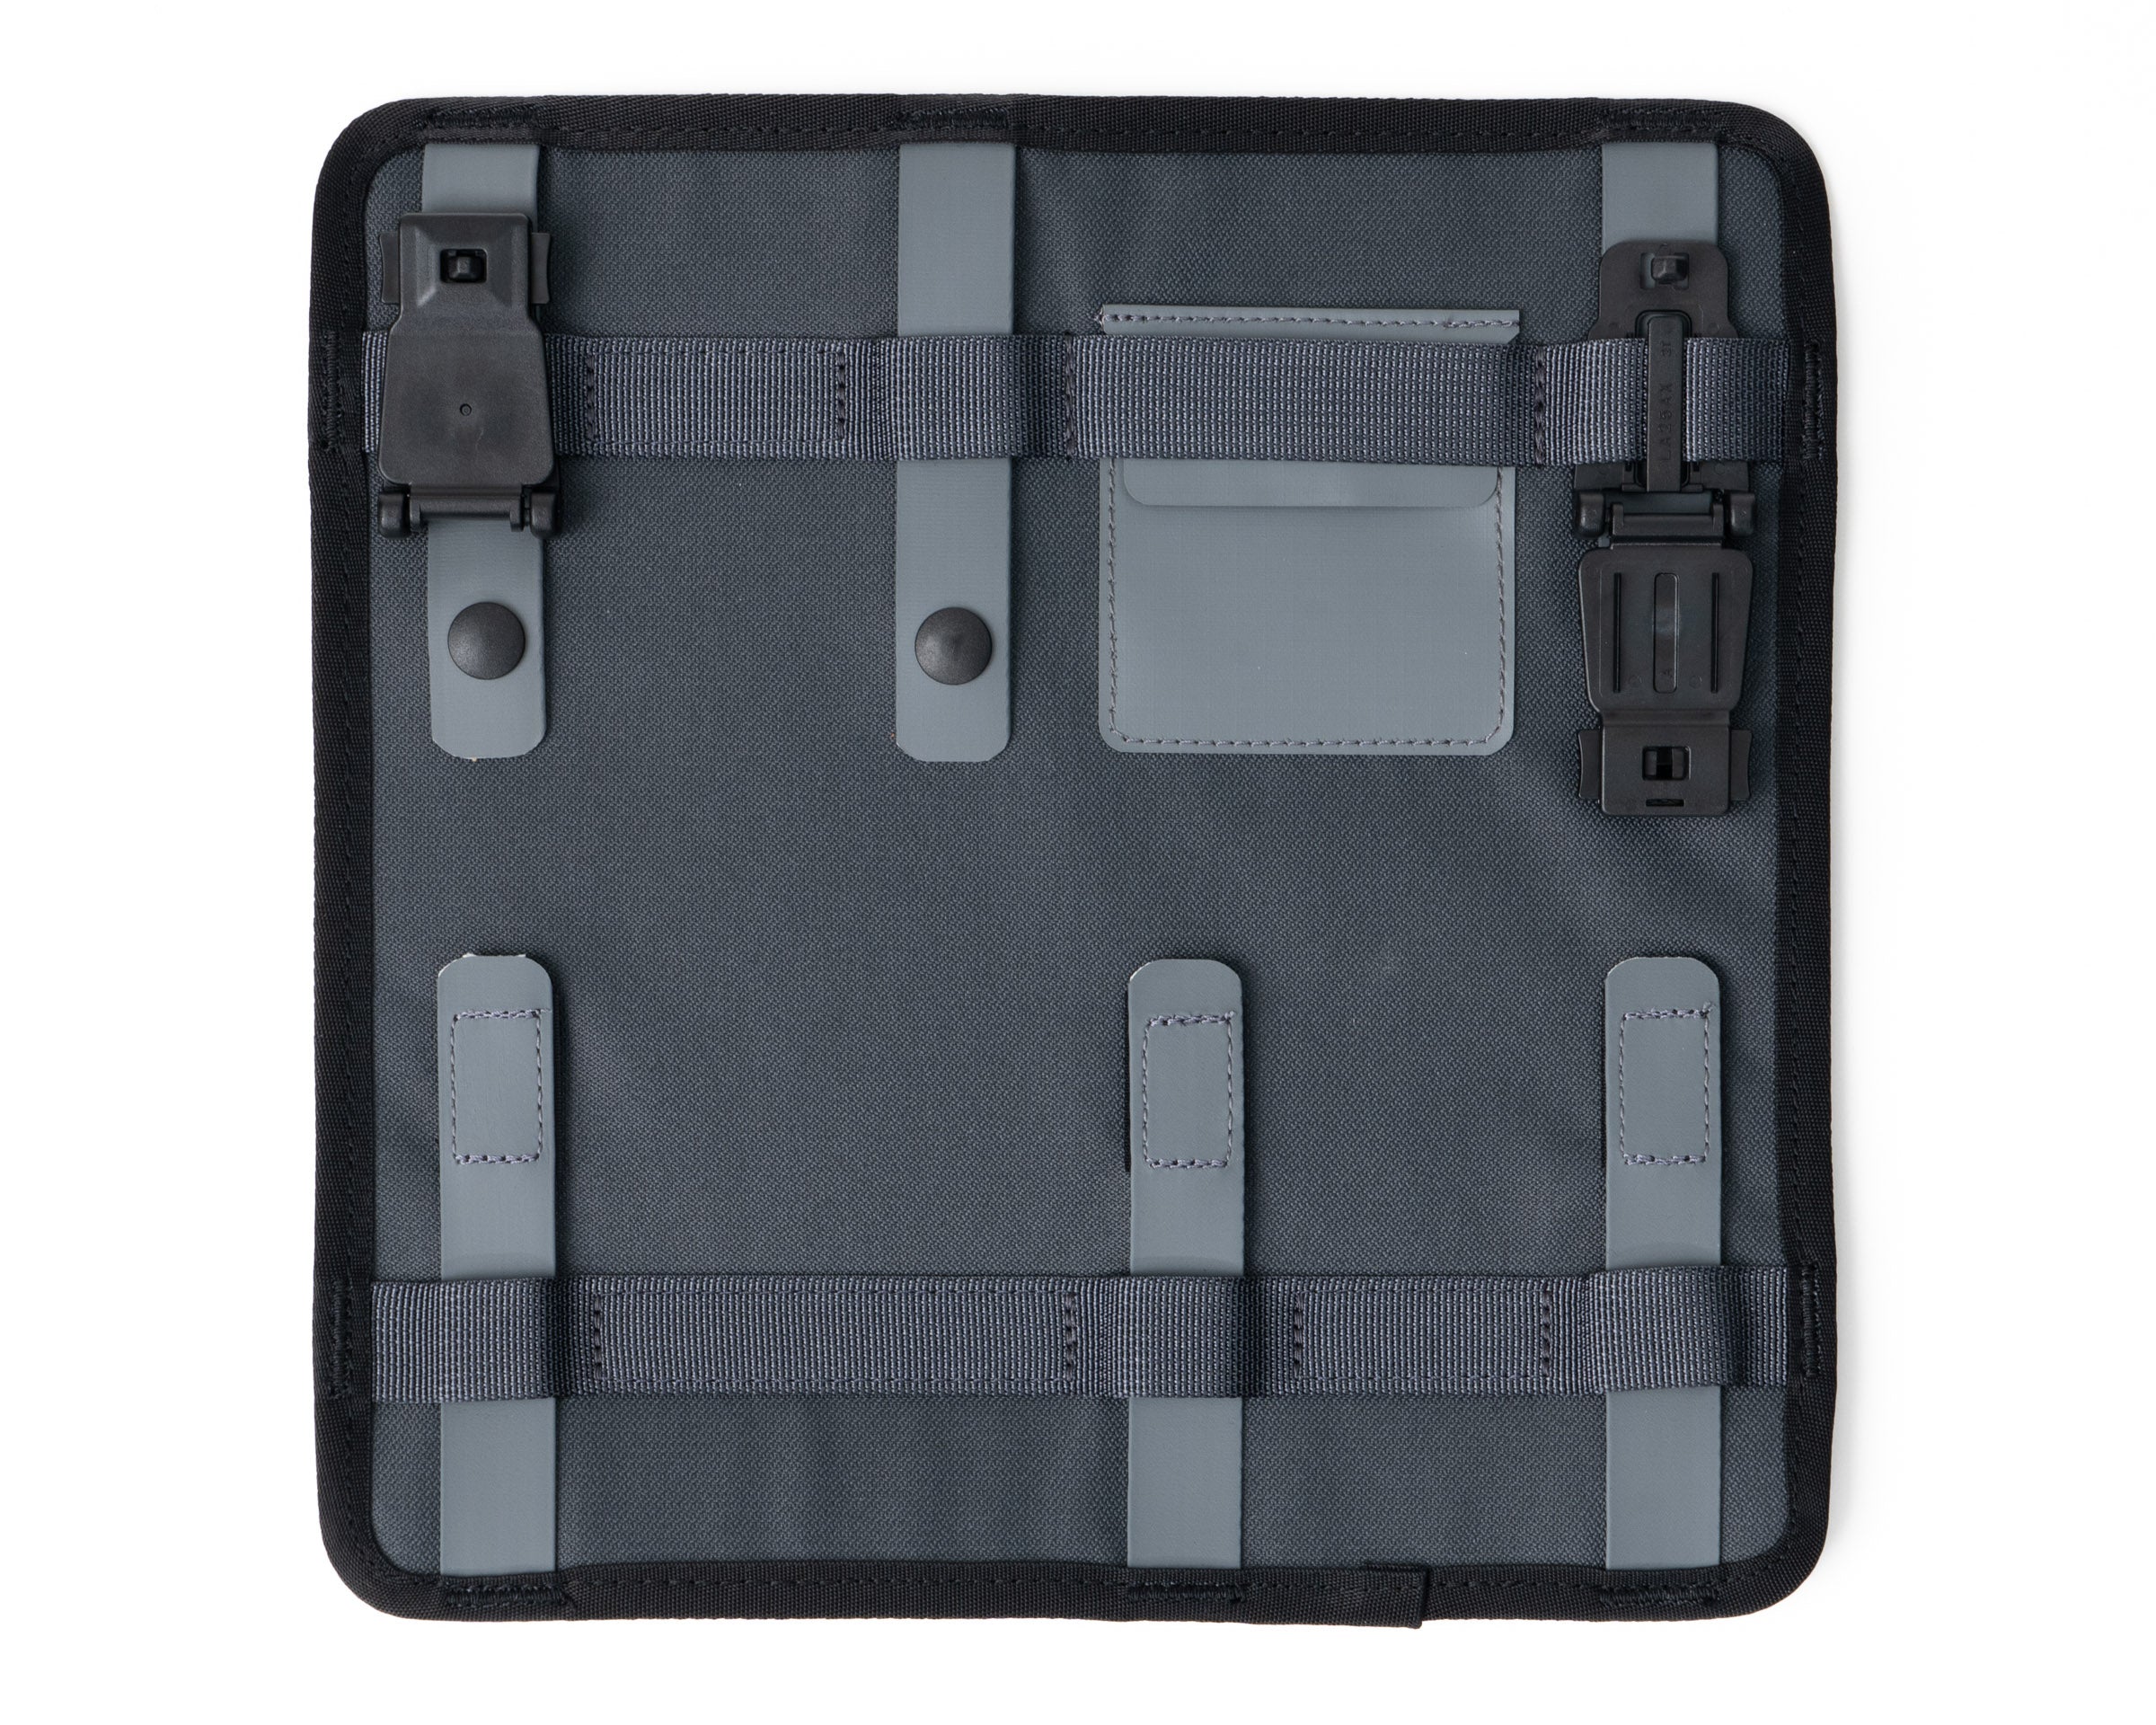
System Pocket Installation
Pocket Installation Tips
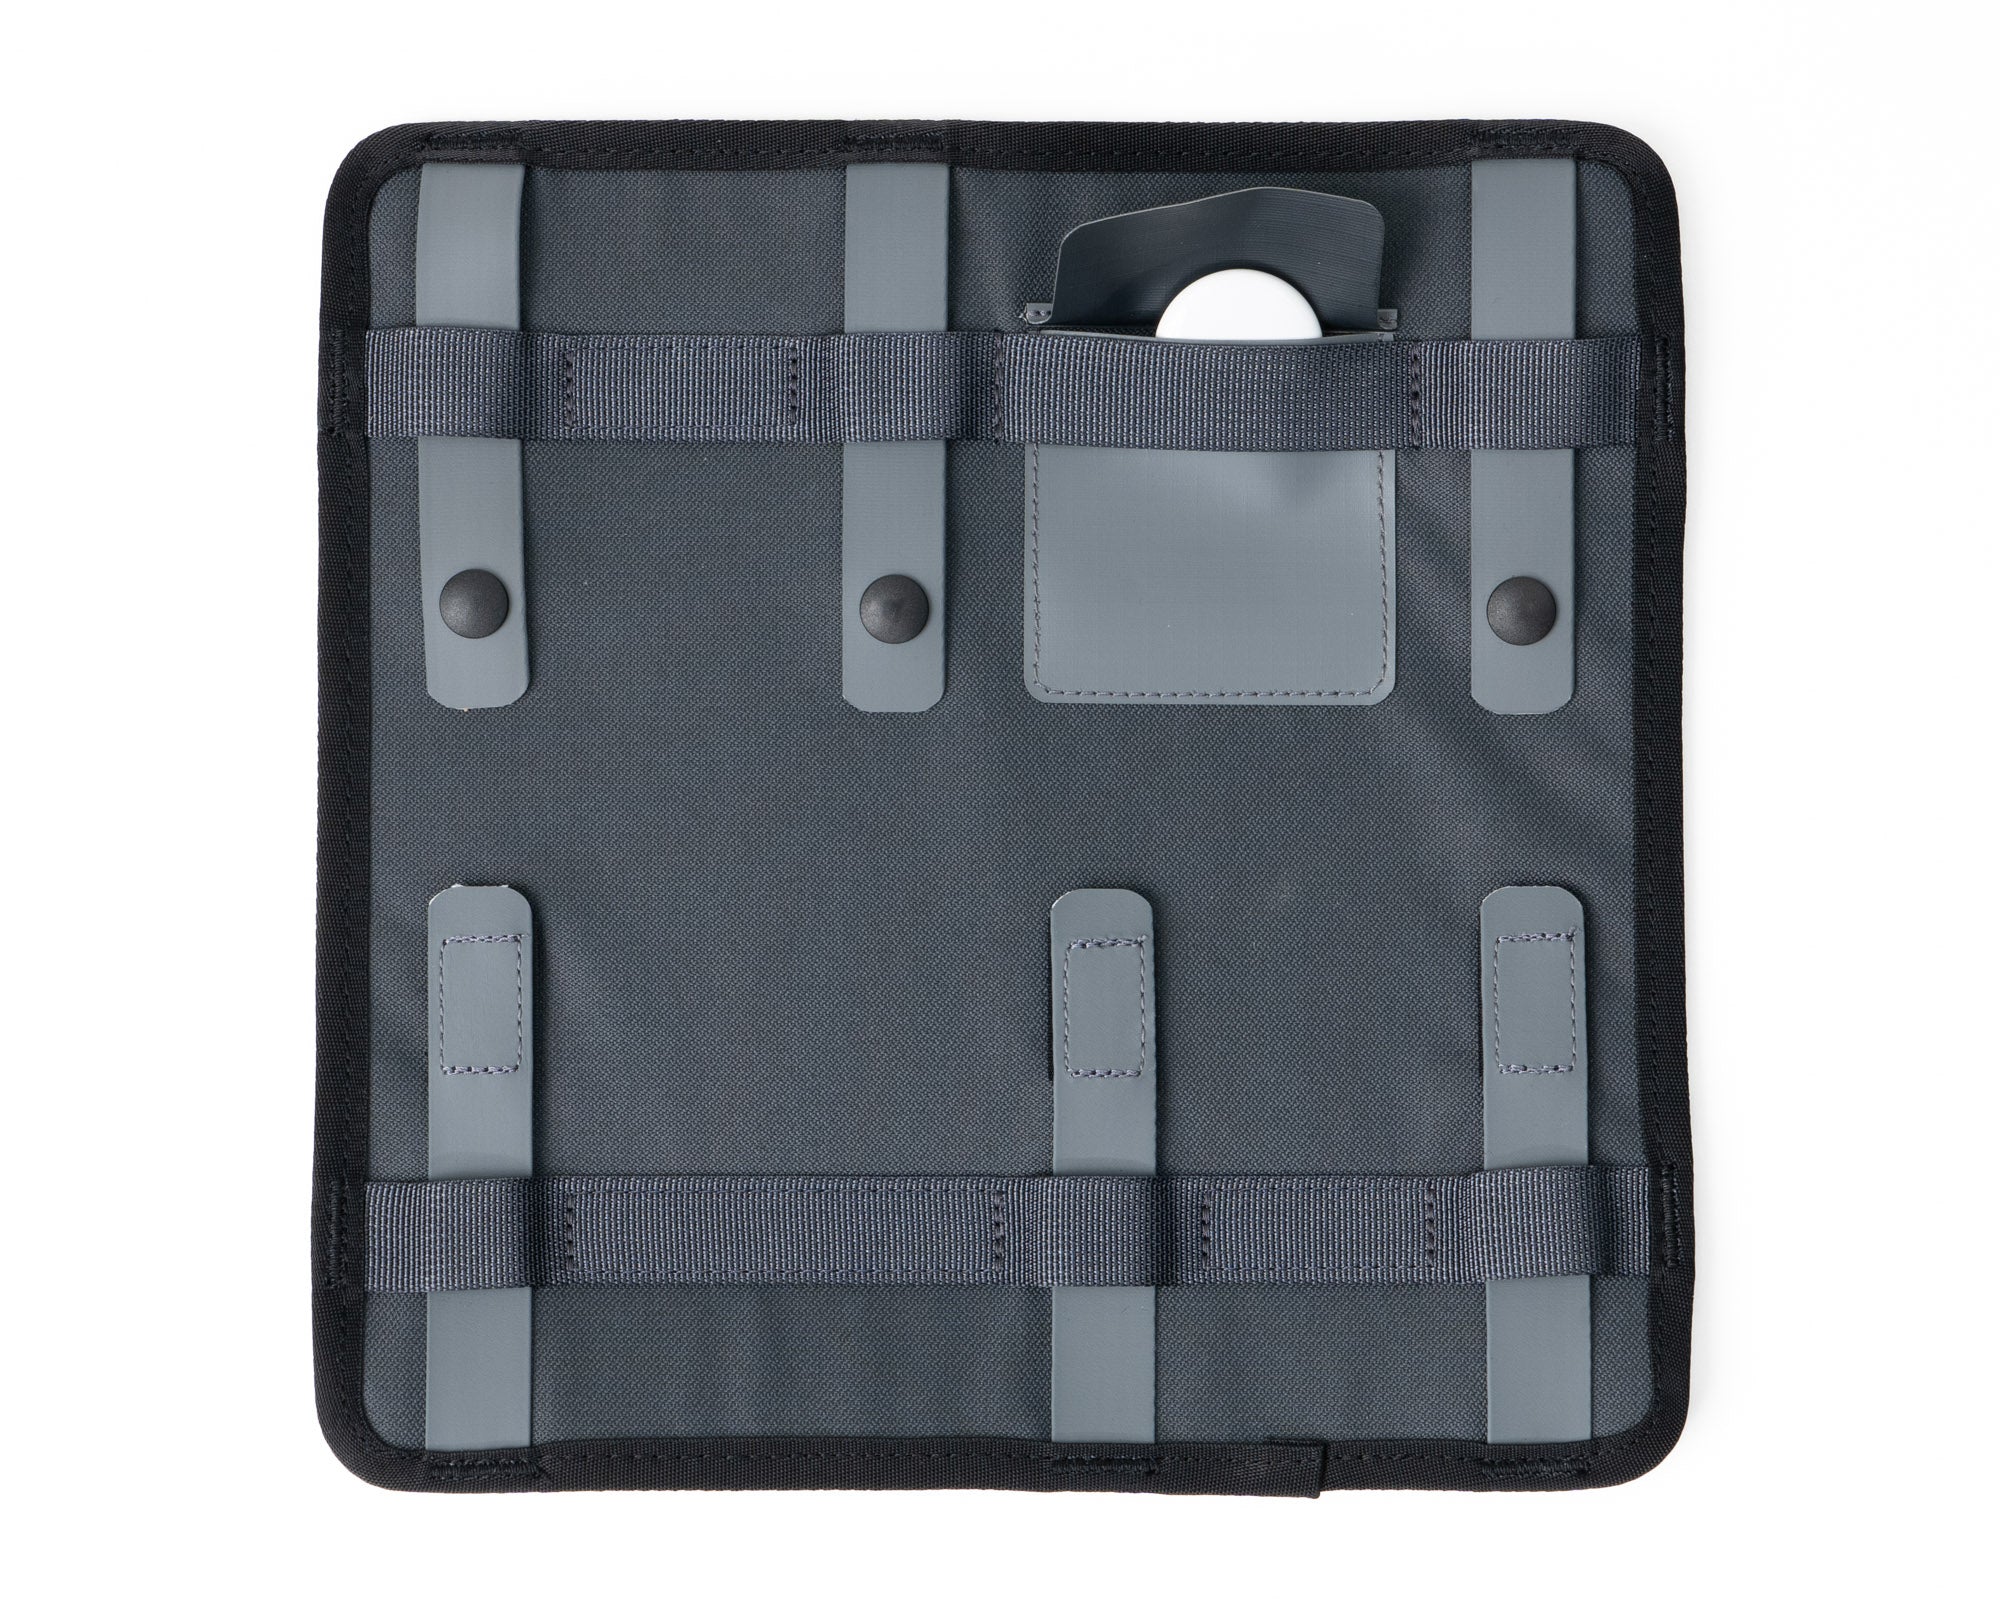
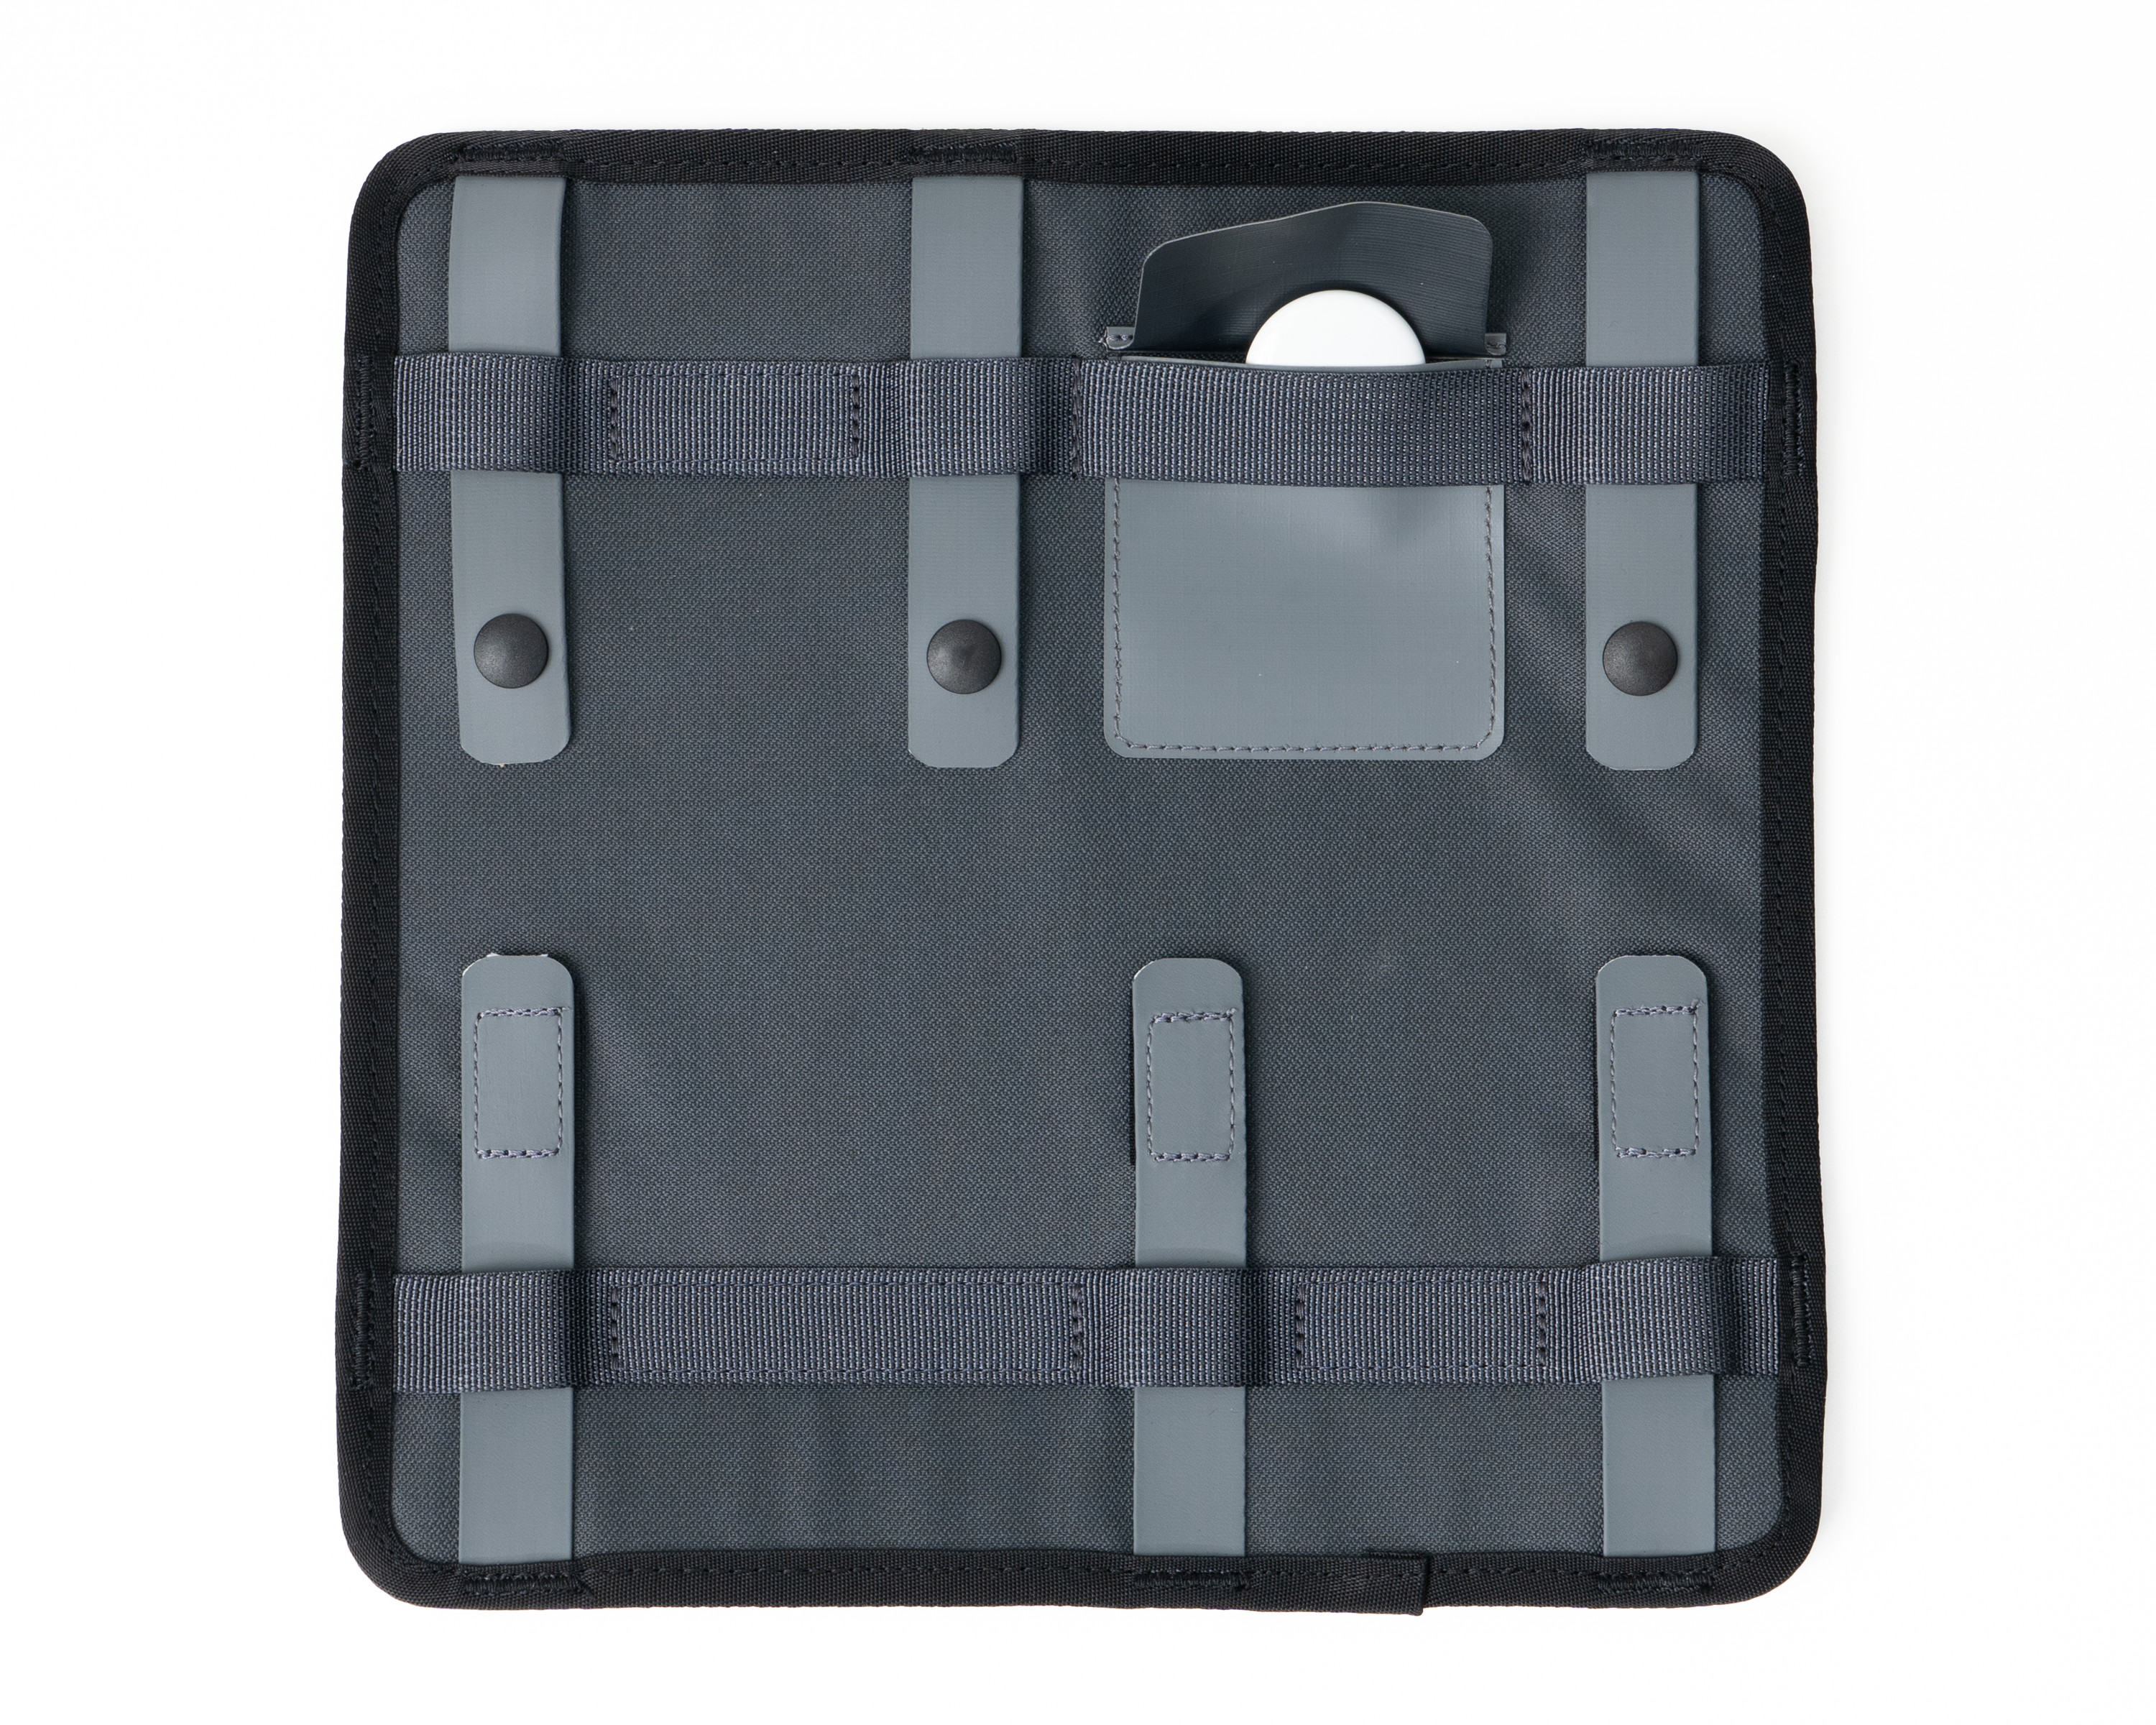
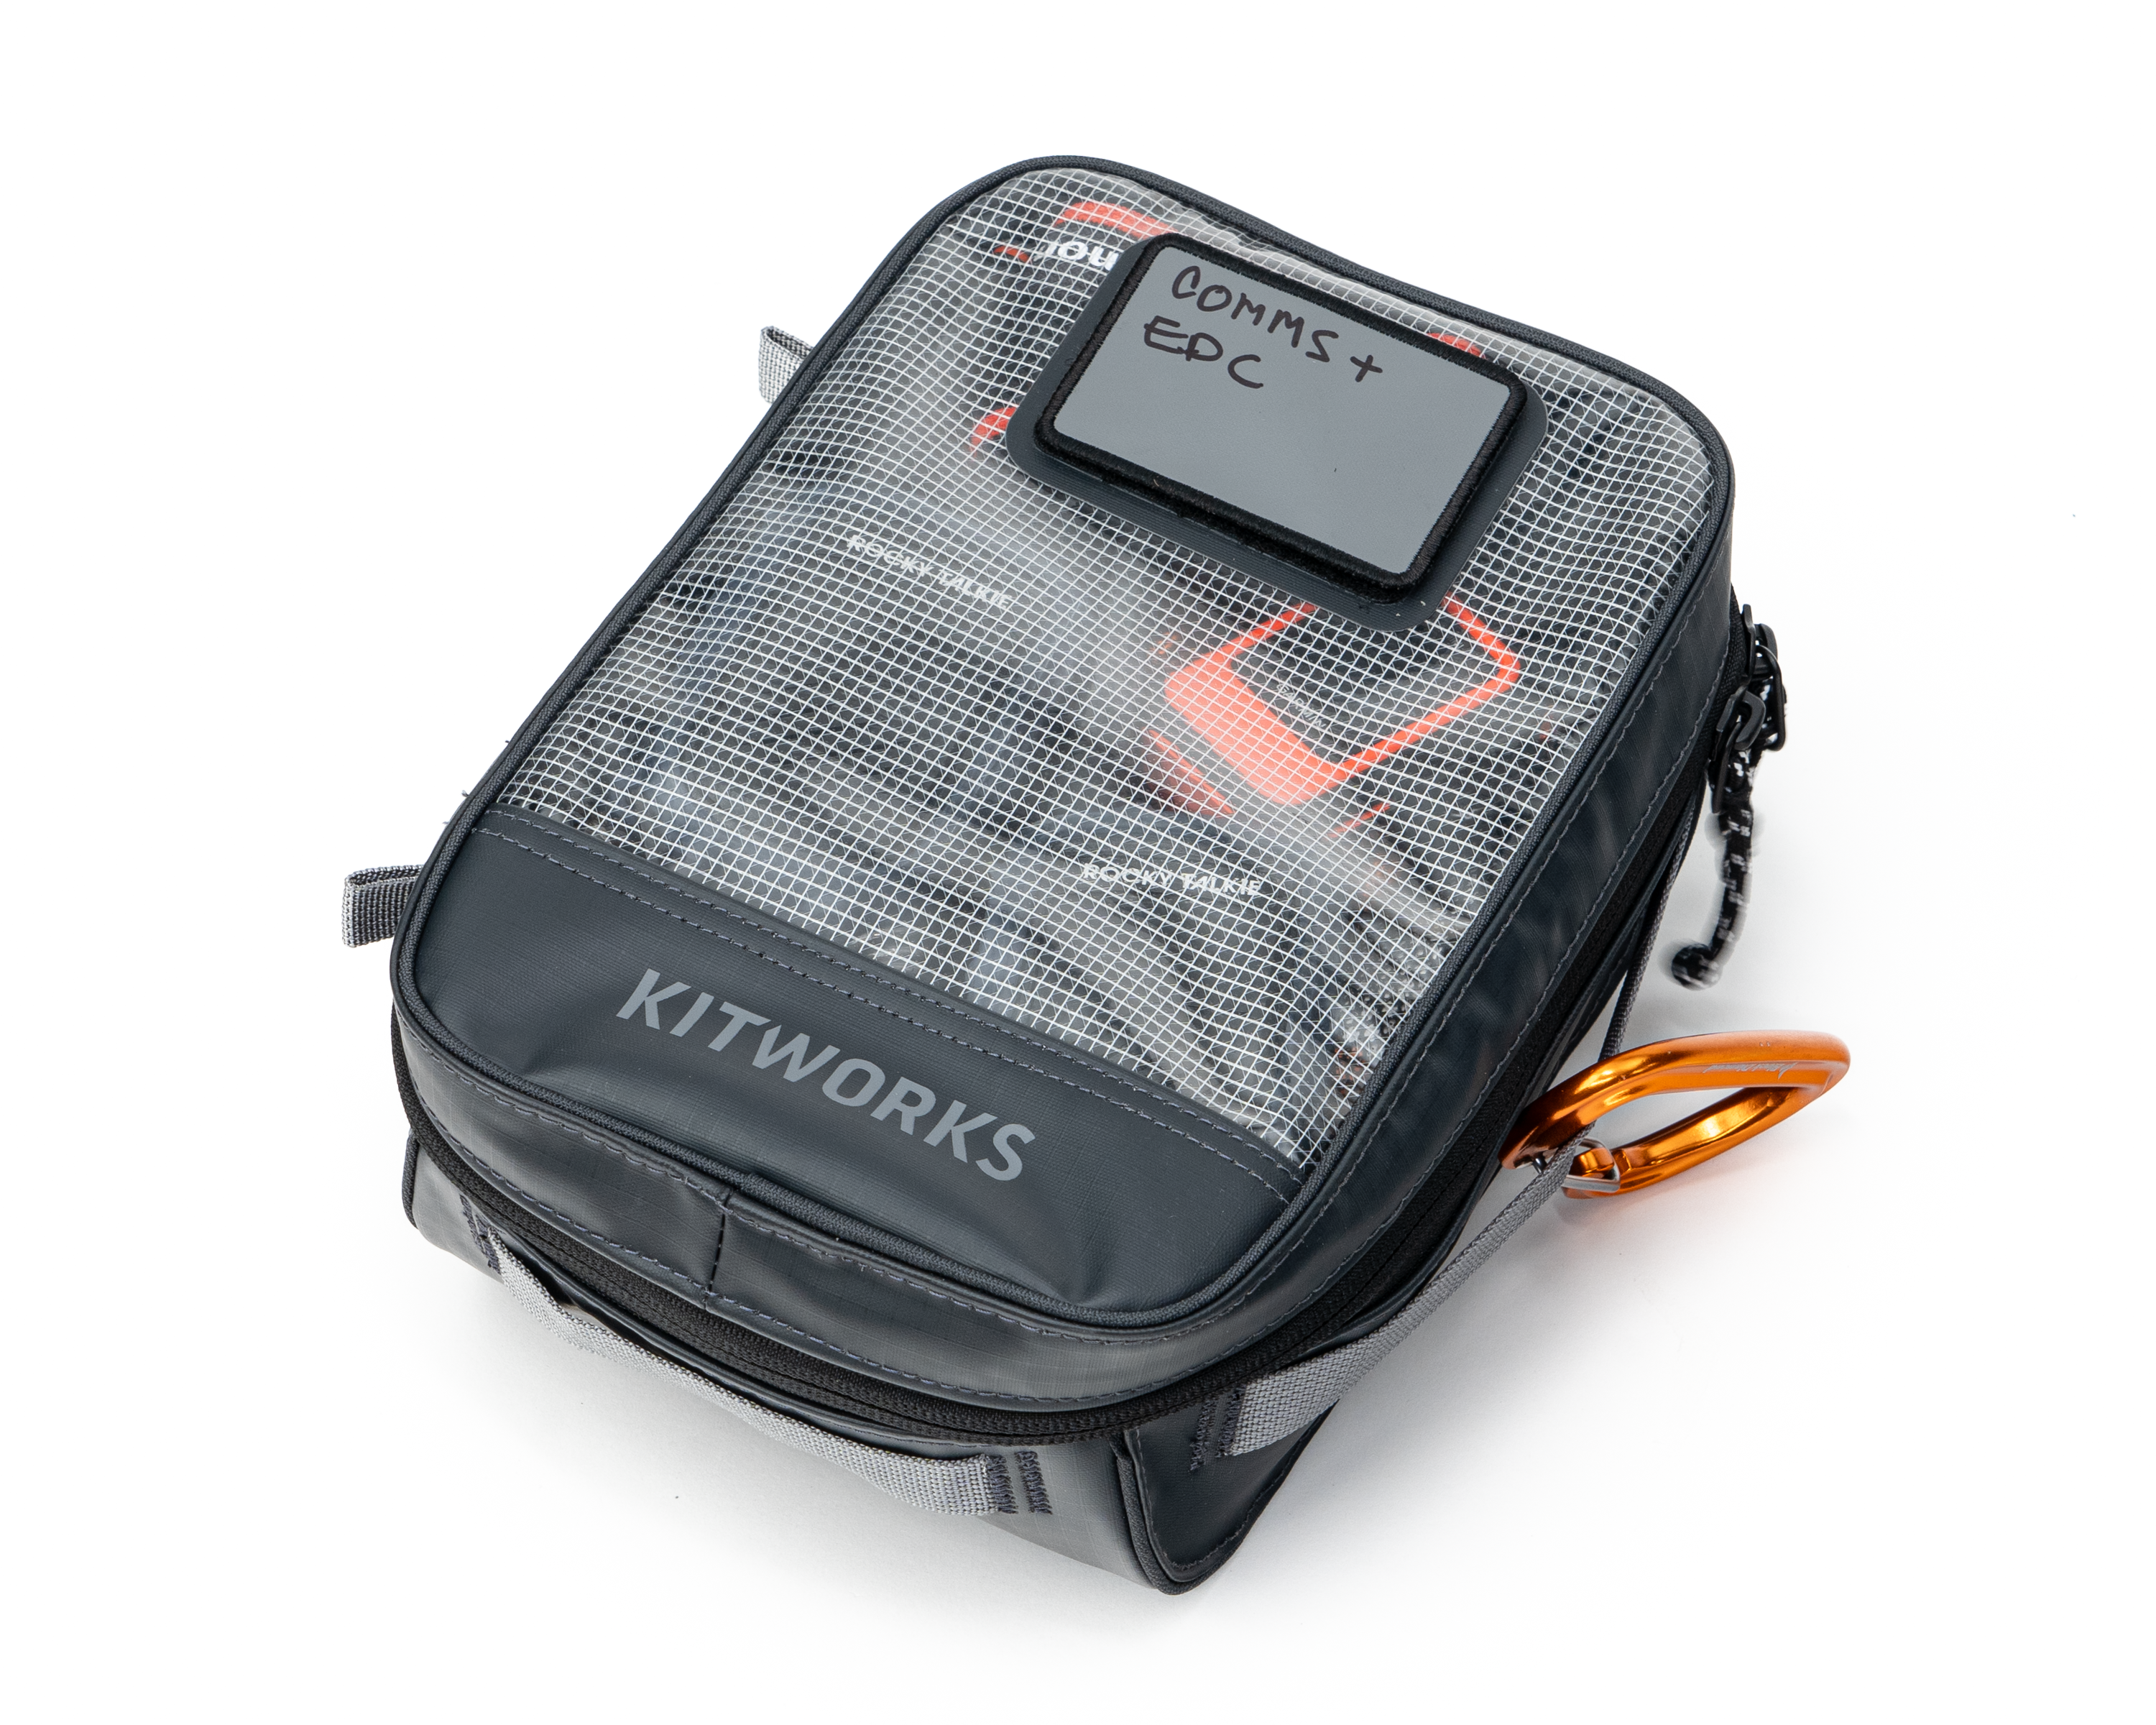
Install Tracker Before Install
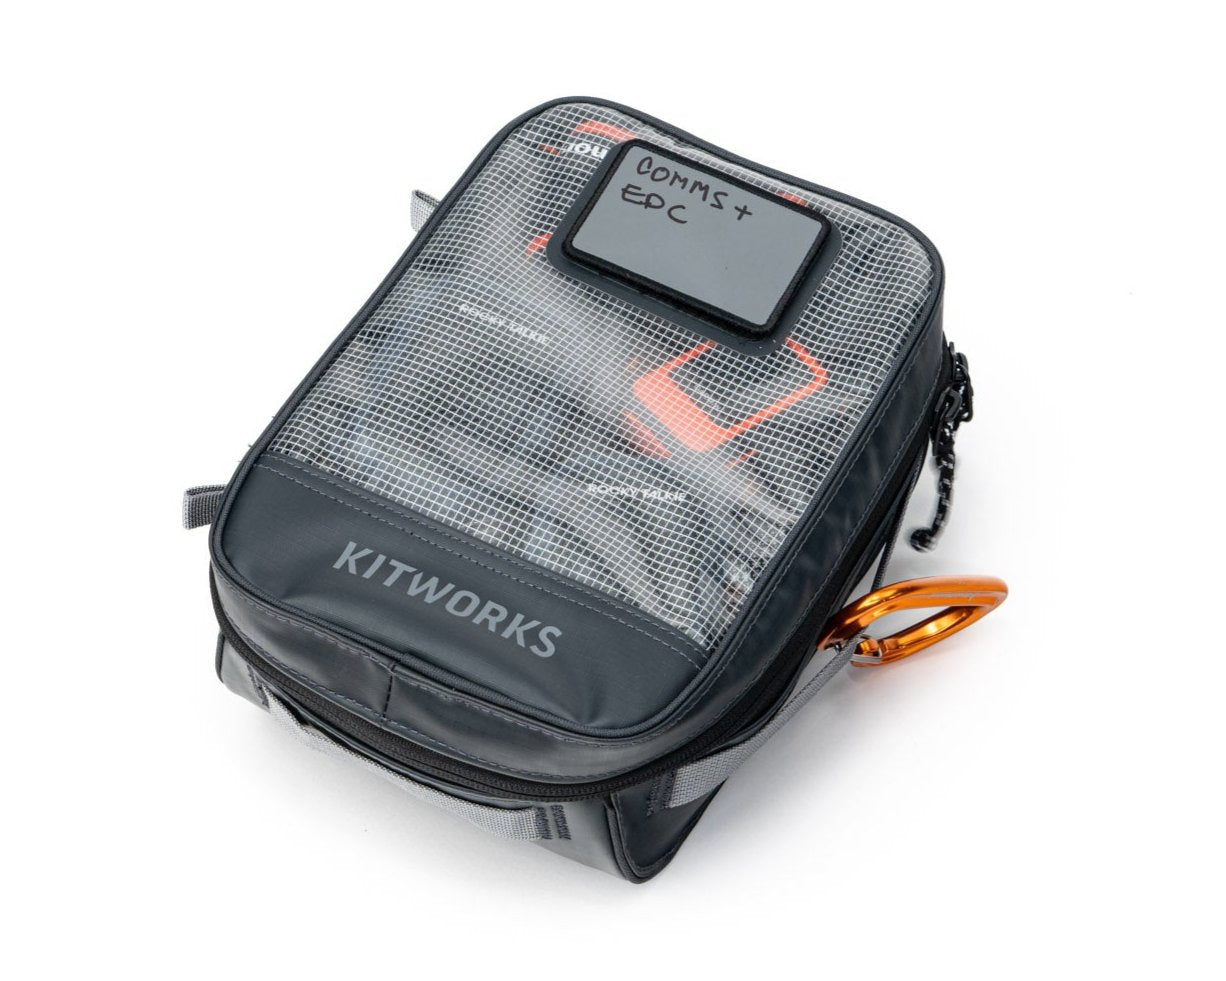
Use the small pocket on the back of any System Pocket to add bluetooth trackers like AirTags to any kit.
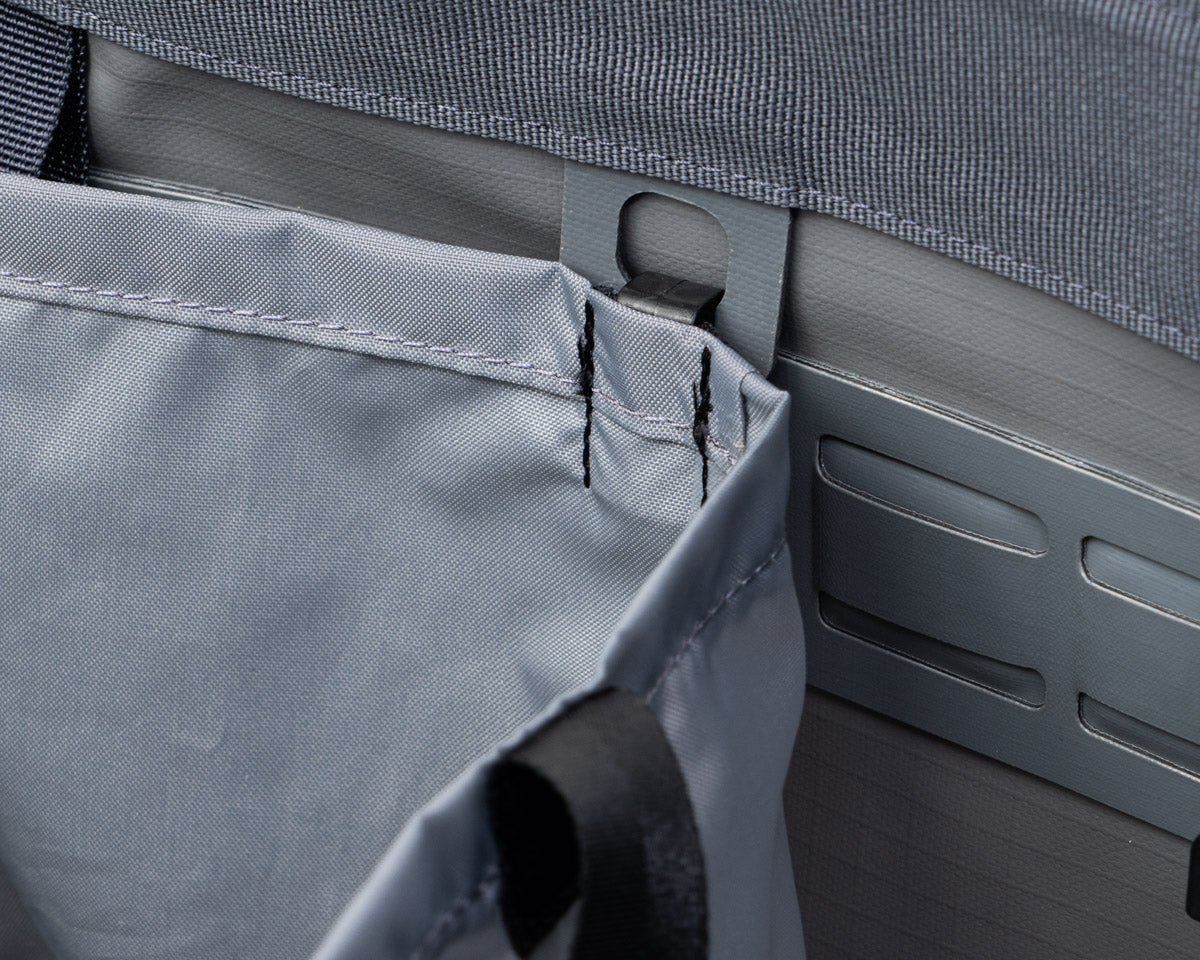
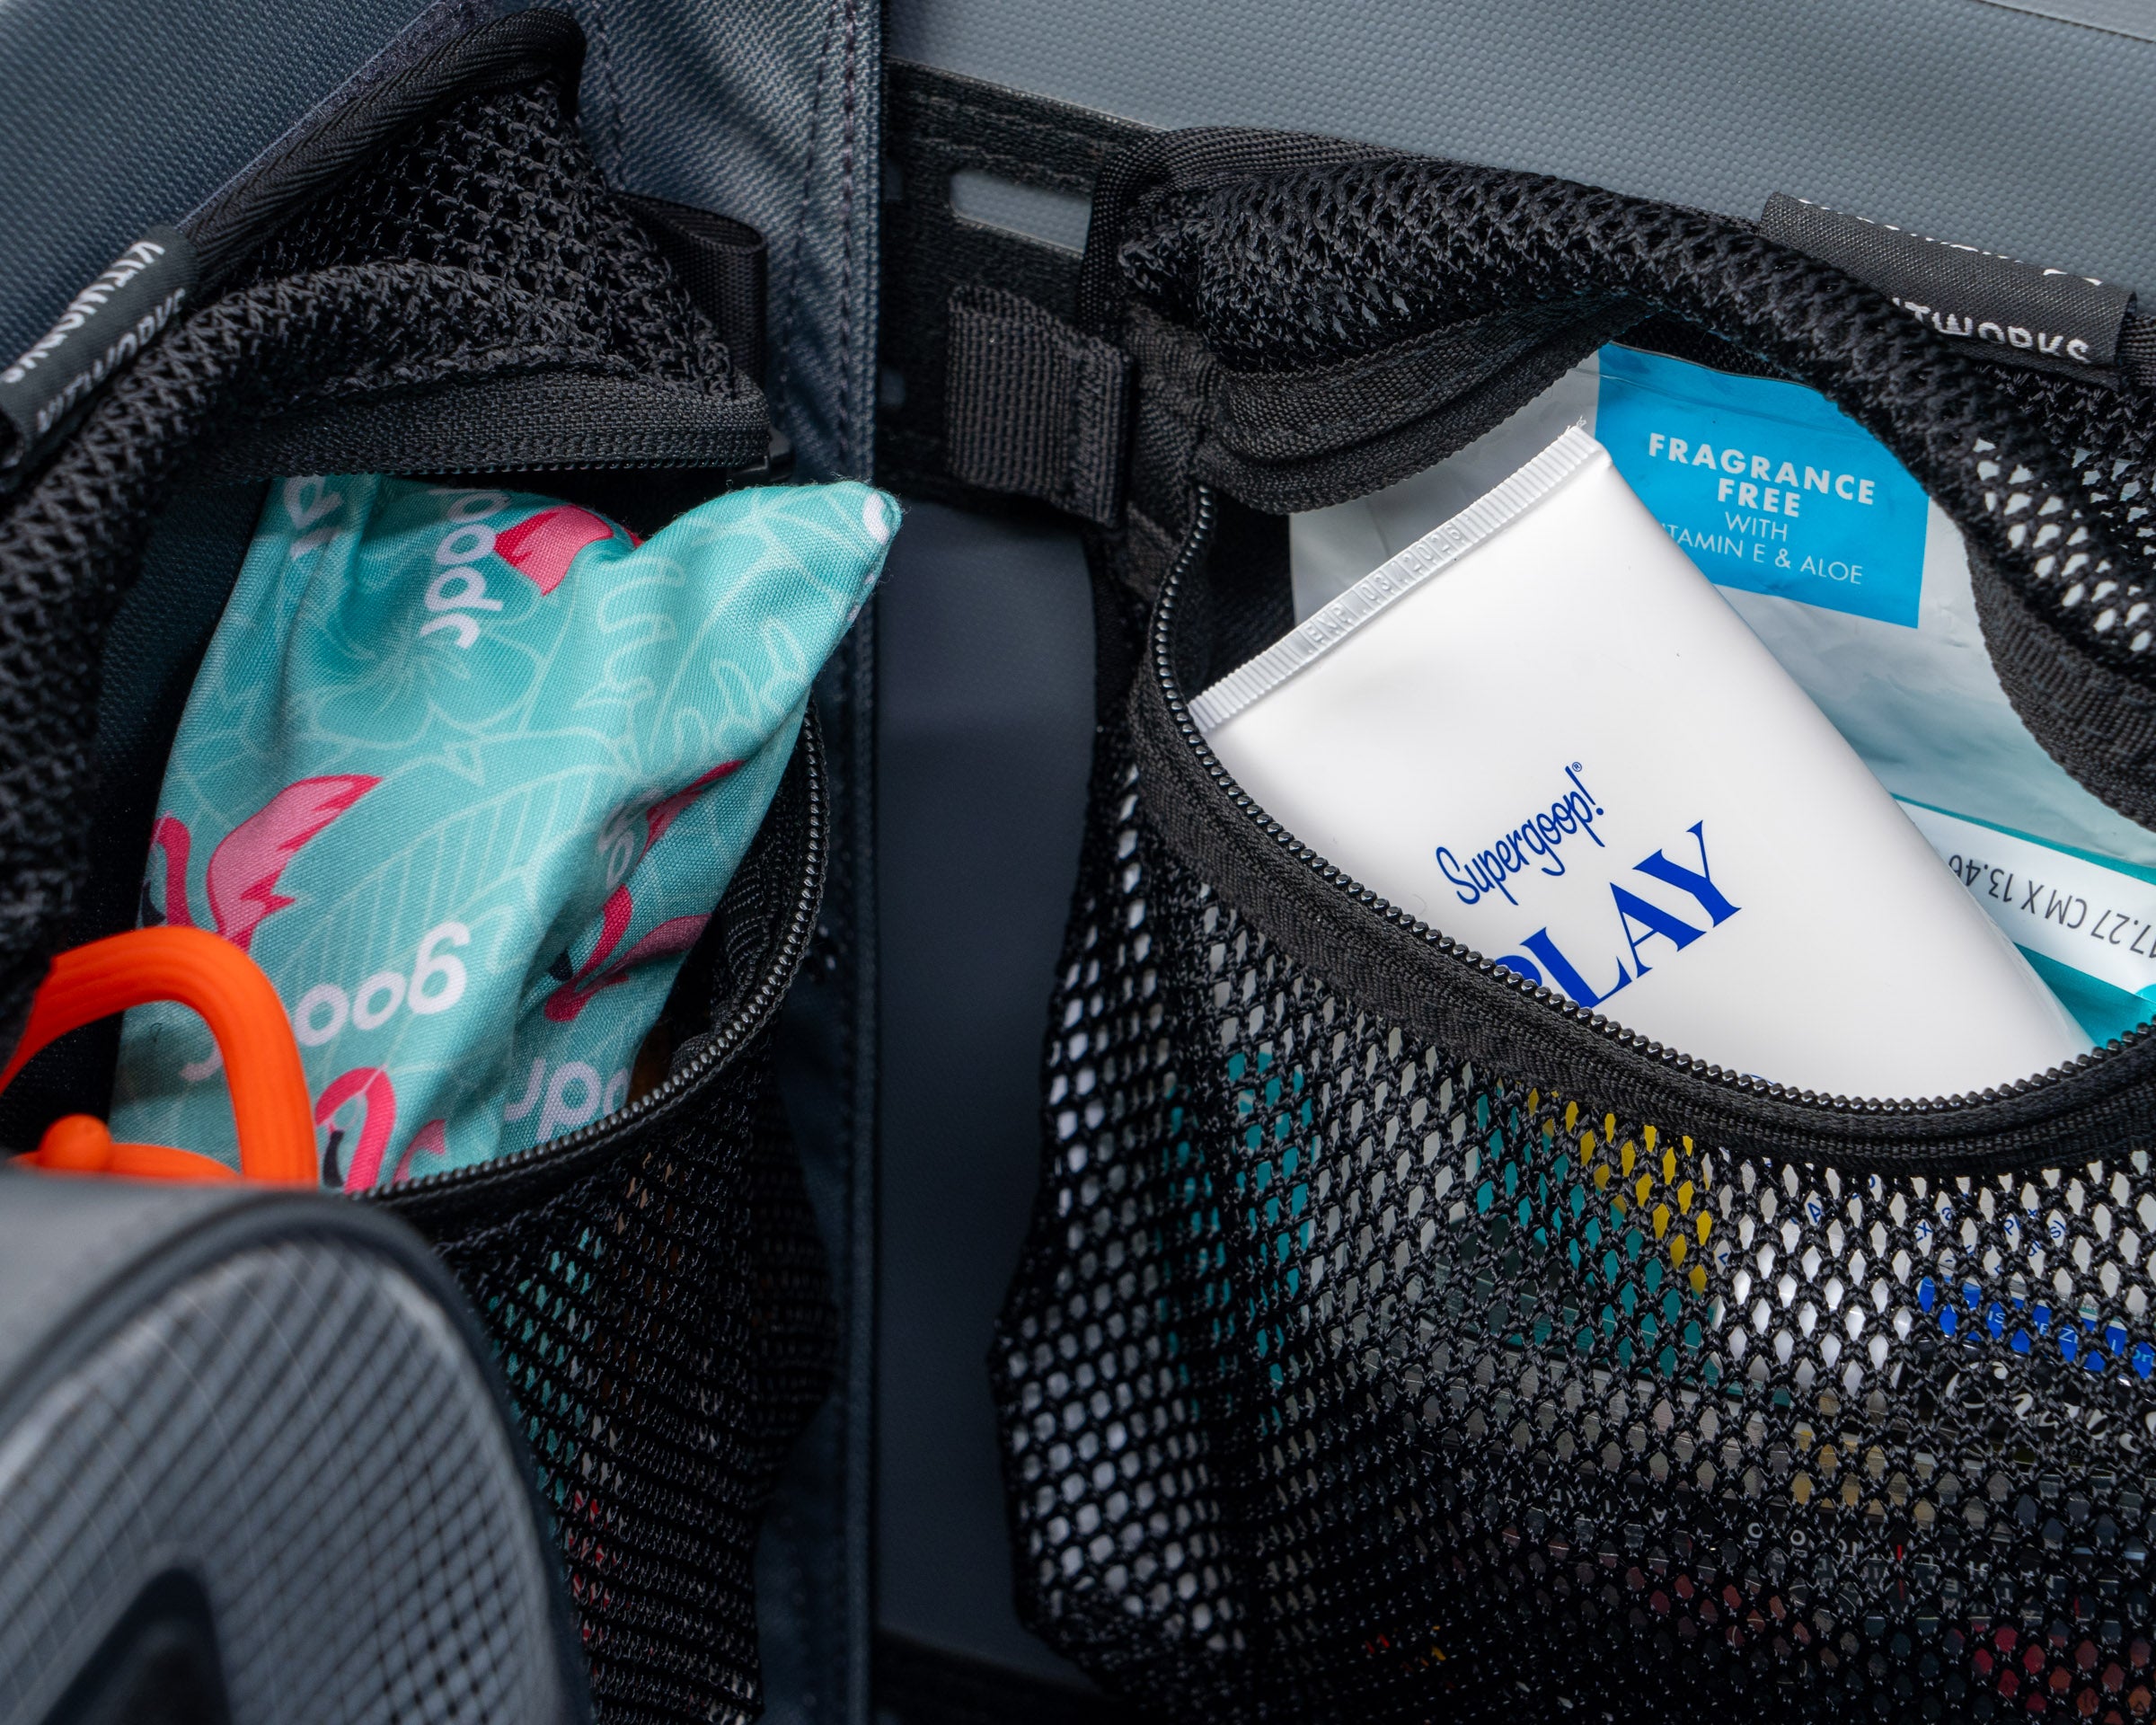
Installing on flexible surfaces
When installing pockets on your Gear Tote, Duffel or other item with a flexible surface:
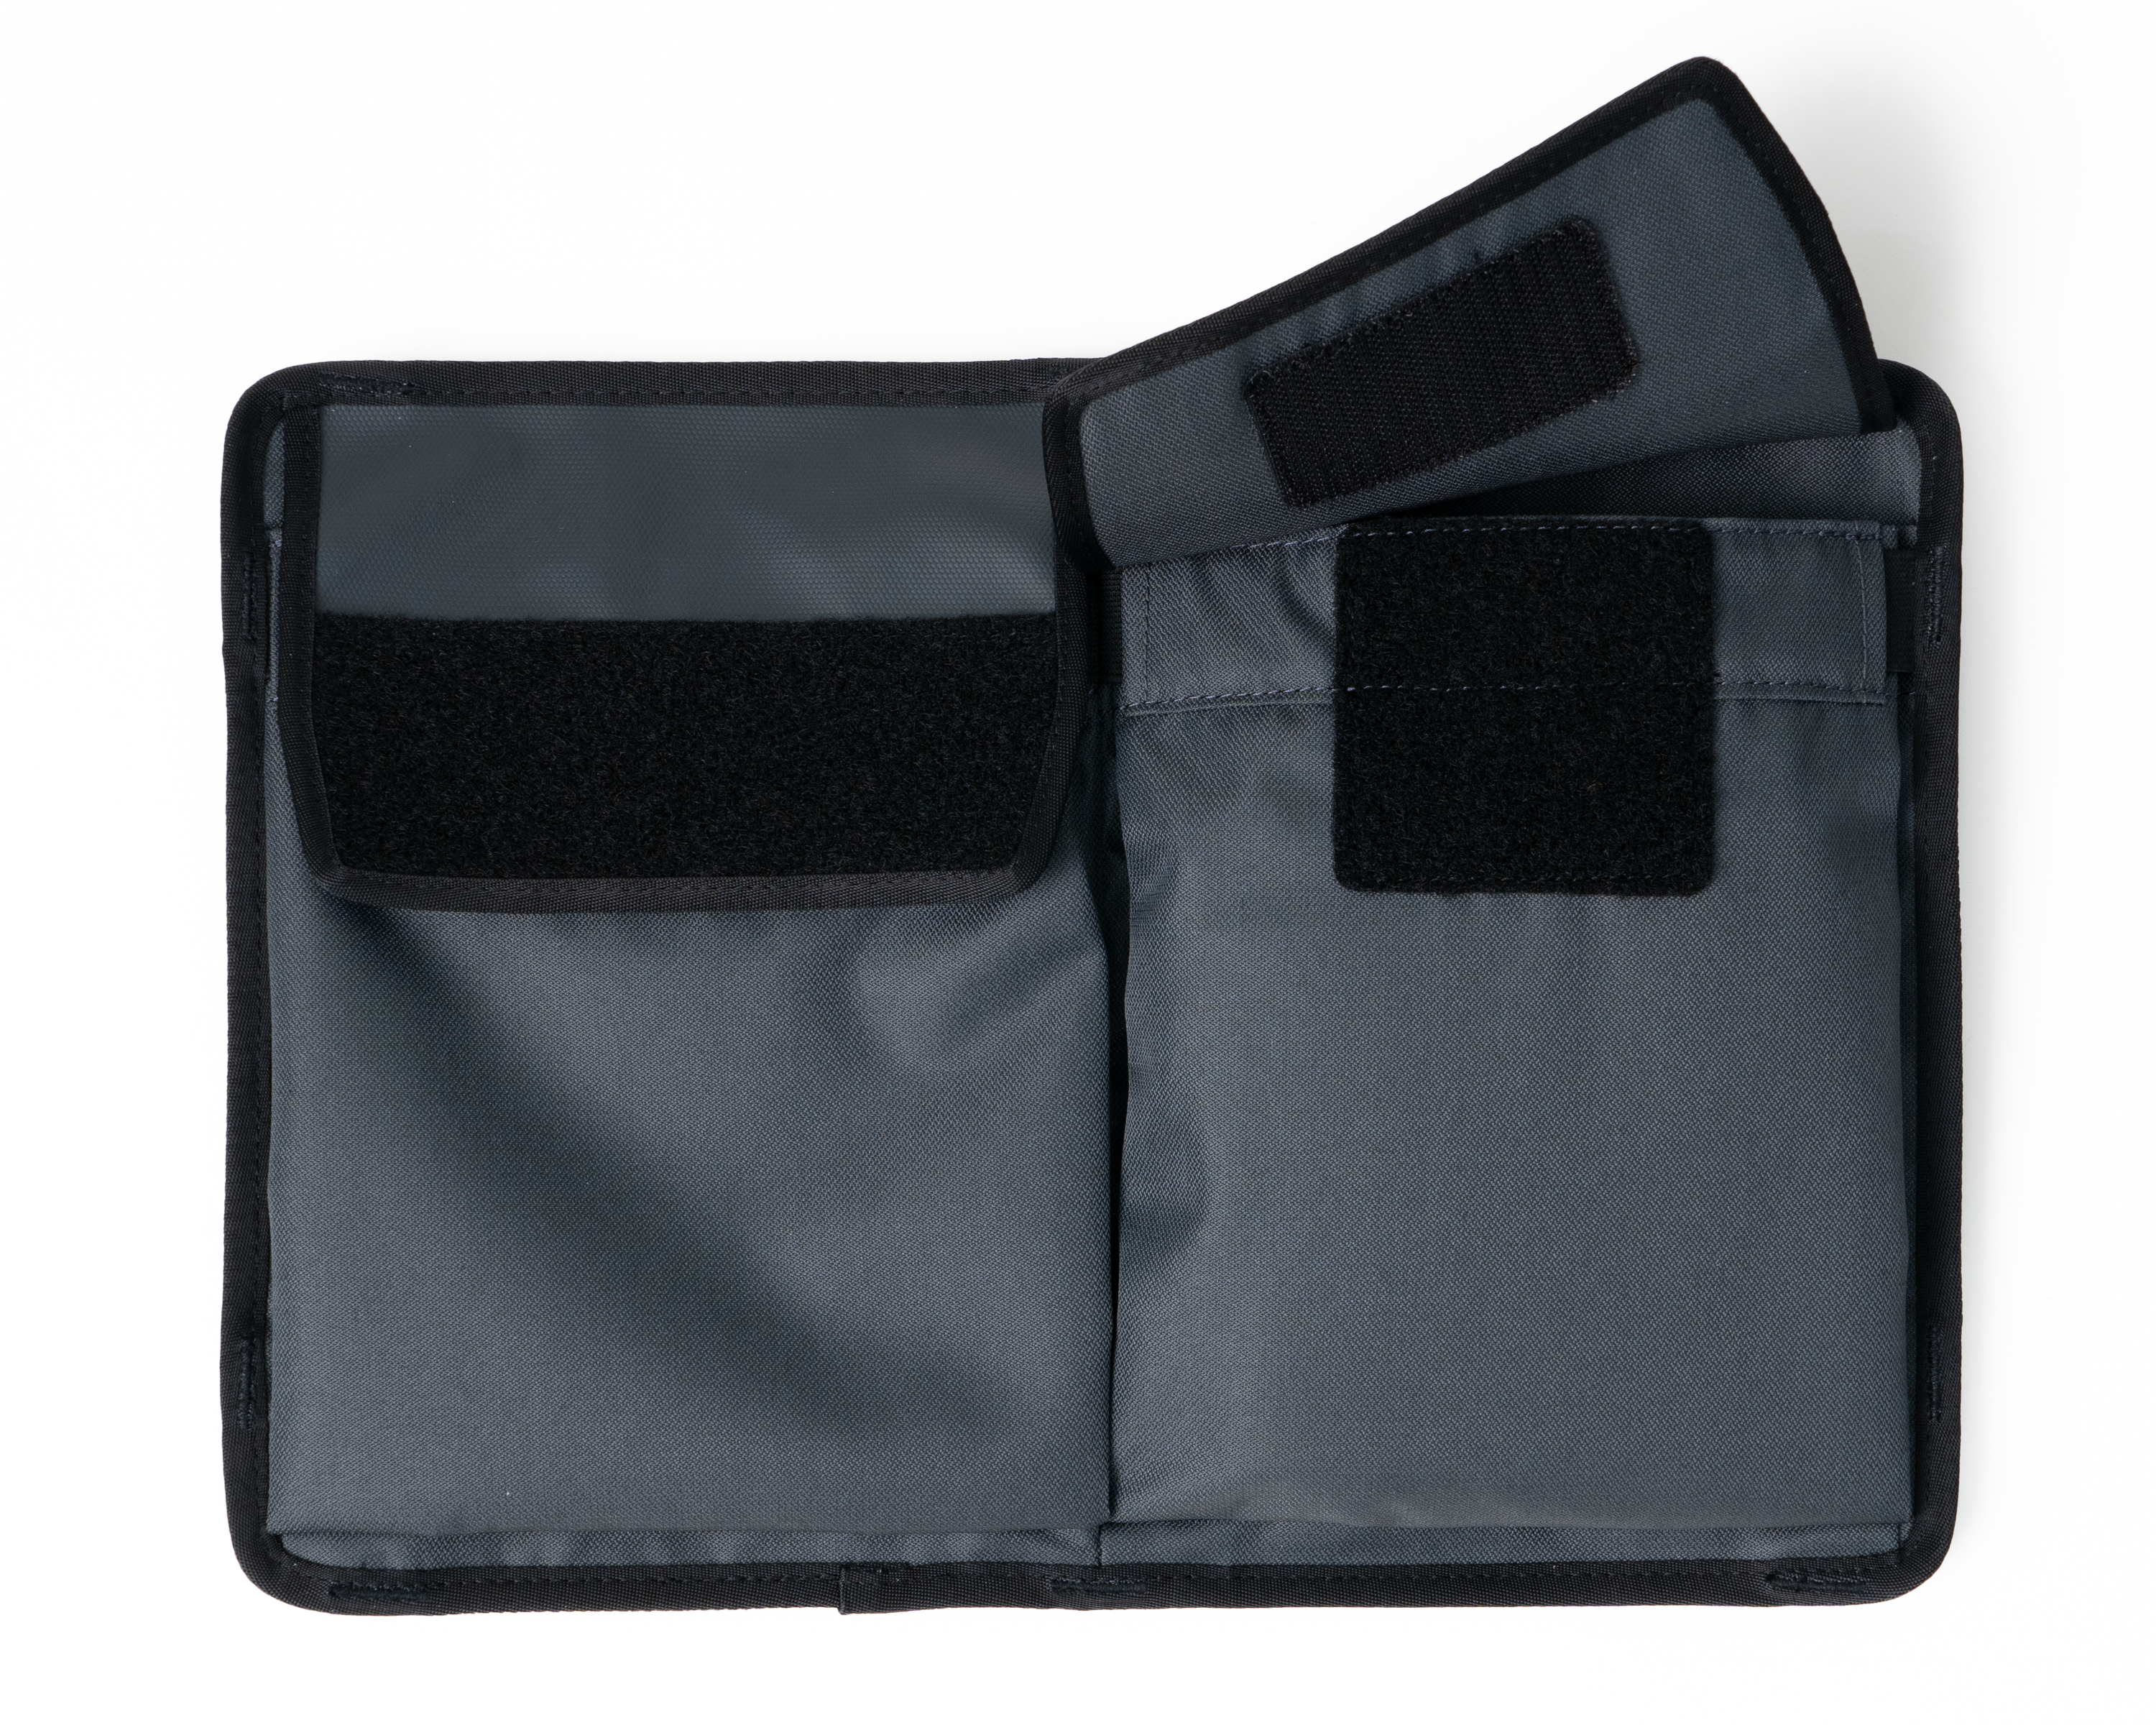
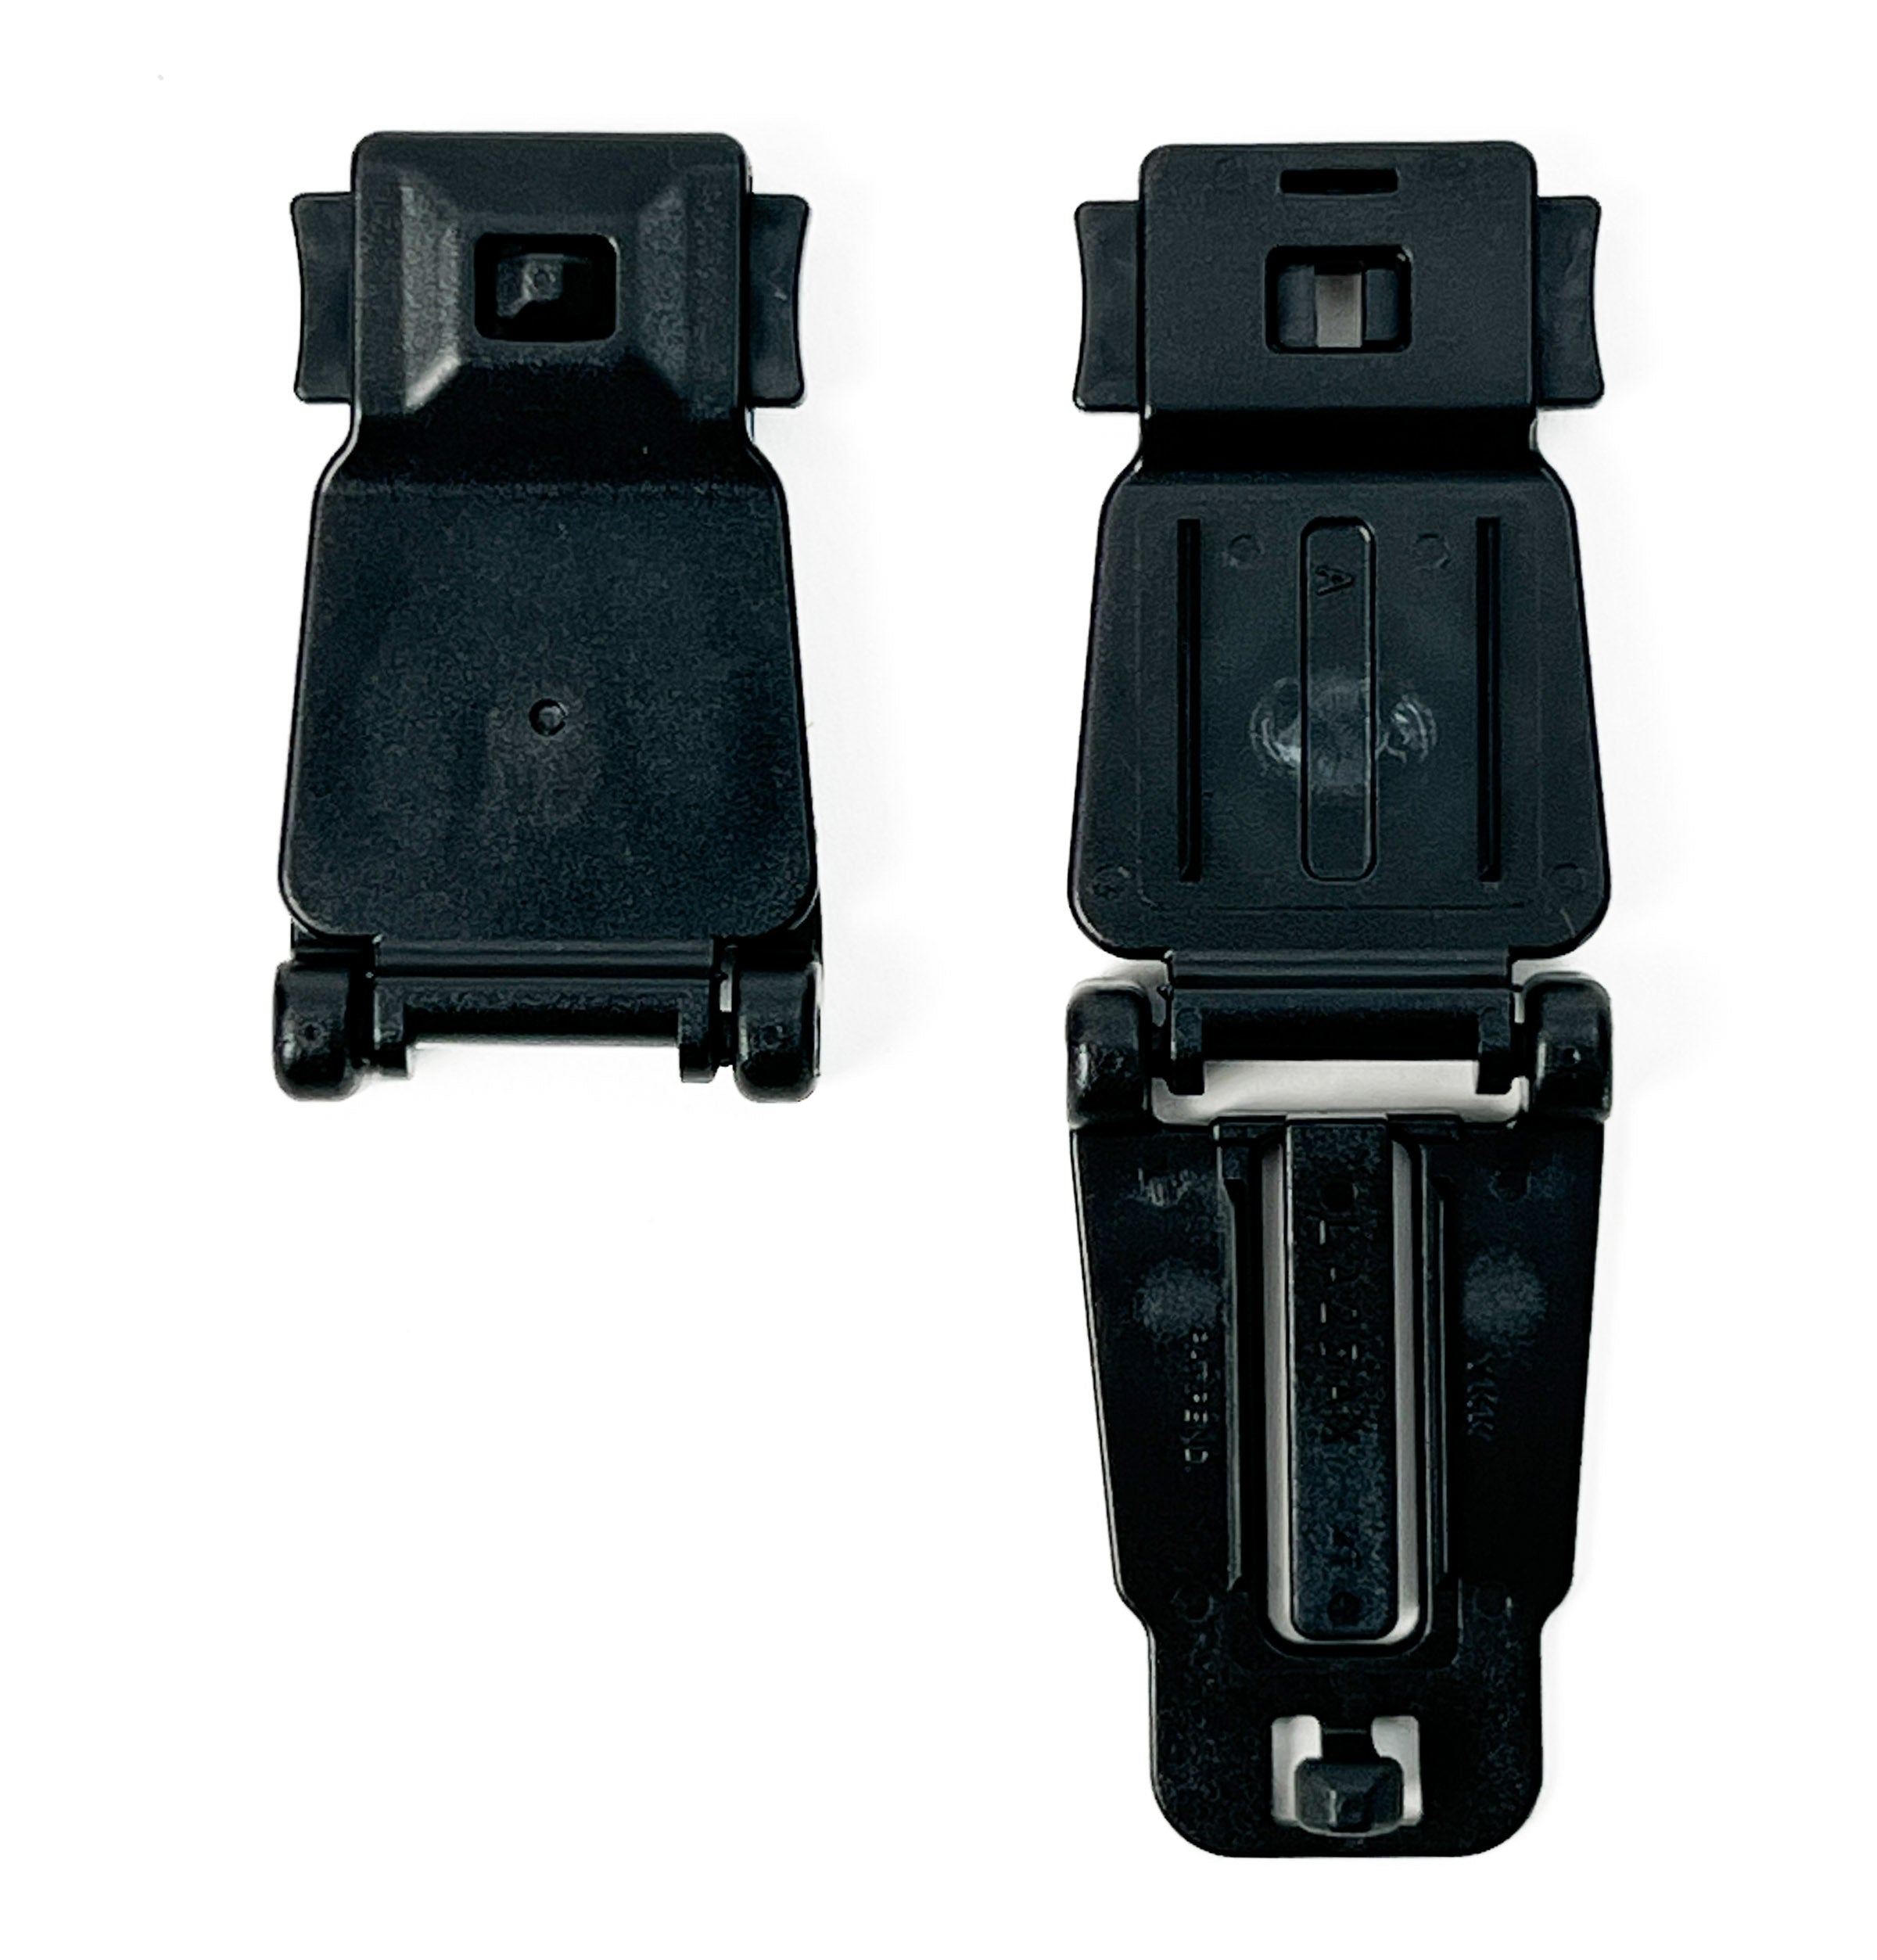
1. Secure bottom velcro tabs
2. Secure top snap tabs
TIP: Start with the tab closest to the corner of the bag.
Installing on rigid surfaces
When installing pockets on your Gear Box, it's helpful to release the hinged panel prior to installation. Install bottom tabs first, and from corners toward center of gear box.